DJI Mini 2 Review
Mini drone under 249g with 4k video
DJI Mini 2 (Link)
Announced - Nov 2020, $599 USD for Flymore Combo
Pro
Compact and light
Easy to fly
Good App and Stable Connection
Con
Small CMOS sensor produces mediocre image quality
Some functions do not work as expected and require other program to get the best result
No forward and side vision sensor, so no obstacle avoidance and Active Track
I had the original DJI Mavic Pro a few years ago. I enjoyed flying the drone, but sold it after a year as it got less and less use. The main reason was that it wasn’t easy to carry around in addition to my camera. I like the first DJI Mavic Mini, but it didn’t have 4k recording. Mini 2 finally seems to have checked all my boxes, so I got one in Fly More Combo.
What’s in the box
The combo version comes in a neat padded carrying bag that fits drone, controller, batteries, and all the accessories inside.
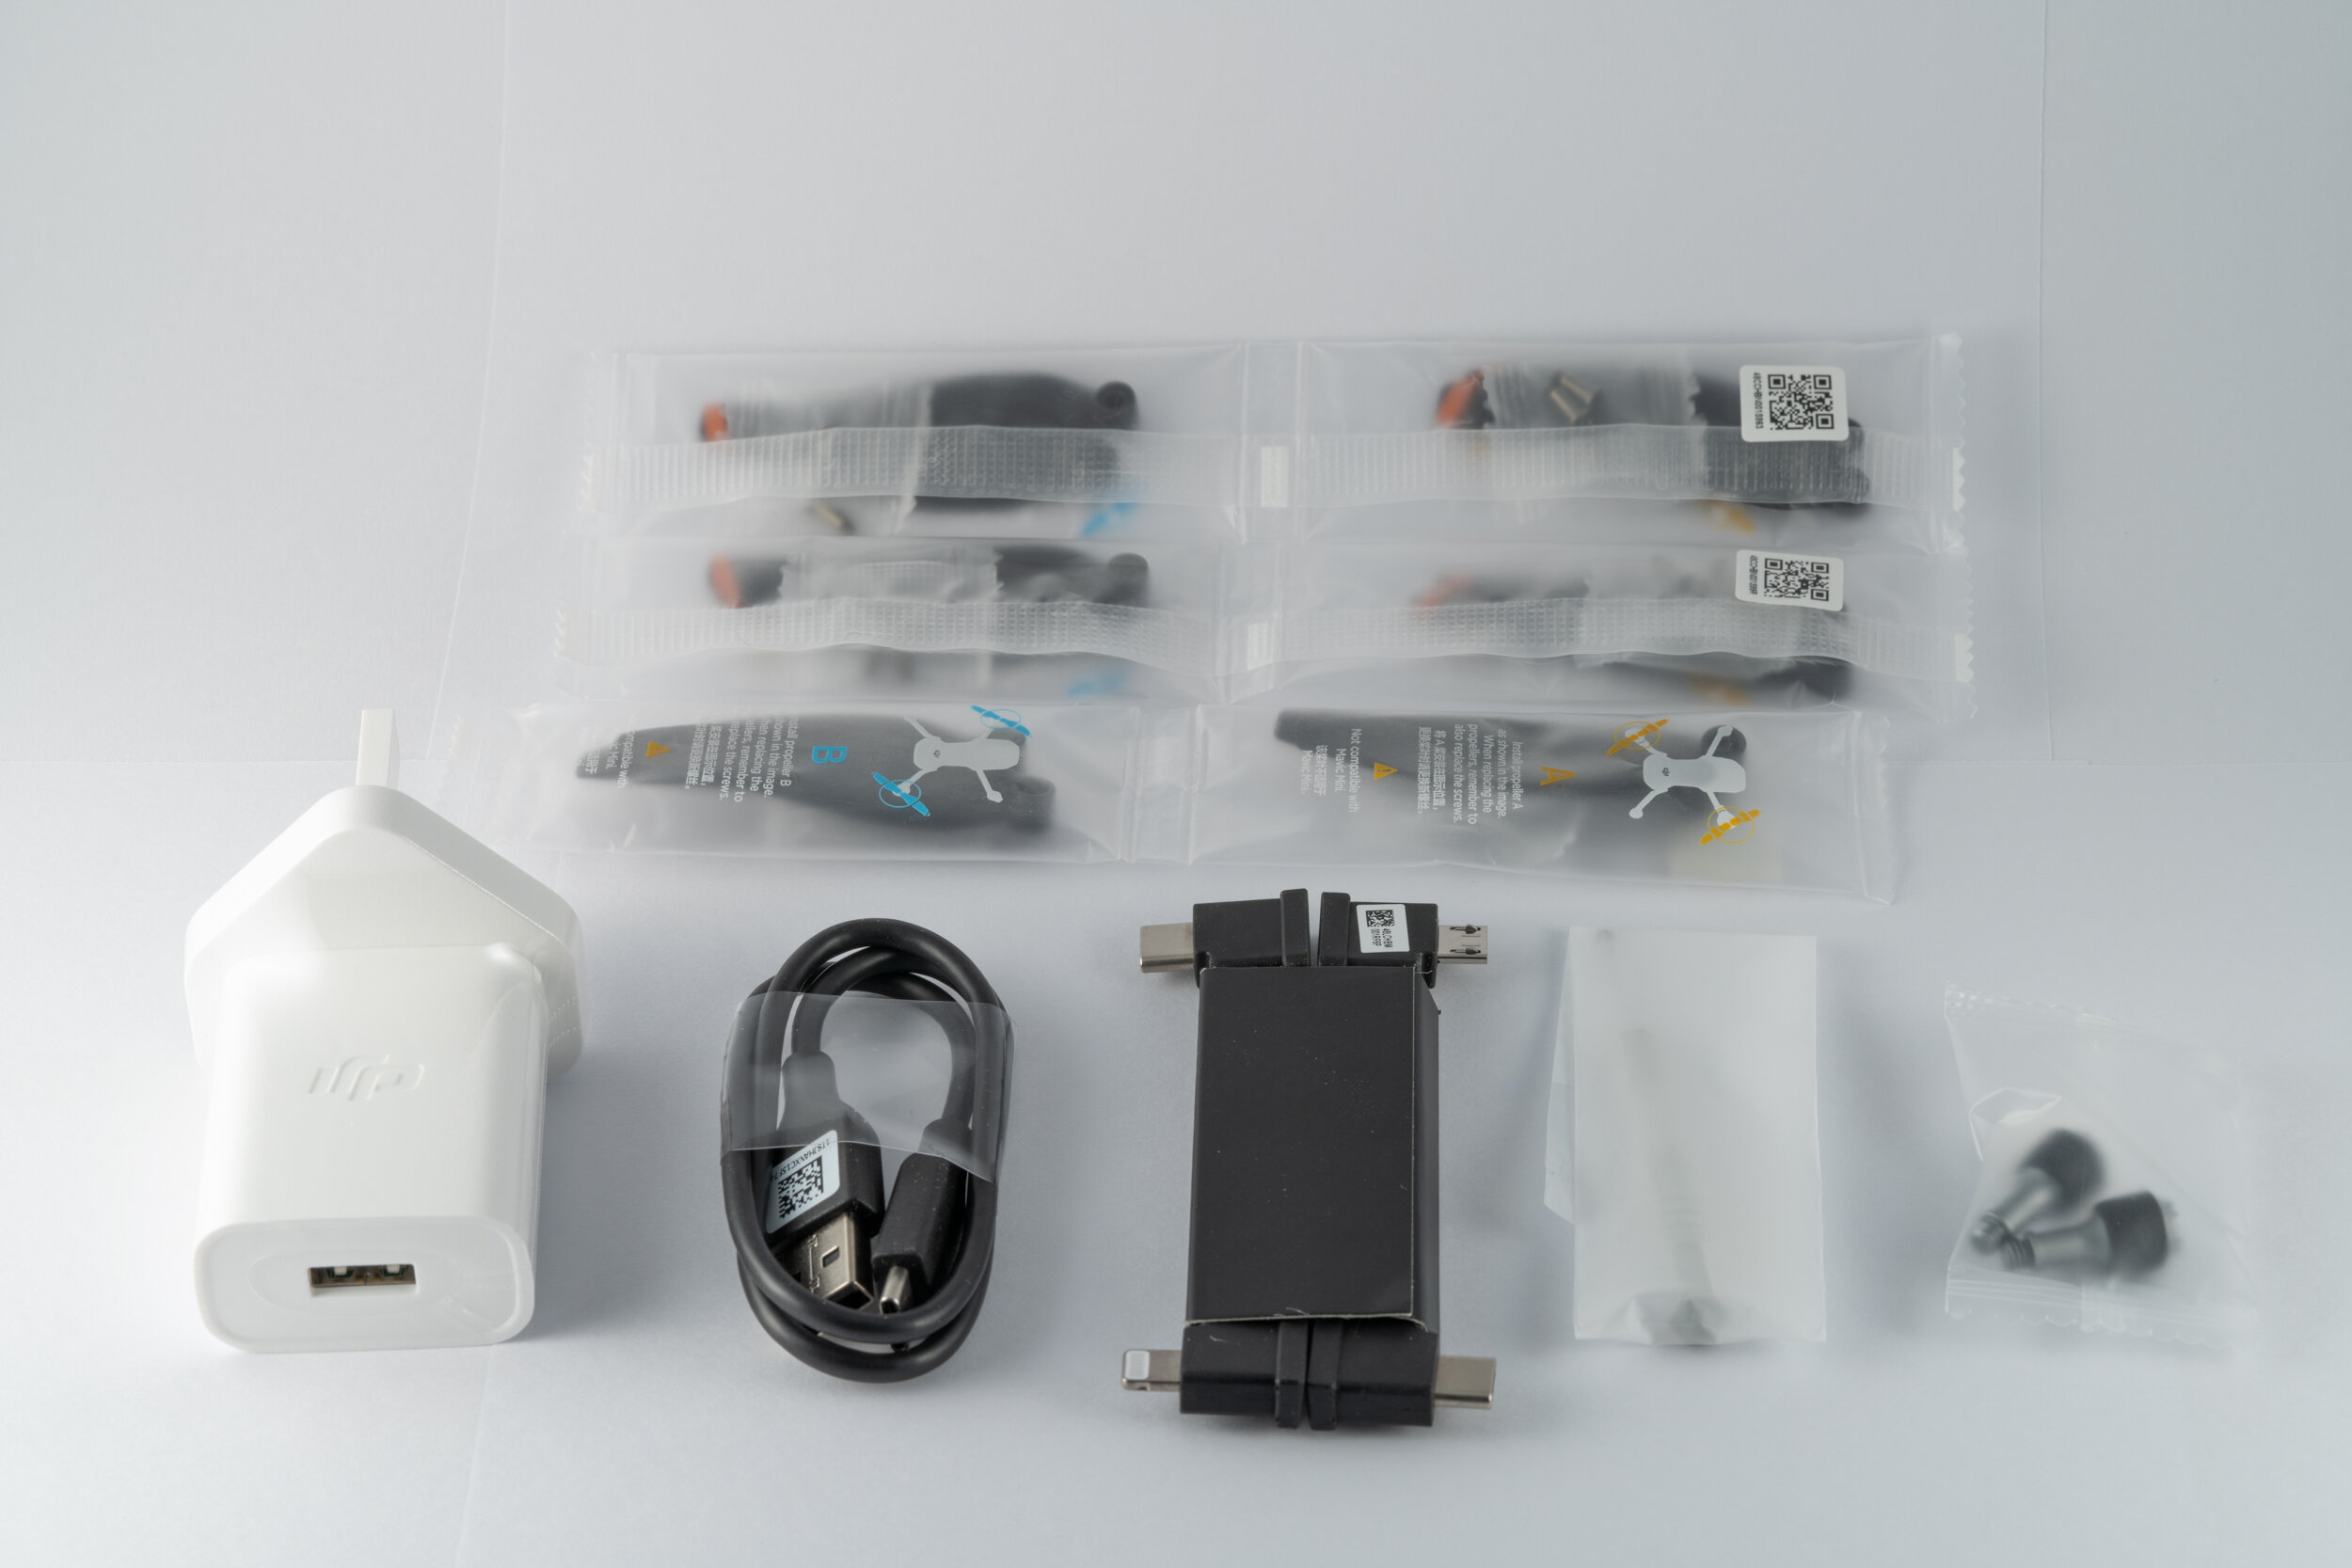
Here are the accessories that are included: various cables, charger, spare parts and a screw driver.
Body
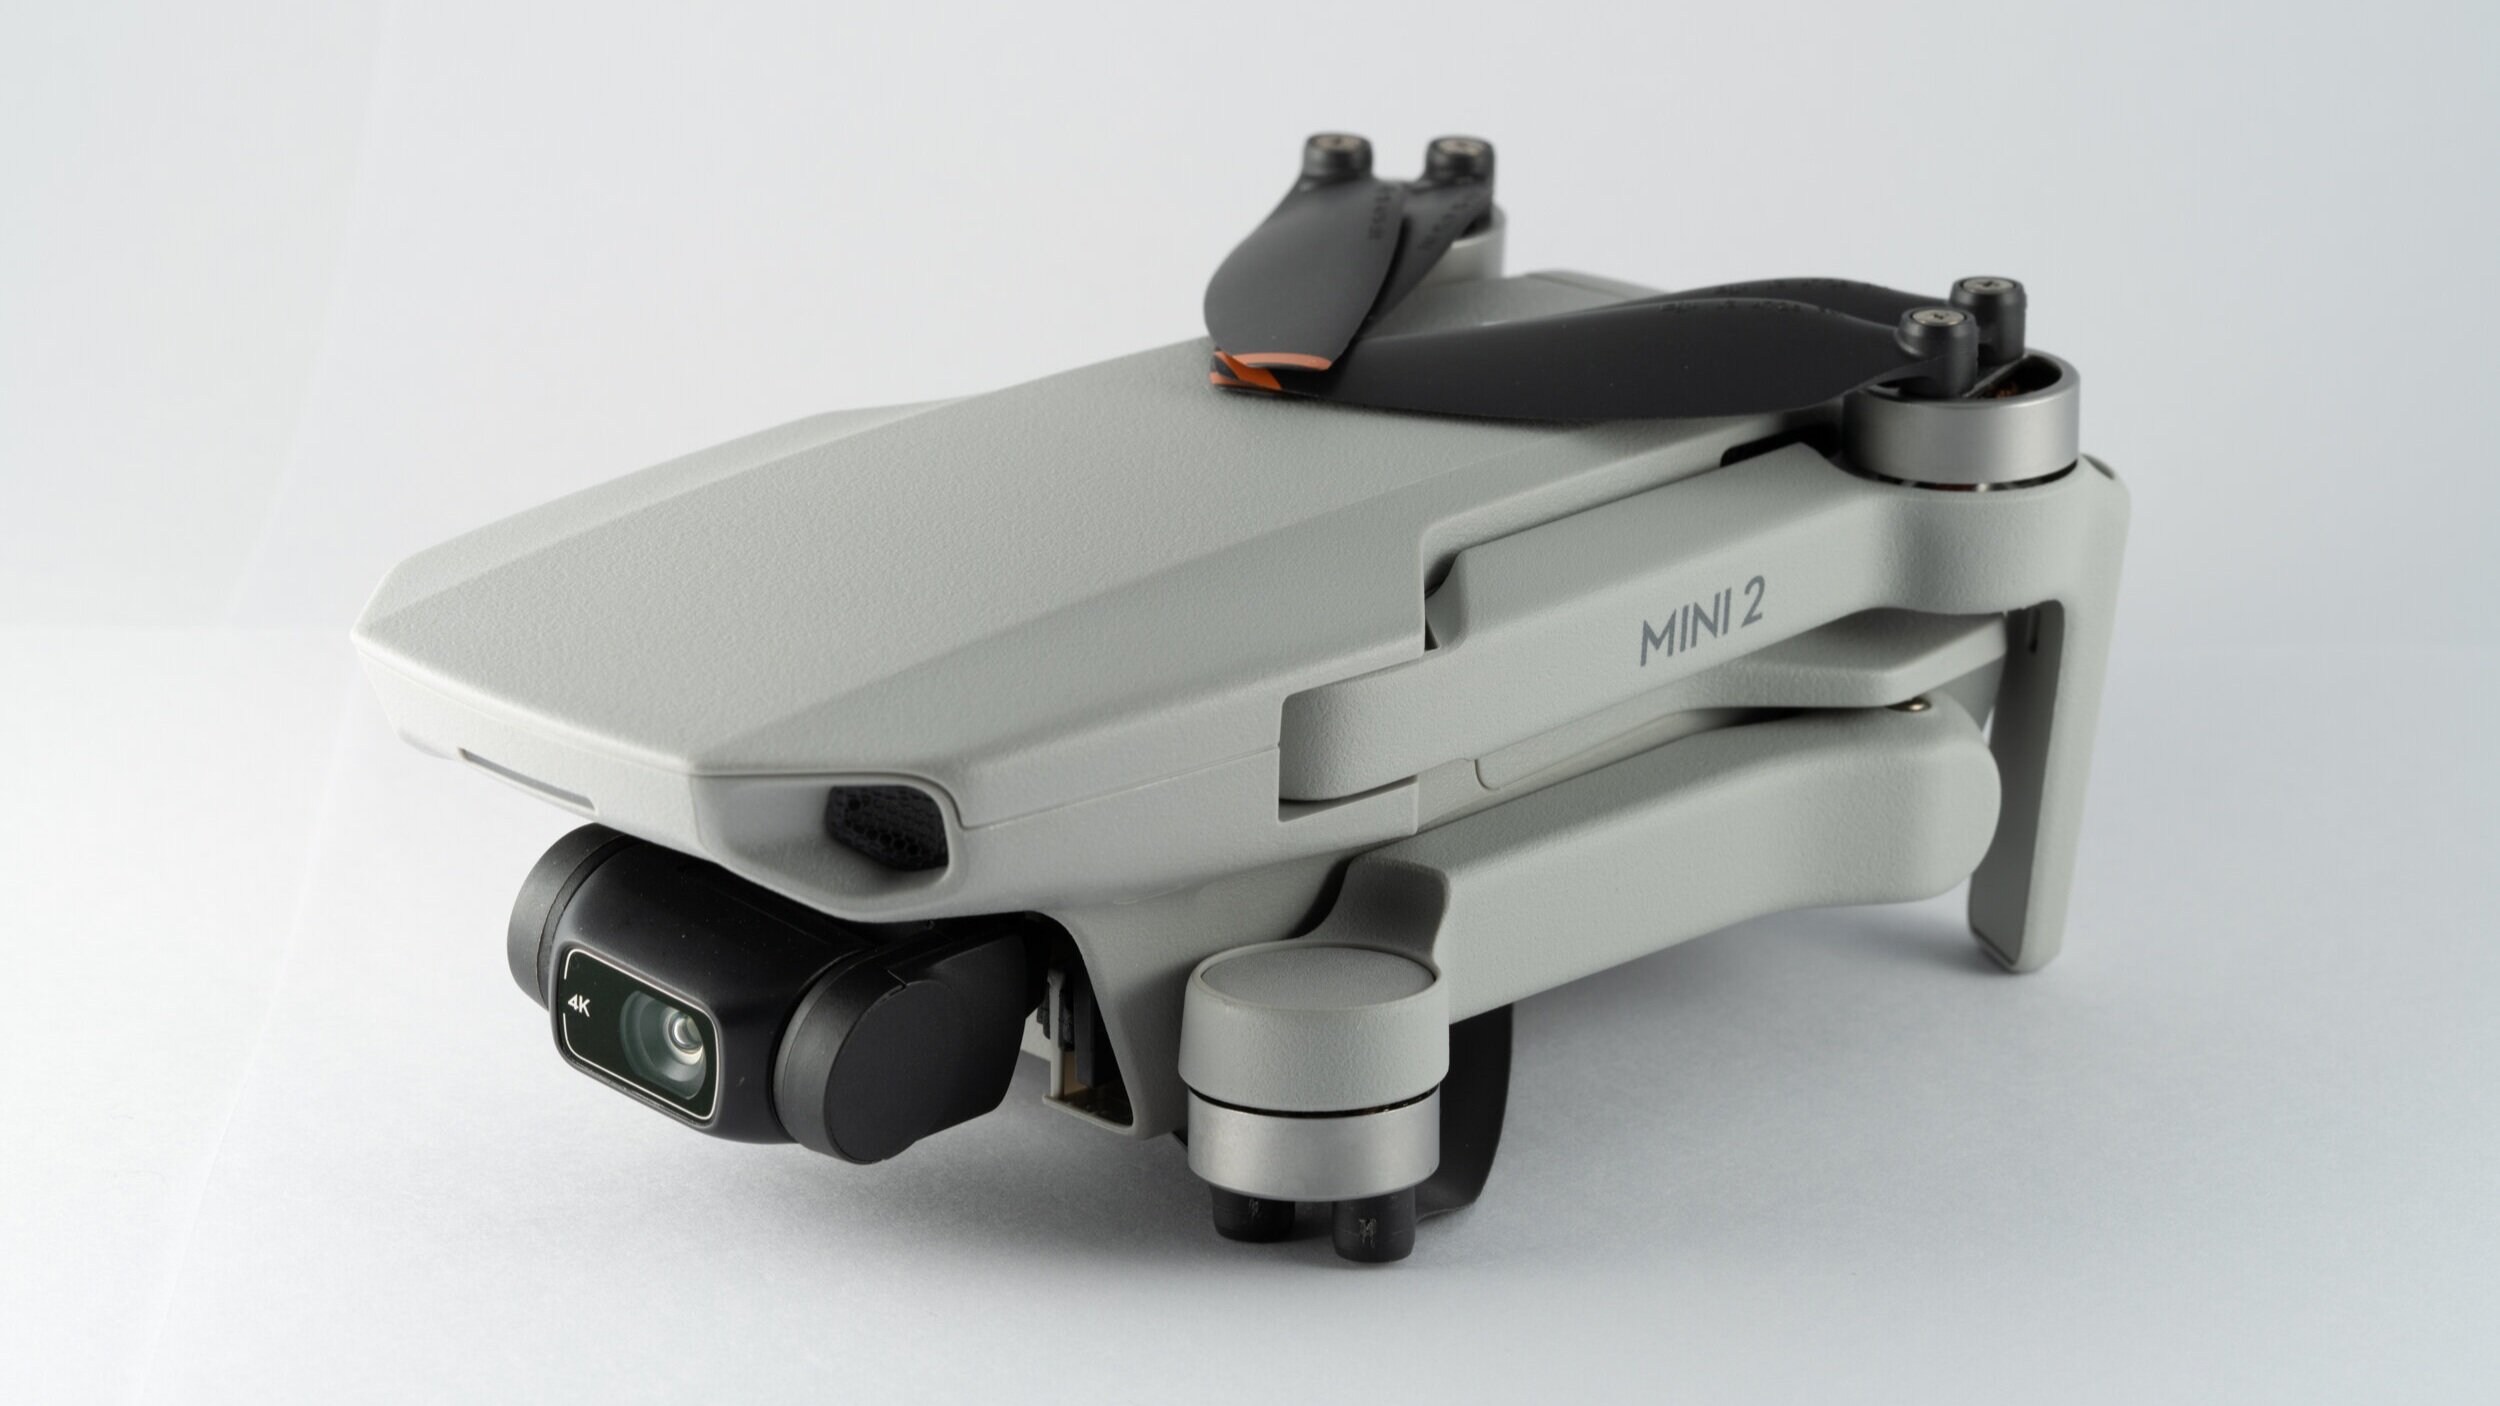
The drone is really small (138 x 81 x 58mm folded) at only 239g with a battery loaded, and 187.5g with the gimbal holder, strap and no battery. For reference, a can of 330ml coke is 115.2mm x 66.2mm.
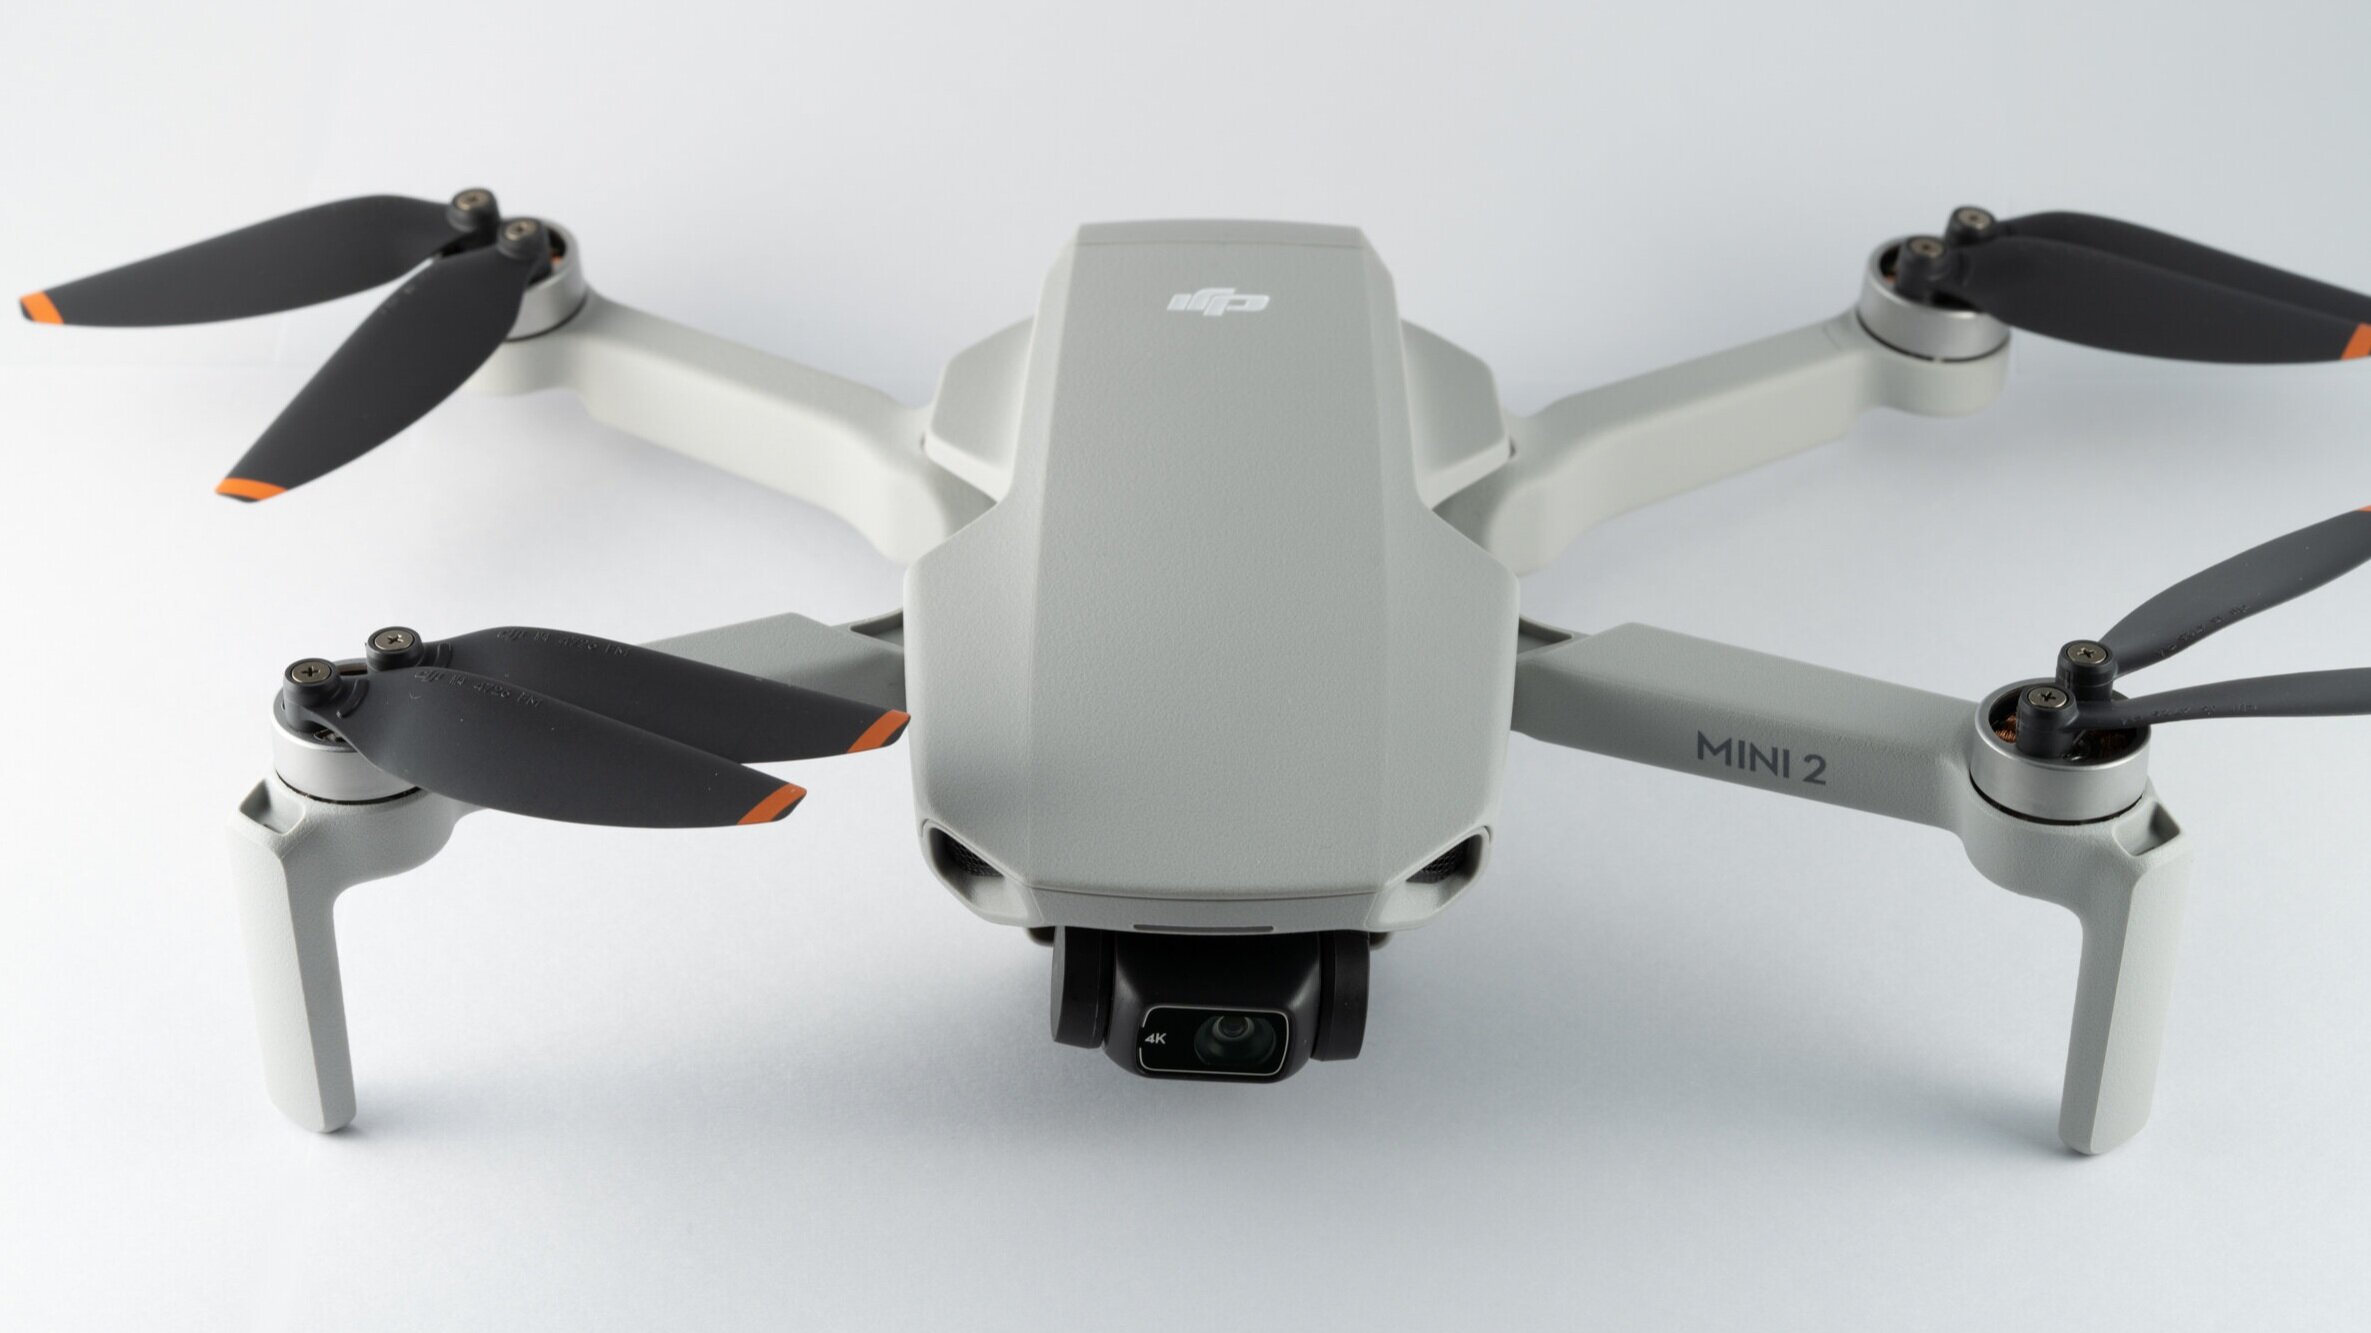
This is how the drone looks like unfolded (159 x 203 x 56mm including the propellers). The gimbal protector and the rubber strap have to be removed before flying.
The lens is a 24mm (full frame equivalent) f/2.8. Behind that is a 12 MP, 1/2.3 inch CMOS sensor. ISO ranges from 100 to 3200 with 1/8000 to 4s shutter speed. It can shoot still in RAW with DNG format, and video in 4k/30p 100Mbps in MP4 format.
The back of the drone has a door for the battery, micro SD card, and a USB C port for charging and data transfer.
At the bottom, there is the only two vision sensors on the Mini 2. Unlike the bigger models, there is no forward or side sensors.
This is the charging case and the three batteries. Three batteries plus the charging case is at 312g. Each battery is rated at 2250 mAh, and provides about 30min flight time each. The case can also be used as a USB power bank.
The controller is about (150 x 103 x 41mm) at 386g, and has a 5200 mAh battery inside that is charged by USB-C.
The cables are hidden under the antenna at the top, which also acts as the phone holder. There is a control dial at left side to tilt the gimbal, and a button at the right side to take a photo or start/stop recording.
The joysticks is removable and to be screwed on before use.
The whole kit (drone, controller and batteries) weights in at 886g in total, lighter than a full frame camera. The kit can fit into the same space in camera bag as well.
Image Quality
Still and Panorama modes
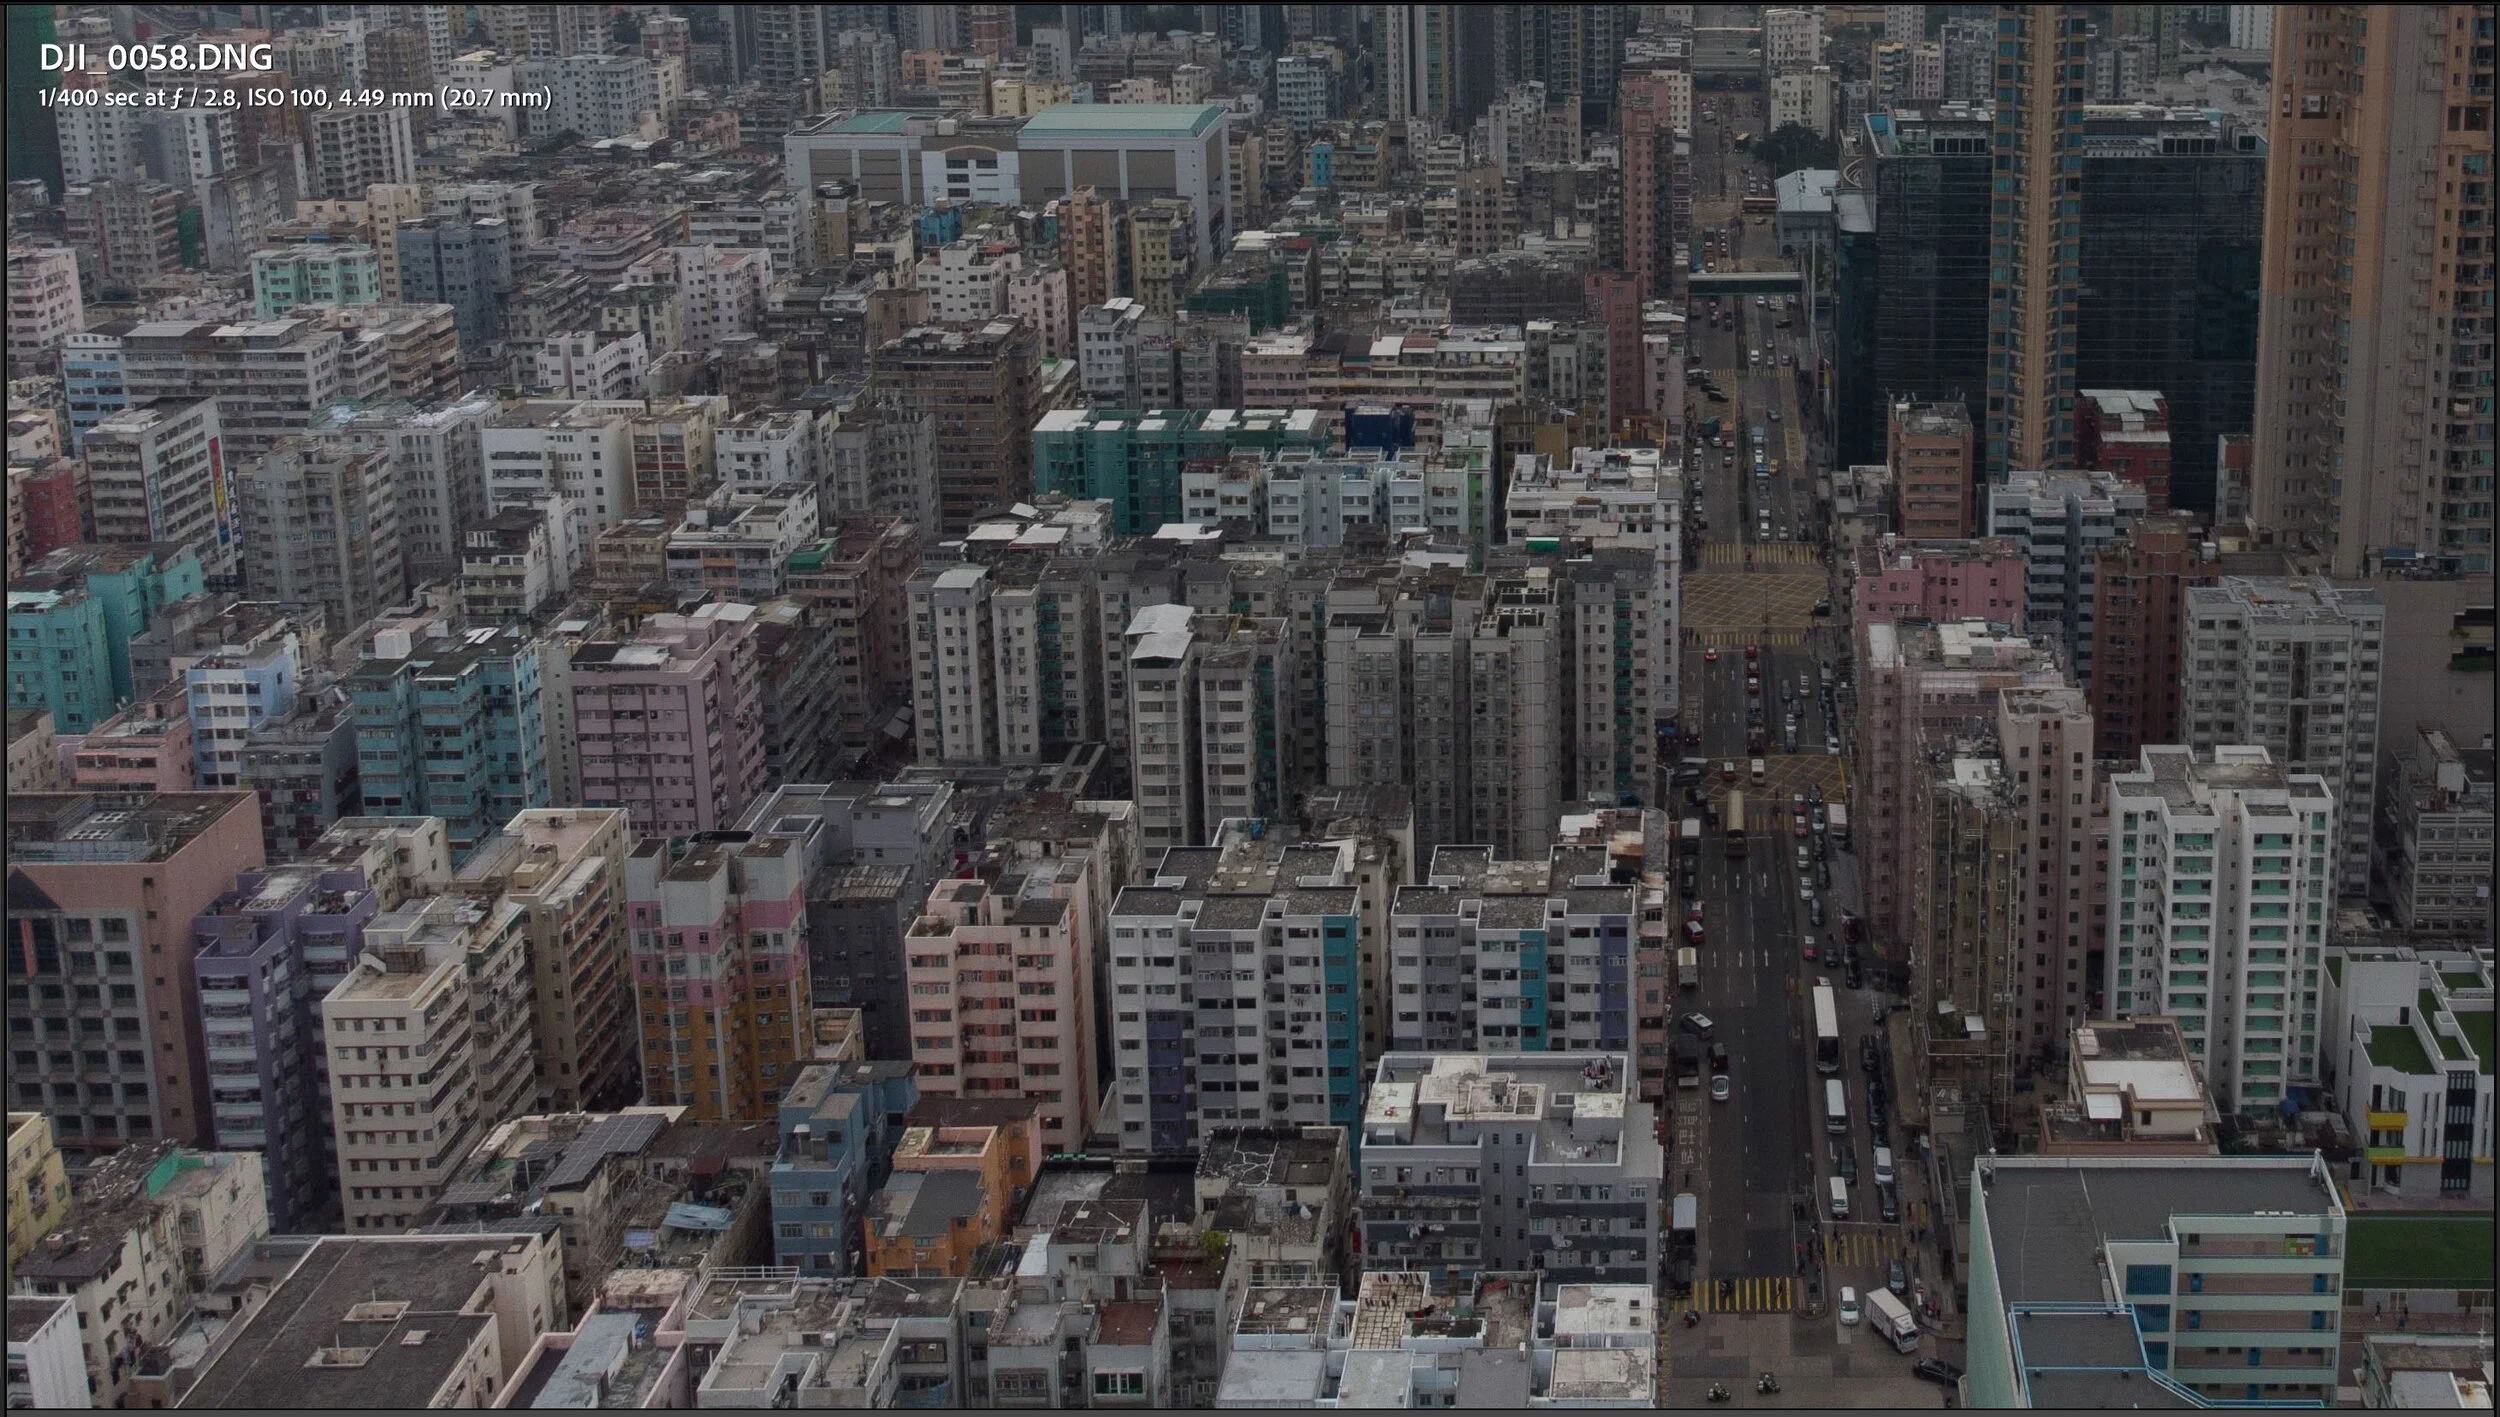
The still image quality is ok in daylight. There is not a lot of details captured with only a 12MP 1/2.3” CMOS sensor. The photos look great on phone, but can see noticeable noises in full size even at base ISO. The quality generally reminds me of cellphone picture before computation photography.
The dynamic range is pretty narrow with the 1/2.3” sensor. I really recommend shooting in RAW as the JPG color is not very pleasing and tends to blow out highlight on white buildings. There is also a AEB (Automatic Exposure Bracketing) mode that will takes three shots at 0 then +/- 2/3 EV. These are saved as individual files that need to be merged in post. I wish the bracketing range can be adjusted to capture a wider dynamic range.
Next, there are three different panorama modes that shoot multiple shots then stitch together within the DJI Fly app. First is 180 deg, which the drone will shoot 7 shots horizontally. The final image stitched by the app is 6989 x 1339 pixels, much lower resolution than expected. I find this really weird, since a single shot is already 4000 x 3000 pixels. It is best to just use the mode to take the pics, then merge in Lightroom using the raw files. I was able to get 12856 x 2333 pixels out of the same group of shots, almost 4x as much pixels. The resolution difference can easily be seen in the full size image. On the other hand side, the default mode does better job at keeping the exposure even.
Second is a 9 shots mode, basically taking them in 3 x 3 grids and create a wide shot. Just like before, DJI stitched is much lower resolution (4819 x 3739 pixels) than Lightroom (10085 x 7662 pixels).
Third mode is a 26 shots mode that shoots all around the drone like a 360 degree camera. The shots are stored as individual images in a folder and a HTML sidecar file. The easiest way to process and view the image is to share on Sky Pixel within the DJI Fly app: Link
Video
The drone can shoot 4k30p at 100Mbps. The quality is quite good. There are also a few QuickShot (autonomous drone shots) modes available to make some cool camera movements. Below is some sample footage with straight out of the drone color:
One of Mini 2 weakness is that it does not have Active Track (Link), which is on every other DJI model. This is probably because Mini 2 does not have forward and side vision sensors for obstacle avoidance. This omission is not very consistent, as the Quickshot functions use object tracking as the drone moves anyway. It should at least have a crippled spotlight mode with fixed drone position. This feature would have been useful to have the camera tracking ferries approaching pier, or car on the road.
Usage Experience
The drone is easy to carry and can fit into the same bag space as a full frame camera with a standard zoom lens. The controller is a bit beefier than expected but is comfortable to hold. It is clever how the sticks is removable, and the cables are neatly tucked under the phone holder/antenna for easier packing. It is great to see everything uses USB-C to charge.
I have flew this drone in a couple of occasions. The whole experience has been greatly improved compared to the Mavic Pro days. The DJI Fly app user interface is easy to understand and responsive. The set up process is painless, and the drone/battery firmware updates are pretty quick.
I also appreciate the map functions that show nearby spots and flight restrictions as it is hard to tell whether there are any helipad nearby. However, beware that this map does not cover all the local restrictions. For examples, some local parks do not permit flying, but are not marked on the map. Therefore, it is best to check for signs/local regulations before take off. DJI HK also gave me a pamphlet on local drone regulation, so it is nice to see they try to be responsible.
Take off is easy by just pressing of a button on screen. Overall flight experience is great, the connection between the controller and drone is stable, much better than my old Mavic Pro. The Mini 2 flies nice and responsive. I flew it around the coast in winds, and had no issue whatsoever. The drone is not noisy, but can still hear it within 30m. The Return Home function works as expected, and the drone is able to return to roughly the take off spot. I then use the controller to guide the final landing.
The battery last about 25 to 30 mins, and is more than sufficient as I tend to have shot all I wanted by 15 mins at a location. I also rarely use all three batteries in a day trip. The controller battery also lasts a long time as well.
Conclusion
The DJI Mini 2 is a great drone for someone that value weight and size. Drones under 250g faces less regulations in some countries. In that case, Mini 2 is pretty much the only drone that would fit under that criteria. However, there are other models in the line up that could be more suitable if size is not a concern. The lack of front and side vision sensors means not having the useful Active Track functions. In addition, they would have helped reducing the risk of accident flying in tight area.
The small 1/2.3” CMOS sensor gives mediocre image quality. The quality reminded me of old cellphone pictures. This is hard to ignore as recent smartphone sensors (108MP on 1/1.3” CMOS sensor) with computation photography technique produces way better result. However, since Mini 2 is the cheapest model in the line up so can’t expect too much…especially the much more expensive Mavic 2 Zoom uses a 12MP 1/2.3” sensor as well. Hopefully, Mini 3 will get a better camera and vision sensors. I would happy to trade to a smaller battery life to have them included. I hope DJI improves their panorama functions to stitch a full size image. It is puzzling why the app only output at reduced resolution which seems to defeat the purpose.
Overall, the Mini 2 is a great addition for someone who already carries a camera when traveling. It fits into the camera bag easily, doesn’t weight much, and allows shooting nice landscape shots from high up in the sky that would otherwise be impossible . If I am a dedicated drone shooter, I would definitely look into the Mavic 2 Pro with the 1 inch sensor or the Air 2 as they have better image quality and more features. However, there is a saying that the best camera is the one you have with you. In this case, the best drone is the one you have with you.
Sample Gallery (Unedited, SOOC JPG)
Laowa 9mm f/5.6 FF RL Review
Widest Rectilinear Full Frame Lens
Laowa 9mm f/5.6 FF RL (Link)
Announced- June 2020
Pro
Unique Perspective
Small Size and light weight
Nice metal body
Con
Soft Corner, Vignetting
Not Dust/Water Resistance
Not chipped for electronic communication with body
I bought this lens because I was really interested to see what is it like to shoot with a 9mm lens. This is such a unique lens that I broke my habit of buying only auto focus lens.
What’s included:
Inside the box, the lens comes in a plastic draw string bag with a plastic body cap, and a metal lens cap. There are sometimes promotion that will include a 100mm filter holder for free, which is a great value as it is necessary if you want to mount any filter. However, I did not wait for the promotion so cannot comment on the filter holder.
Body
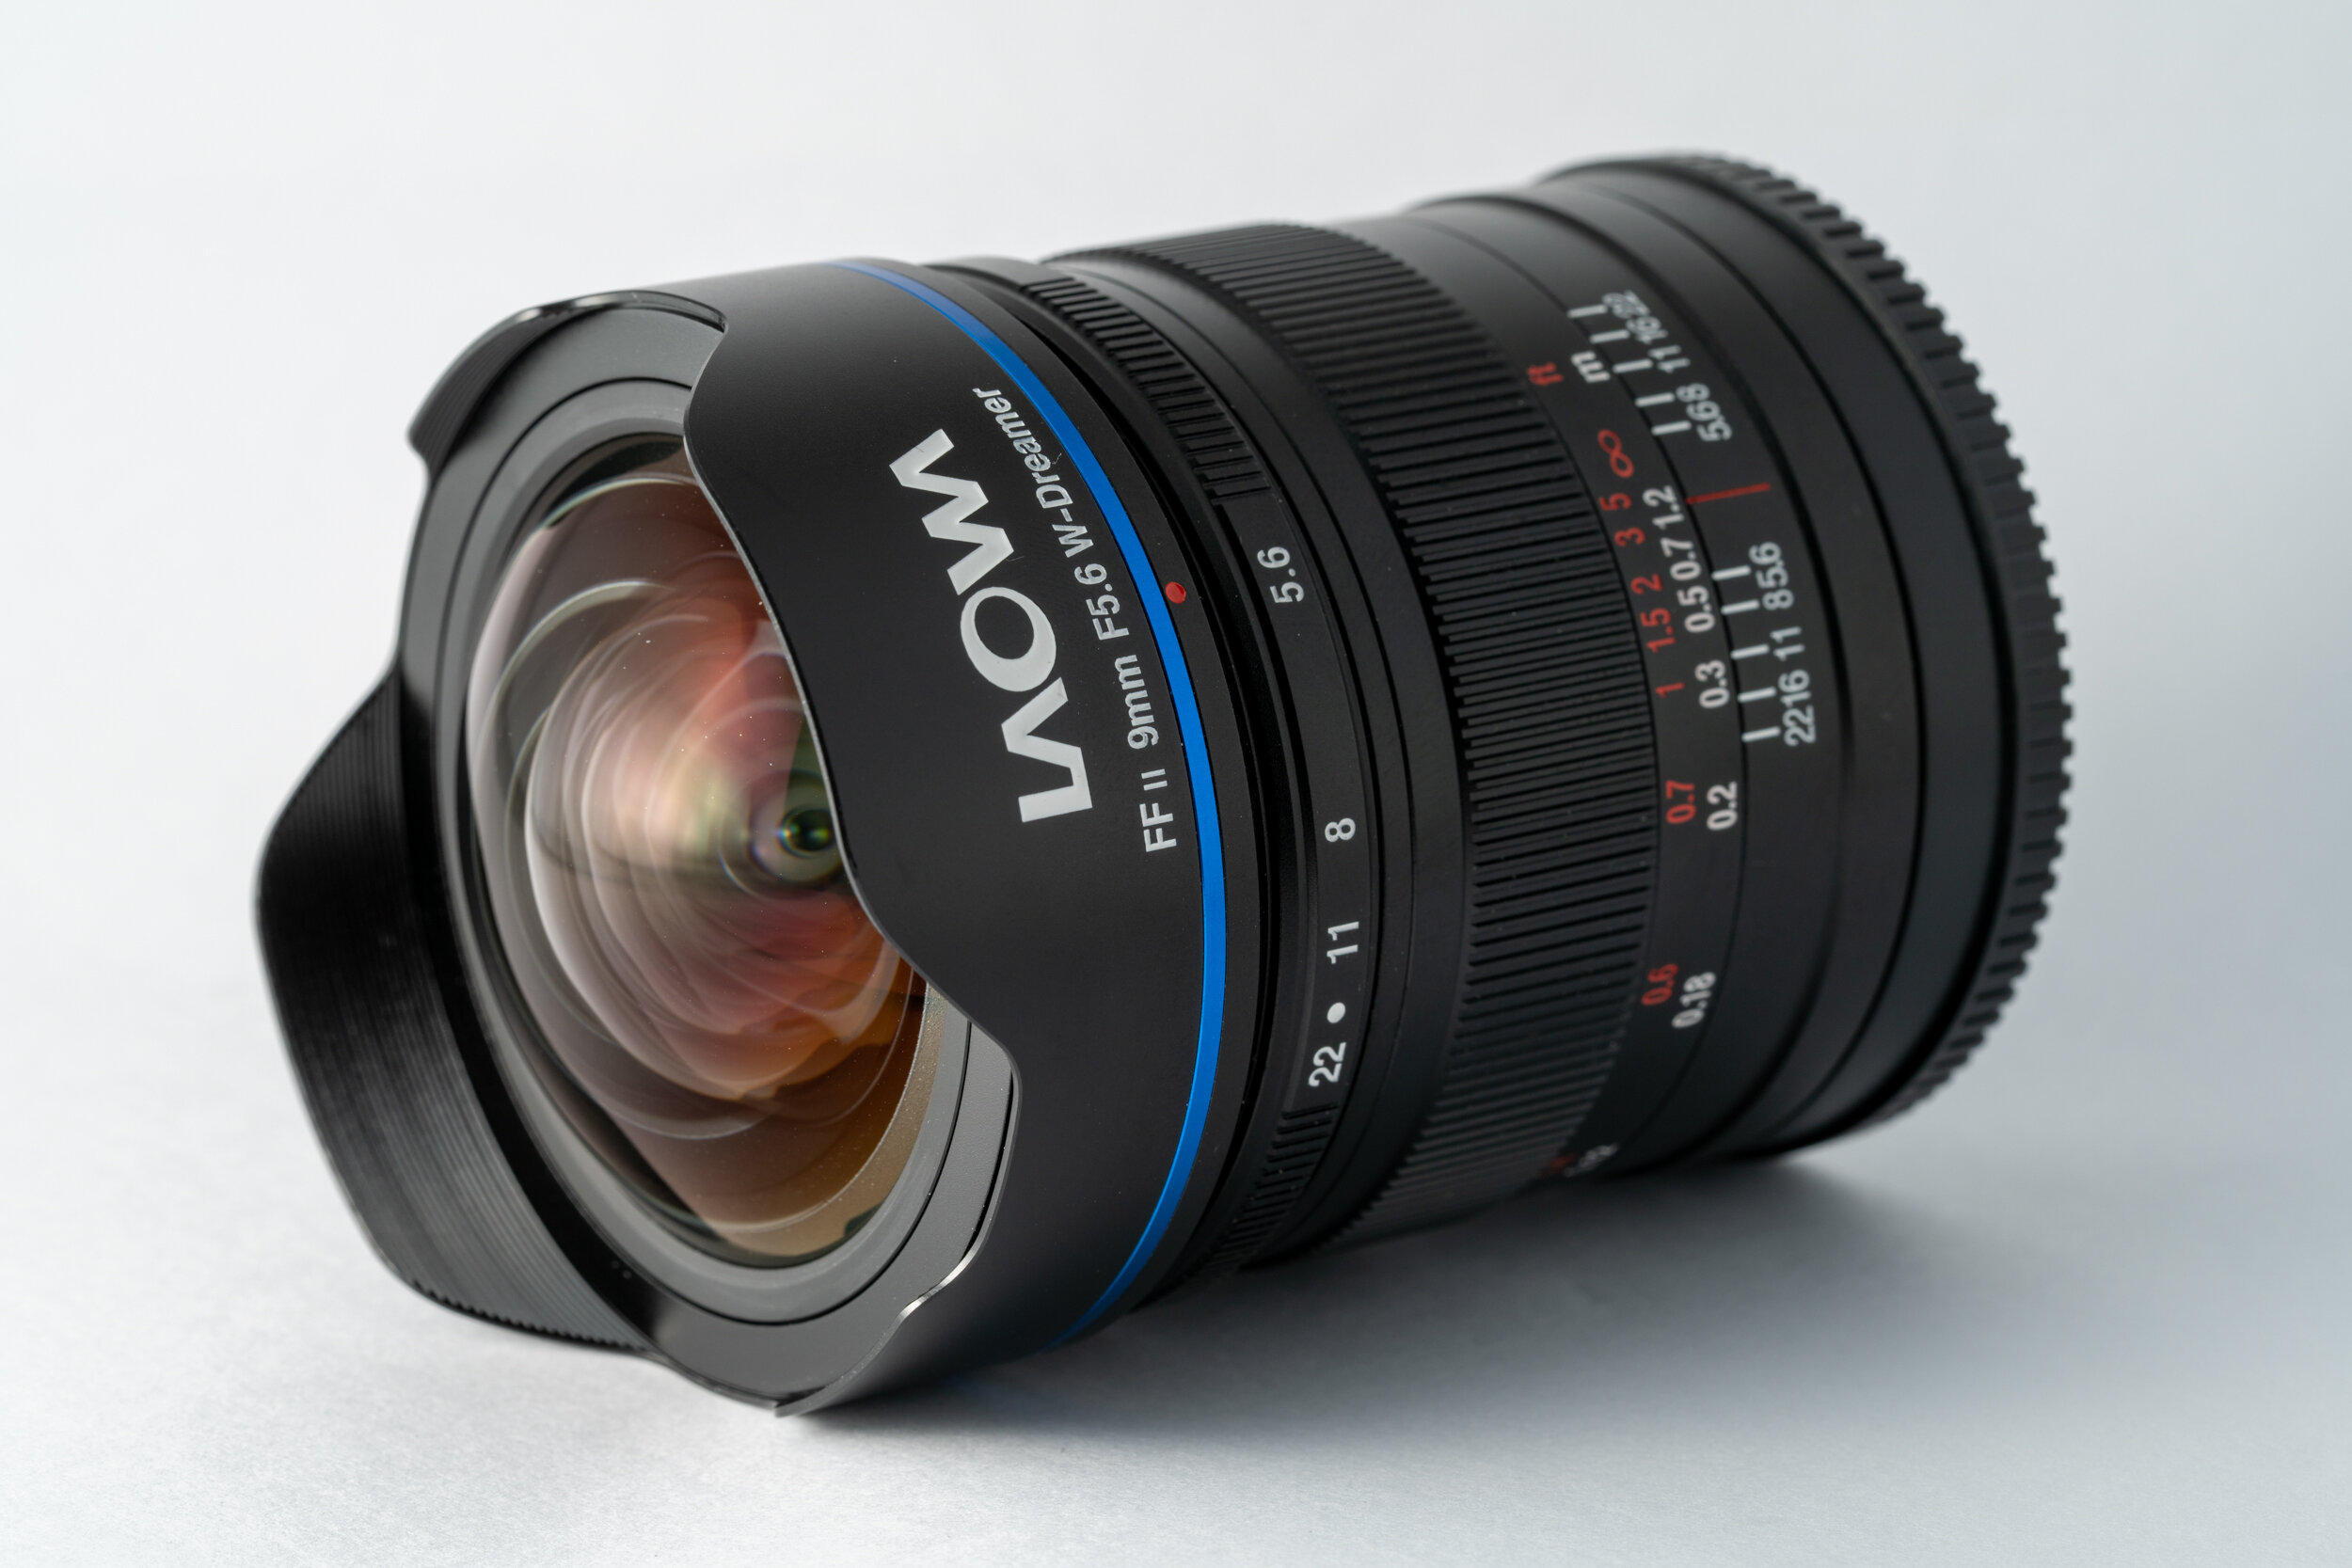
The lens is pretty small in size, only 66 x 62.4mm and 350g, and comes in 4 different mounts (Leica M/L, Nikon Z, Sony E). It is a fully manual lens and is not chipped for communication with the camera body.
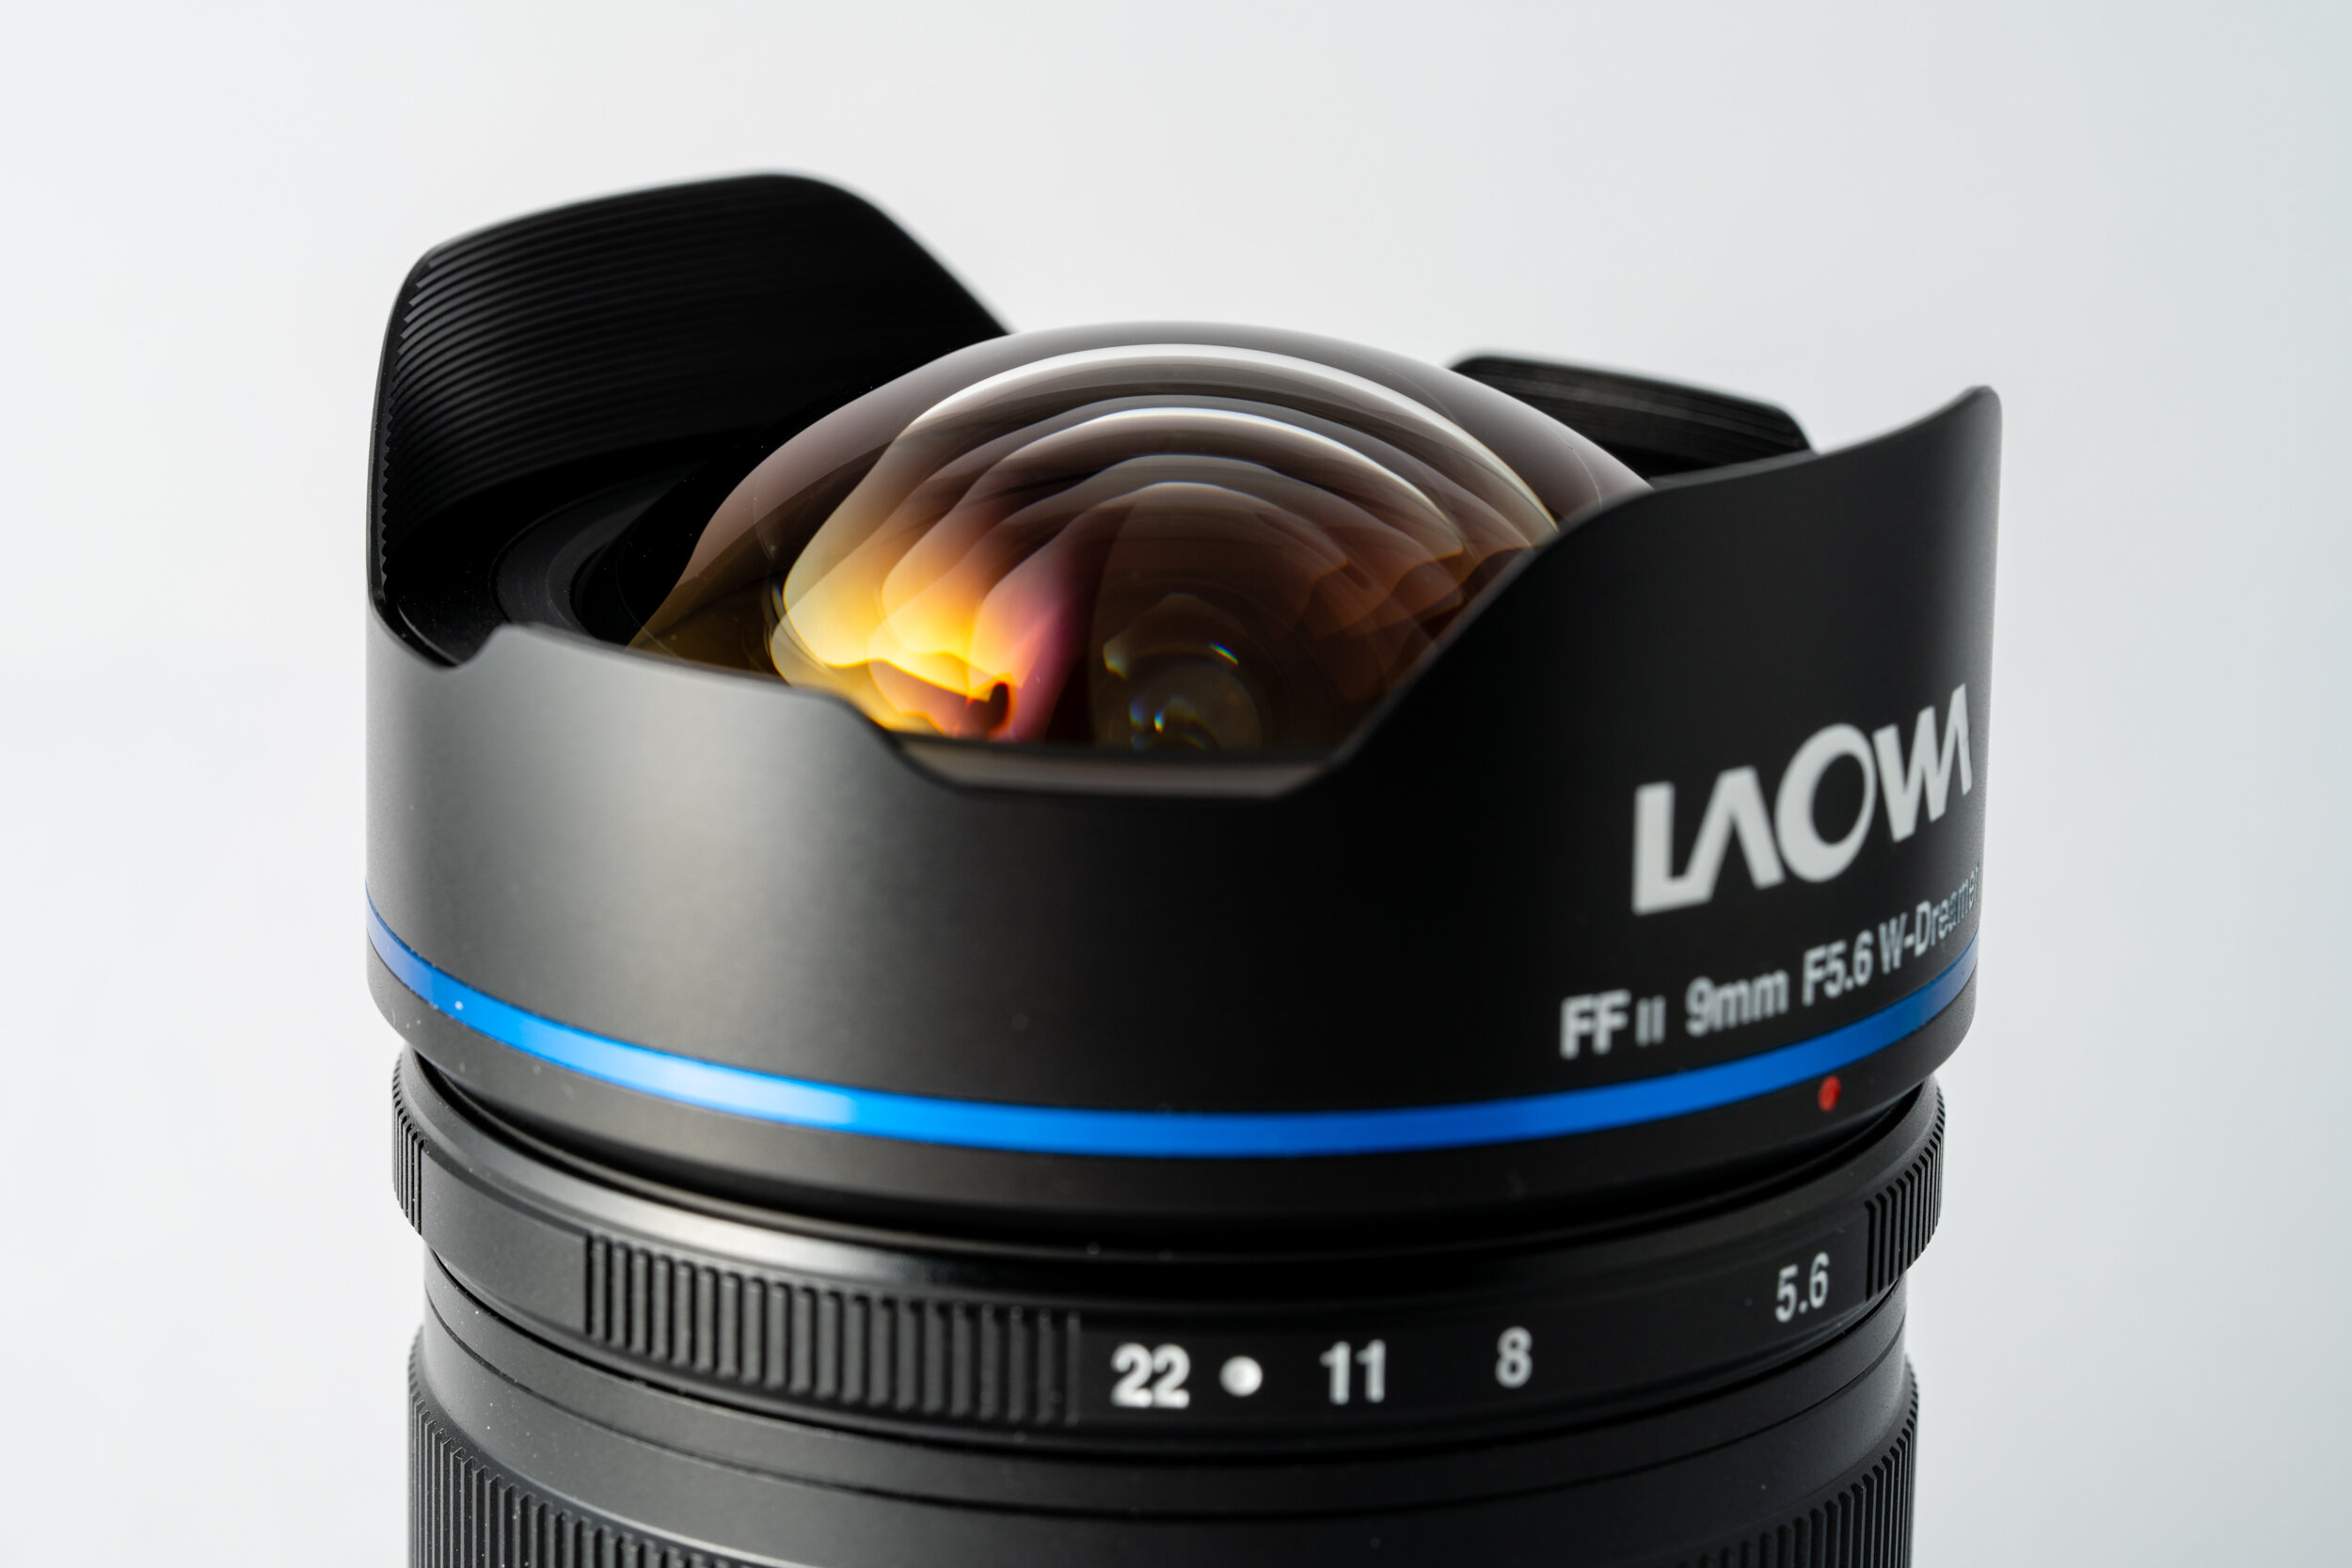
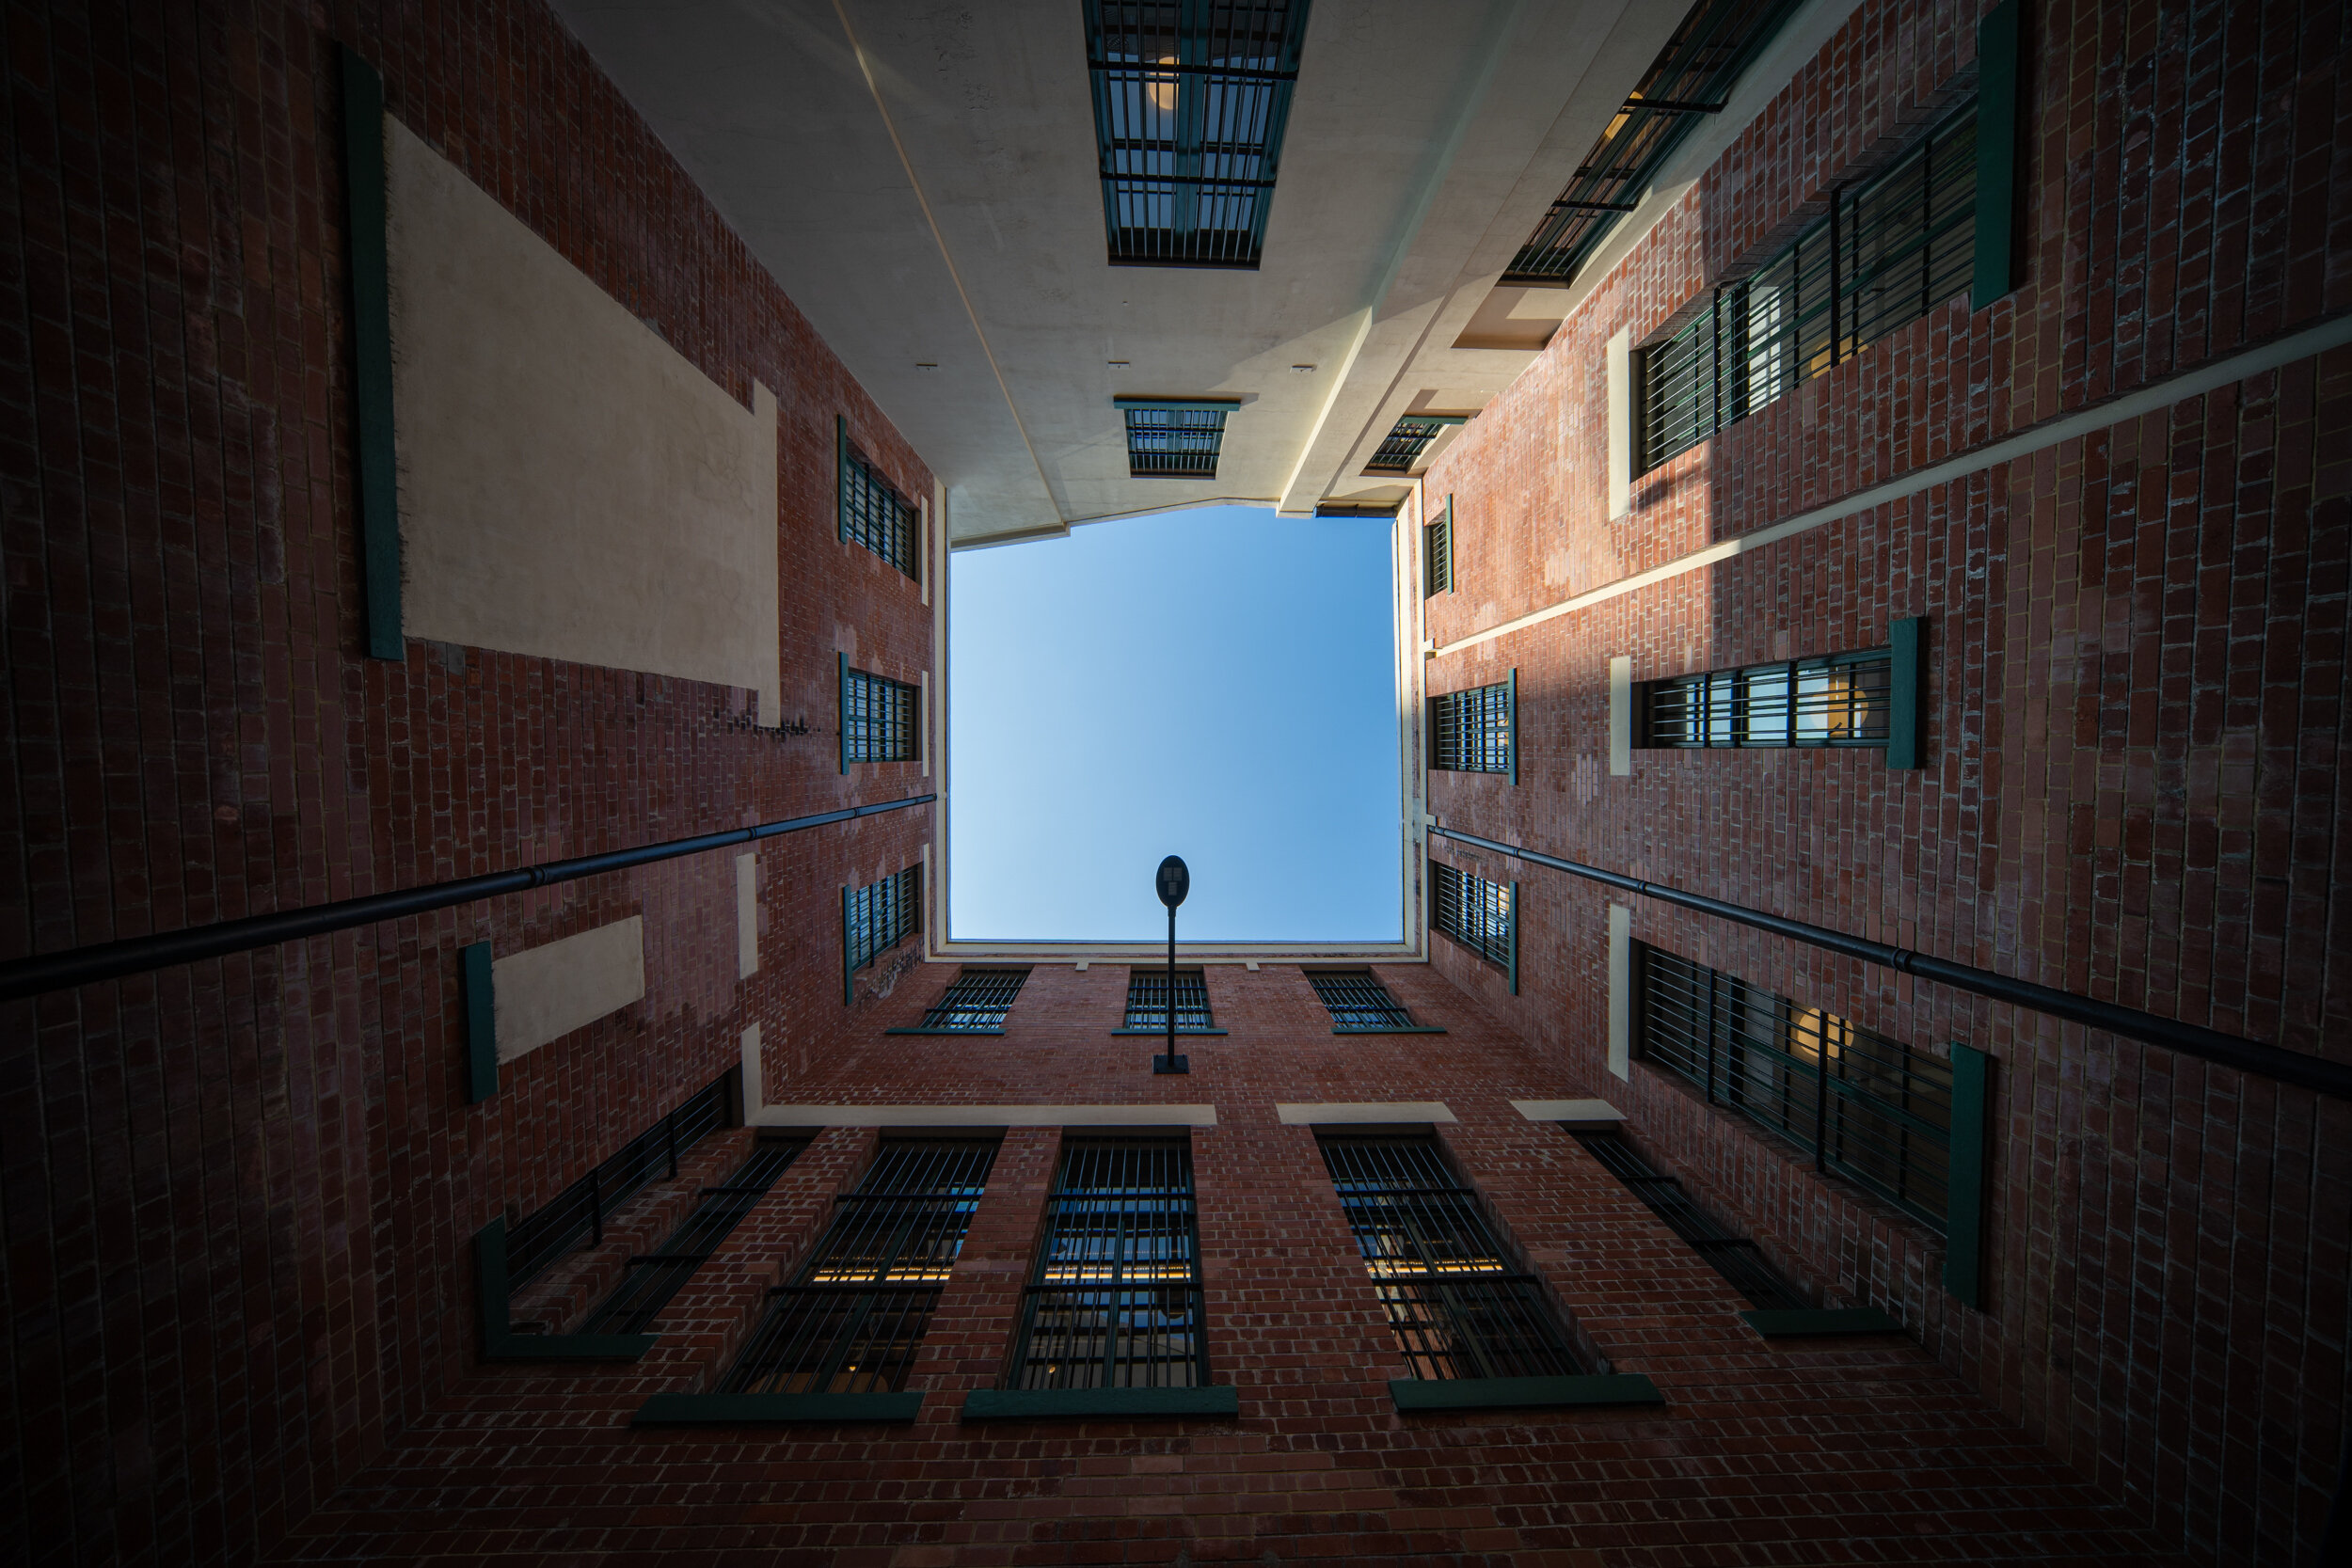
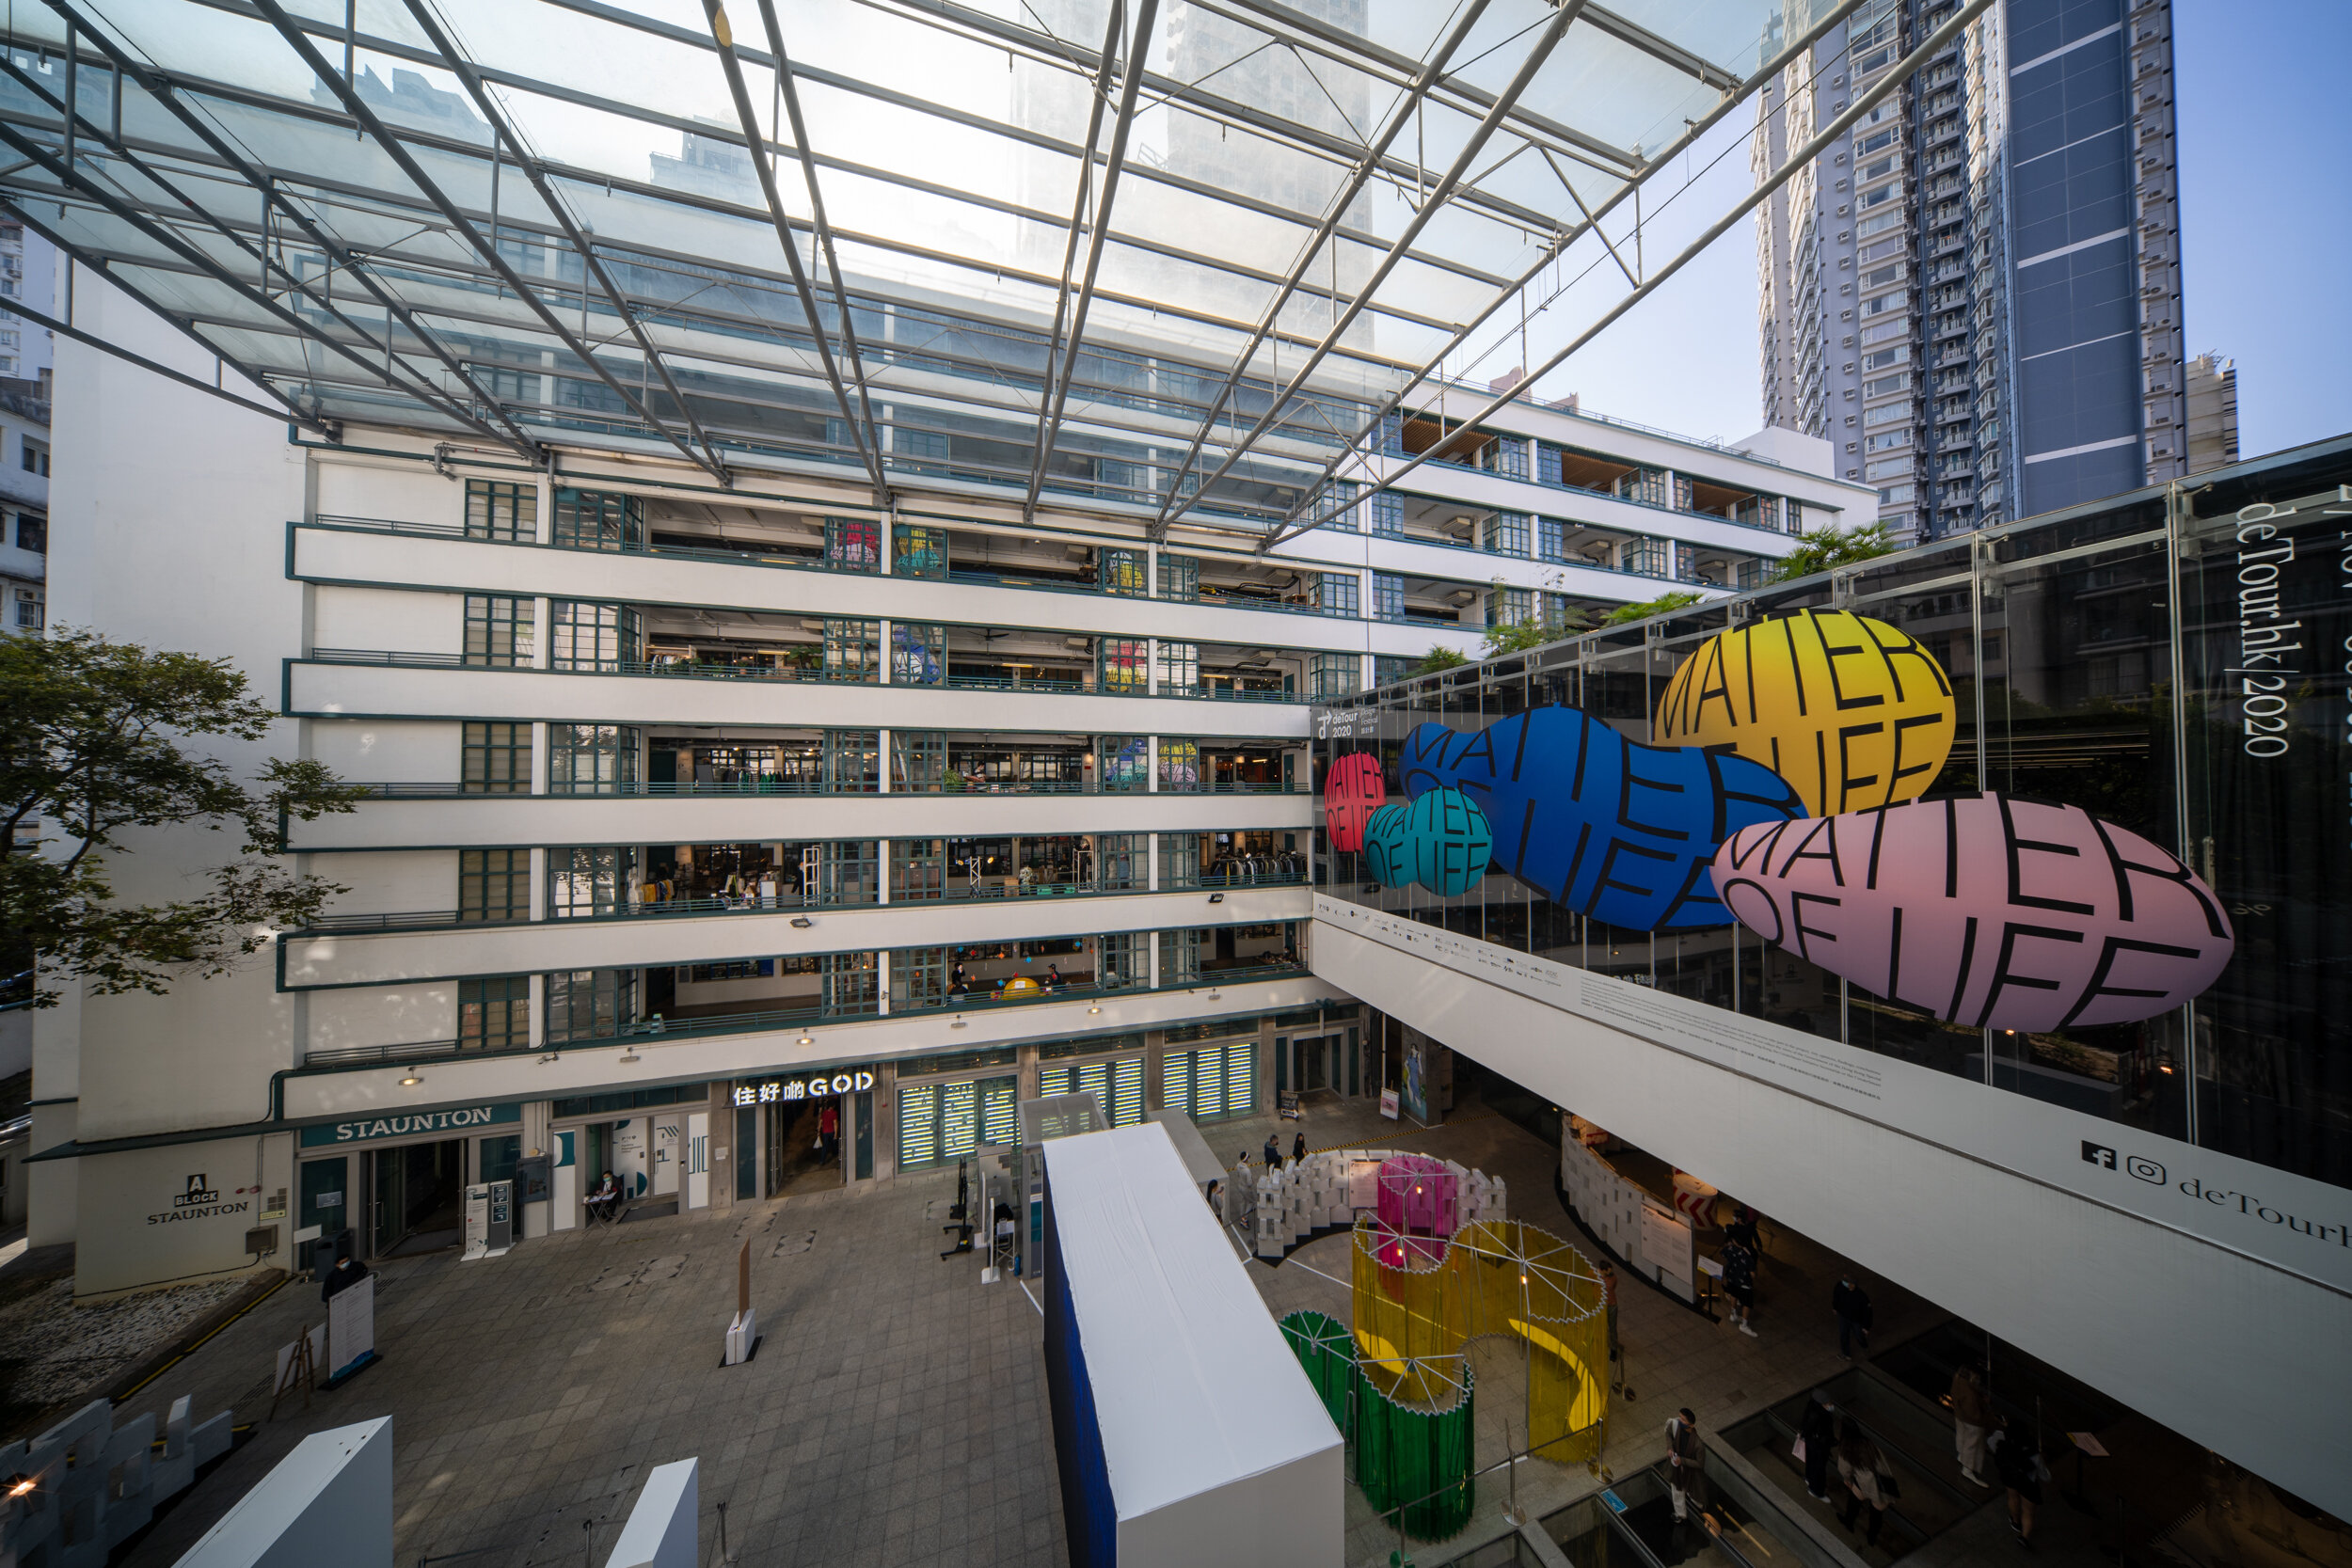
The front element are almost like a glass ball. This is a very unique 9mm full frame lens and is the widest rectilinear full frame lens on the market, offering 135 deg diagonal angle of view. For reference, 12mm on a 12-24 gives 122 deg, and 16mm on a typical 16-35 gives 107 deg. There is no reason to get this lens for APS-C body, Laowa also makes a 9mm F/2.8 for APS-C and MFT mounts.
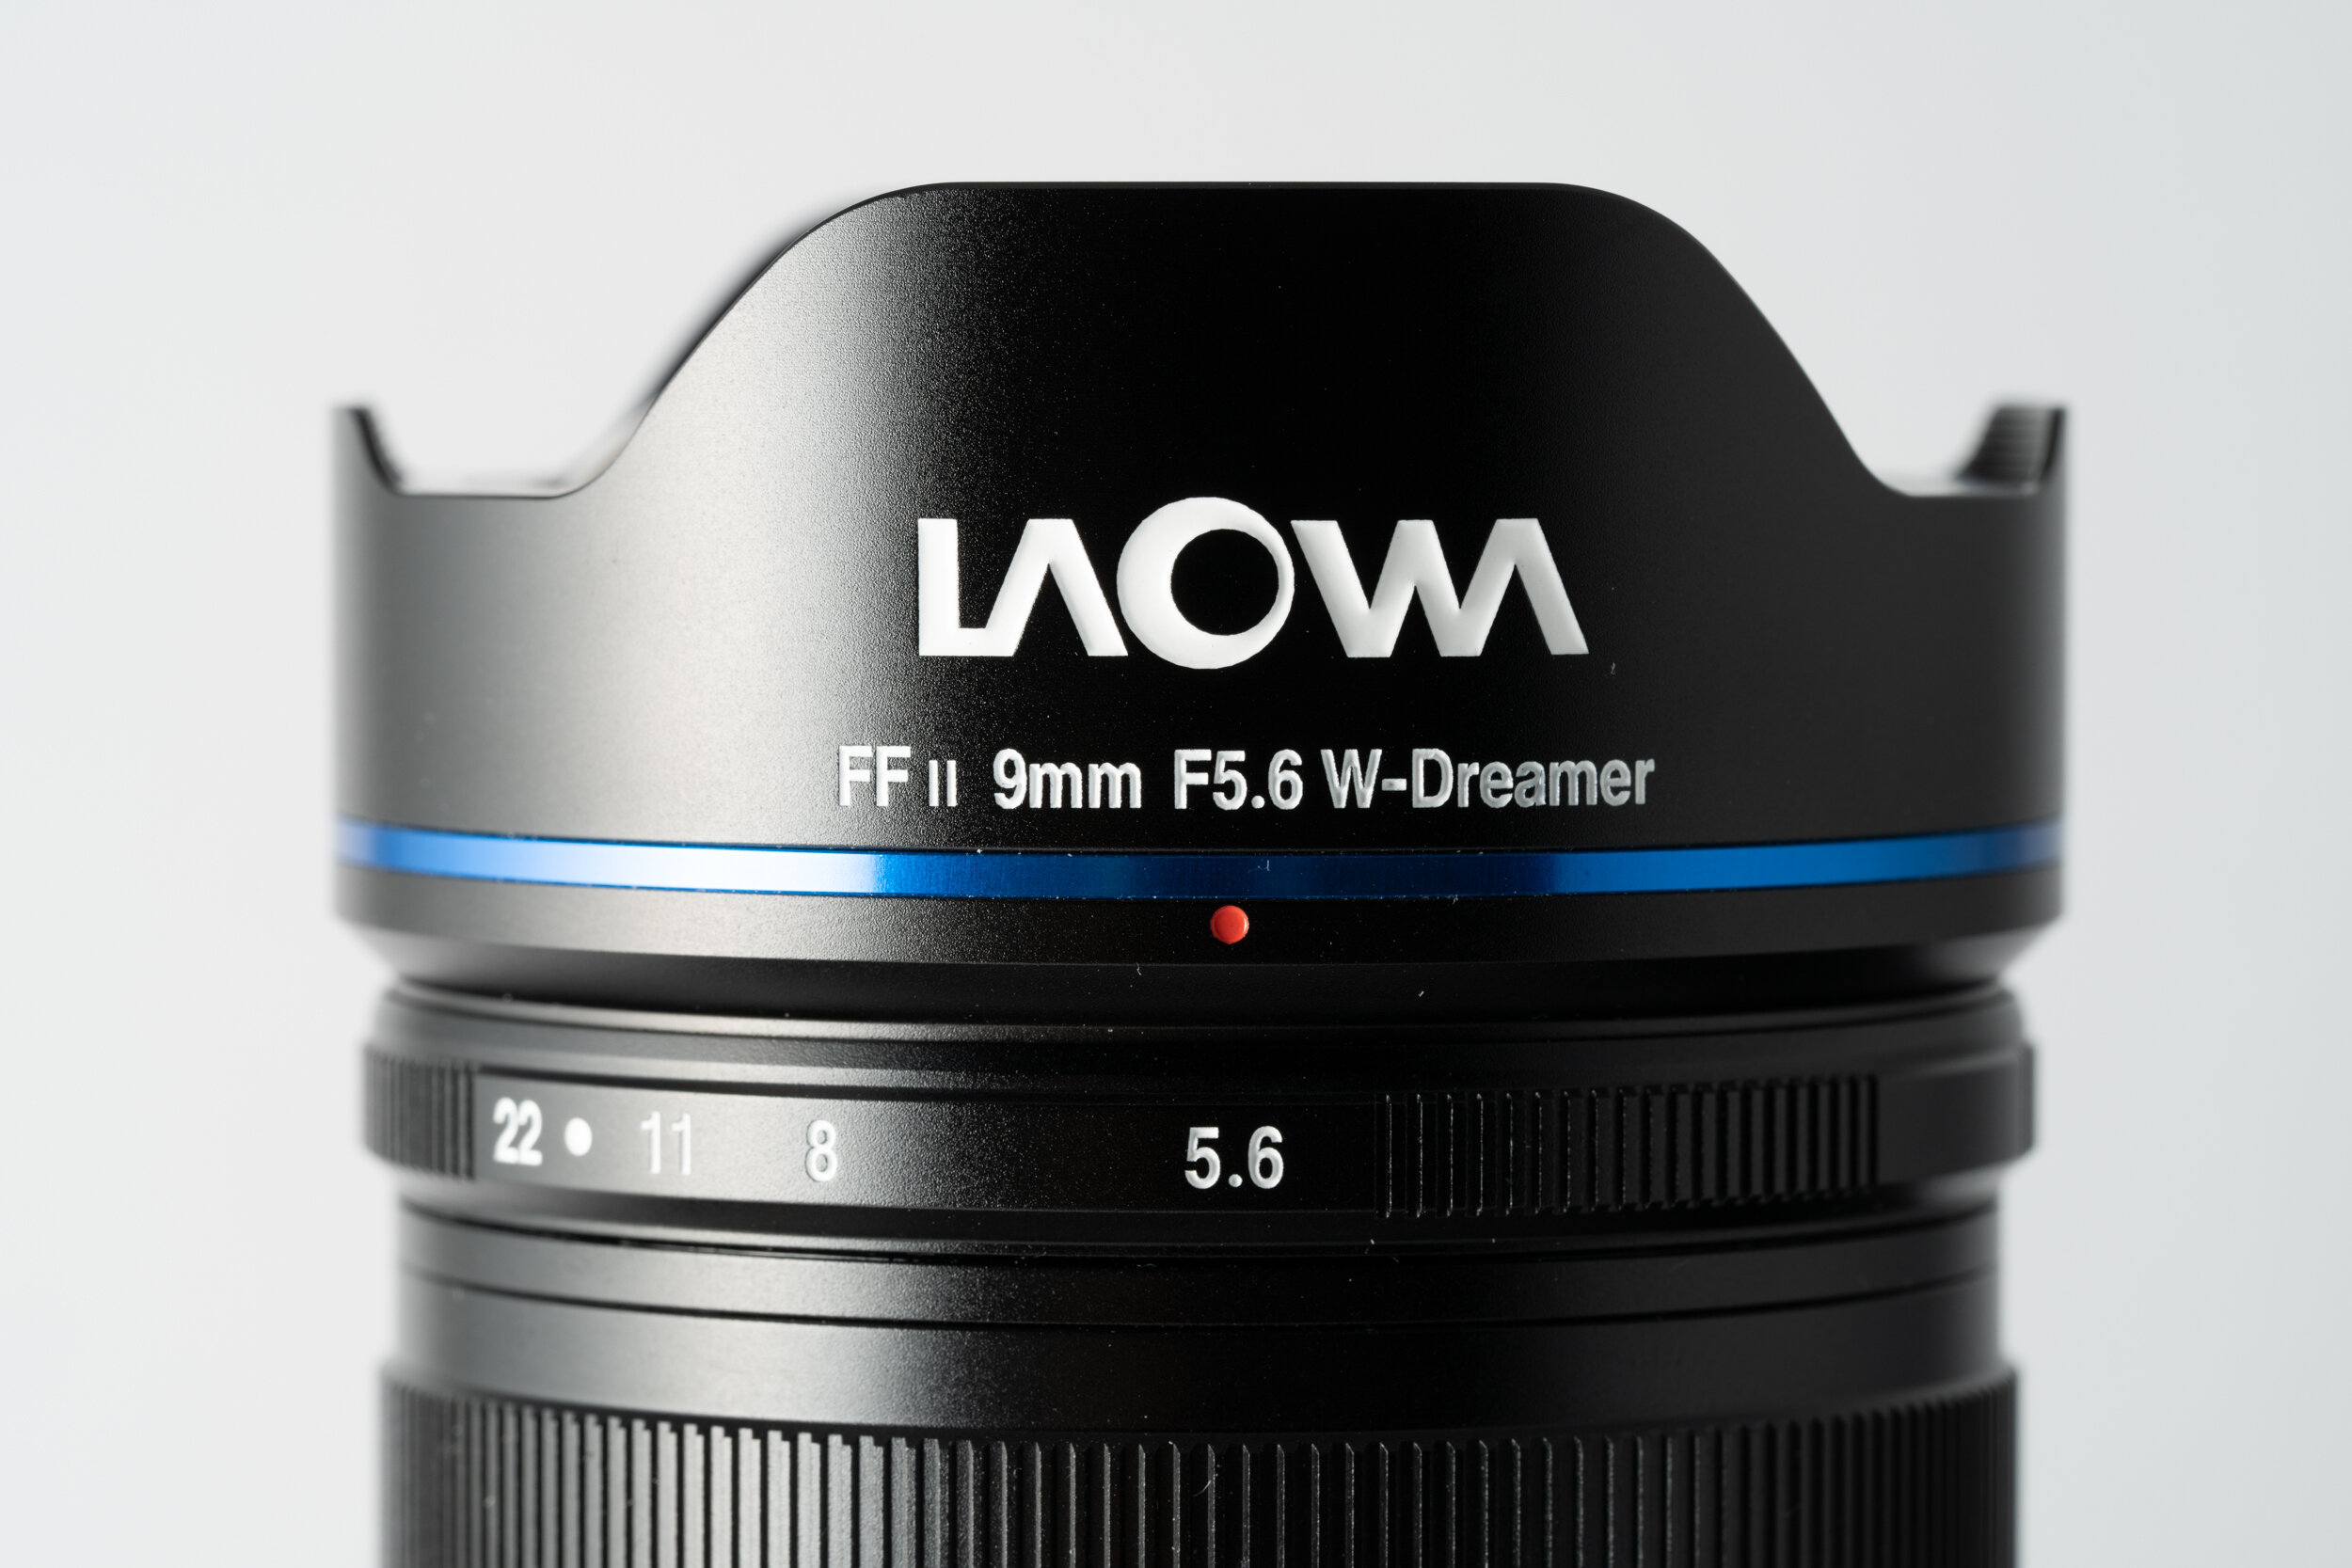
The lens body is metal with a fixed metal lens hood. There is no way to screw in a normal filter at the front. There is an aperture ring at the front and a focusing ring at the rear with good resistant when turning them. The aperture ring is clicky at each full stop without any option to de-click for video shooter.
There is no dust and weather sealing on this lens. There is also no white marker on the side of the barrel like other Sony E-mount lens to line up with the body. A bit more attention to detail than just switching the mount would be great.
There is a focus scale on the side. There is not much need to focus on this lens, since the depth of field is so deep with such a wide angle that I usually just set it to 1.2m.
The non-Leica M mount versions also have this focusing tab to help move the focus ring, which I don’t find really helpful or even needed on this lens.
Image Quality
This lens aperture starts from f/5.6 to f/22. Below is a comparison on different aperture with the A7RIV. The camera in program modes consistently under exposed, I had to bump up the exposure by 0.66 stops. Since there is no metadata, the shot at 1/125 is f/5.6, 1/100 is f/8, 1/50 is f/11. There is not much additional light being gathered from f/5.6 compared to f/8, just gathering around 1/3 stops more. For sharpness, the center is ok and the corner is soft. I don’t see any significant improvement stepping down. Please look at the sample photos (you can click on the pic to see a larger view) and draw your own conclusion.
Noticable vignetting across the range, about 2 to 3 stops around the corner.
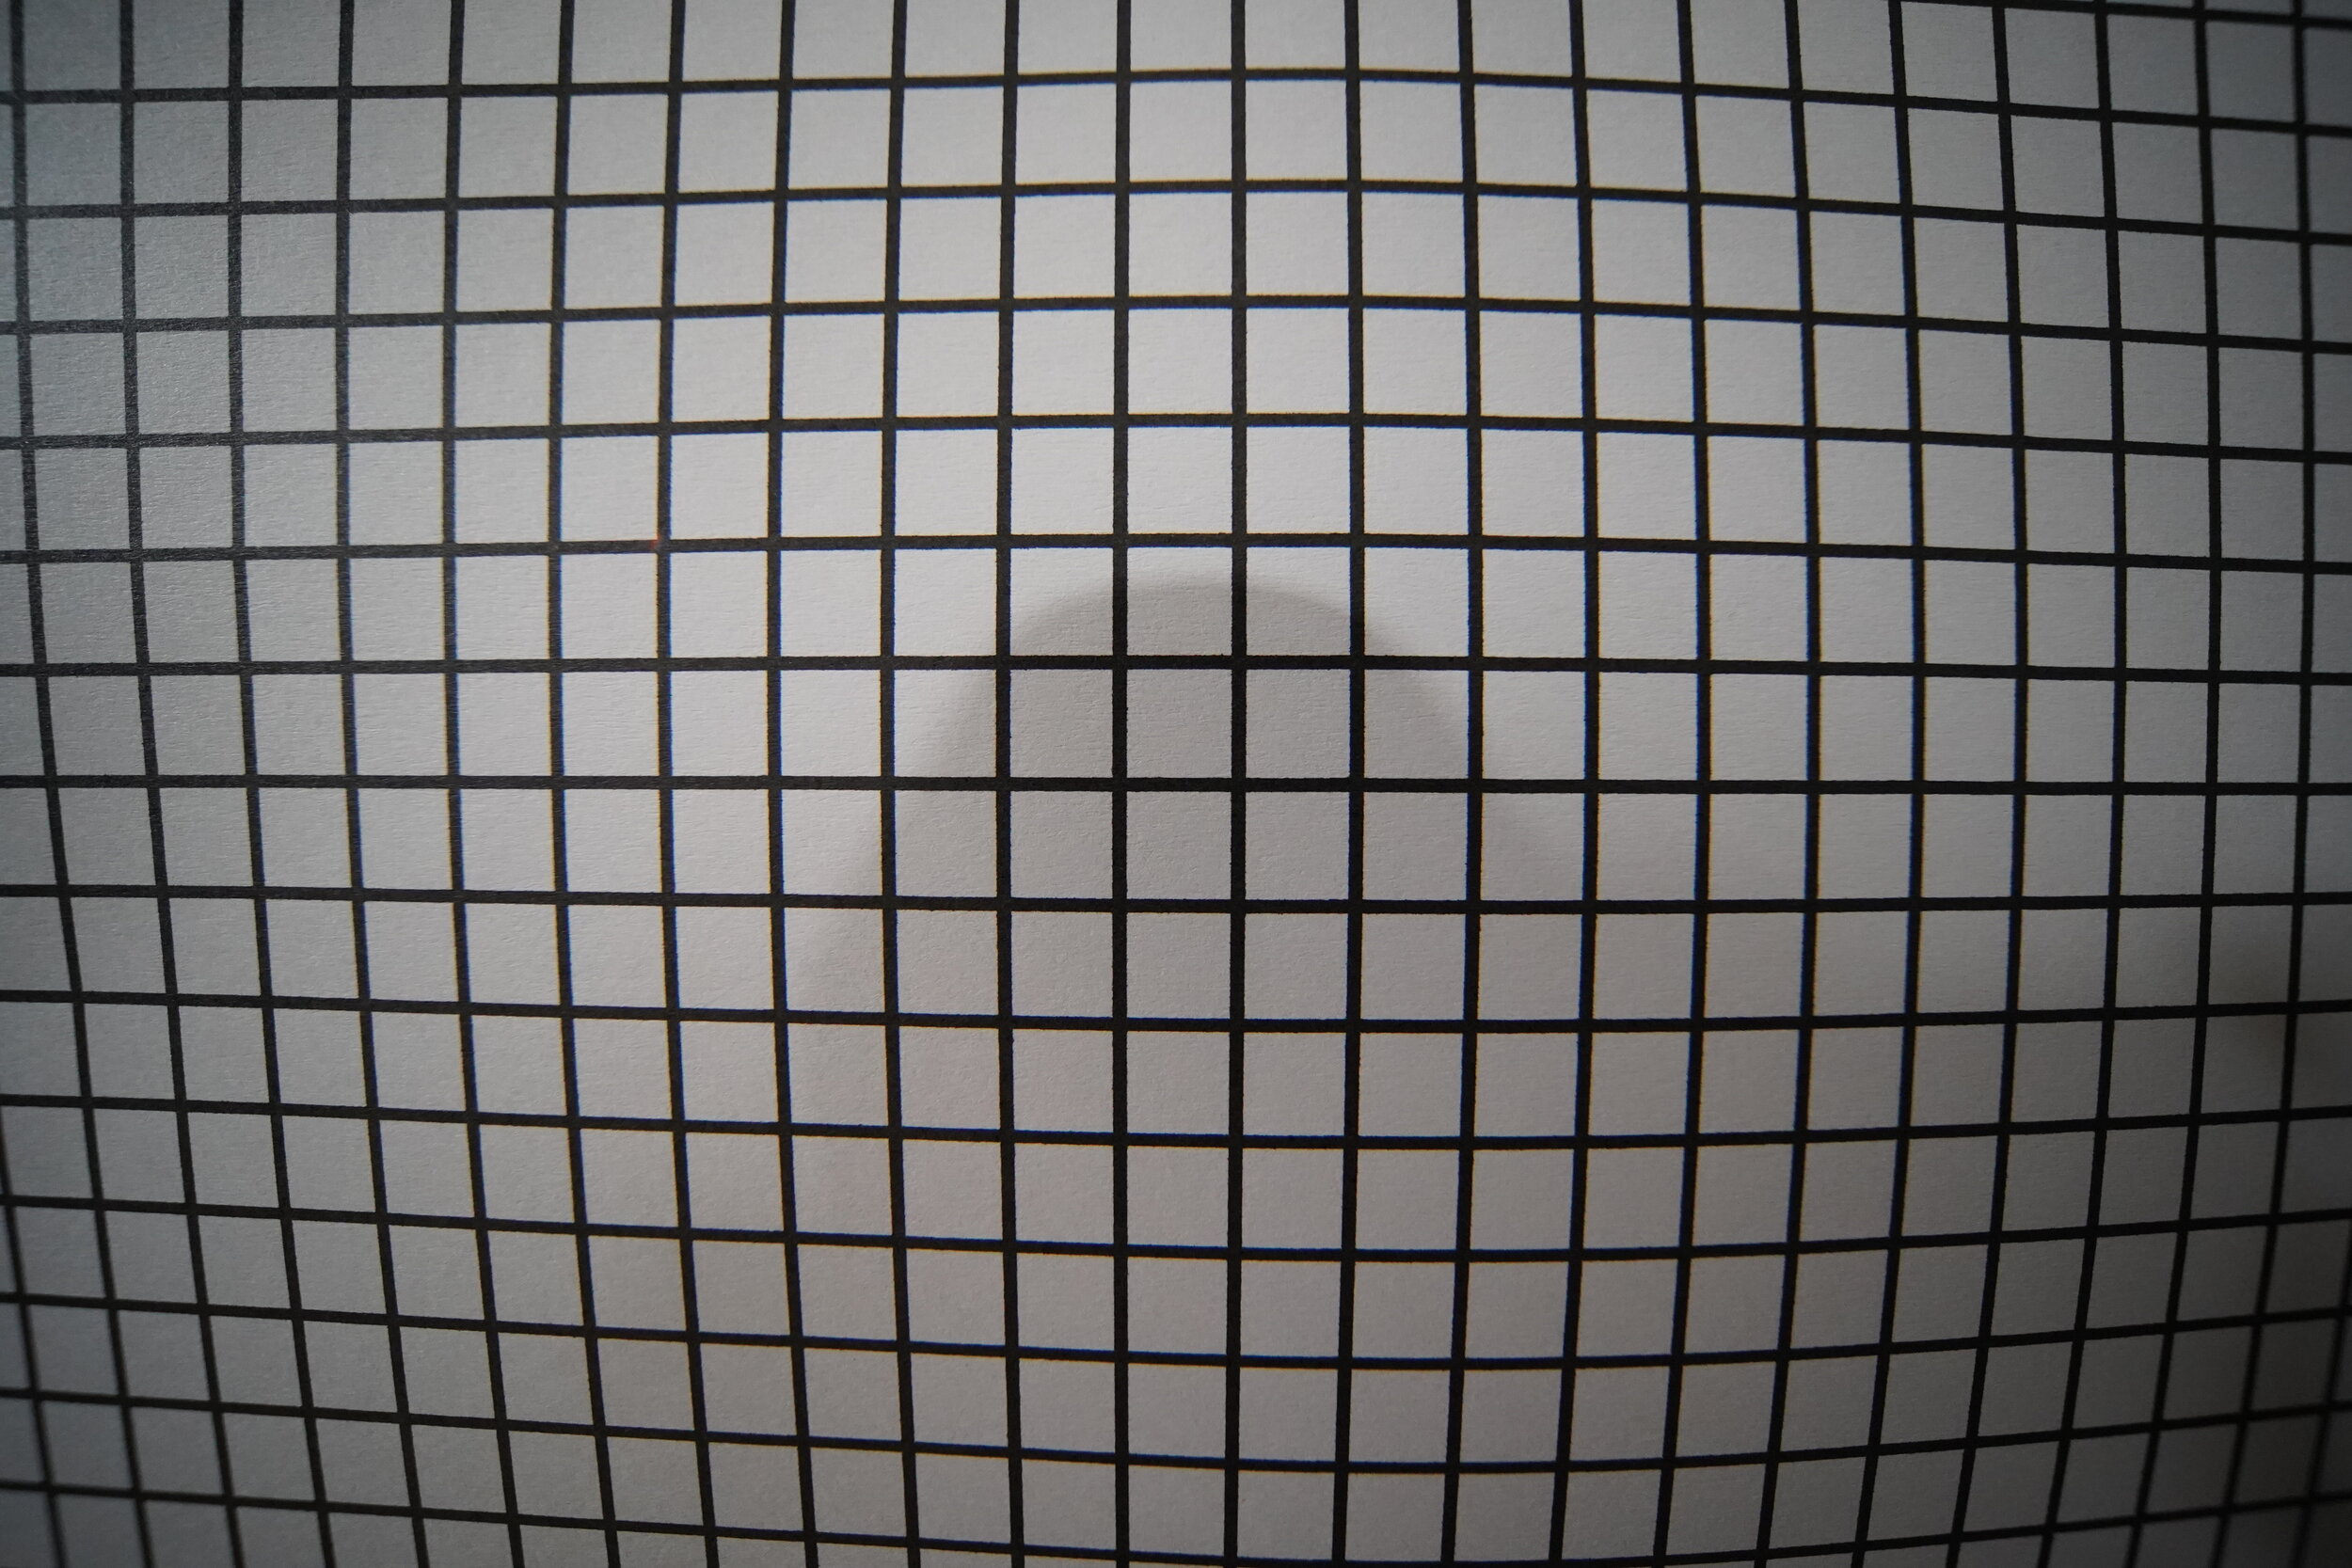
Barrel Distortion. Not a great sample, but it was hard to fill the frame with such a wide lens.
Shooting Experience
The lens is really fun to shoot with, and it always amazes me how wide the view is. There are a lot of “impossible” shots that can be made with the lens, and even normal objects are fun to shoot again with this lens and get a fresh perspective. Manual focus is not a problem with such a wide angle lens, I just focus at 1.2m most of the time and it is fine.
However, tilting the camera slightly up or down would dramatically affect the image. There are times where the image looks really normal, but also times where the image is really weird. Another things to watch out for is what object is at the edge/corner of the frame. Similar to other wide angle lens, definitely need to make sure nothing is cut off/included by accident, or stretched too much.
Camera level, things look normal.
Camera tilted down, building are distorted.
Camera tilted up, buildings are distorted.
Since the view is so wide, the sun tends to get into the shot. Luckily, the lens produces a sharp 10 points sun star easily. Just have to watch out for flare in the image.
Conclusion
This Laowa 9mm f/5.6 FF RL lens is really unique lens. The lens is not that great technically with the soft corner, vignetting, and distortion. In addition, it is not very practical and is challenging to use. On the other hand, it provides an perspective that no other lens can offer. In landscape, the 9mm FOV stretches the sky and land, pushing the object out to create a dramatic shot. In city and interior, it is able to fill the frame with objects that would not normally fit. The lens pairs well with the A7C with its light weight and small size. I also do not feel like I am missing a lot of detail shooting on a 24mp sensor vs a 61mp with this lens. My complains are the lack of chip to send metadata to the body, and no dust/water resistance.
Overall, this is definitely not the lens to get for first, second, or even third lens in the collection. However, I still recommend to give this lens a try as it is a fun challenge.
Sample Gallery (post processed, mostly from A7C)
Sony A7C Review
Smallest Full Frame Camera with EVF and IBIS
Sony A7C (ILCE-7C)
Announced - Sept 2020
Pro
Compact and light
Full Frame sensor with IBIS
Selfie Screen
Good Autofocus with Real Time tracking
Con
Limited control points
Small EVF with no eye cup
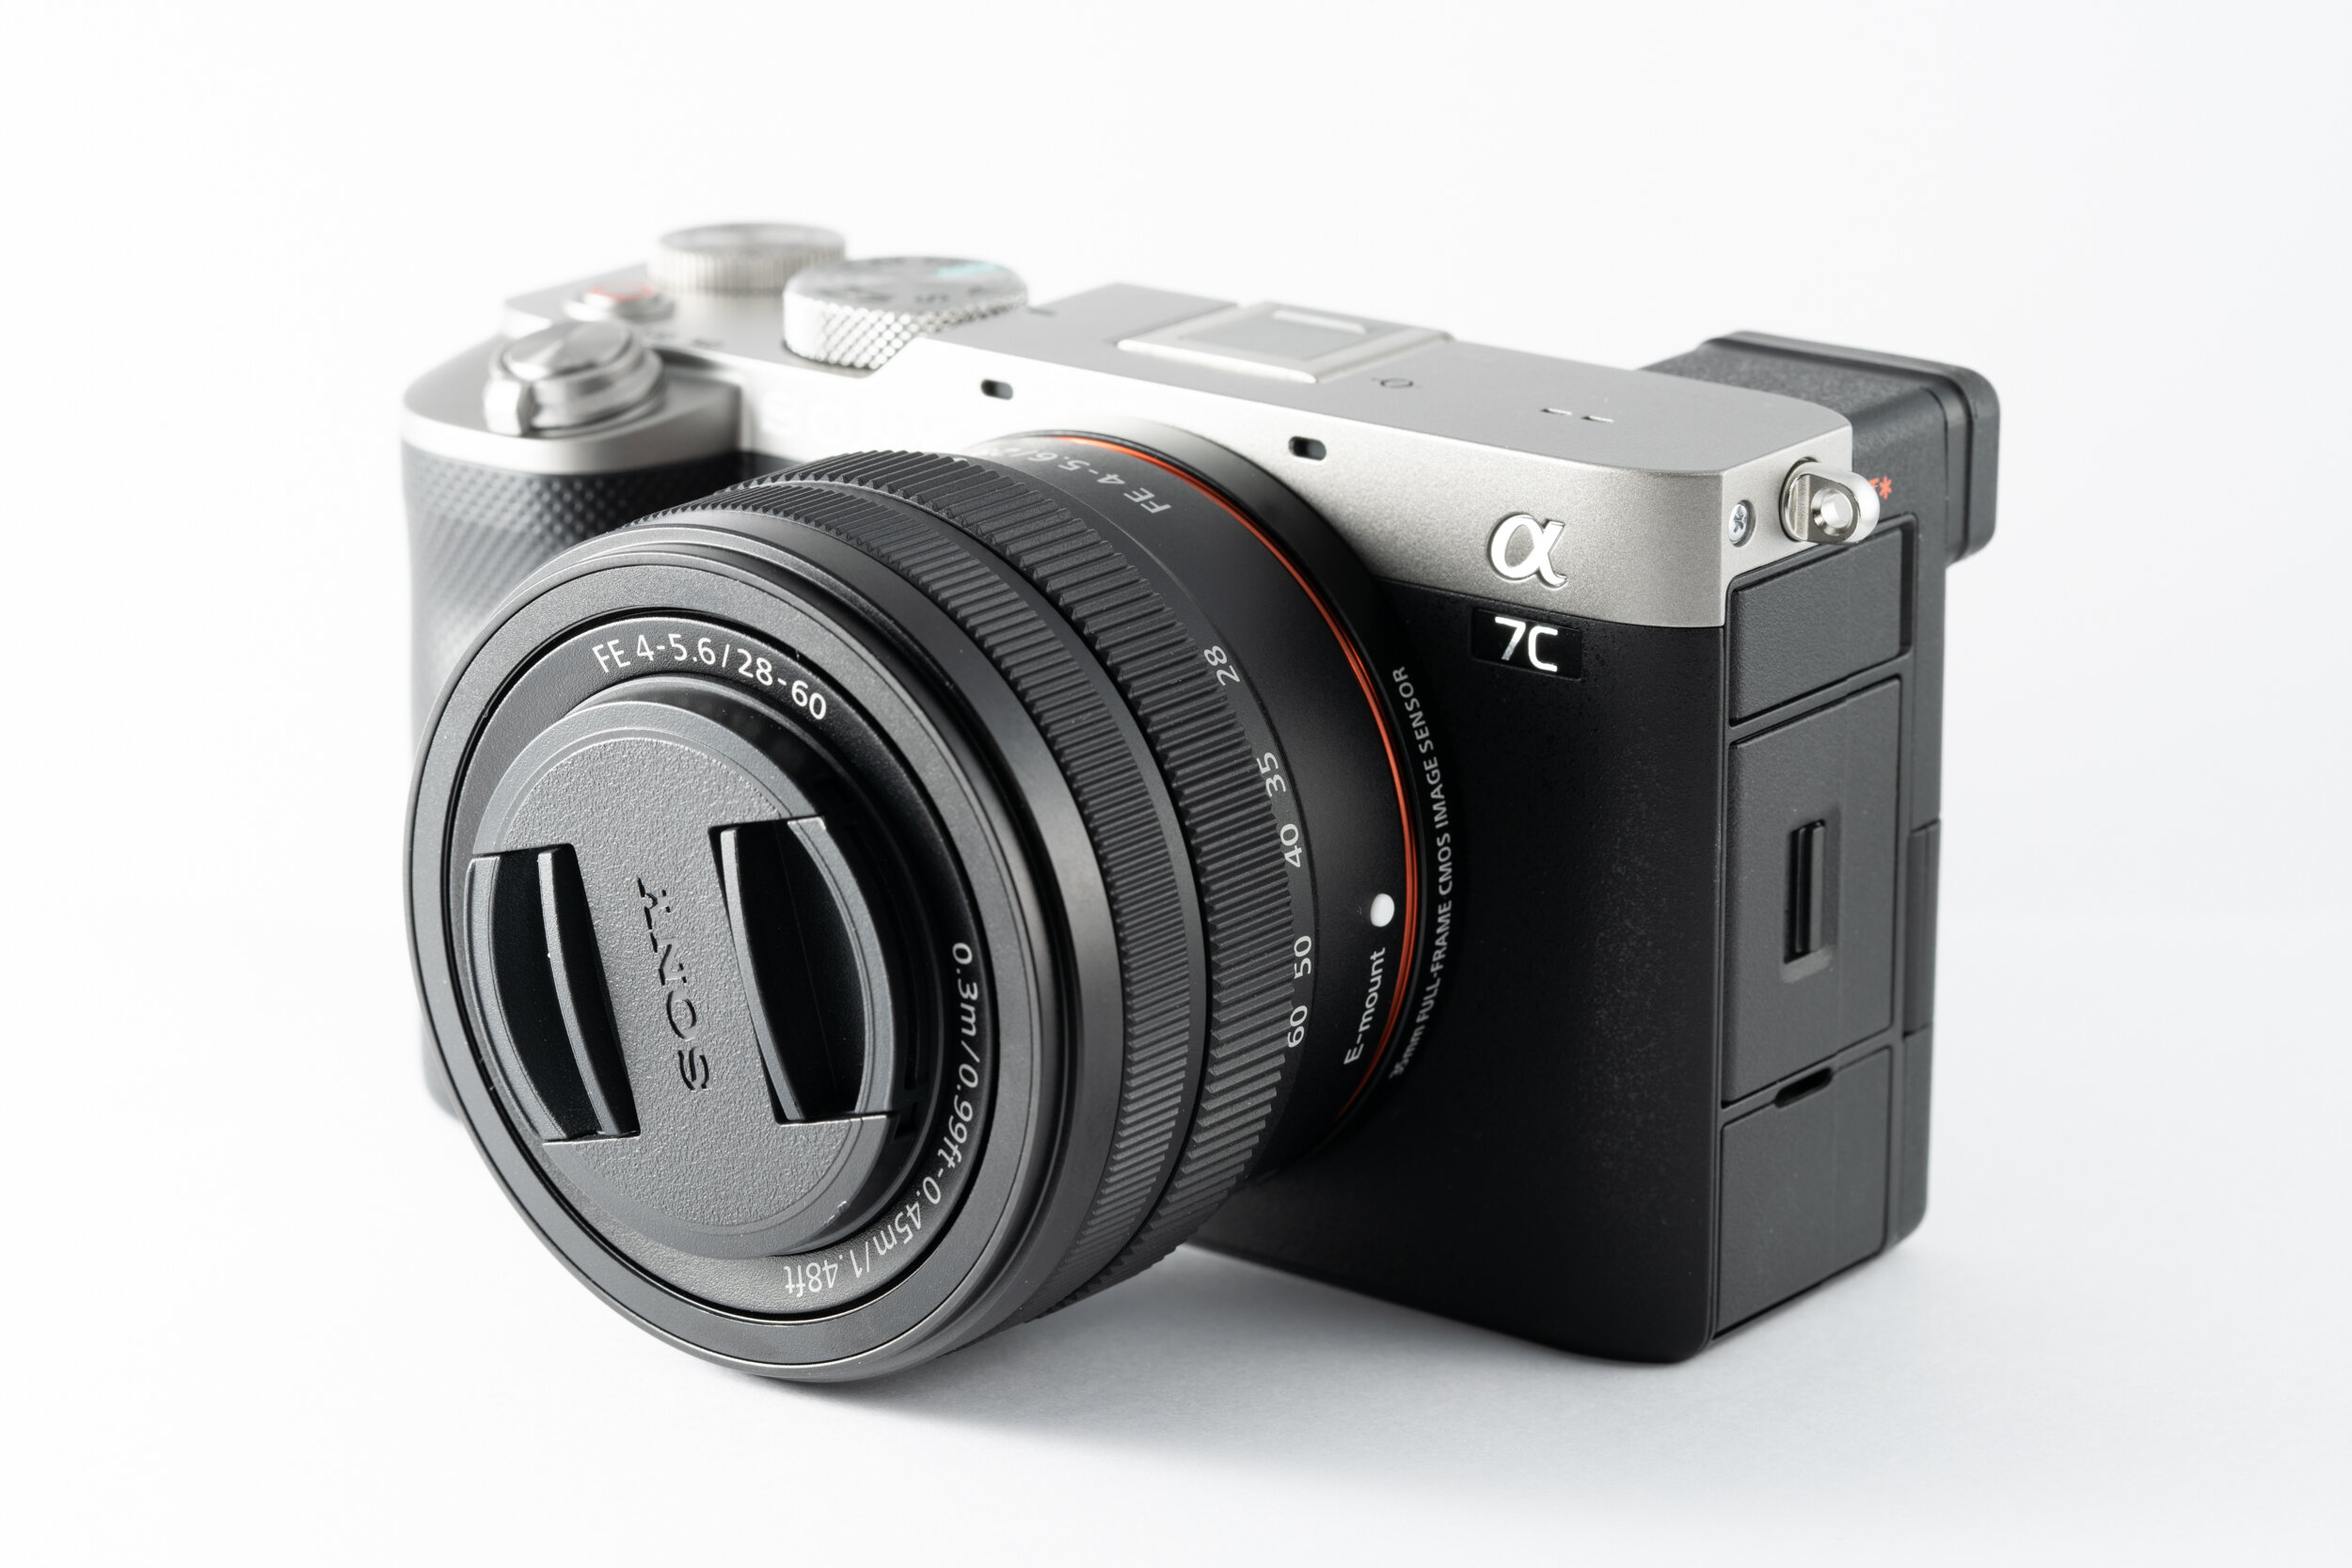
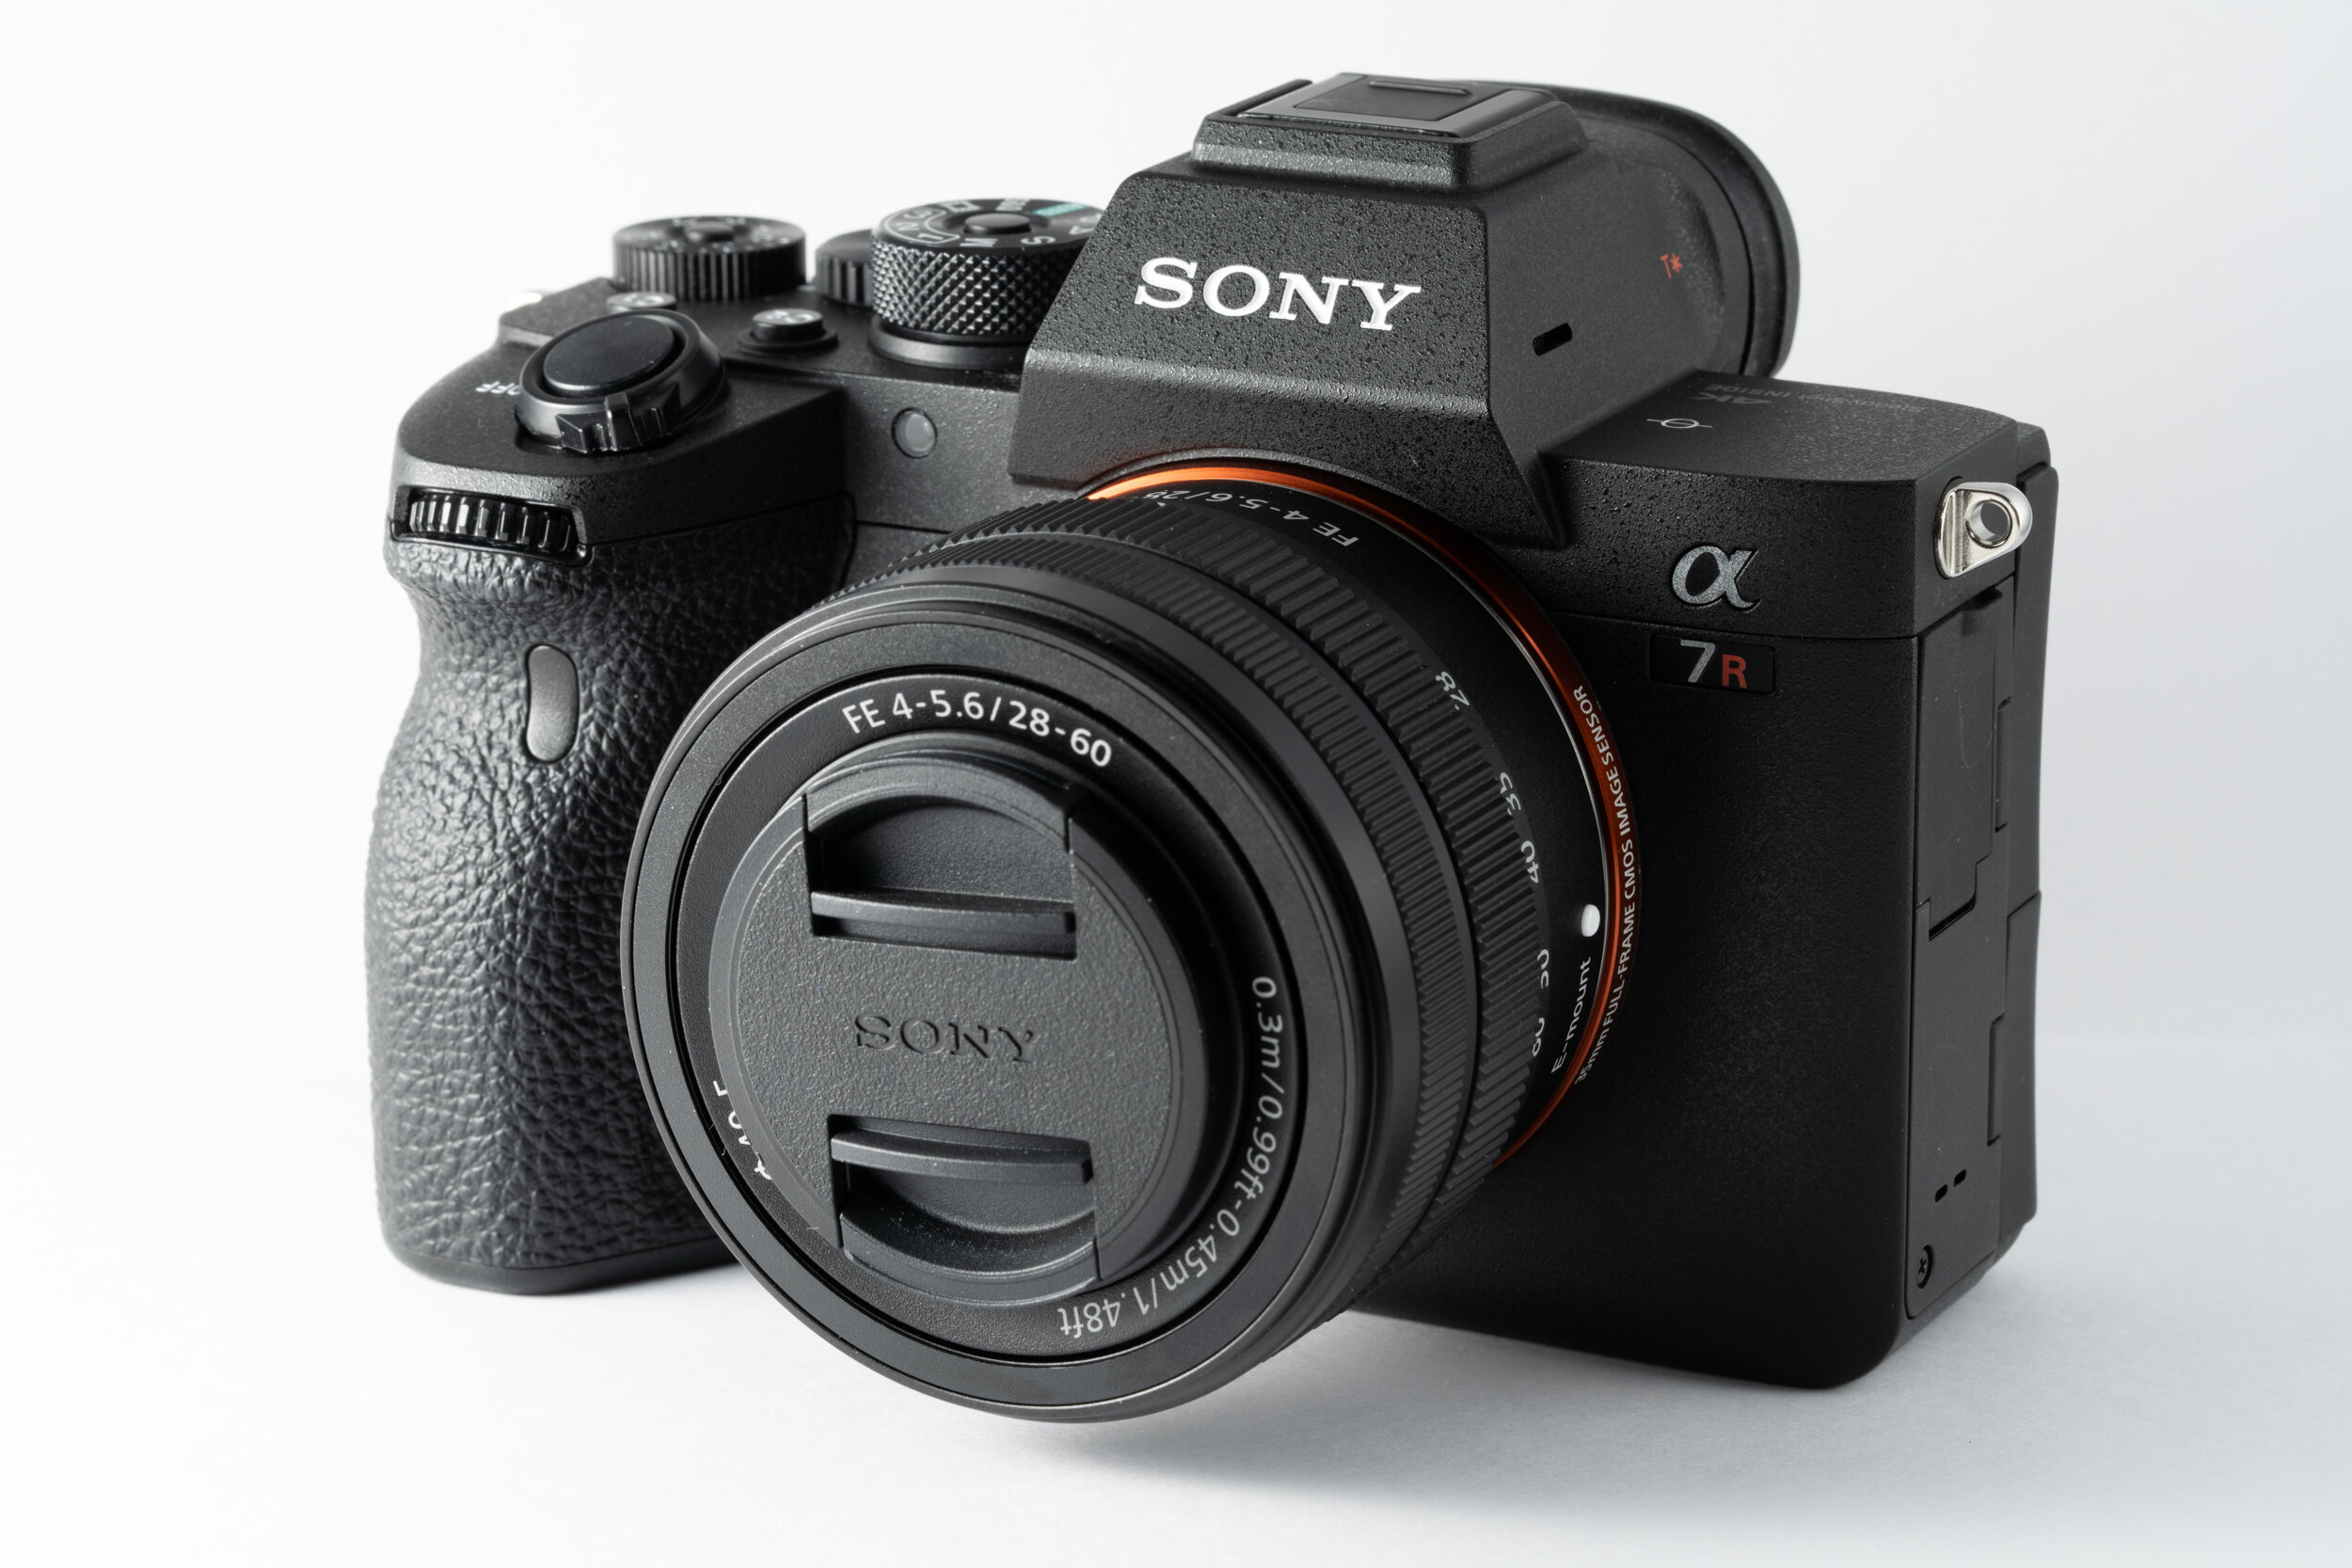
I have pre-ordered the A7C and received it the first day it was released here in Hong Kong. The reason for buying it is that I wanted a small body that is compatible for my existing lens. I ordered the silver body kit with the new SEL2860, which was reviewed here.
What’s in the box
Beside the body and cap, there is manual, battery, charger, power cords (EU, UK, US plugs all included), USB-C cable, and neck strap.
Body
The A7C body is really similar to Sony’s APS-C A6000 series camera. It reminds me of the A6500 that I used to have, but slightly beefed up. A7C is 124mm x 71.1mm x 59.7mm, and only weights 509g. It is the lightest full frame ILC with IBIS available. Surprisingly it is dust and moisture resistance even with this compact size.
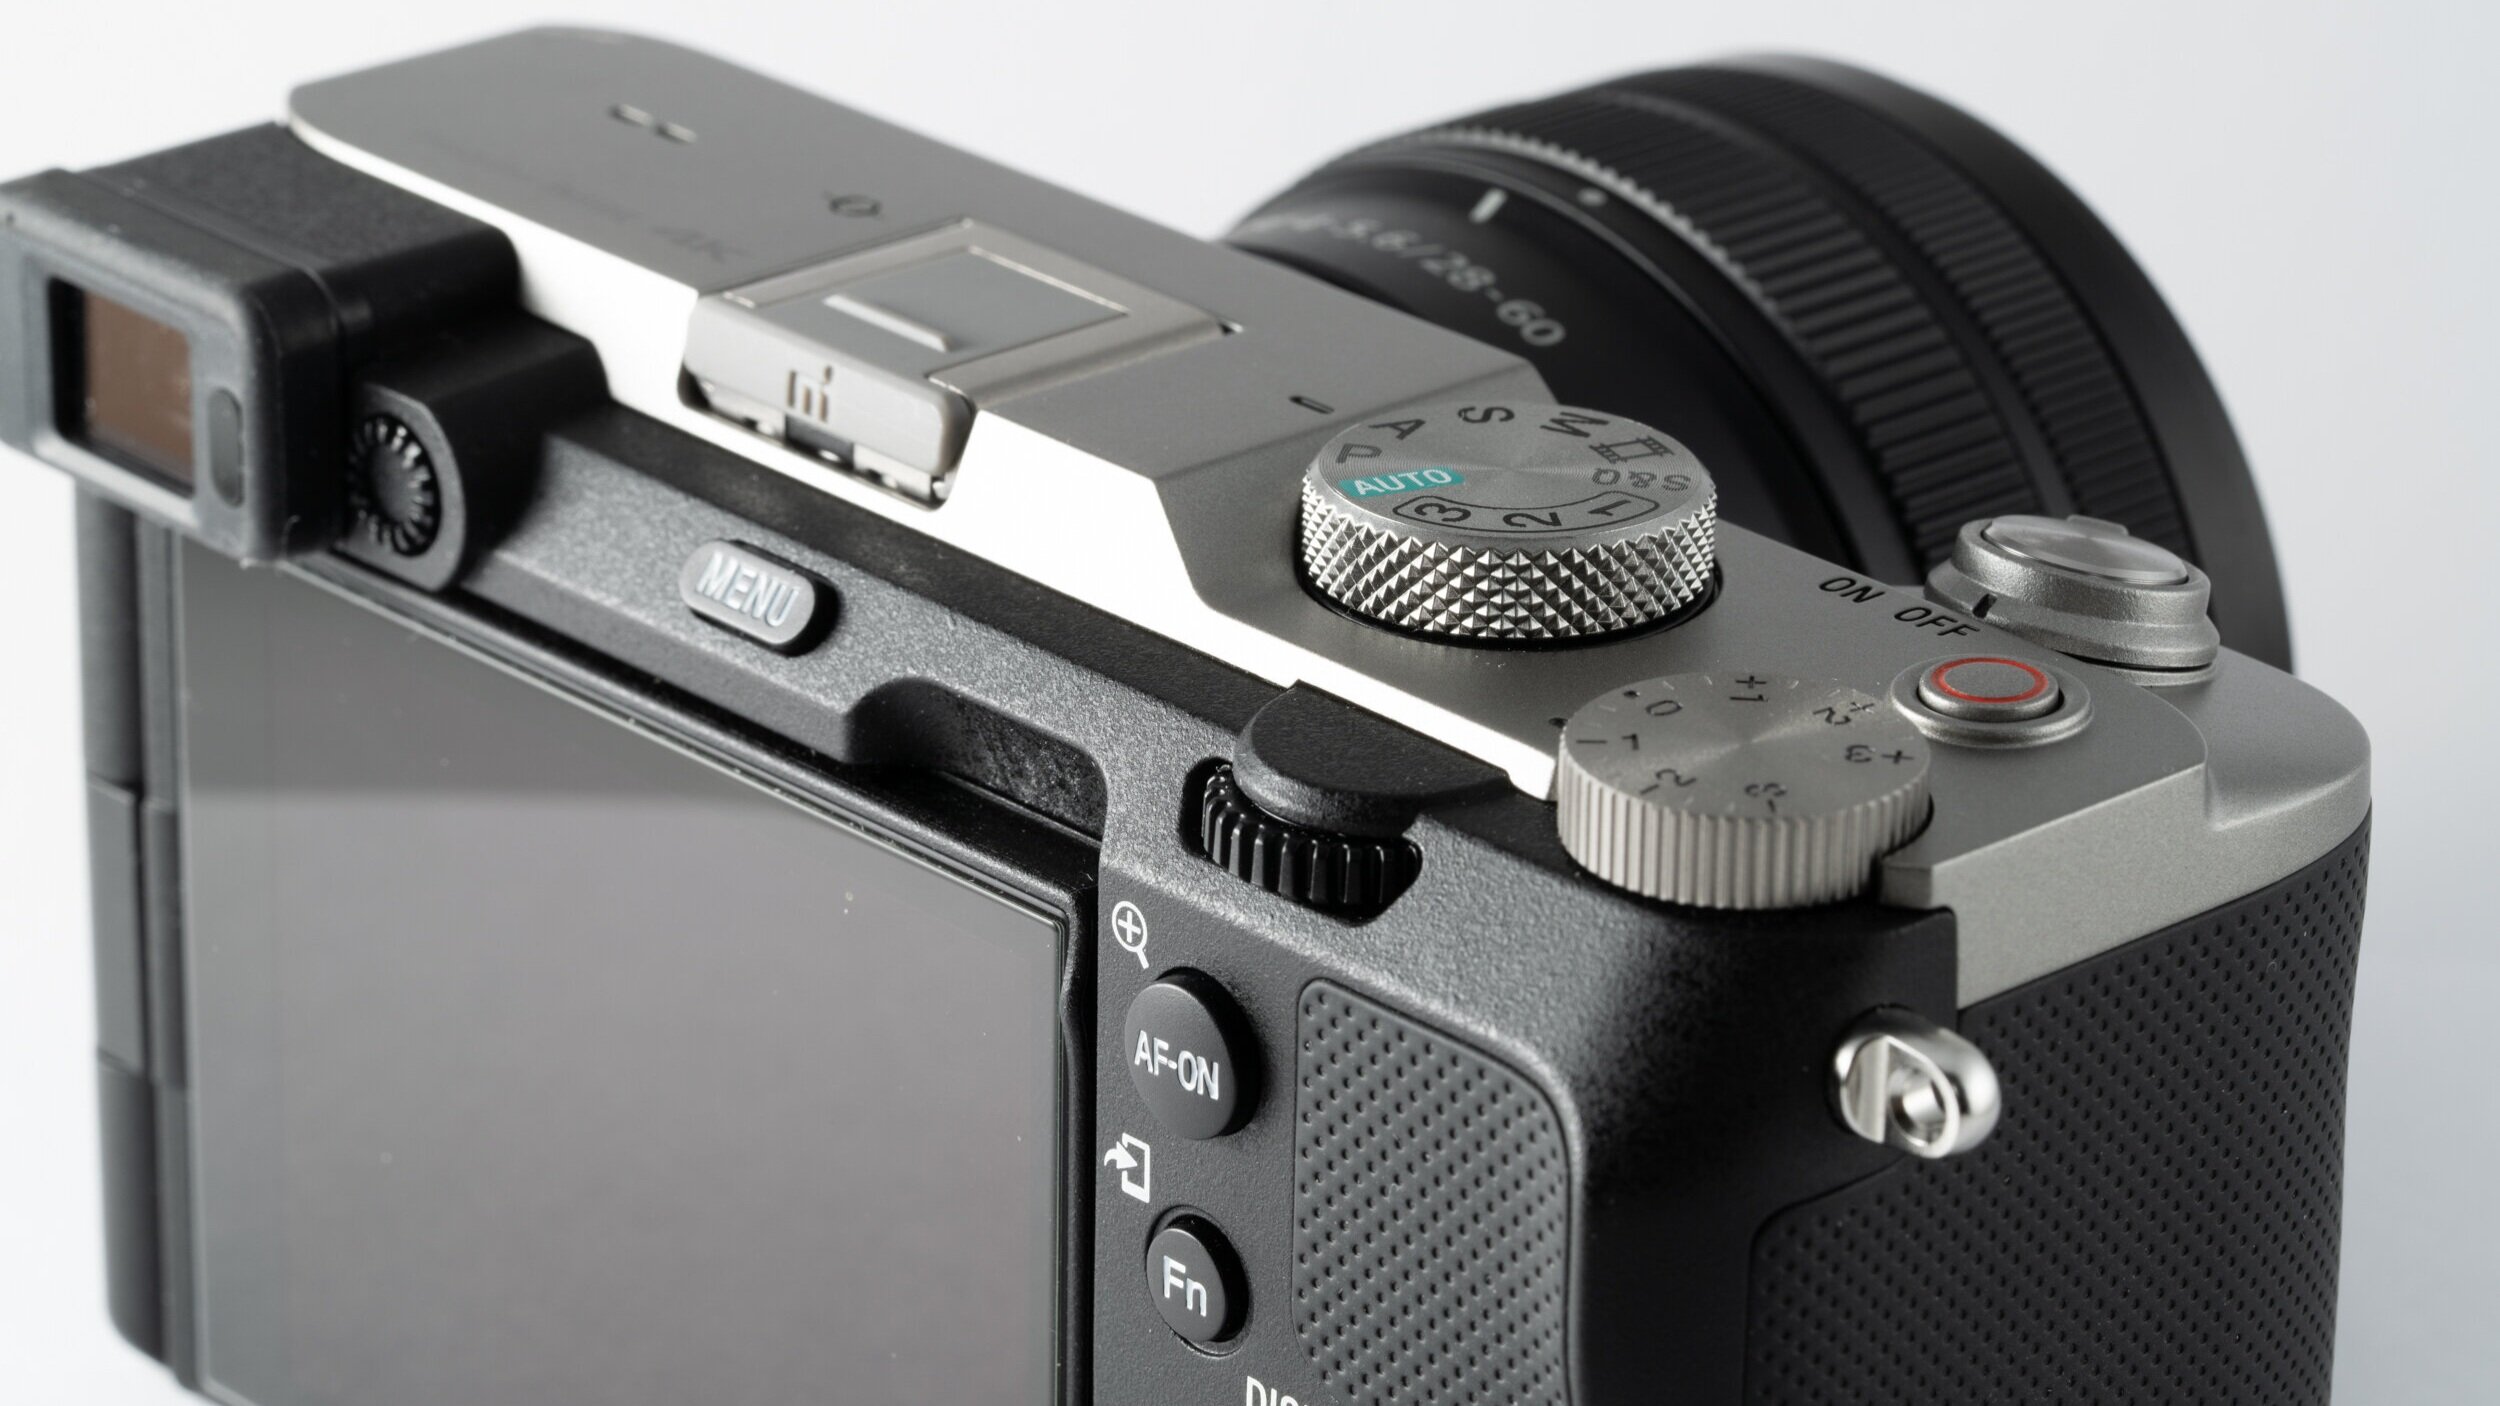
The EVF hump is gone and is just a flat top, so the A7C has a range finder style design. It has a similar layout as the other Sony A6000 series camera. There is the Power switch/Shutter button, EV dial, Mode dial, and a record button. There is no lock toggle on the dials, unlike the A7R4. The record button is not very satisfying to press in use.
At the back, still a familiar layout as the A6000 series body. There is no joy stick for moving autofocusing point, which is a big difference compared to other A7 bodies. EVF is at the top left corner. It is 1 cm XGA OLED with 2.36M dots and 0.59x magnification. It is smaller than what is on the other A7 bodies. Sony has put a fully articulating screen on this body, and this is the 2nd body after the A7S3 that has it. There is a welcoming changes since a lot of people have been asking for it. However, A7C is still using the old and familiar Sony menu, unlike the new more user friendly one on A7S3. This is a plus or minus, depending personal preference.
On the left side, the ports are covered by 3 flaps. There is the 3.5mm mic in on top. Middle is the single UHS-II SD card slot. Bottom is the 3.5mm headphone out, USB type C that for data transfer and charging, and a micro HDMI.
The right side is just a grip since everything has been moved to the left. The grip is also much shallower than A7 series, more like the A6400/6100 series grip.
In the grip, it still houses the same NP-FZ100 battery used in the A7 series that provides impressive battery life. This probably explains why there is no control dial at the top of the grip like other A7 body, since there is not much space left after stuffing this battery in.
Image Quality
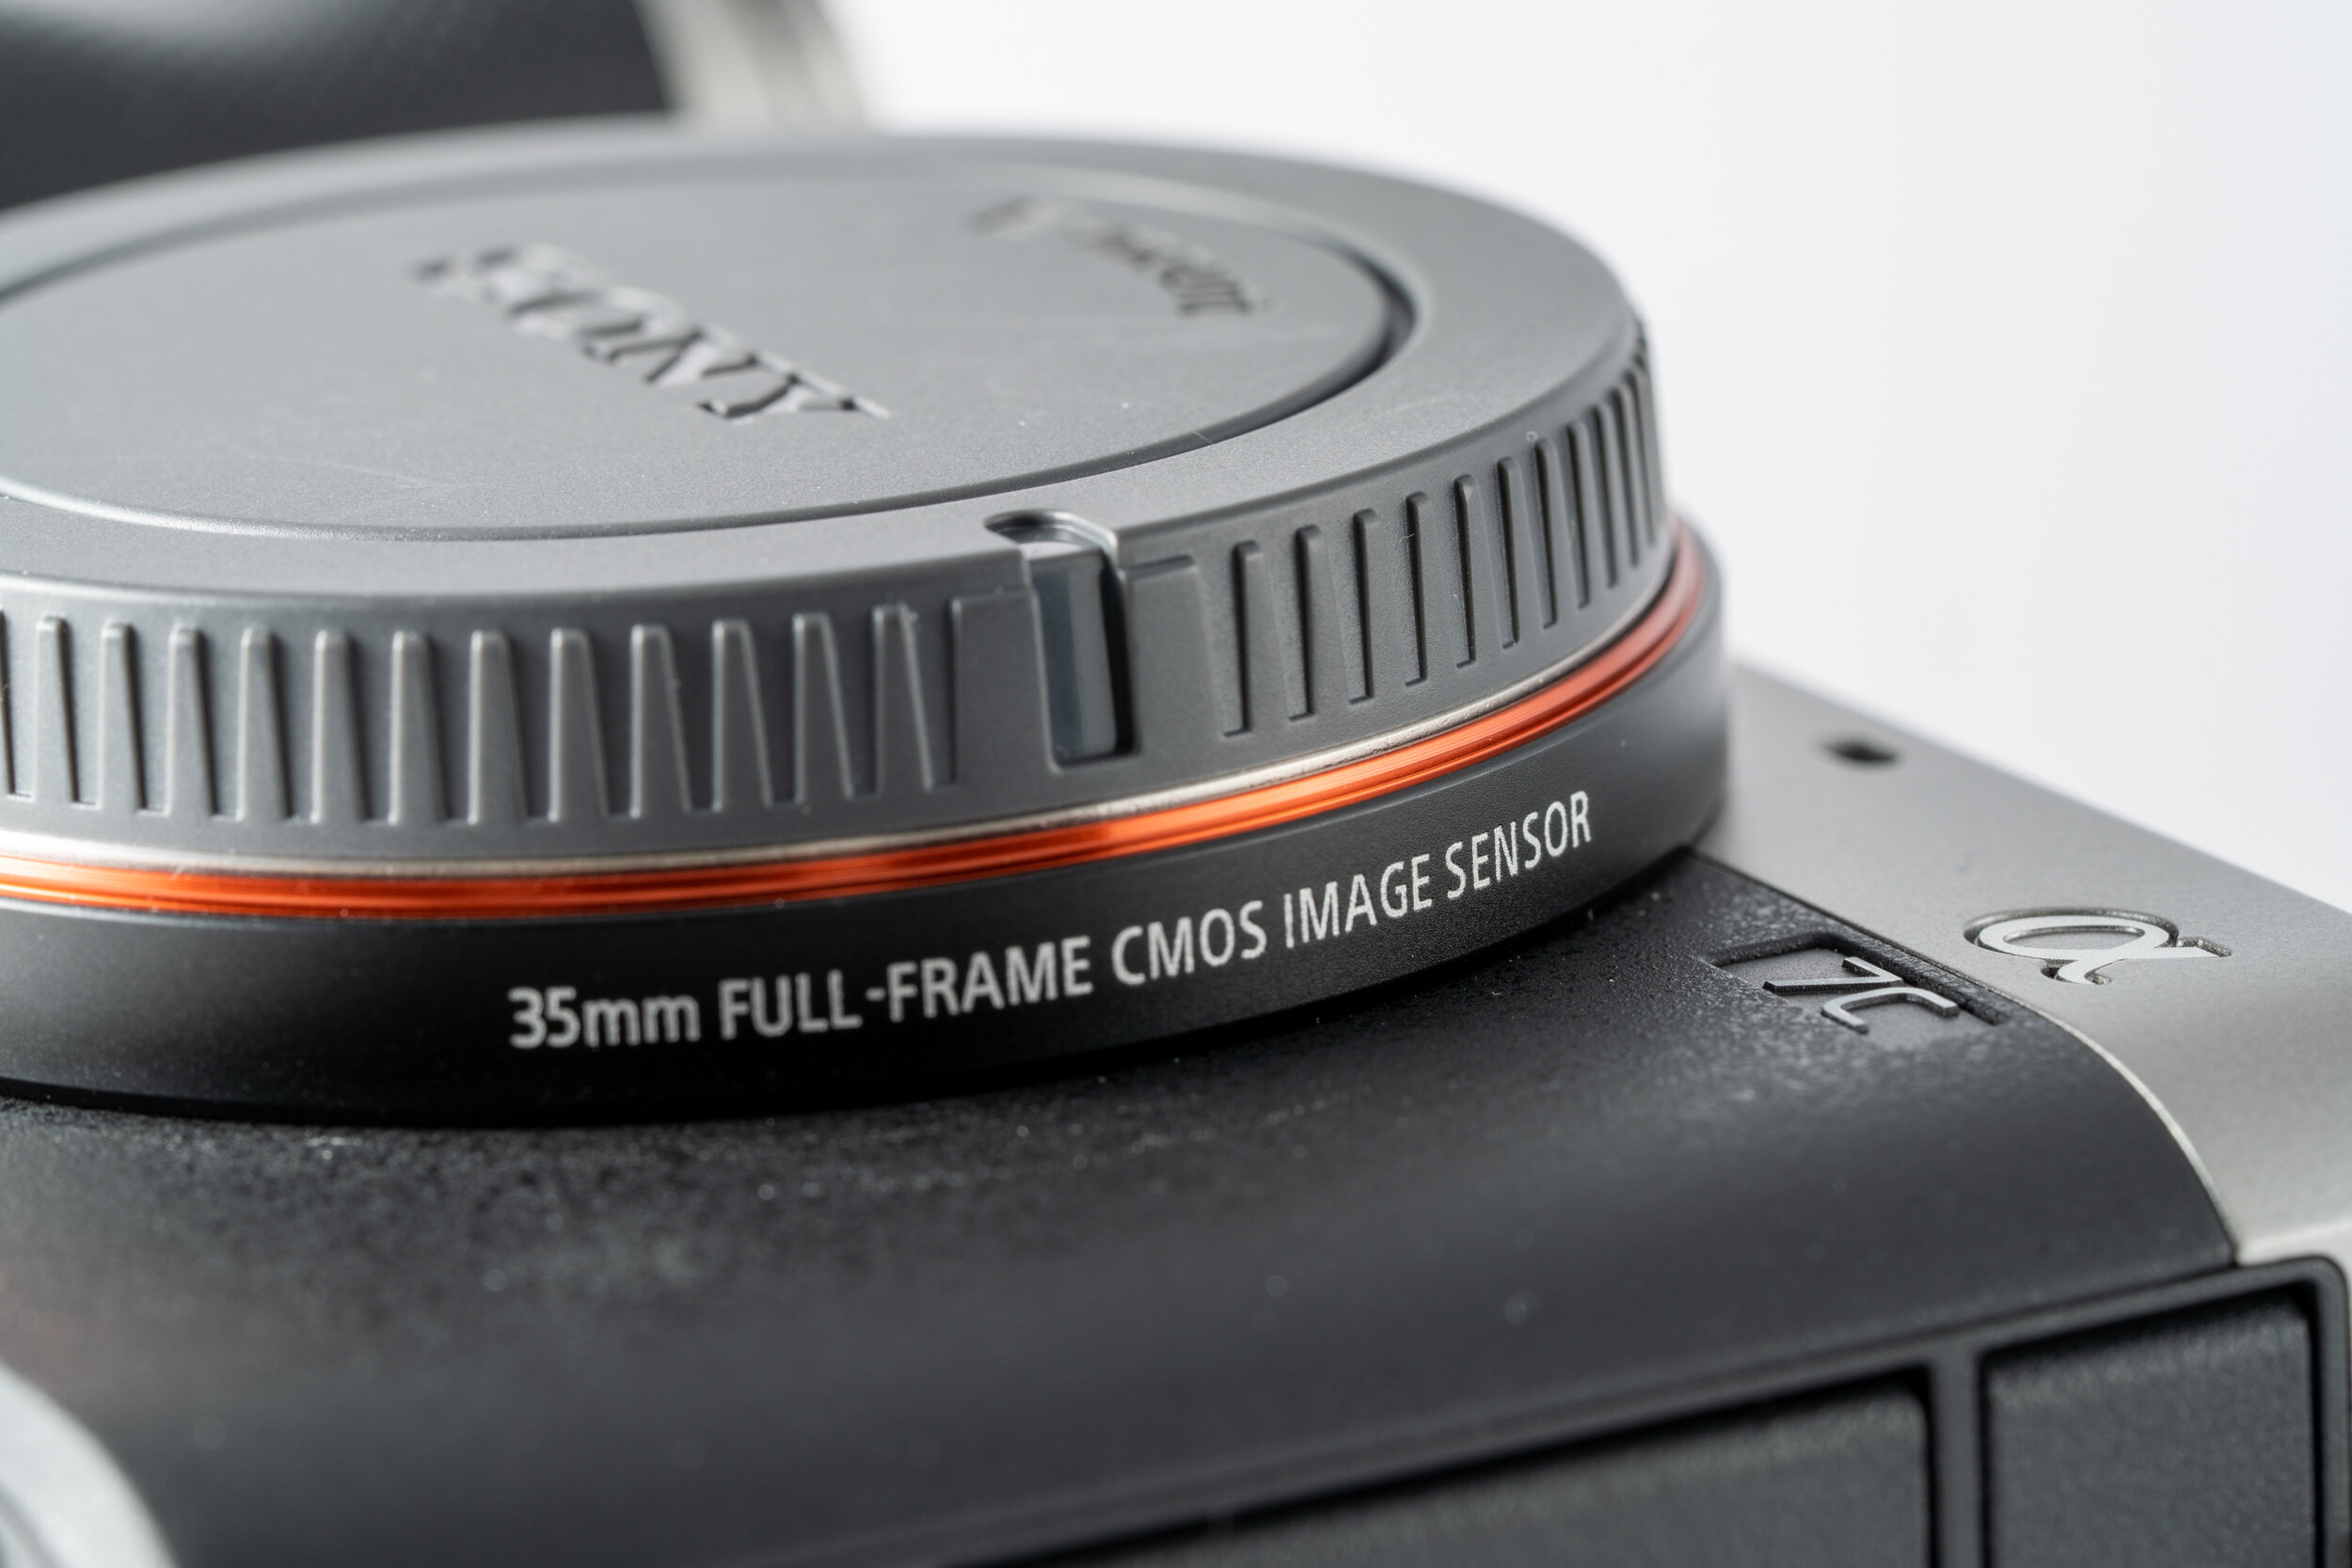
A7C has the 24.2MP 35mm Full Frame BSI EXMOR R CMOS sensor with BIONZ X image processor. This is the same sensor used in the popular A7 III, and there is 5 stop In-body image stabilization on the sensor. In terms of image quality, this is pretty much the standard for the current non high MP full frame cameras. A7C file size is more manageable than the A7R4 with JPG is below 7MB and RAW (uncompressed) below 50MB, while A7R4 would have been JPG below 16MB and RAW (uncompressed) at about 120MB.Unlike the A7 III, A7C has the real time tracking in AFC, with Face and Eye AF. Autofocus is easy to use, sticks to the target, and accurate.
There is no major breakthrough on video side, still at 8 bit 4k30p. However, it has Gyroscopic metadata so you can use Catalyst browse to do post stabilization. It also has the Multi interface hot shoes, so will work with the ECM-B1M hot shoes shotgun mic in digital mode.
Shooting Experience
I have used the A7C for a couple of weeks. The first thing I noticed was the small size and light weight. The difference of 150g seemed small on paper, but quite significant in use. The 28-60mm kit lens pairs well with the body, and A7C with the kit lens weights about the same as A7RIV body. I enjoy carrying the A7C walking around the street or hiking. The fully articulating screen is useful for selfie or shooting at low angle.
There are a few obvious sacrifices made to keep the body compact. The lack of front dial took some time to get used to. It is also missing the joystick to move AF point. I mostly use AFC real time tracking with center focus area and just focus then recompose. This doesn’t cause a lot of problem with me, but will be annoying for some people. EVF is worst than A7RIV, but is good enough for framing. However, the lack of eyecup means that light would leak around the view finder when shooting against bright light. Single SD card slot is not a major problem to me as a casual shooter, but I understand a lot of professional would be concerned about this.
The kit lens FE2860 is great for this compact body, and definitely worth getting the kit version of A7C. Other options that I enjoyed are the f/1.8 primes. The Tamron Zoom lens, particularly the 28-200 would be nice lens to go with this body as well.
Conclusion
The A7C is a nice and attractive compact body with a full frame sensor and IBIS. There are now a lot of other mirrorless full frame camera options, but most of them are still following the DSLR style body. I am happy to see Sony trying something new for full frame market. There are definitely some trade-offs for this compact body. It is not as comfortable to hold, not as easy to control, has a lower quality viewfinder than the rest of the A7 line up, and not really suitable to use with big lens.
Whether or not the A7C is the right body is highly dependent on personal requirements. It is amazing if small size, light weight, great autofocus, and a large number of lens options is the priority. This is also a good option for existing Sony user as 2nd body. However, this is not the body to go for if you need a camera to do everything from casual shooting on the street to shooting professionally or BIF. A regular A7 series body is more suitable for that.
It will be interesting if the A7C line can become a high end premium compact body for Sony, similar to a ILC version of RX1 line. I wish the second generation of this body will have better grip, front control dial, better EVF, and make it even lighter with exotic materials (titanium or carbon fiber?) being used.
Sample Gallery (Unedited, SOOC JPG - Mostly shot with 28-60 kit lens)
Sony FE 28-60mm F4-5.6 Review
SEL2860 - Kit lens for the new A7C
Sony FE 28-60m F4-5.6 (SEL2860)
Announced- Sept 2020
Pro
Compact size and light weight
Good performance
Dust and Moisture resistance
Con
Limited focal length
Collapsible design, have to extend before use
Cannot mount lens hood
What’s included:
I got this lens from the A7C (reviewed here) kit, not sure what it will come with in a retail box. There was nothing included other than the lens cap and the end cap.
Body
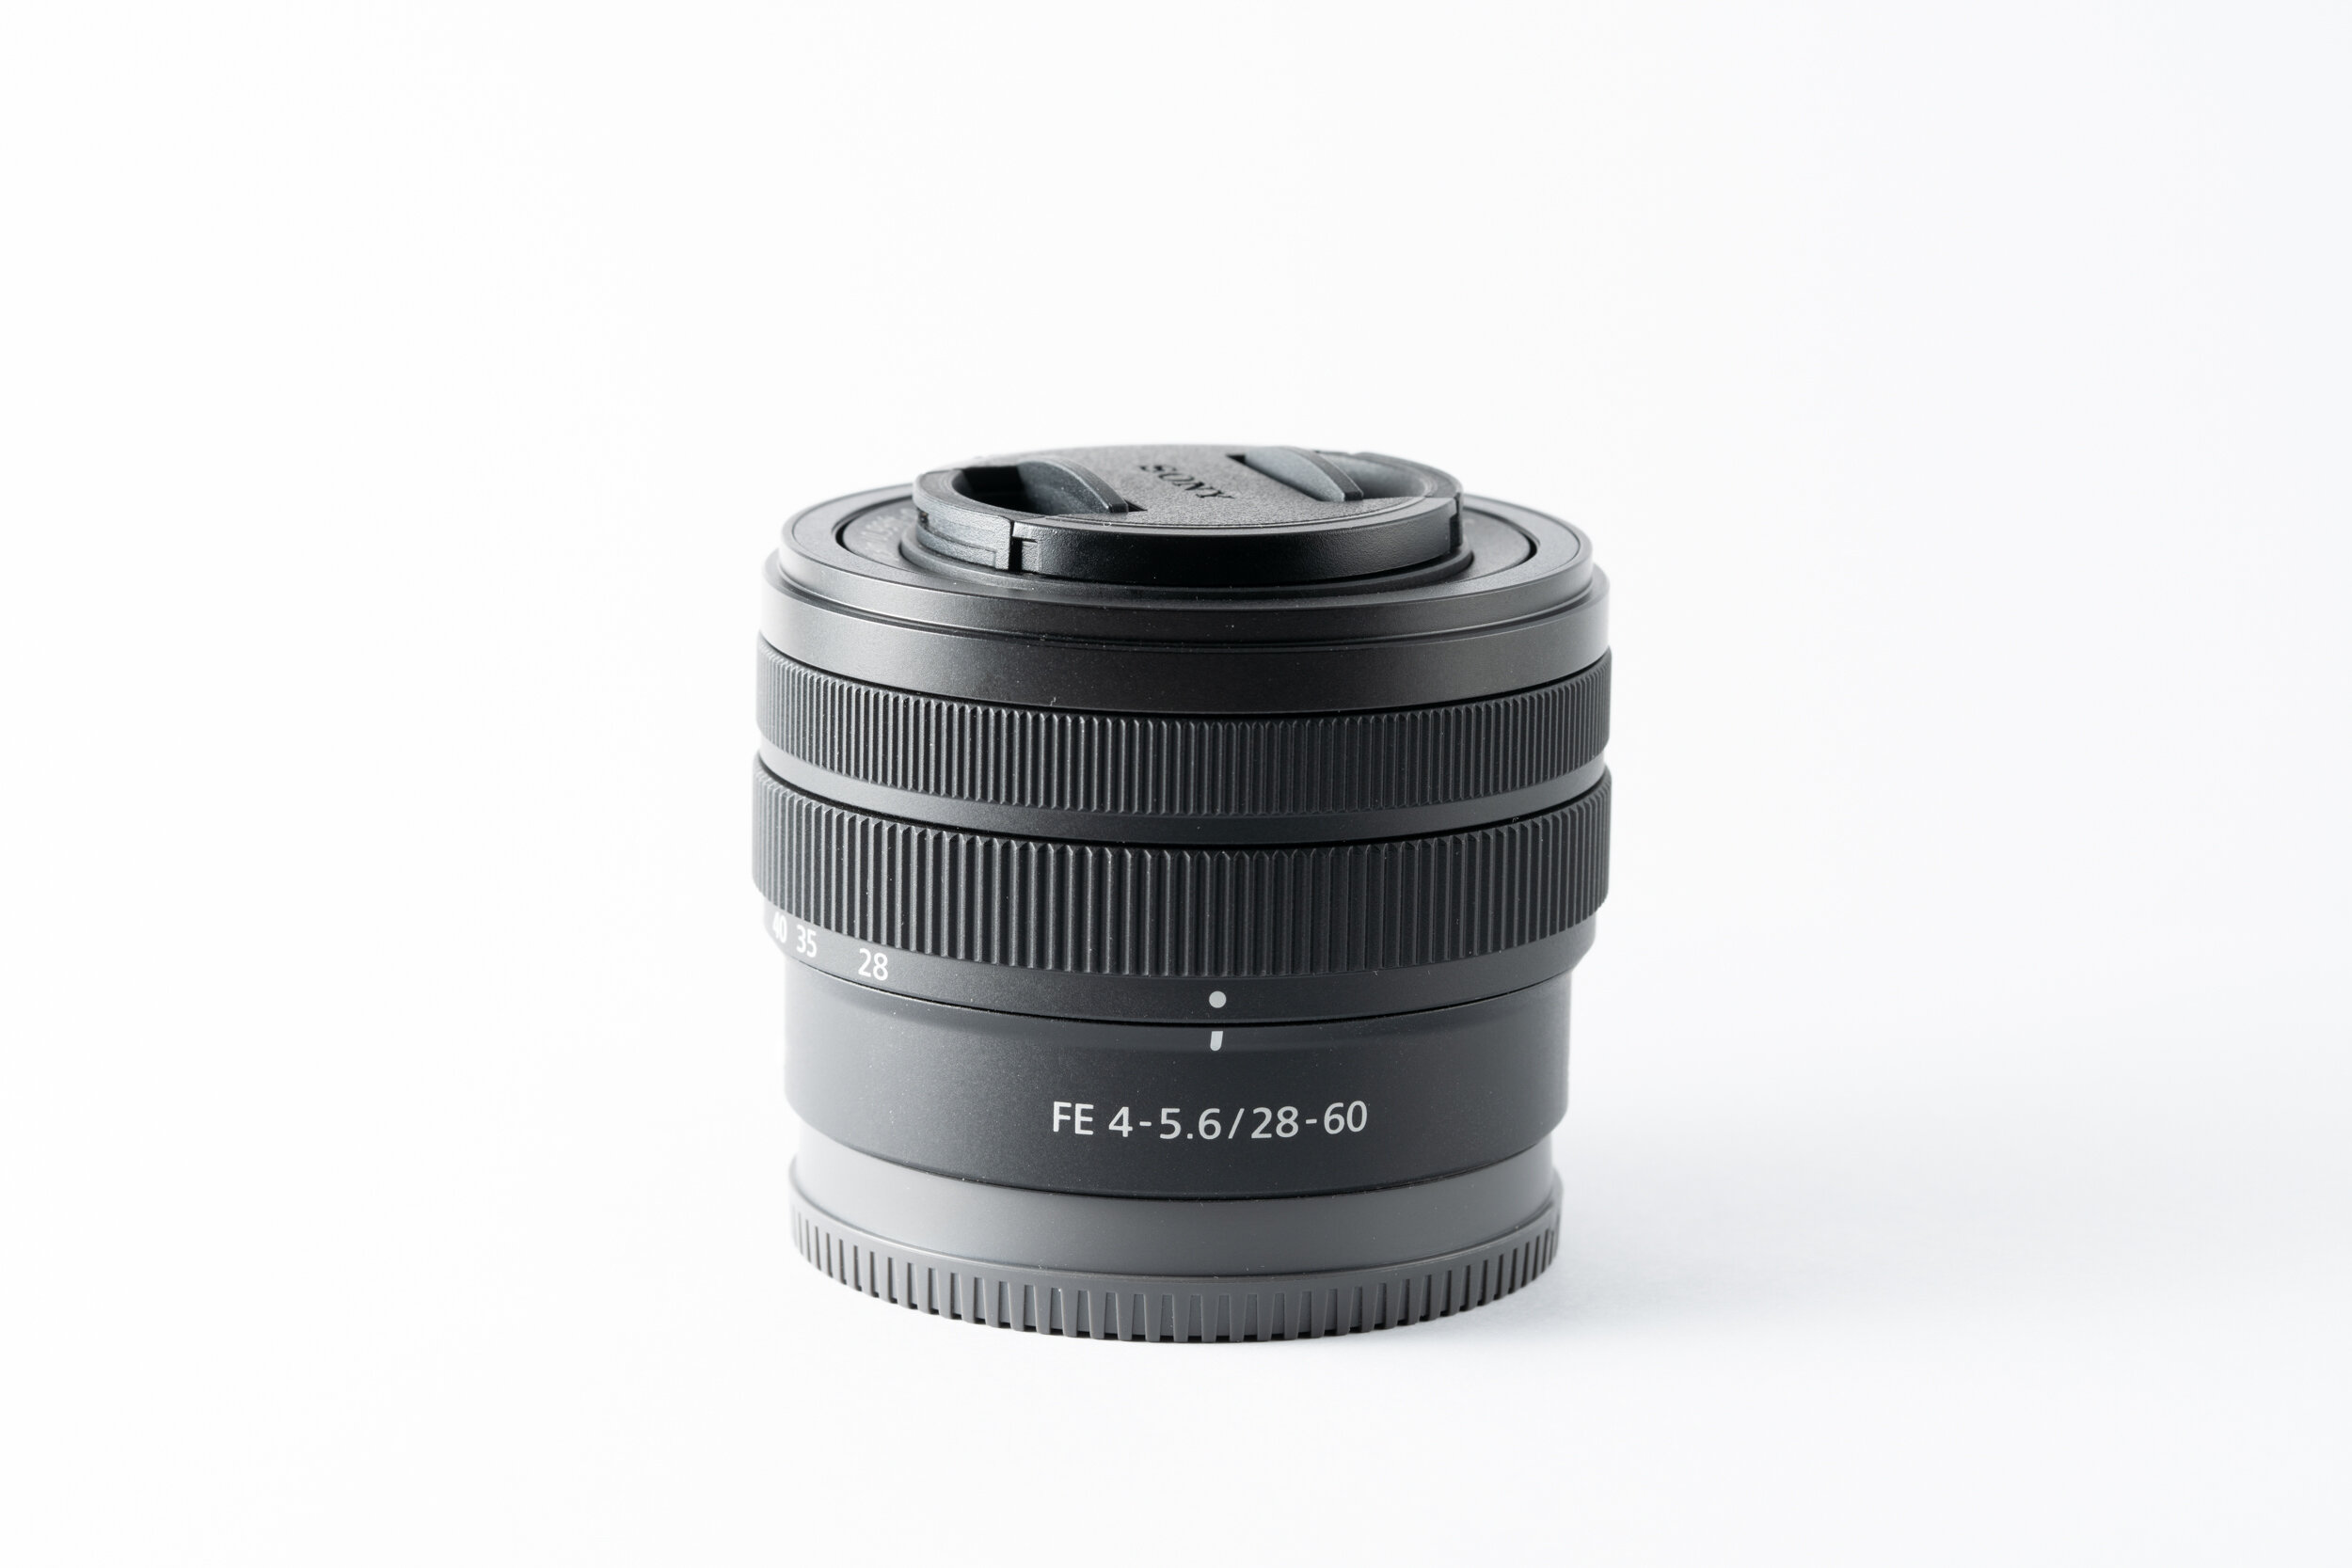
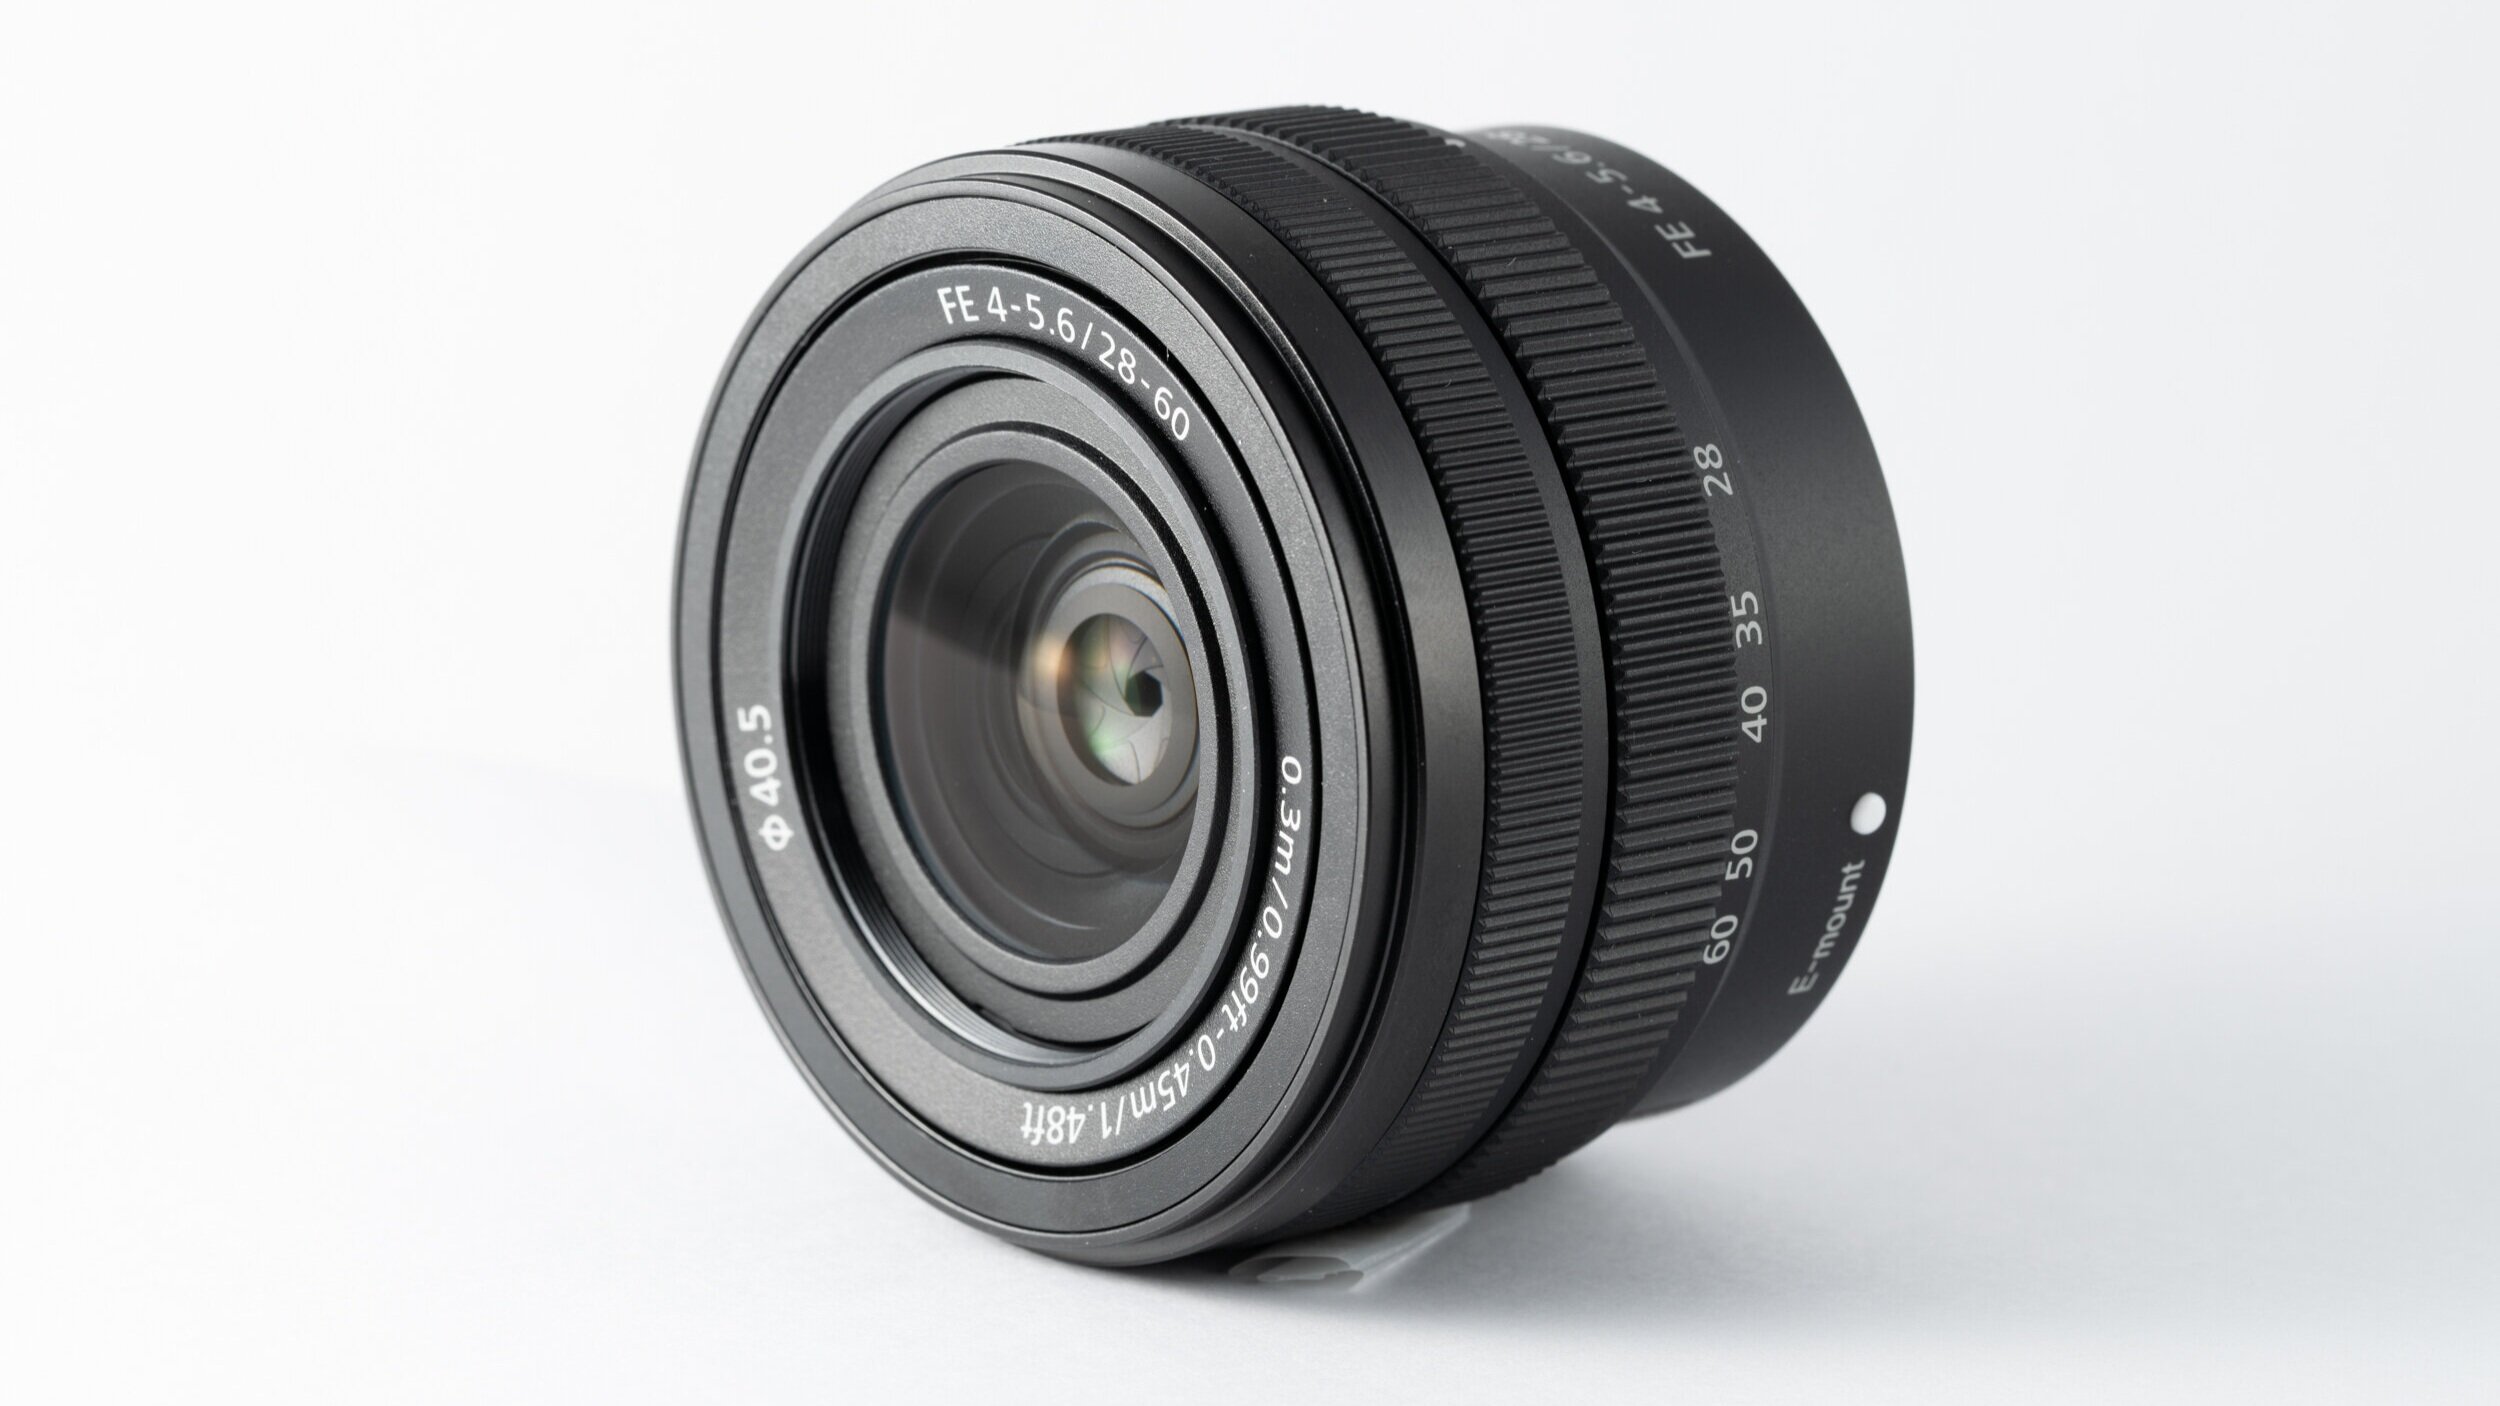
The lens body is 45mm long x 66mm in diameter, weight at 167g. It takes a 40.5mm filter at the front, and is not compatible with Sony’s 1.4x and 2.0x teleconverter.
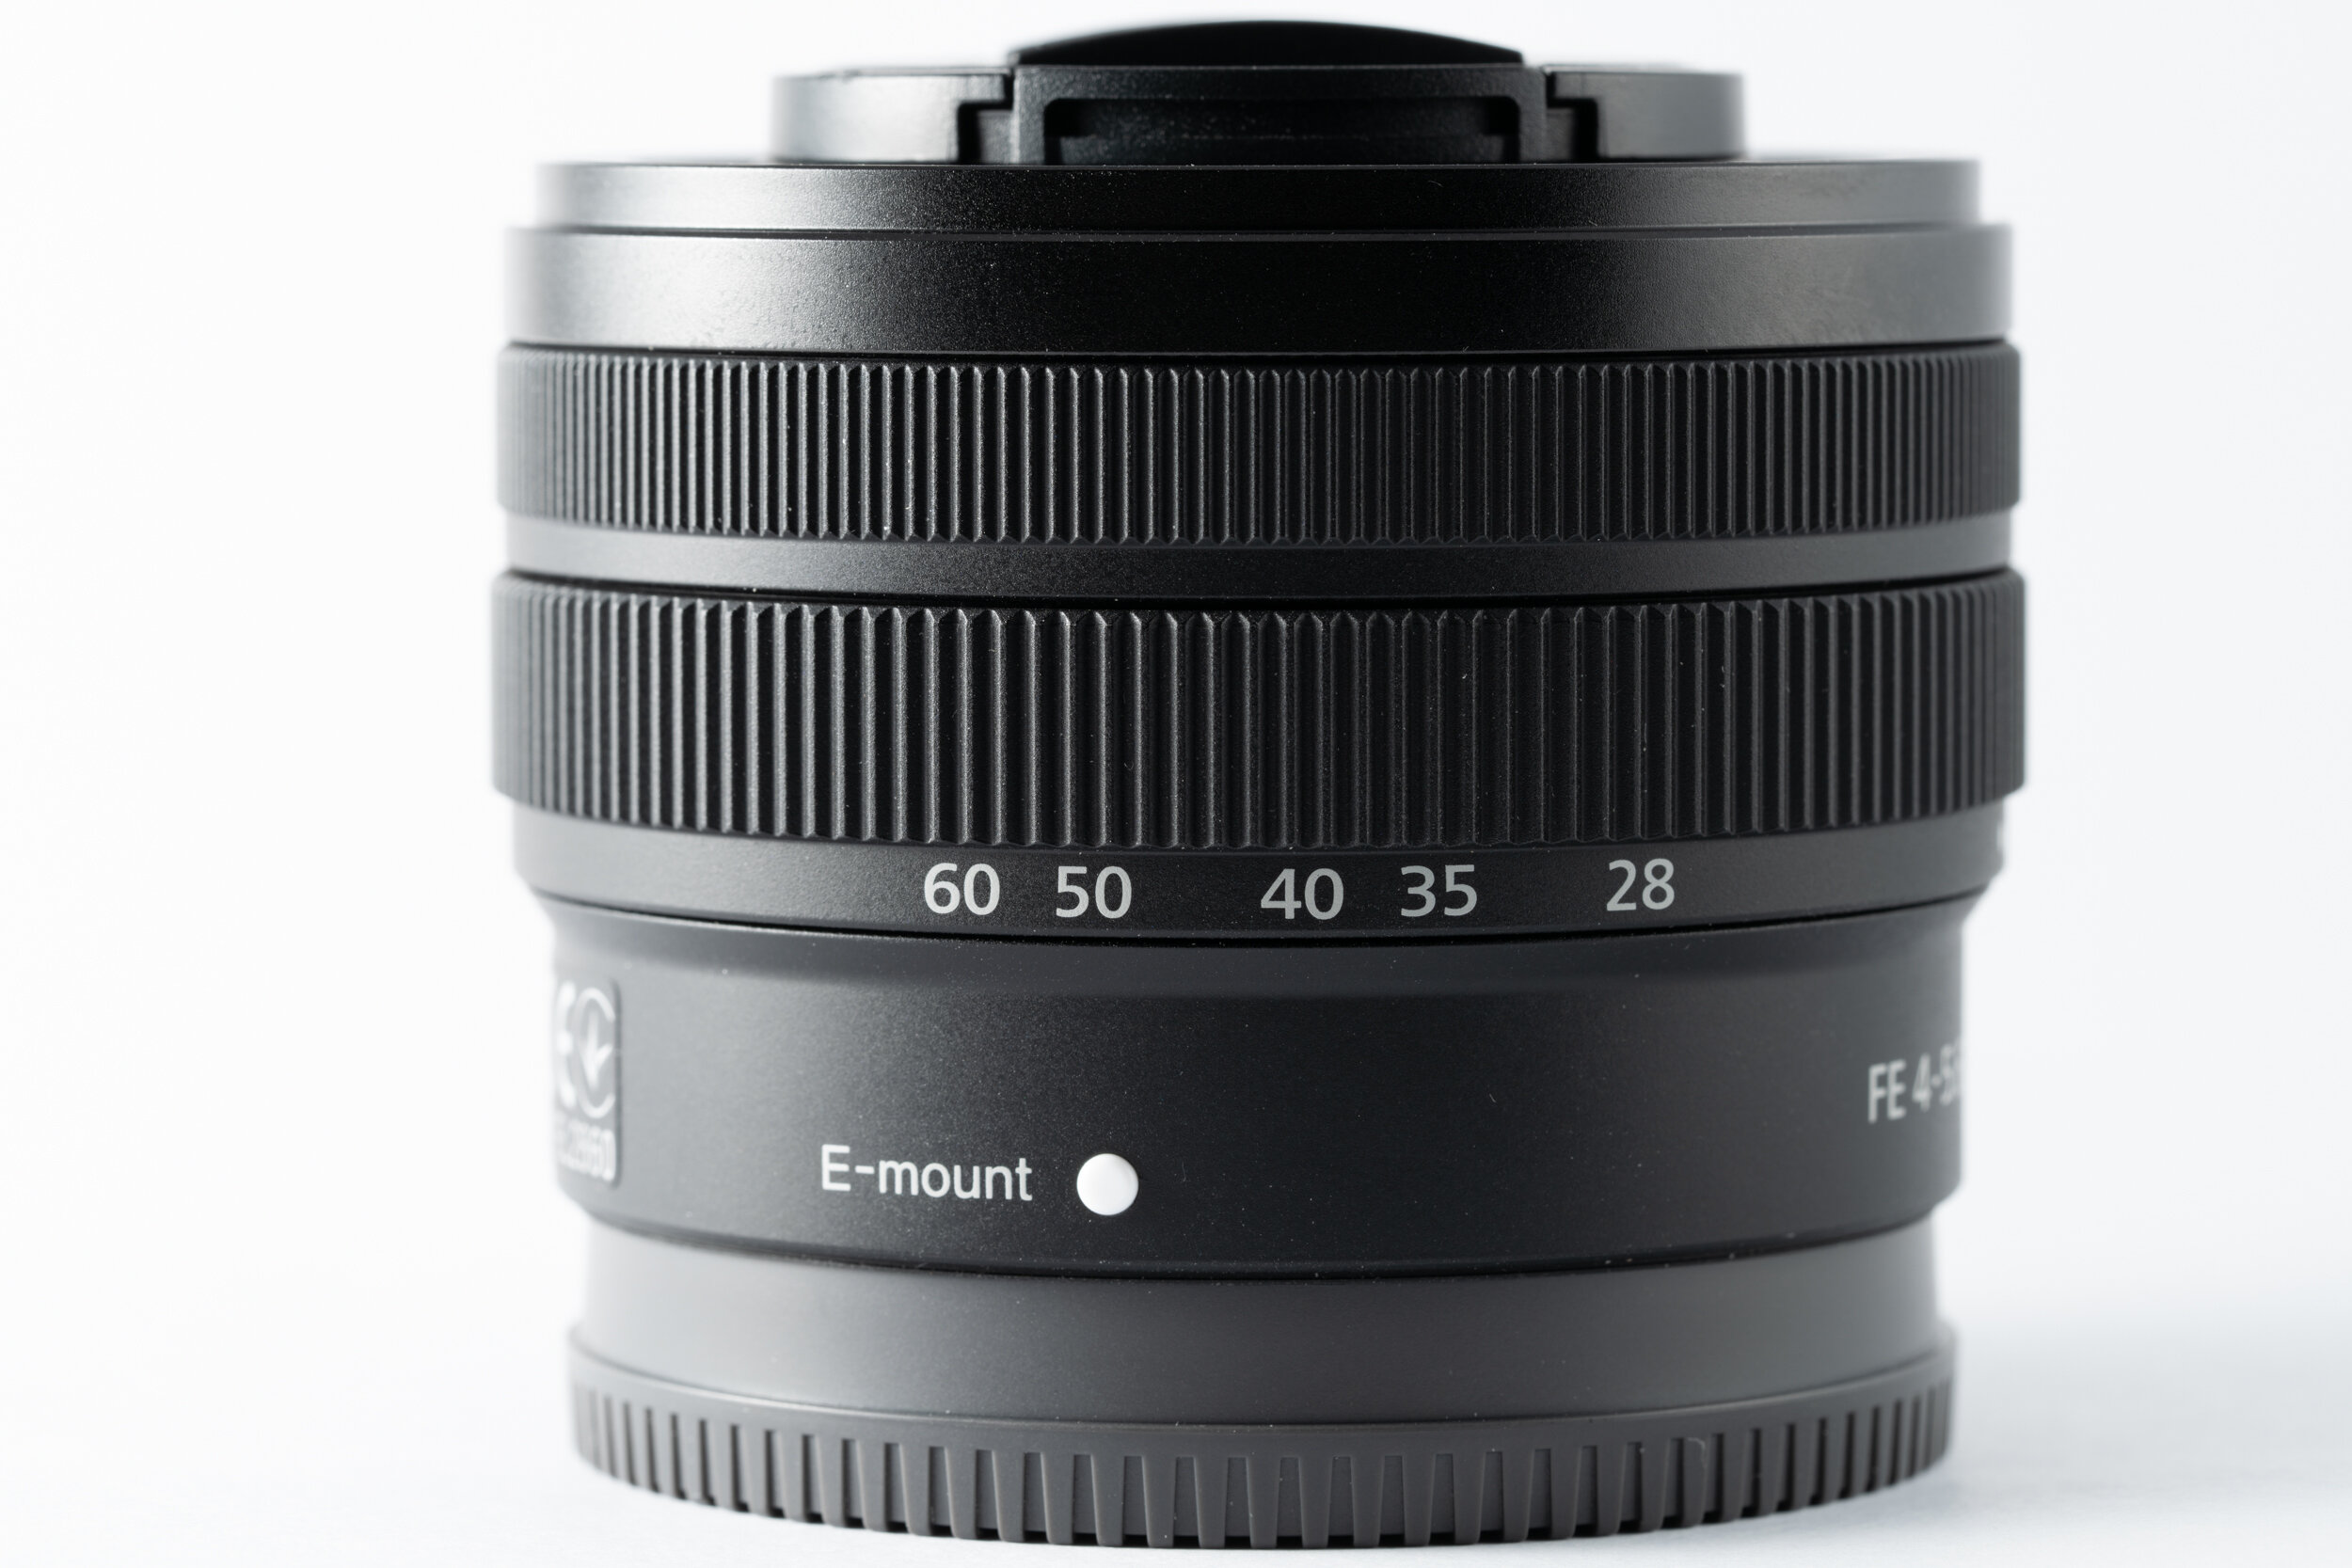
This small lens only have basic control. There is a focus ring at the front, then a zoom ring at the back. There are focal lengths printed on the zoom ring. Interestingly, it has 40mm marked between 35 and 50mm.
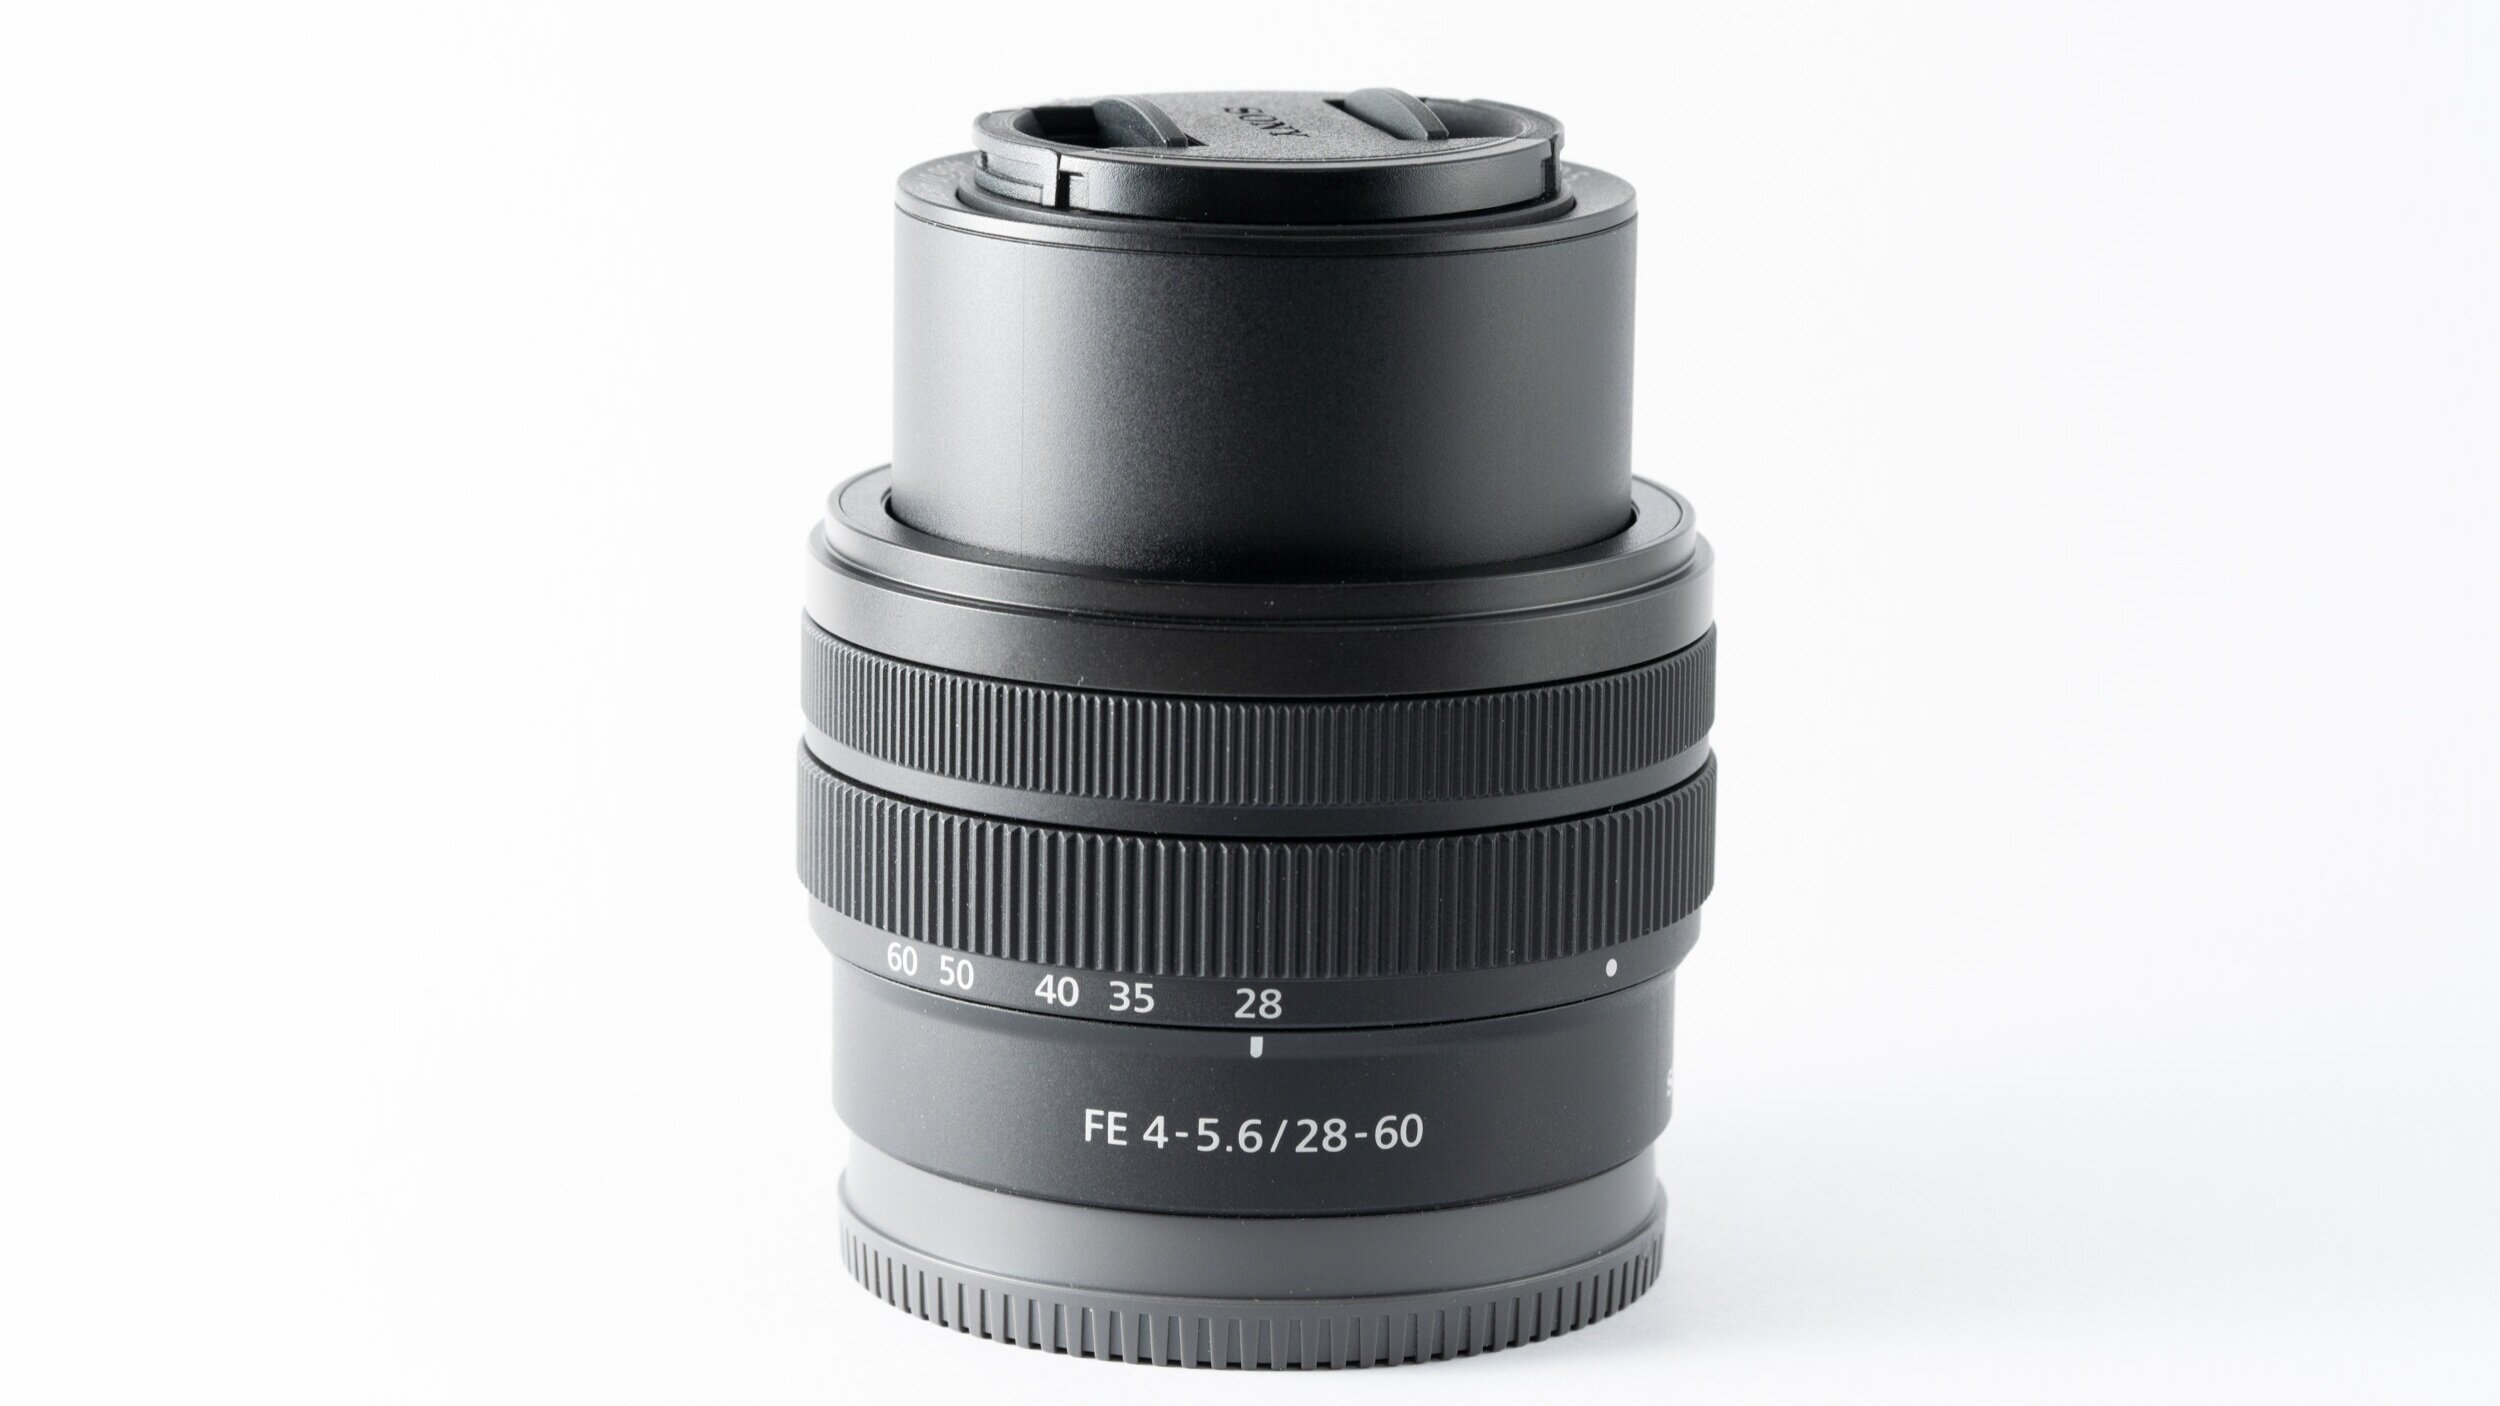
This lens is a collapsible design, so will have to zoom out from park position to 28mm before it can be used. The body will give you a warning message when the lens is still collapsed. The length of the lens is 45mm collapsed, and about 70mm when extended to 28mm focal length.
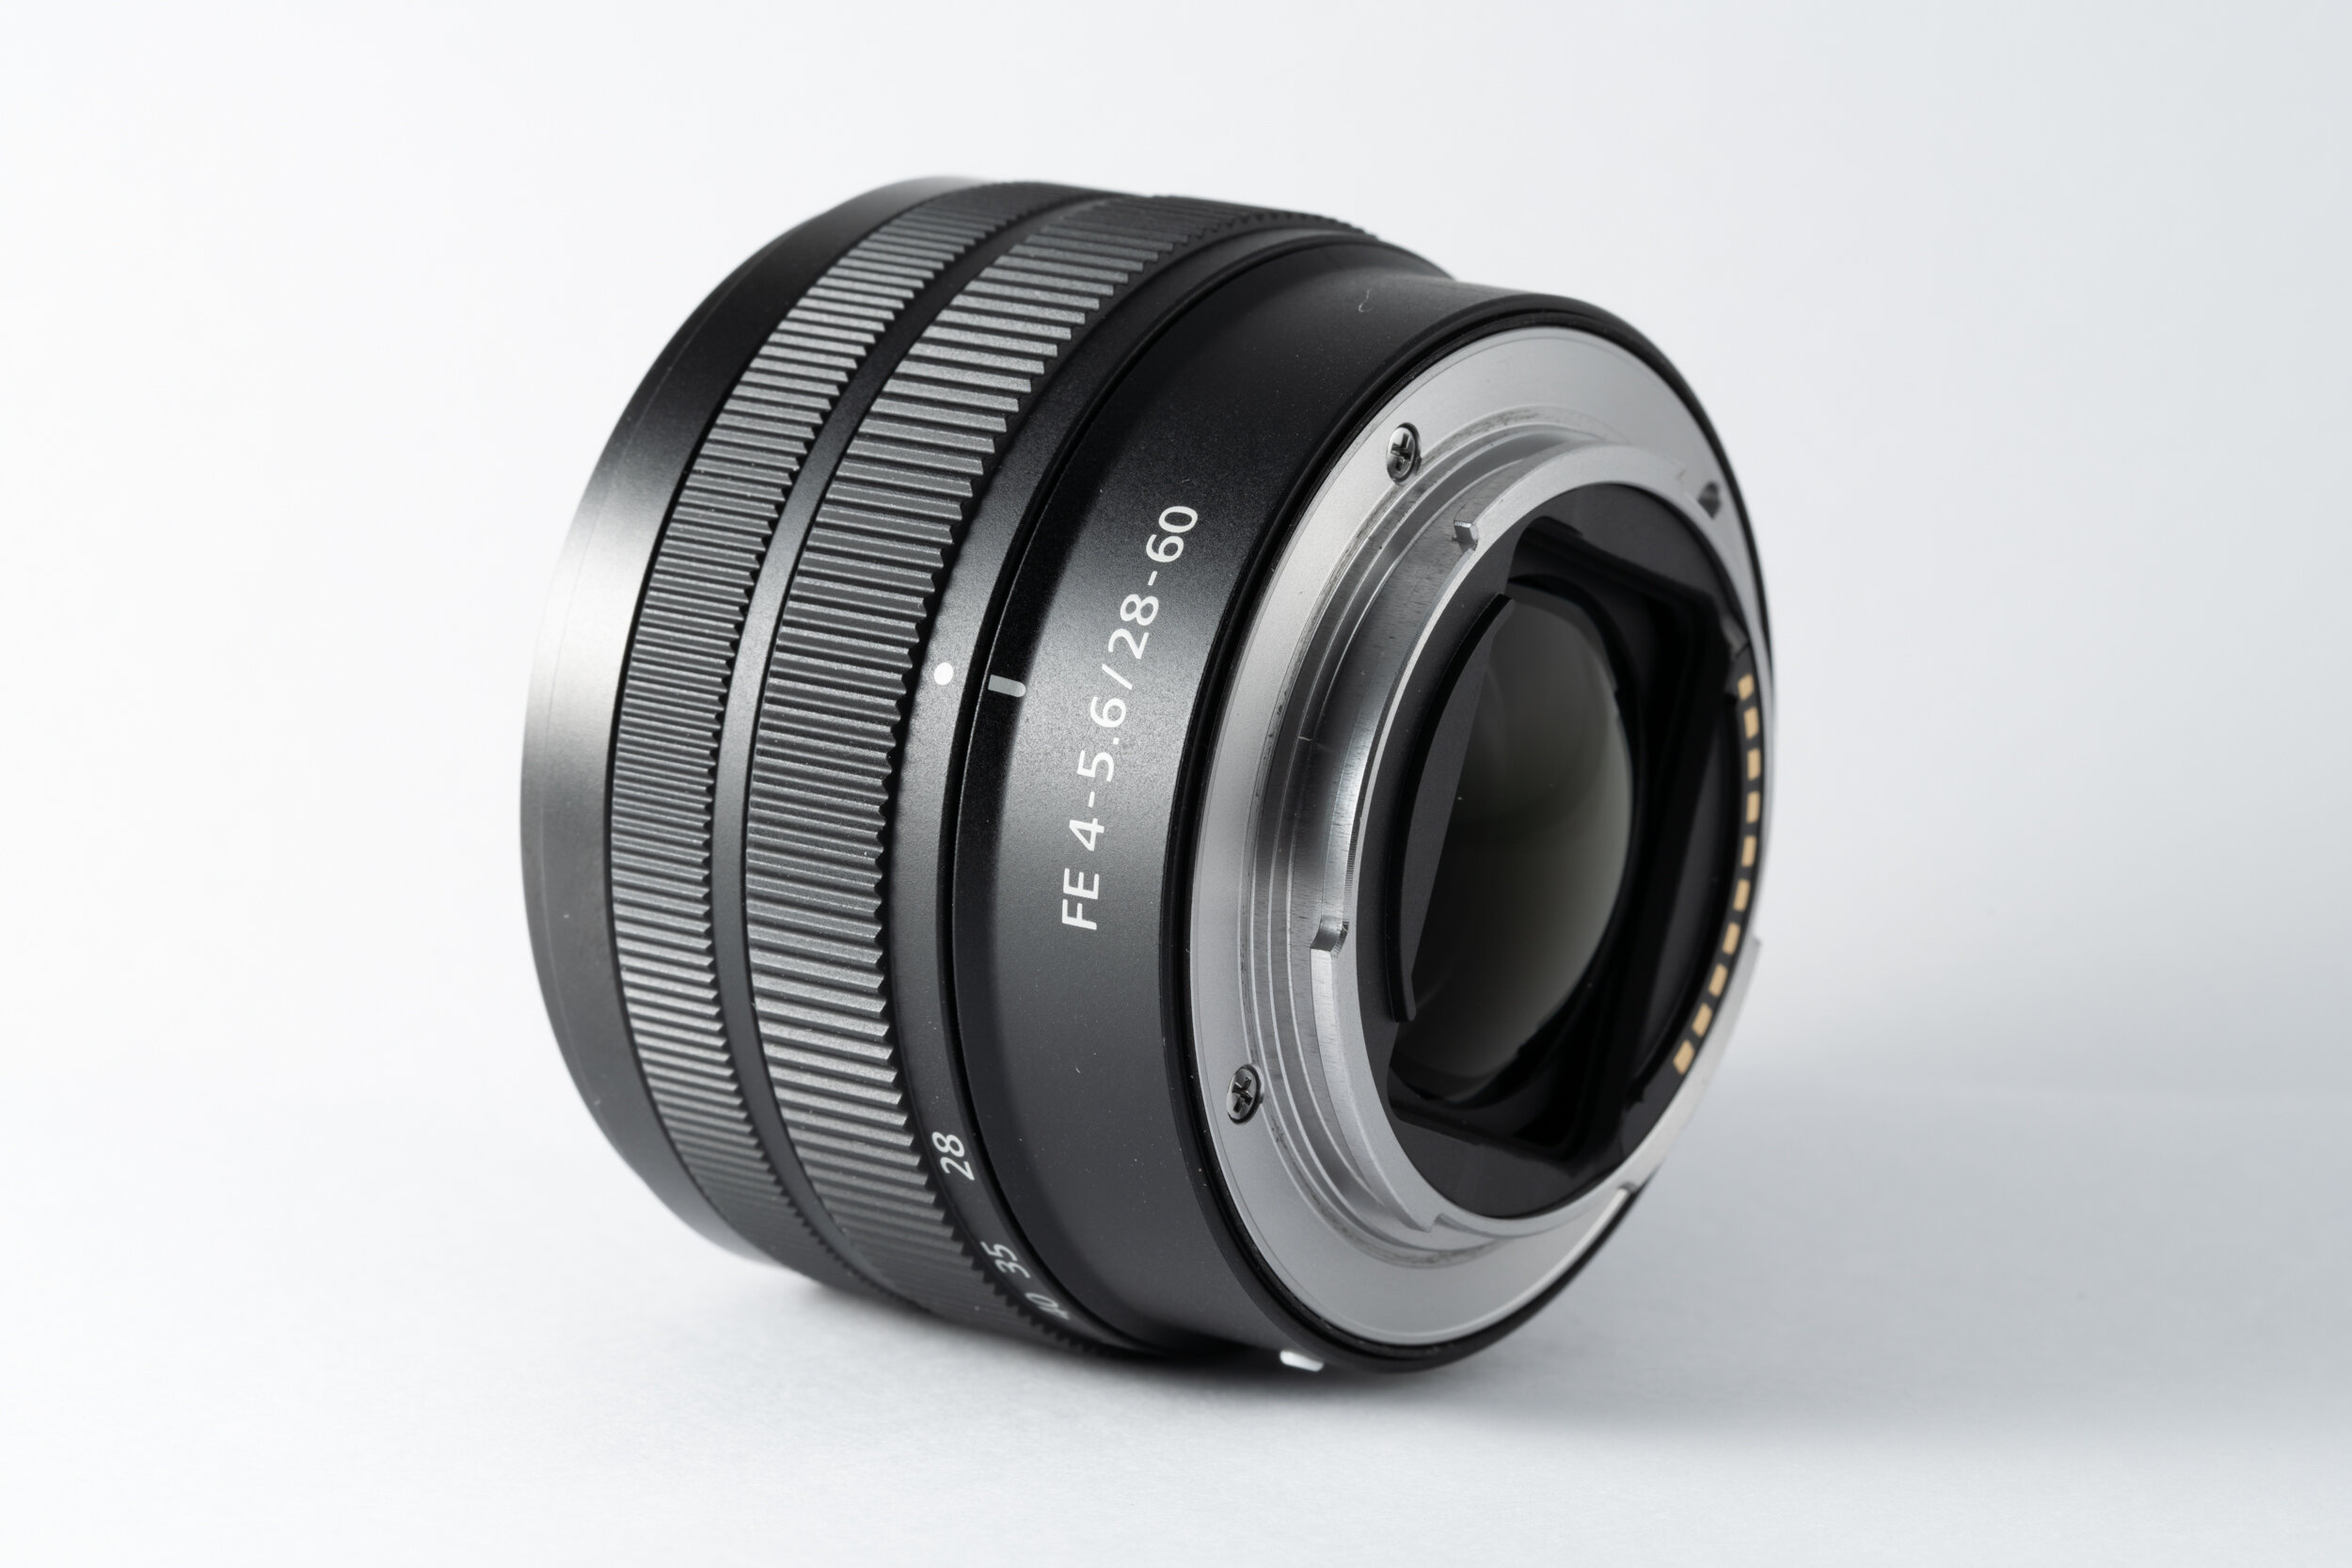
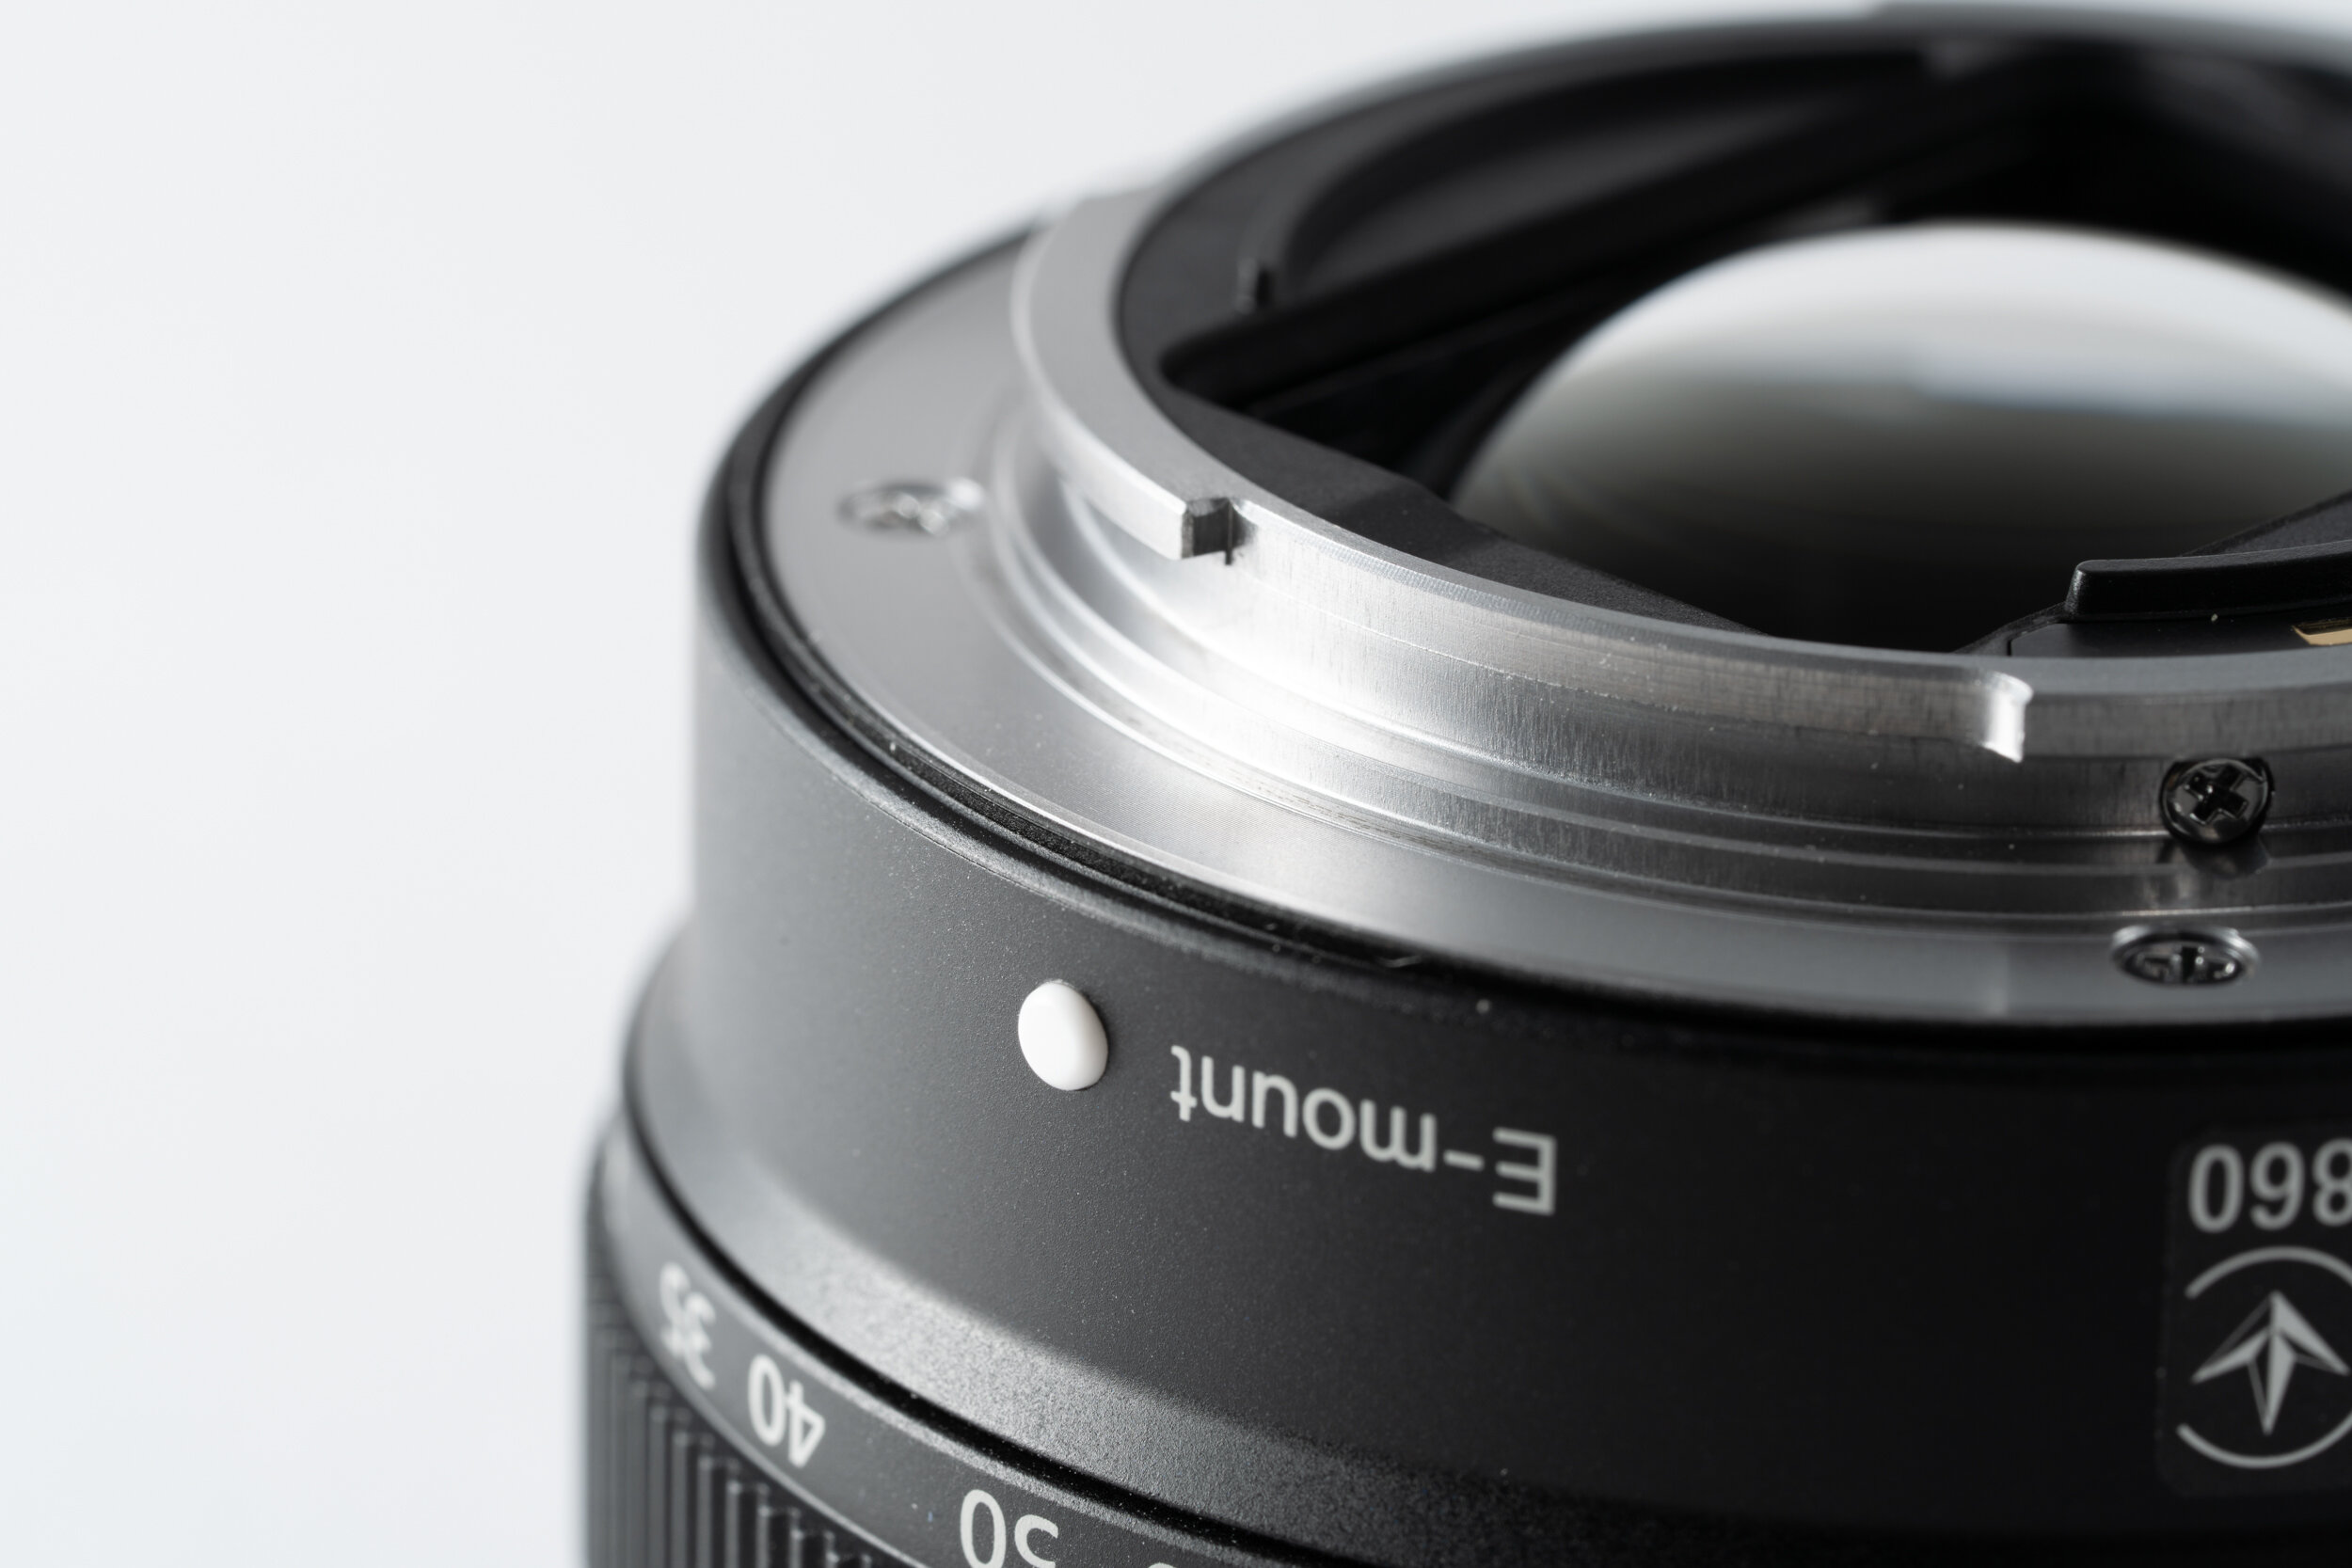
The lens is nicely built with plastic body and metal lens mount with thin rubber gasket. Interestingly, the rear element goes quite far out to the mount when collapsed.
The front element is quite tiny, and can only use a 40.5mm filter. There is no way to mount a lens hood.
Image Quality
This is a variable aperture lens, with aperture starting at f/4 at 28mm and quickly narrows to f/4.5 as soon as you turn it. It drops to f/5 right after 35mm, then finally to f/5.6 after 40mm.
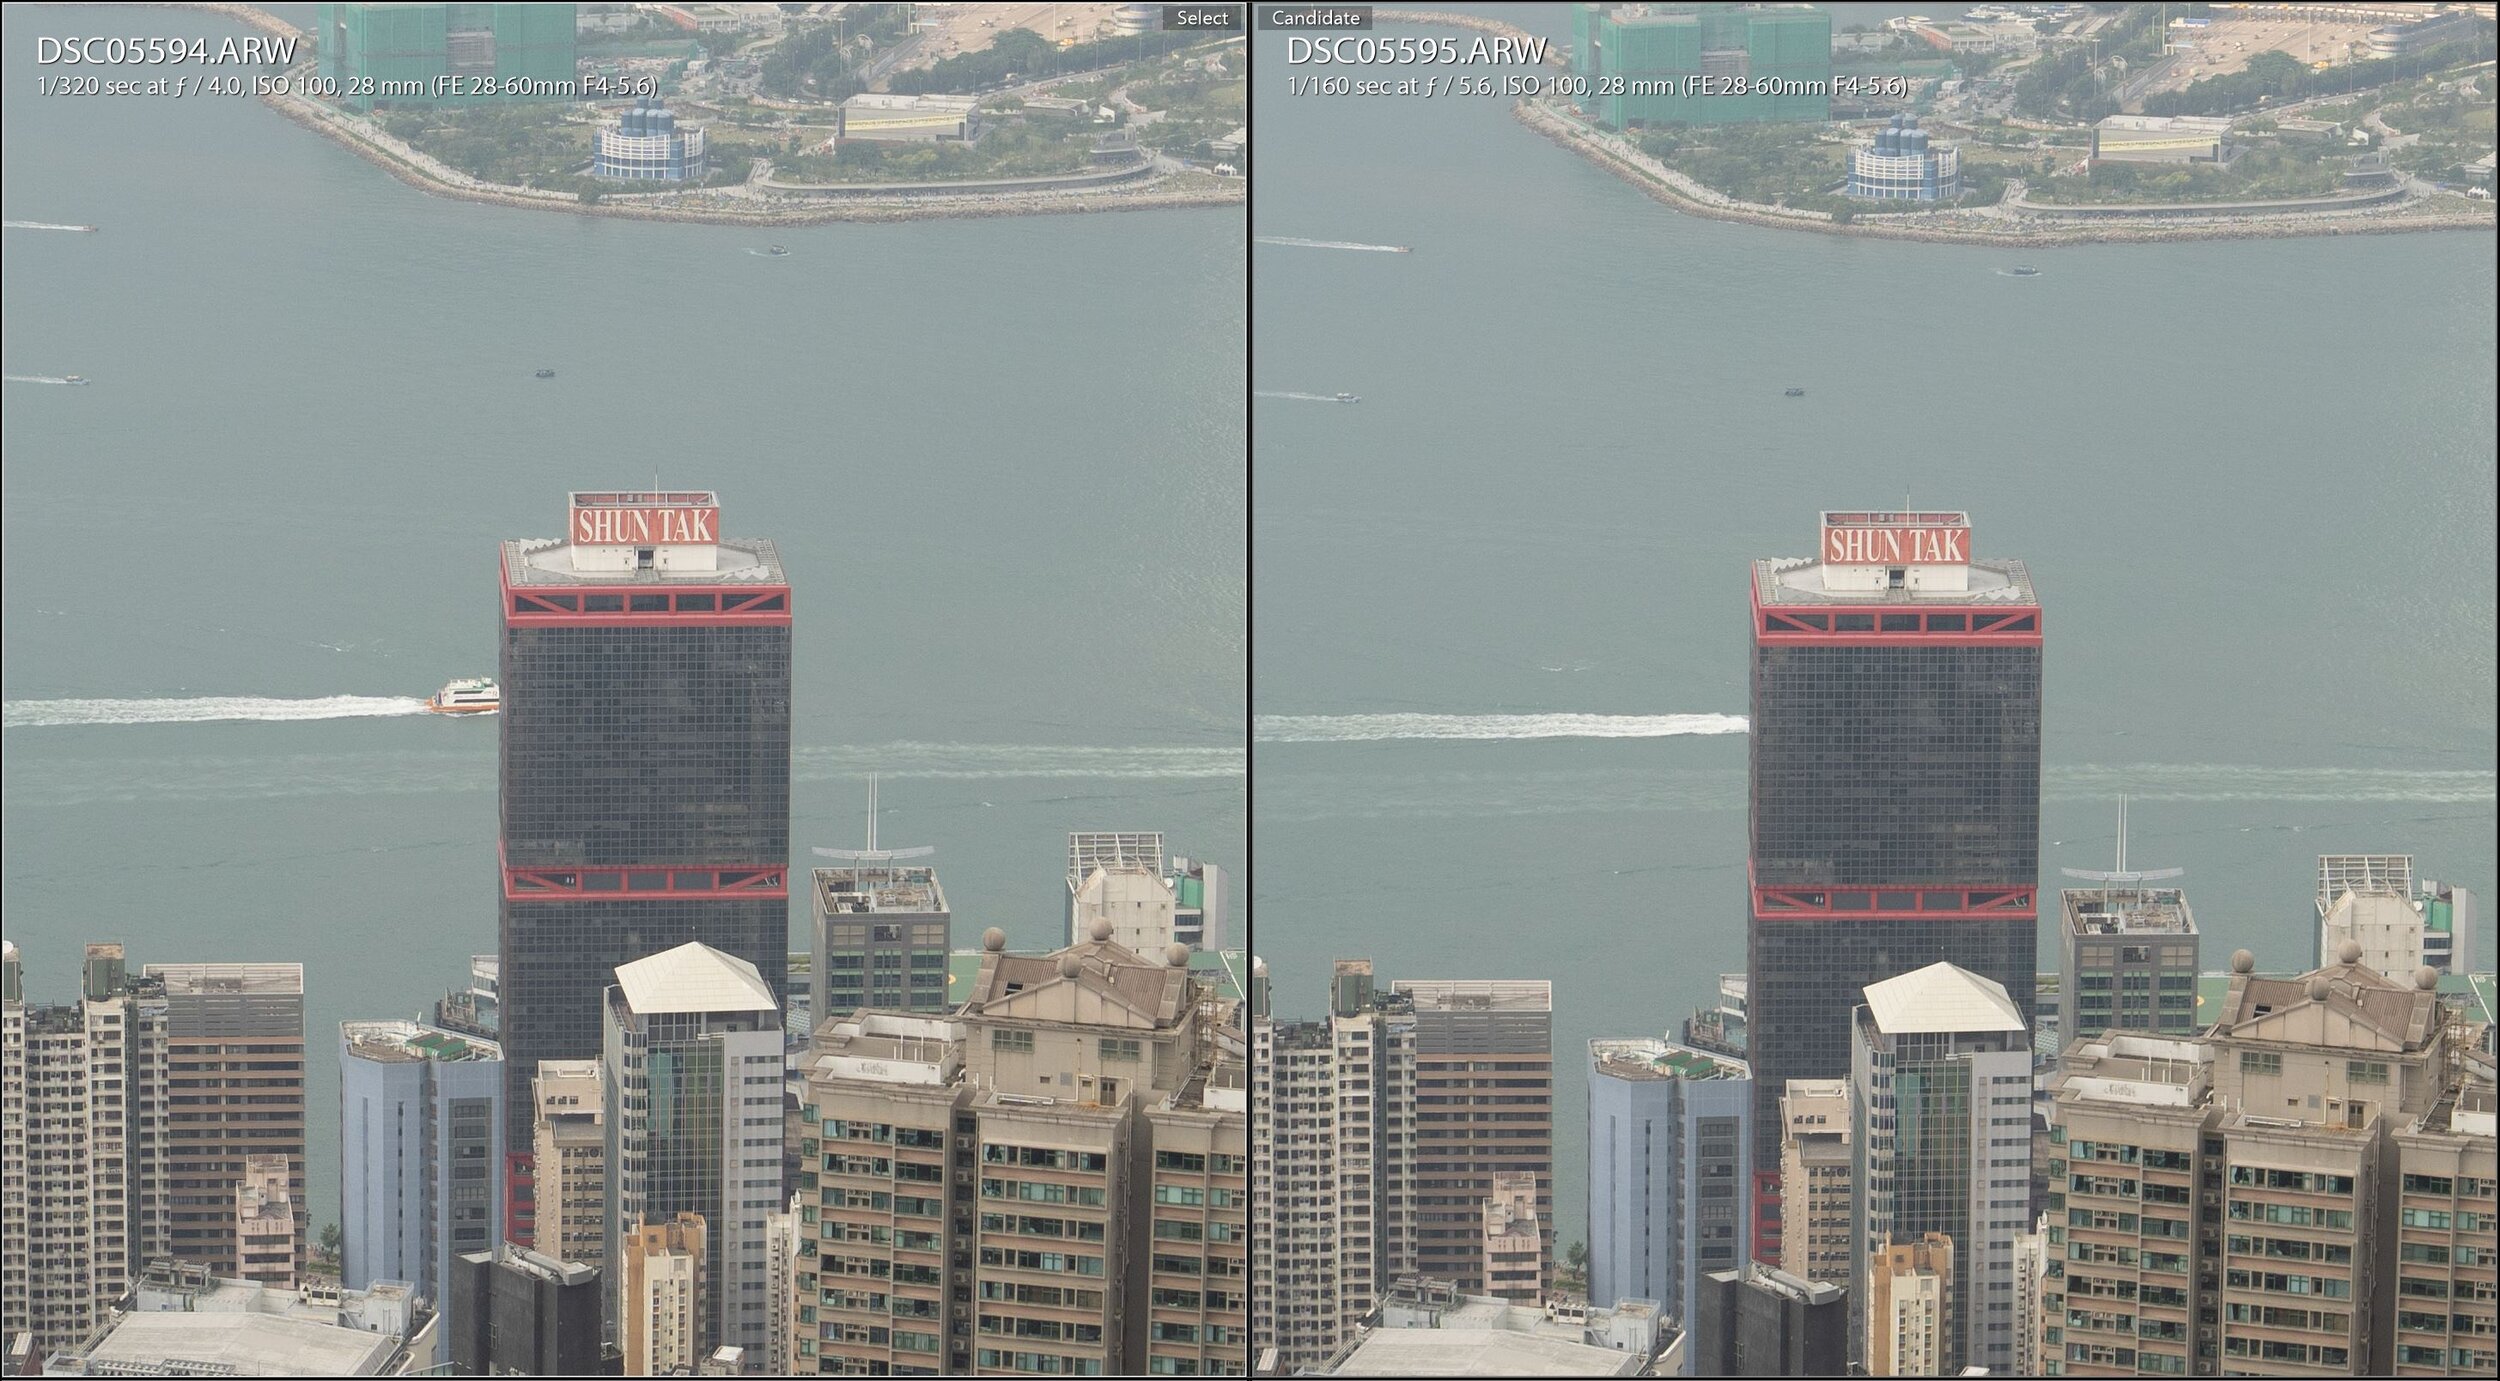
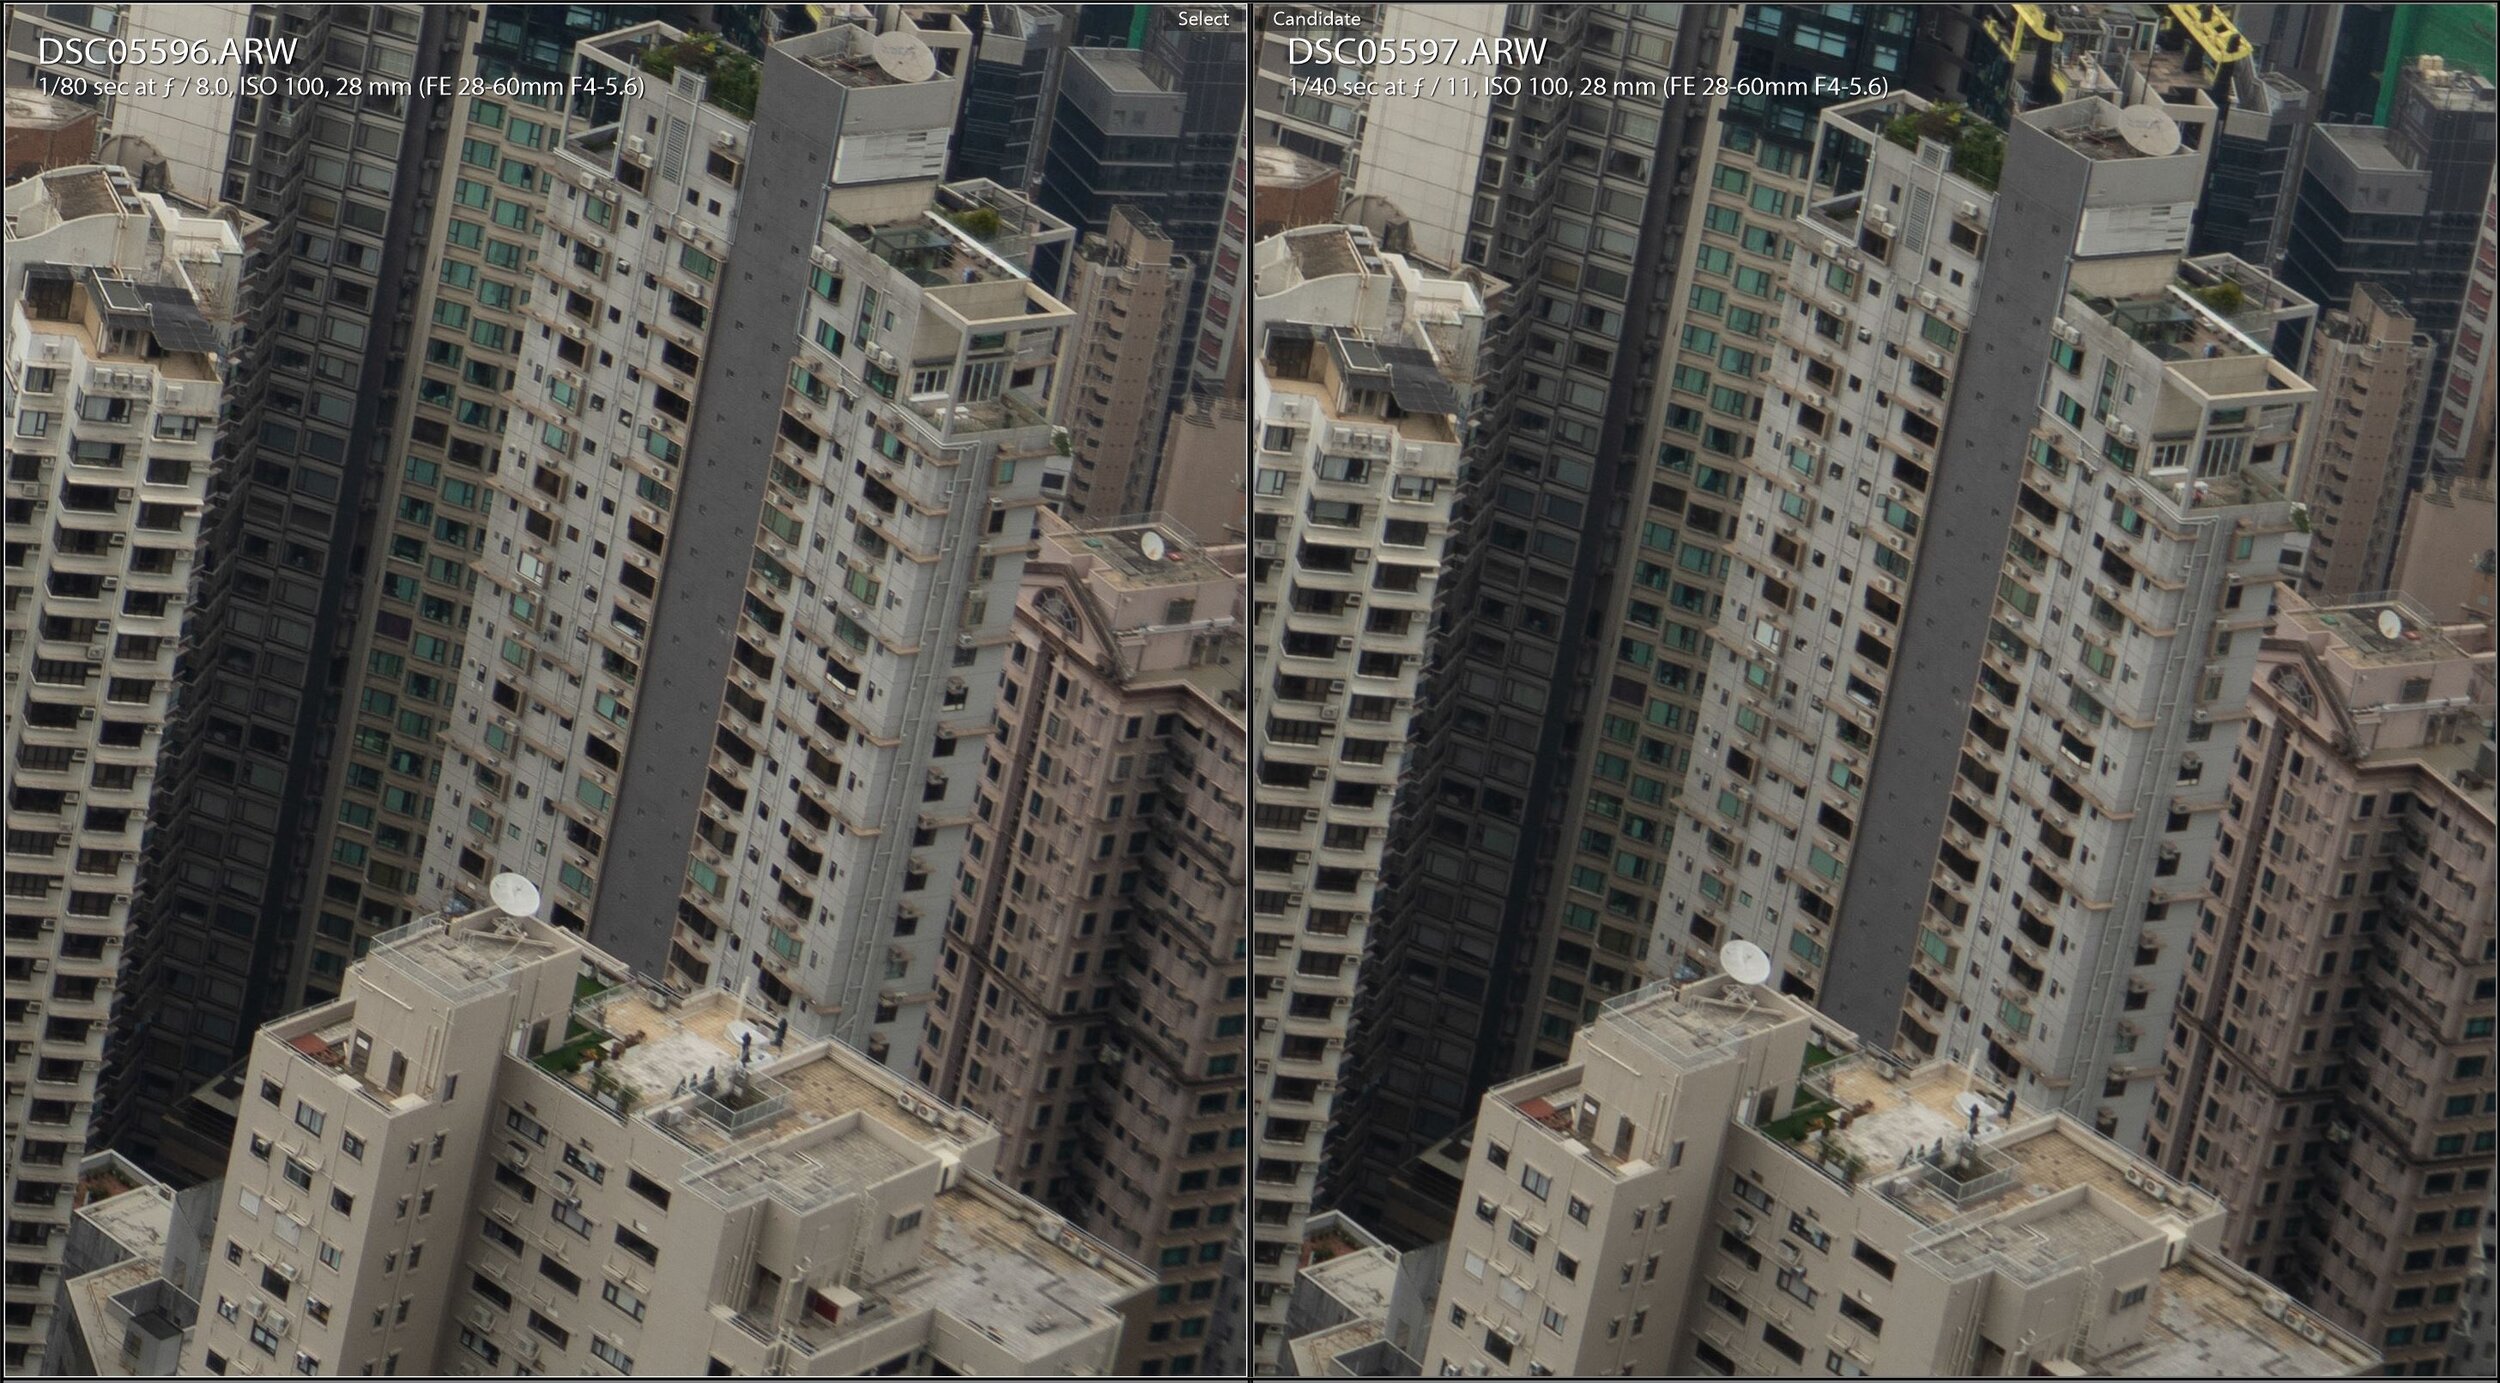
Below is a comparison on different focal lengths shot with the A7RIV. First with 28mm comparison, the center is sharp wide open at f/4, then not seeing much difference as I stepped down the aperture. The corner is soft at f/4, and gets better but still soft at f/8. The wide end seems to have weak corner.
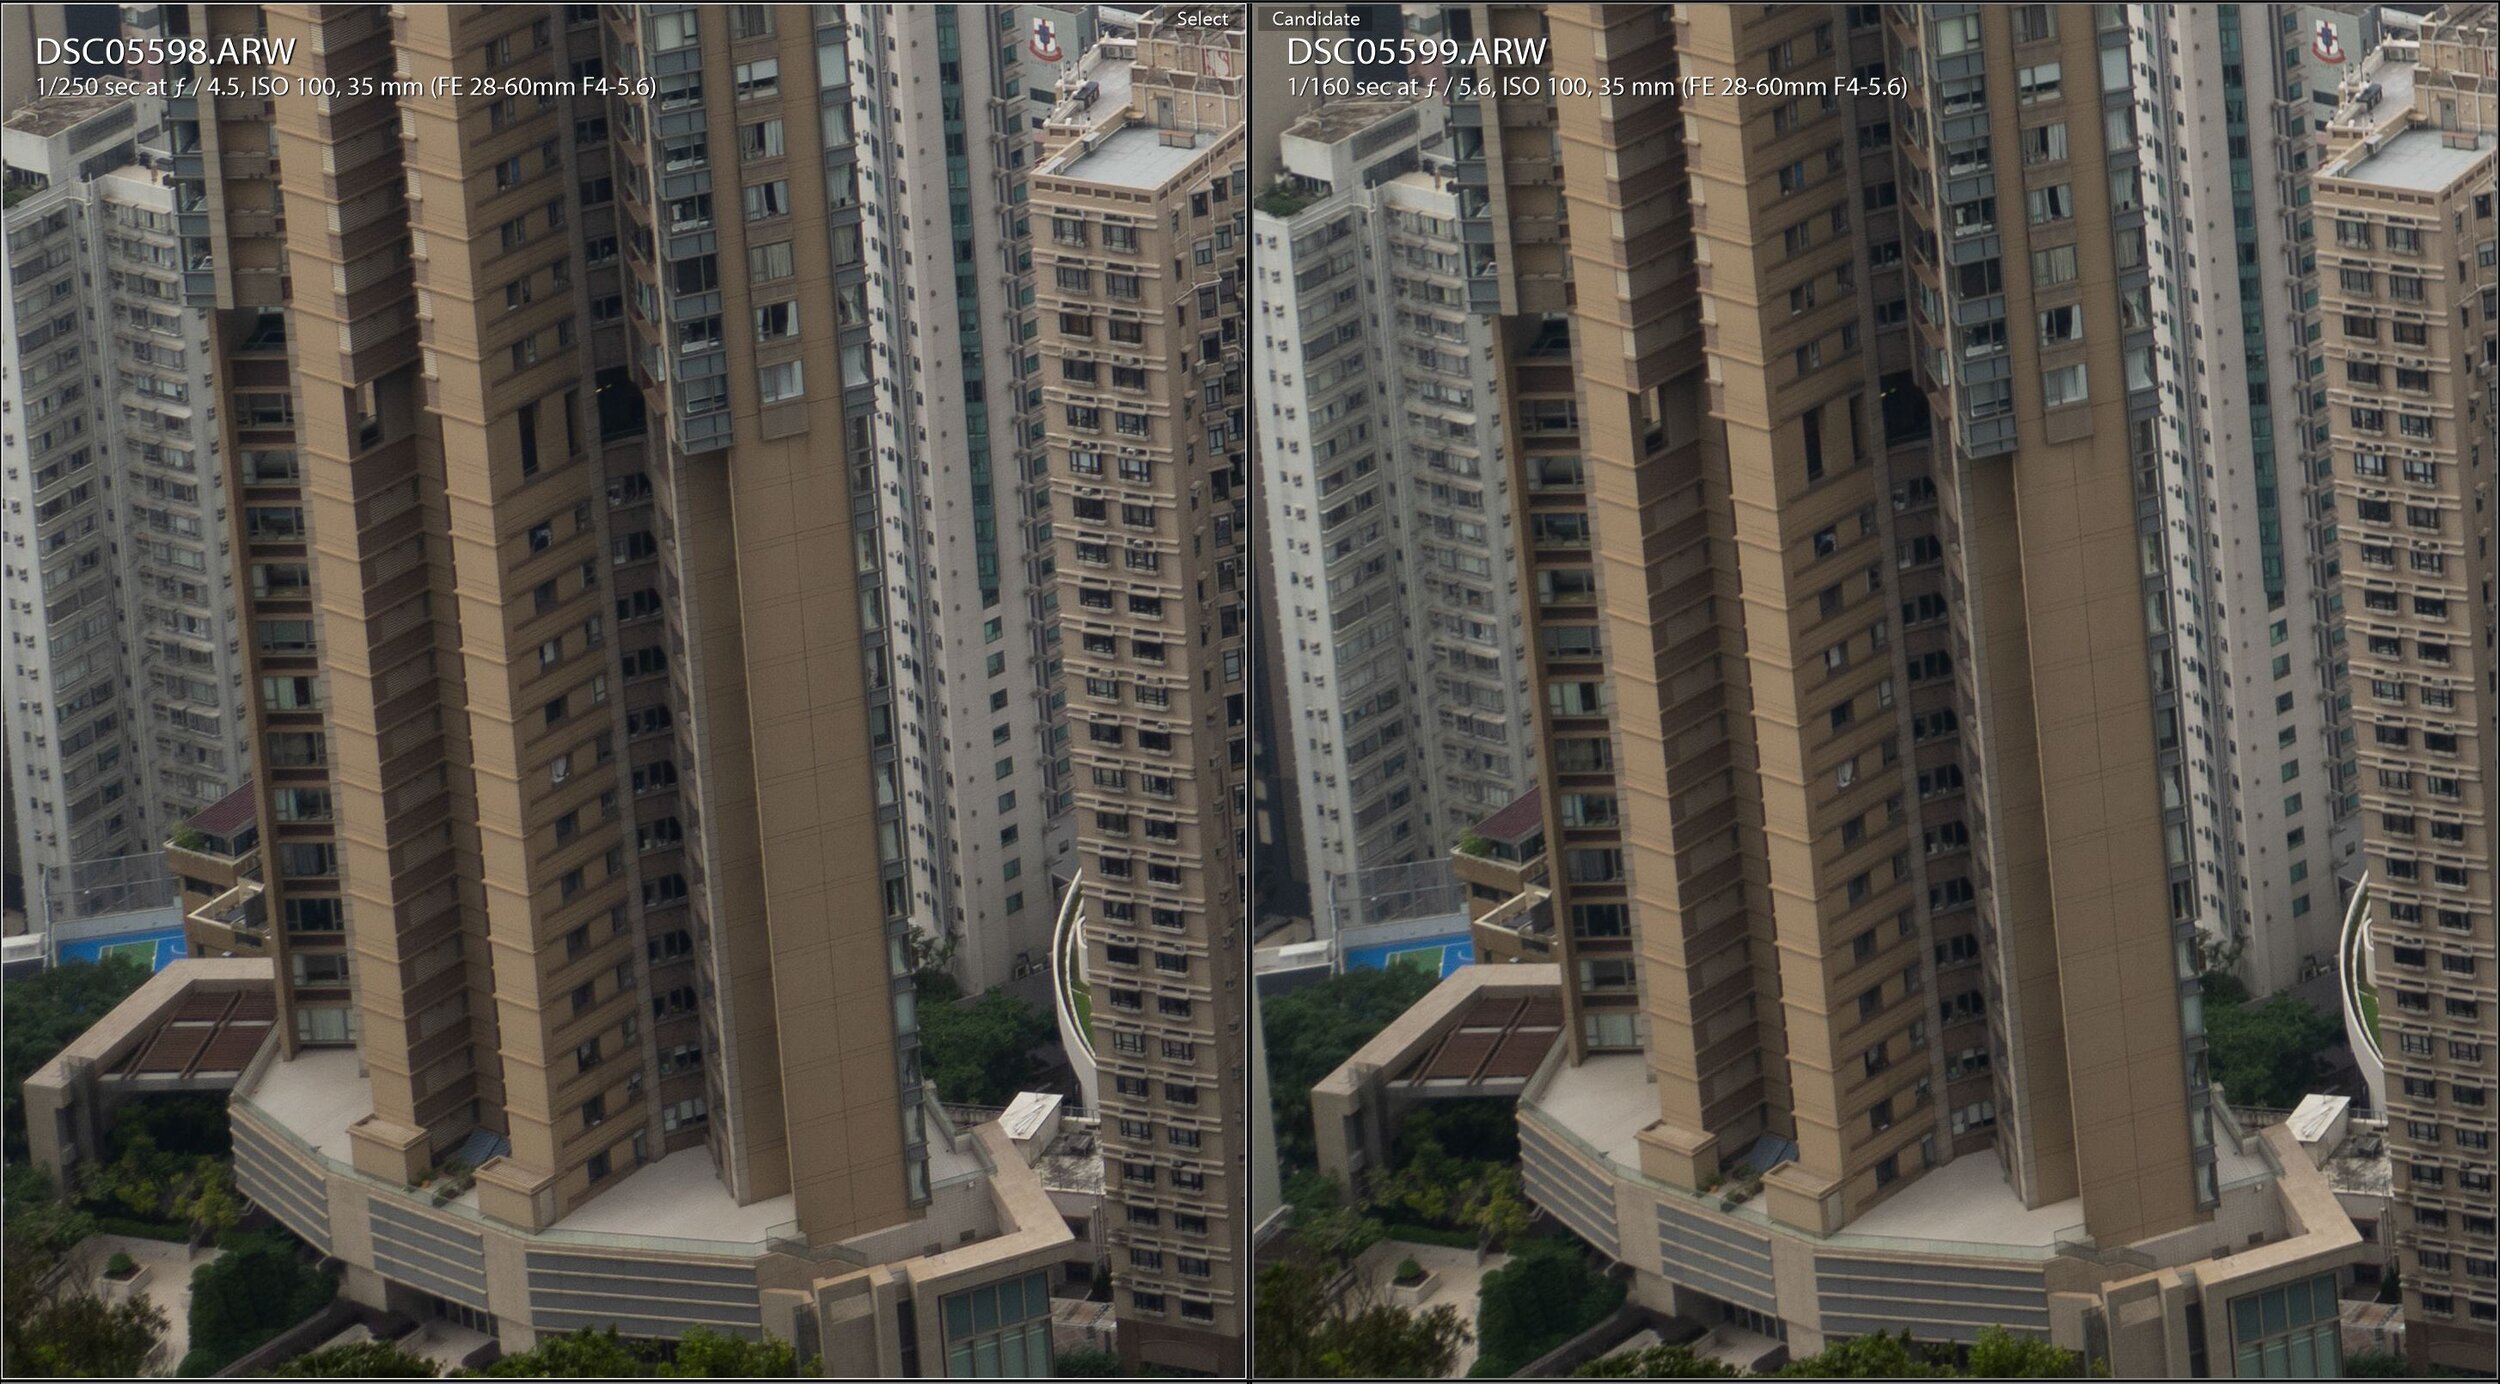
35mm comparison, starting at largest aperture @ f/4.5. The center is sharp already, and not much change stepping down the aperture. The corner is a little soft at f/4.5, and improves a little at f/8.
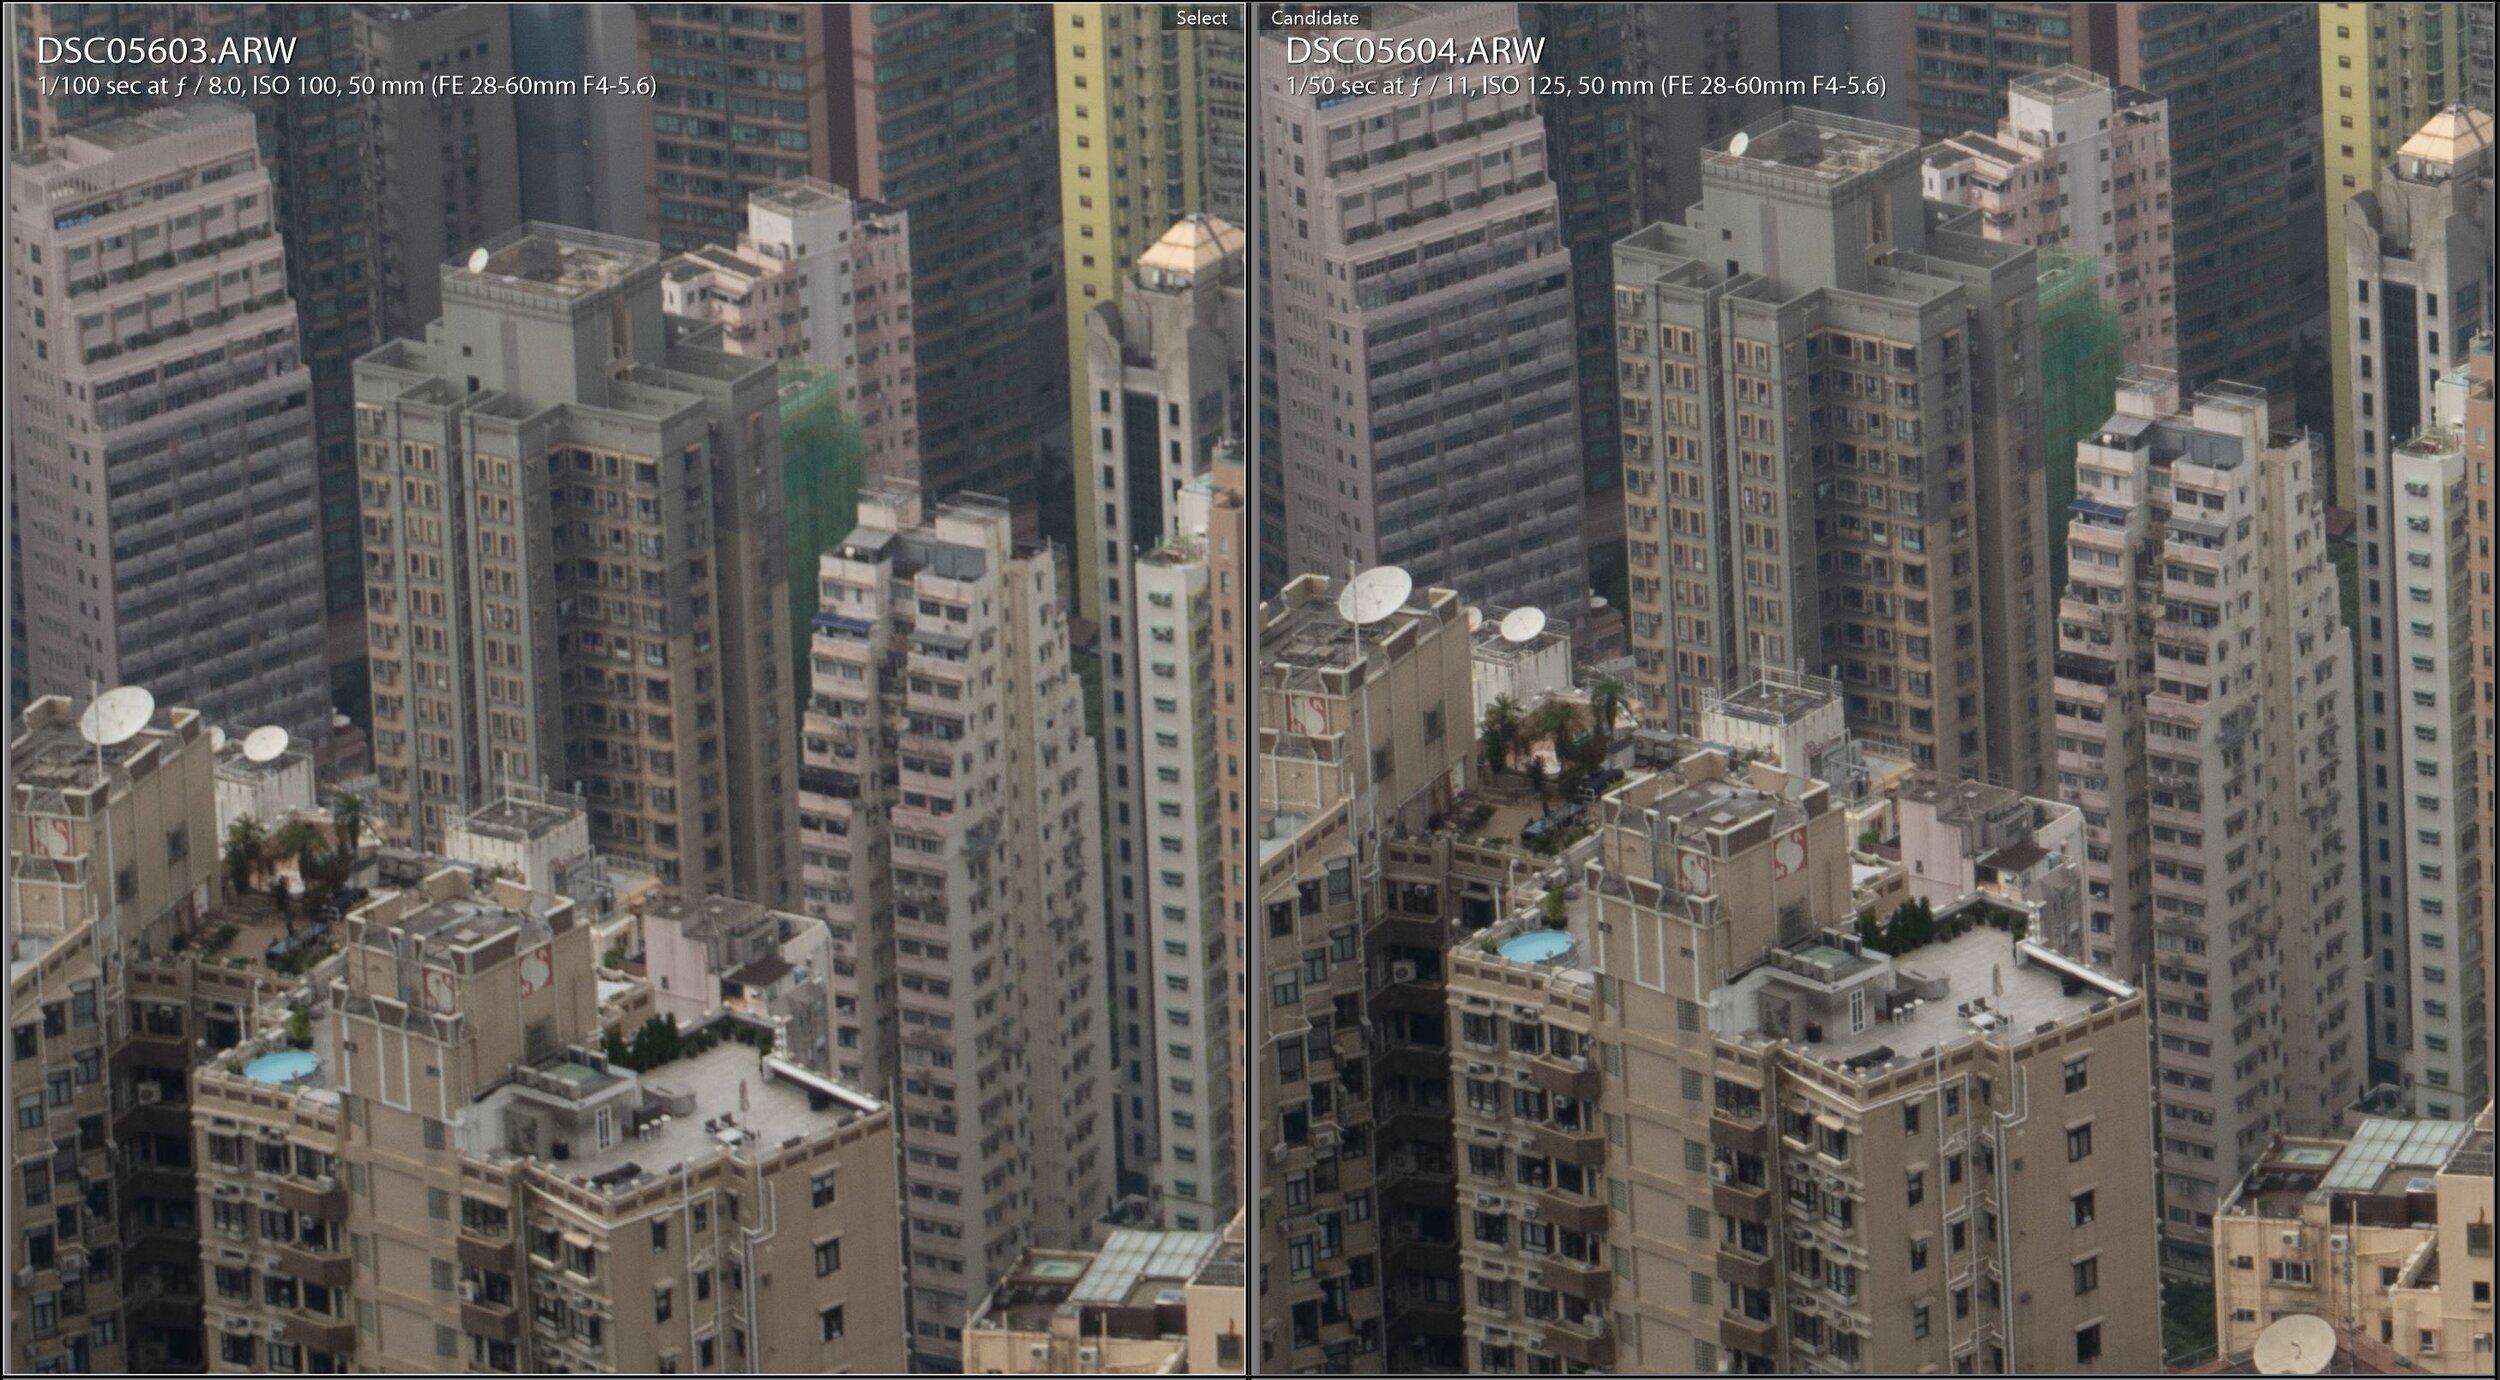
50mm comparison, starting at f/5.6. Just like before, good center and soft corner wide open. The corner gets better at f/11.
60mm comparison, starting at f/5.6. Center is good and soft corner wide open. Corner gets better at f/11.
VS 24-70GM
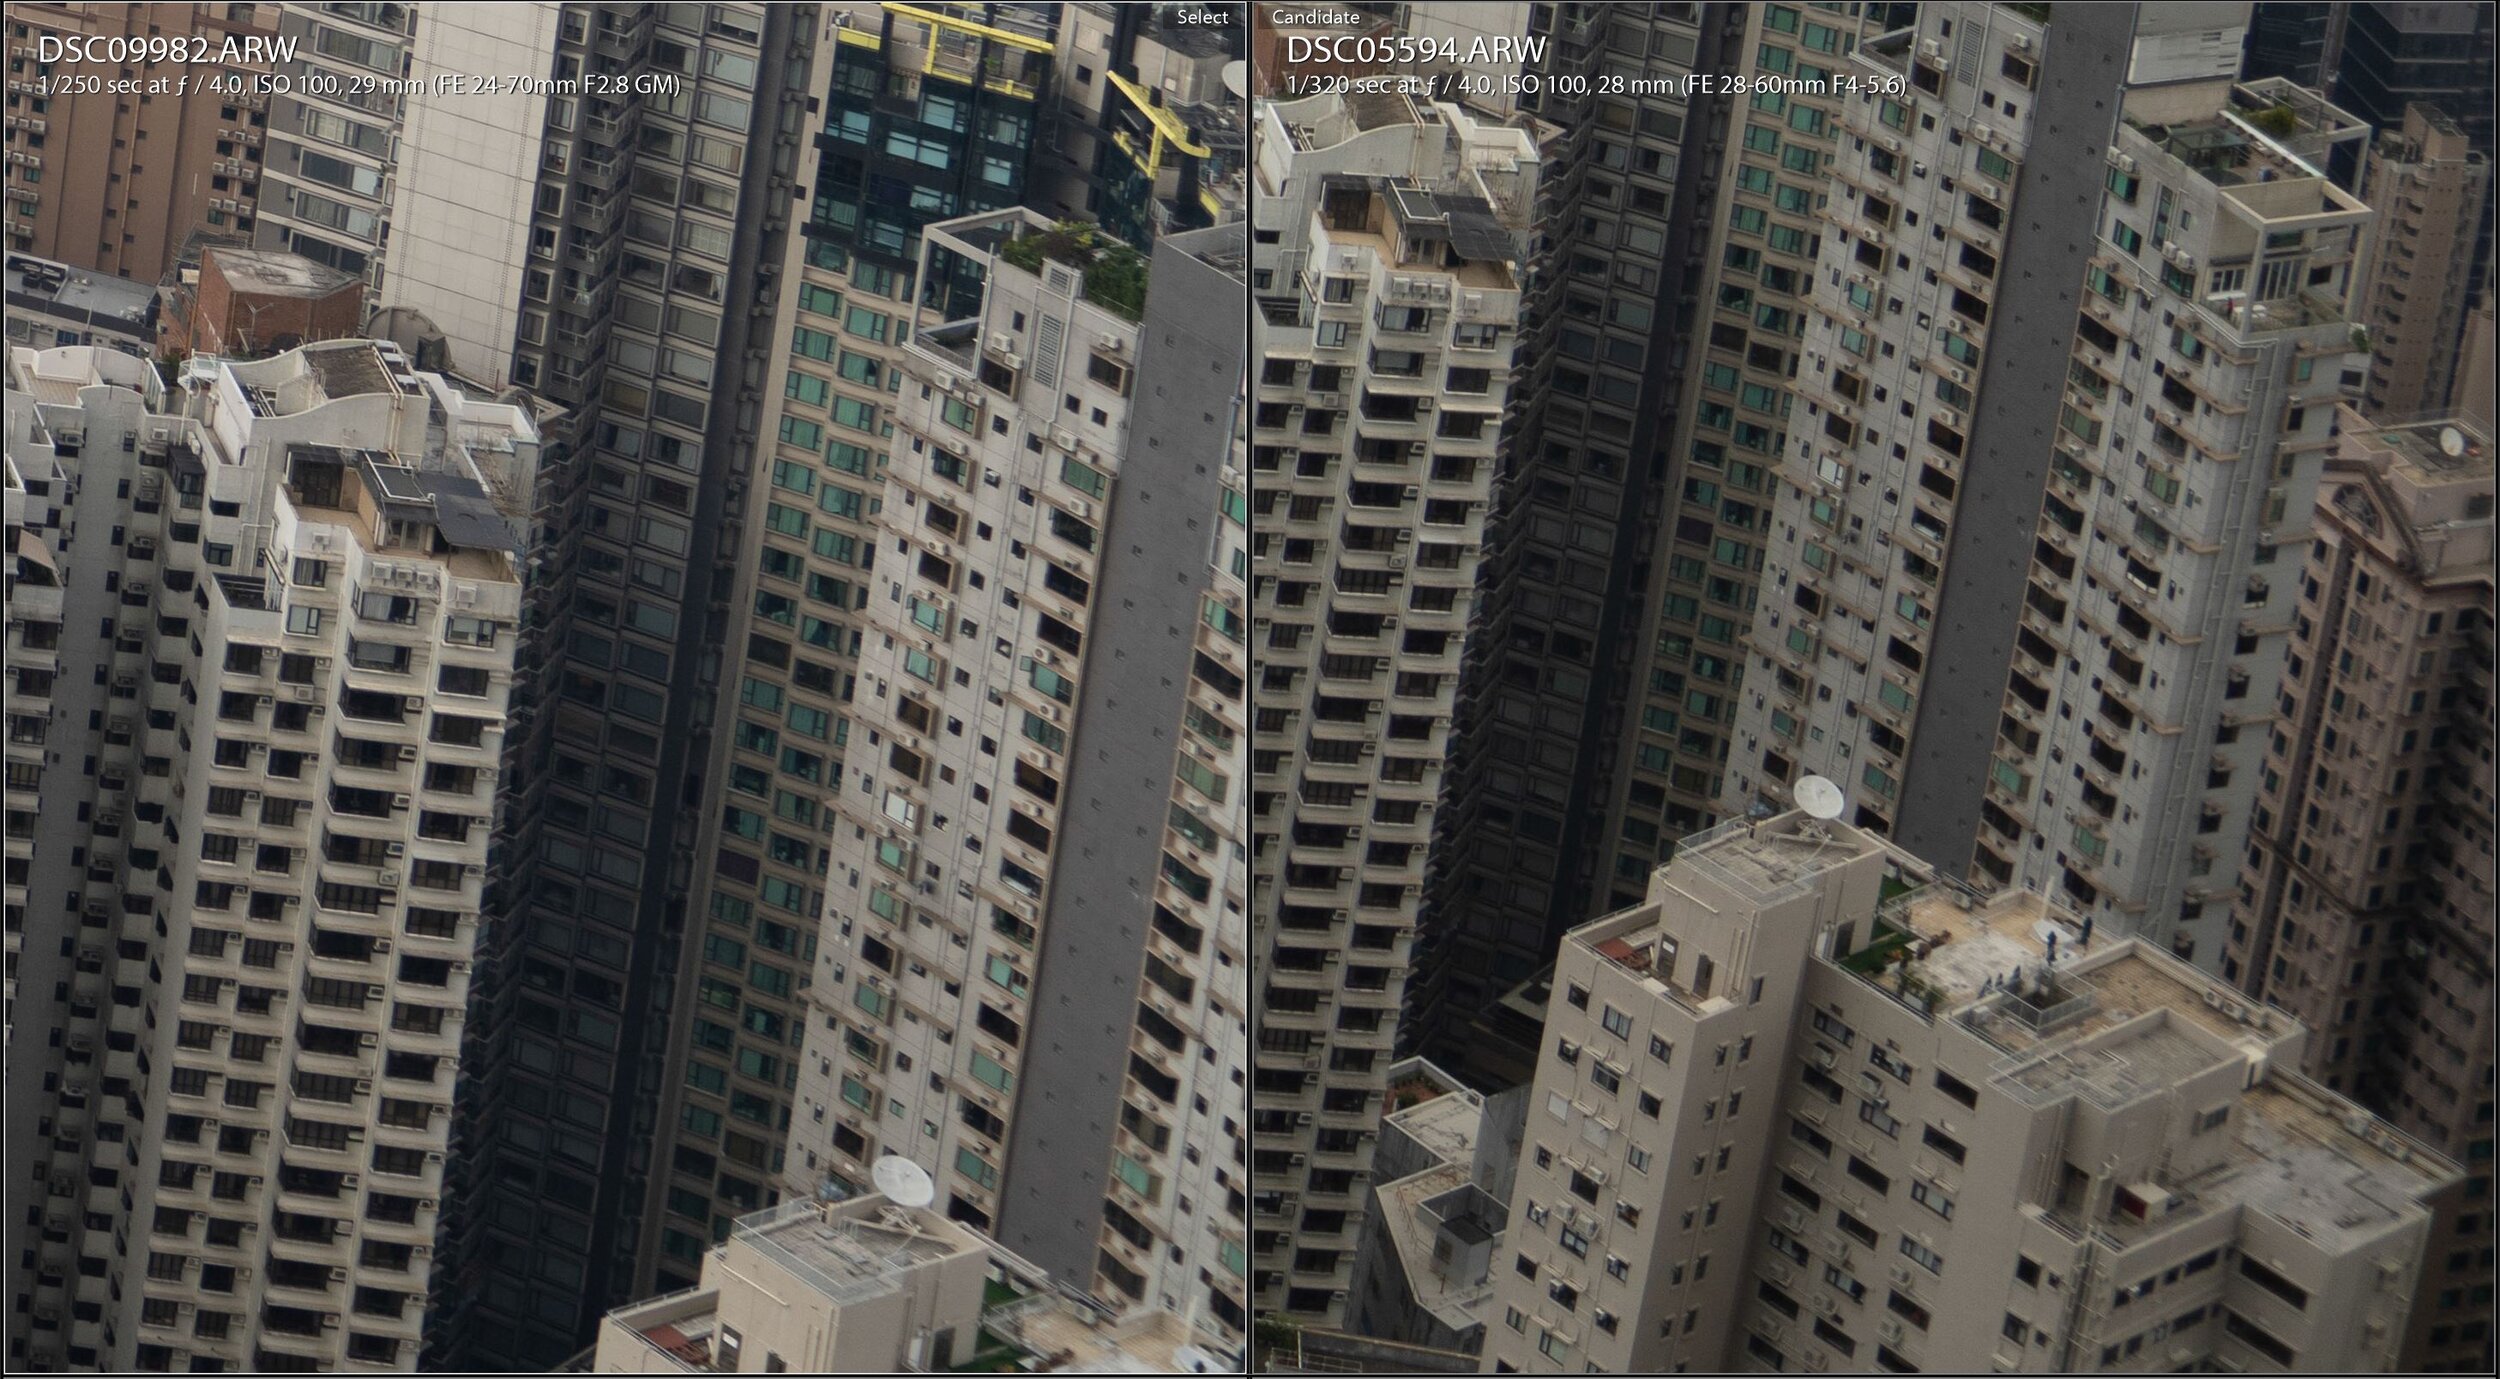
It is quite difficult to tell how good this lens is unless compared against another lens. I have used the 2470GM as baseline for comparison on 28mm and 50mm shooting at f/4 and f/5.6. At the wide end, the center is pretty similar and the GM has better corner. On the telephoto side, GM has better center and corner.
Please look at the sample photos (you can click on the pic to see a larger view) and draw your own conclusion. I find it hard to find significant fault on the SEL2860. The performance is pretty consistent, and only weaker on the corner. Given that this is only a kit lens and its compact size, I am impressed with the performance.
Focus Breathing and Parafocal Test
I have tested these in manual focus with the A7C. I am not a video shooter, but I don’t find any significant focus breathing at 28mm and 60mm. It also seems to be parafocal as well, but it is hard to tell with f/5.6. Please see below sample video:
Conclusion
The FE 28-60mm f/4-5.6, SEL2860, is an interesting lens. I really enjoy its light weight and compact size. It is quite nice that Sony has included dust and moisture resistance on this collapsible lens, which otherwise would worry me with it sucking in dusts. The lens has much better performance expected. The center is nice across the range, and only has slightly weaker corner.
This lens has a practical focal range from 28mm to 60mm, but I would prefer to have 24mm to 50mm like the Nikon Z-mount kit lens. 24mm on the wide end would make it more suitable for vlogging and landscape/indoor shot. 60mm vs 50mm is a not significant difference on the tele side anyway.
Overall, this lens is a great option for people looking for a compact zoom lens to travel with. It is worth picking this kit lens up with the body. I hope to see Sony make a compact line of lens like this one.
Sample Gallery (mostly shot with the A7C)
Sony ZV-1 VLOG Camera Review
ZV-1
Sony ZV-1 Camera (ZV-1)
Announced- May 2020, $800 USD
Pro
Articulating Screen/Hot Shoes
Great Autofocus
User Friendly VLog Features
Con
No EVF
Micro USB, not type C
Limited Control Dial
Could use a wider lens for VLog
I bought the ZV-1 at launch because I wanted to get more into shooting more videos. I have enjoyed the RX-100 series before with the small size and great image quality. The new flip screen, new hot shoes mount, and paired with the old RX-100 V lens makes it an interesting option. I will go how the ZV-1 in both still and video sides.
What’s included
There are just 2 accessories inlcuded, micro USB cable, and the dead cat wind shield.
Body
The plastic body is 105.5mm wide x 43.5mm thick x 60mm tall, weight at 294g. It is a plastic construction, and there is a grip on the right side of the body. The build quality is quite nice and light, feel sturdy without much flex.
The biggest change compared to the previous Sony camera is the new 7.5 cm articulating screen, which is a first for Sony RX and Alpha series. The screen can flip forward at 176 deg, and rotate upward and downward at about 270 deg. The screen is 921600 dots, so about 640 x 480 resolution.
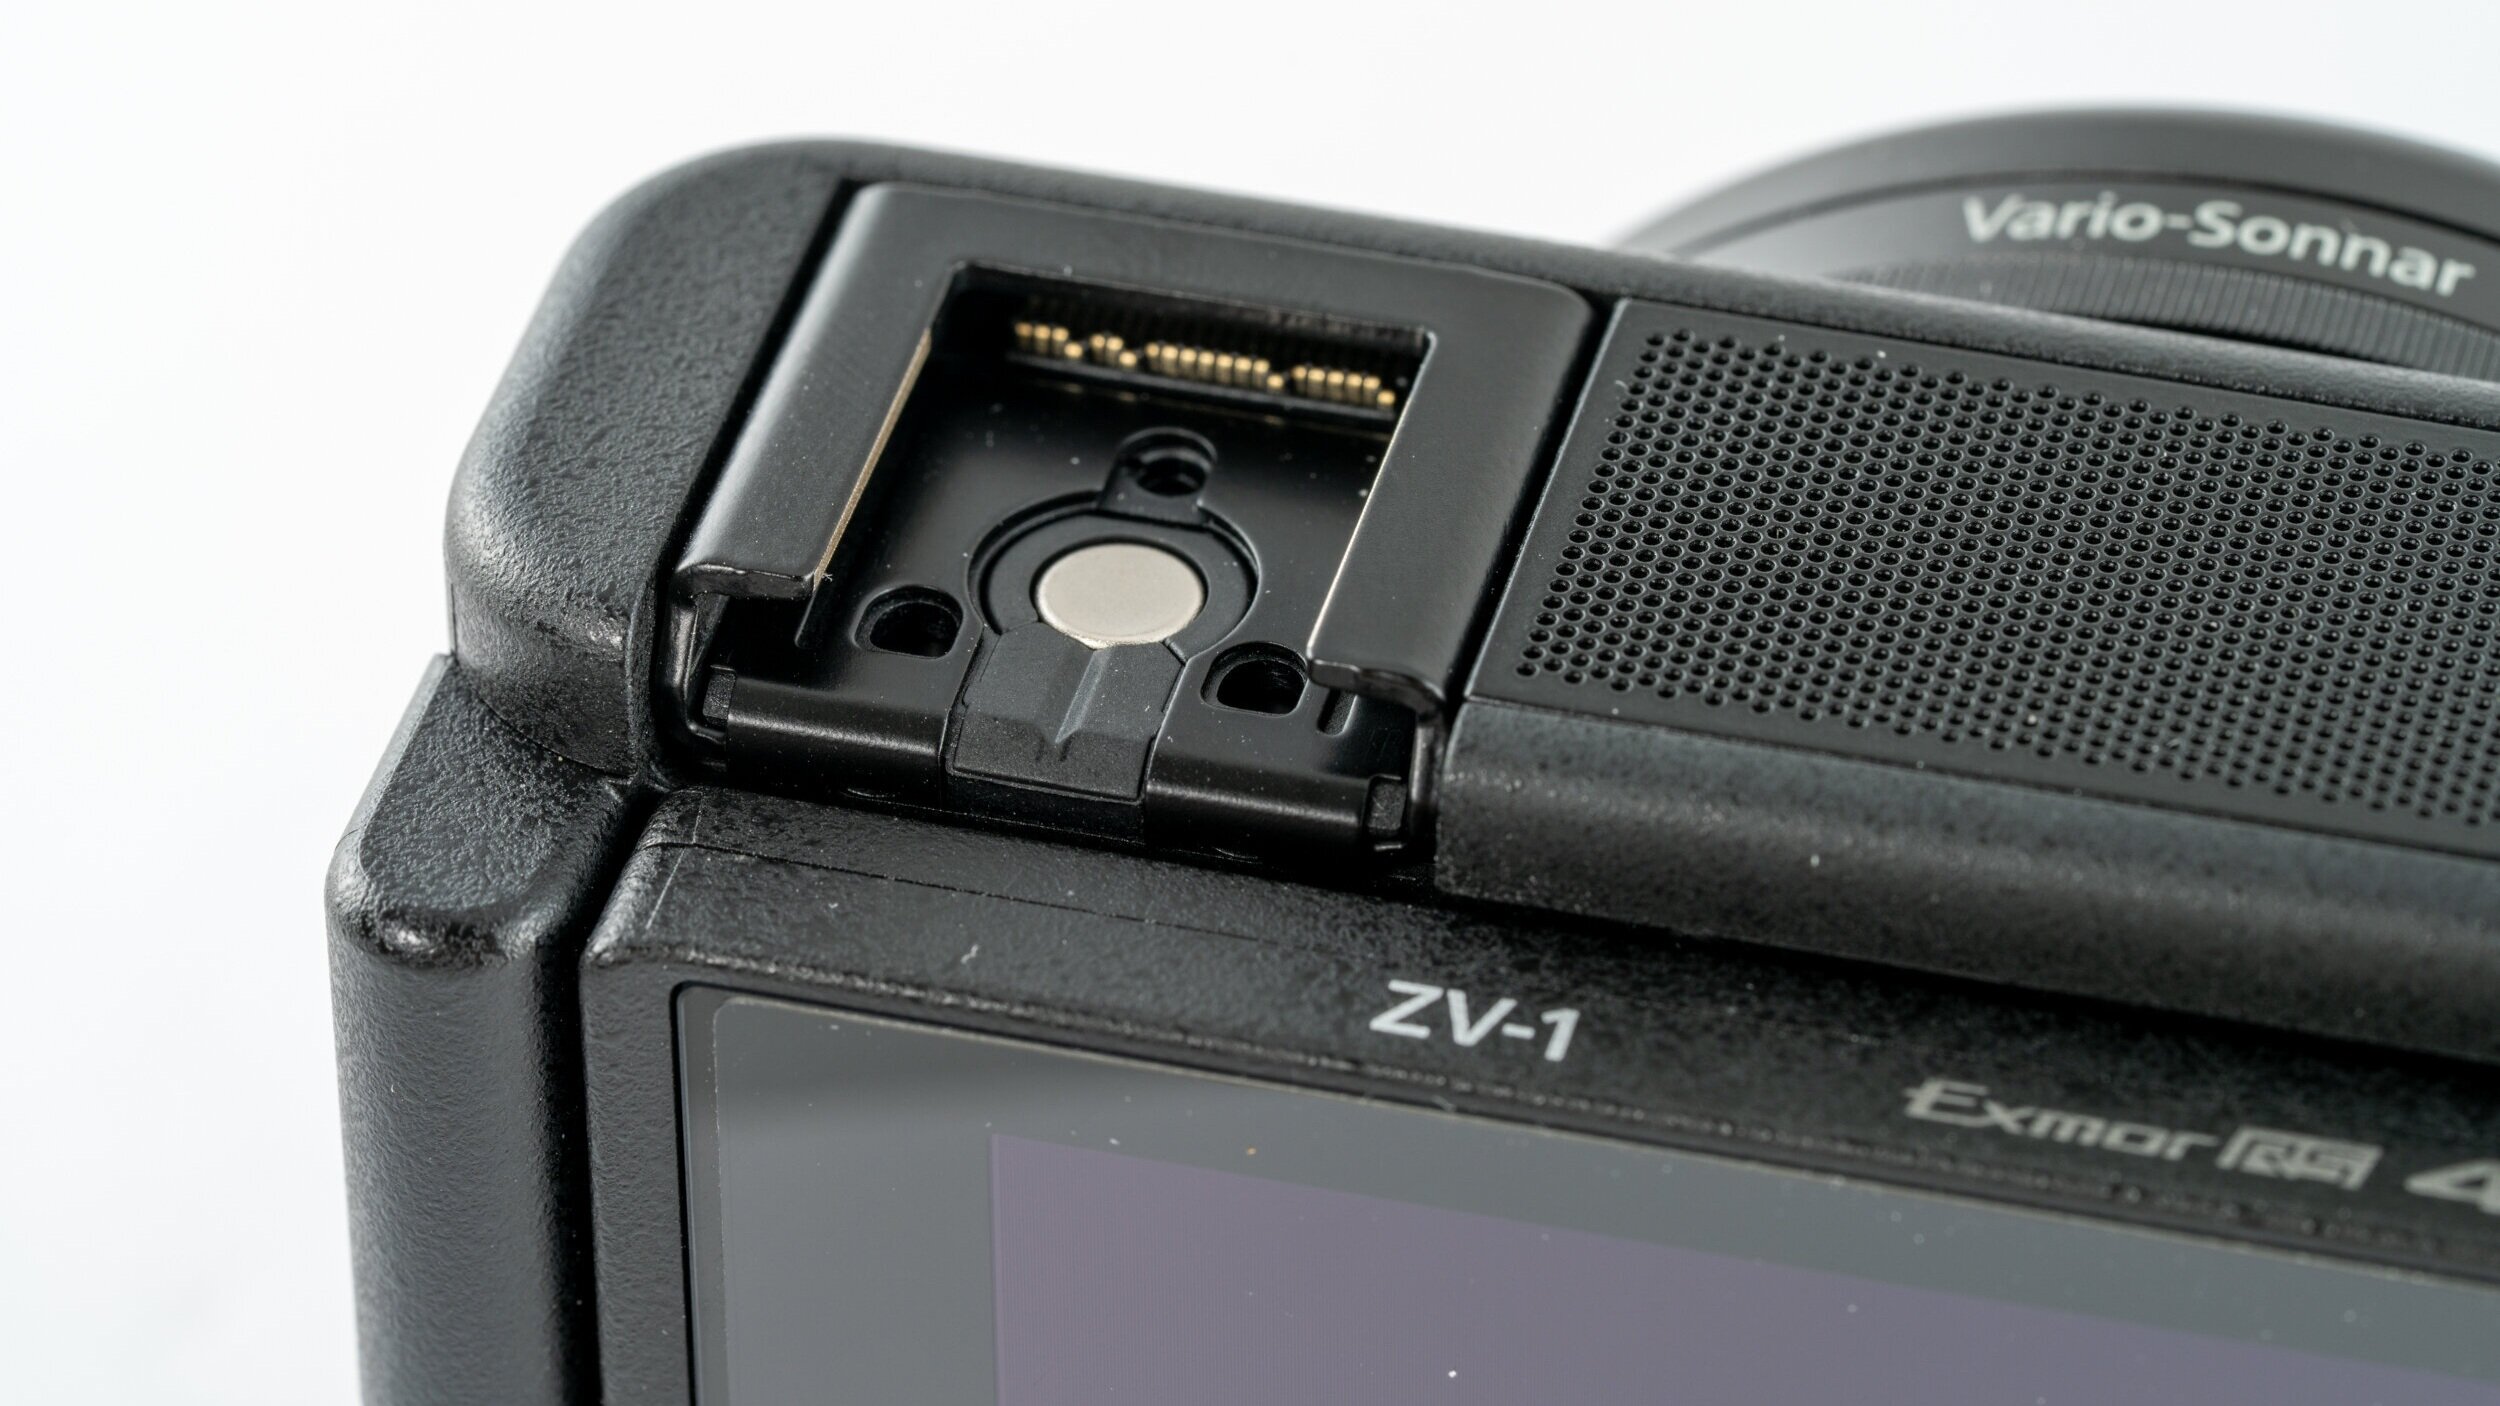
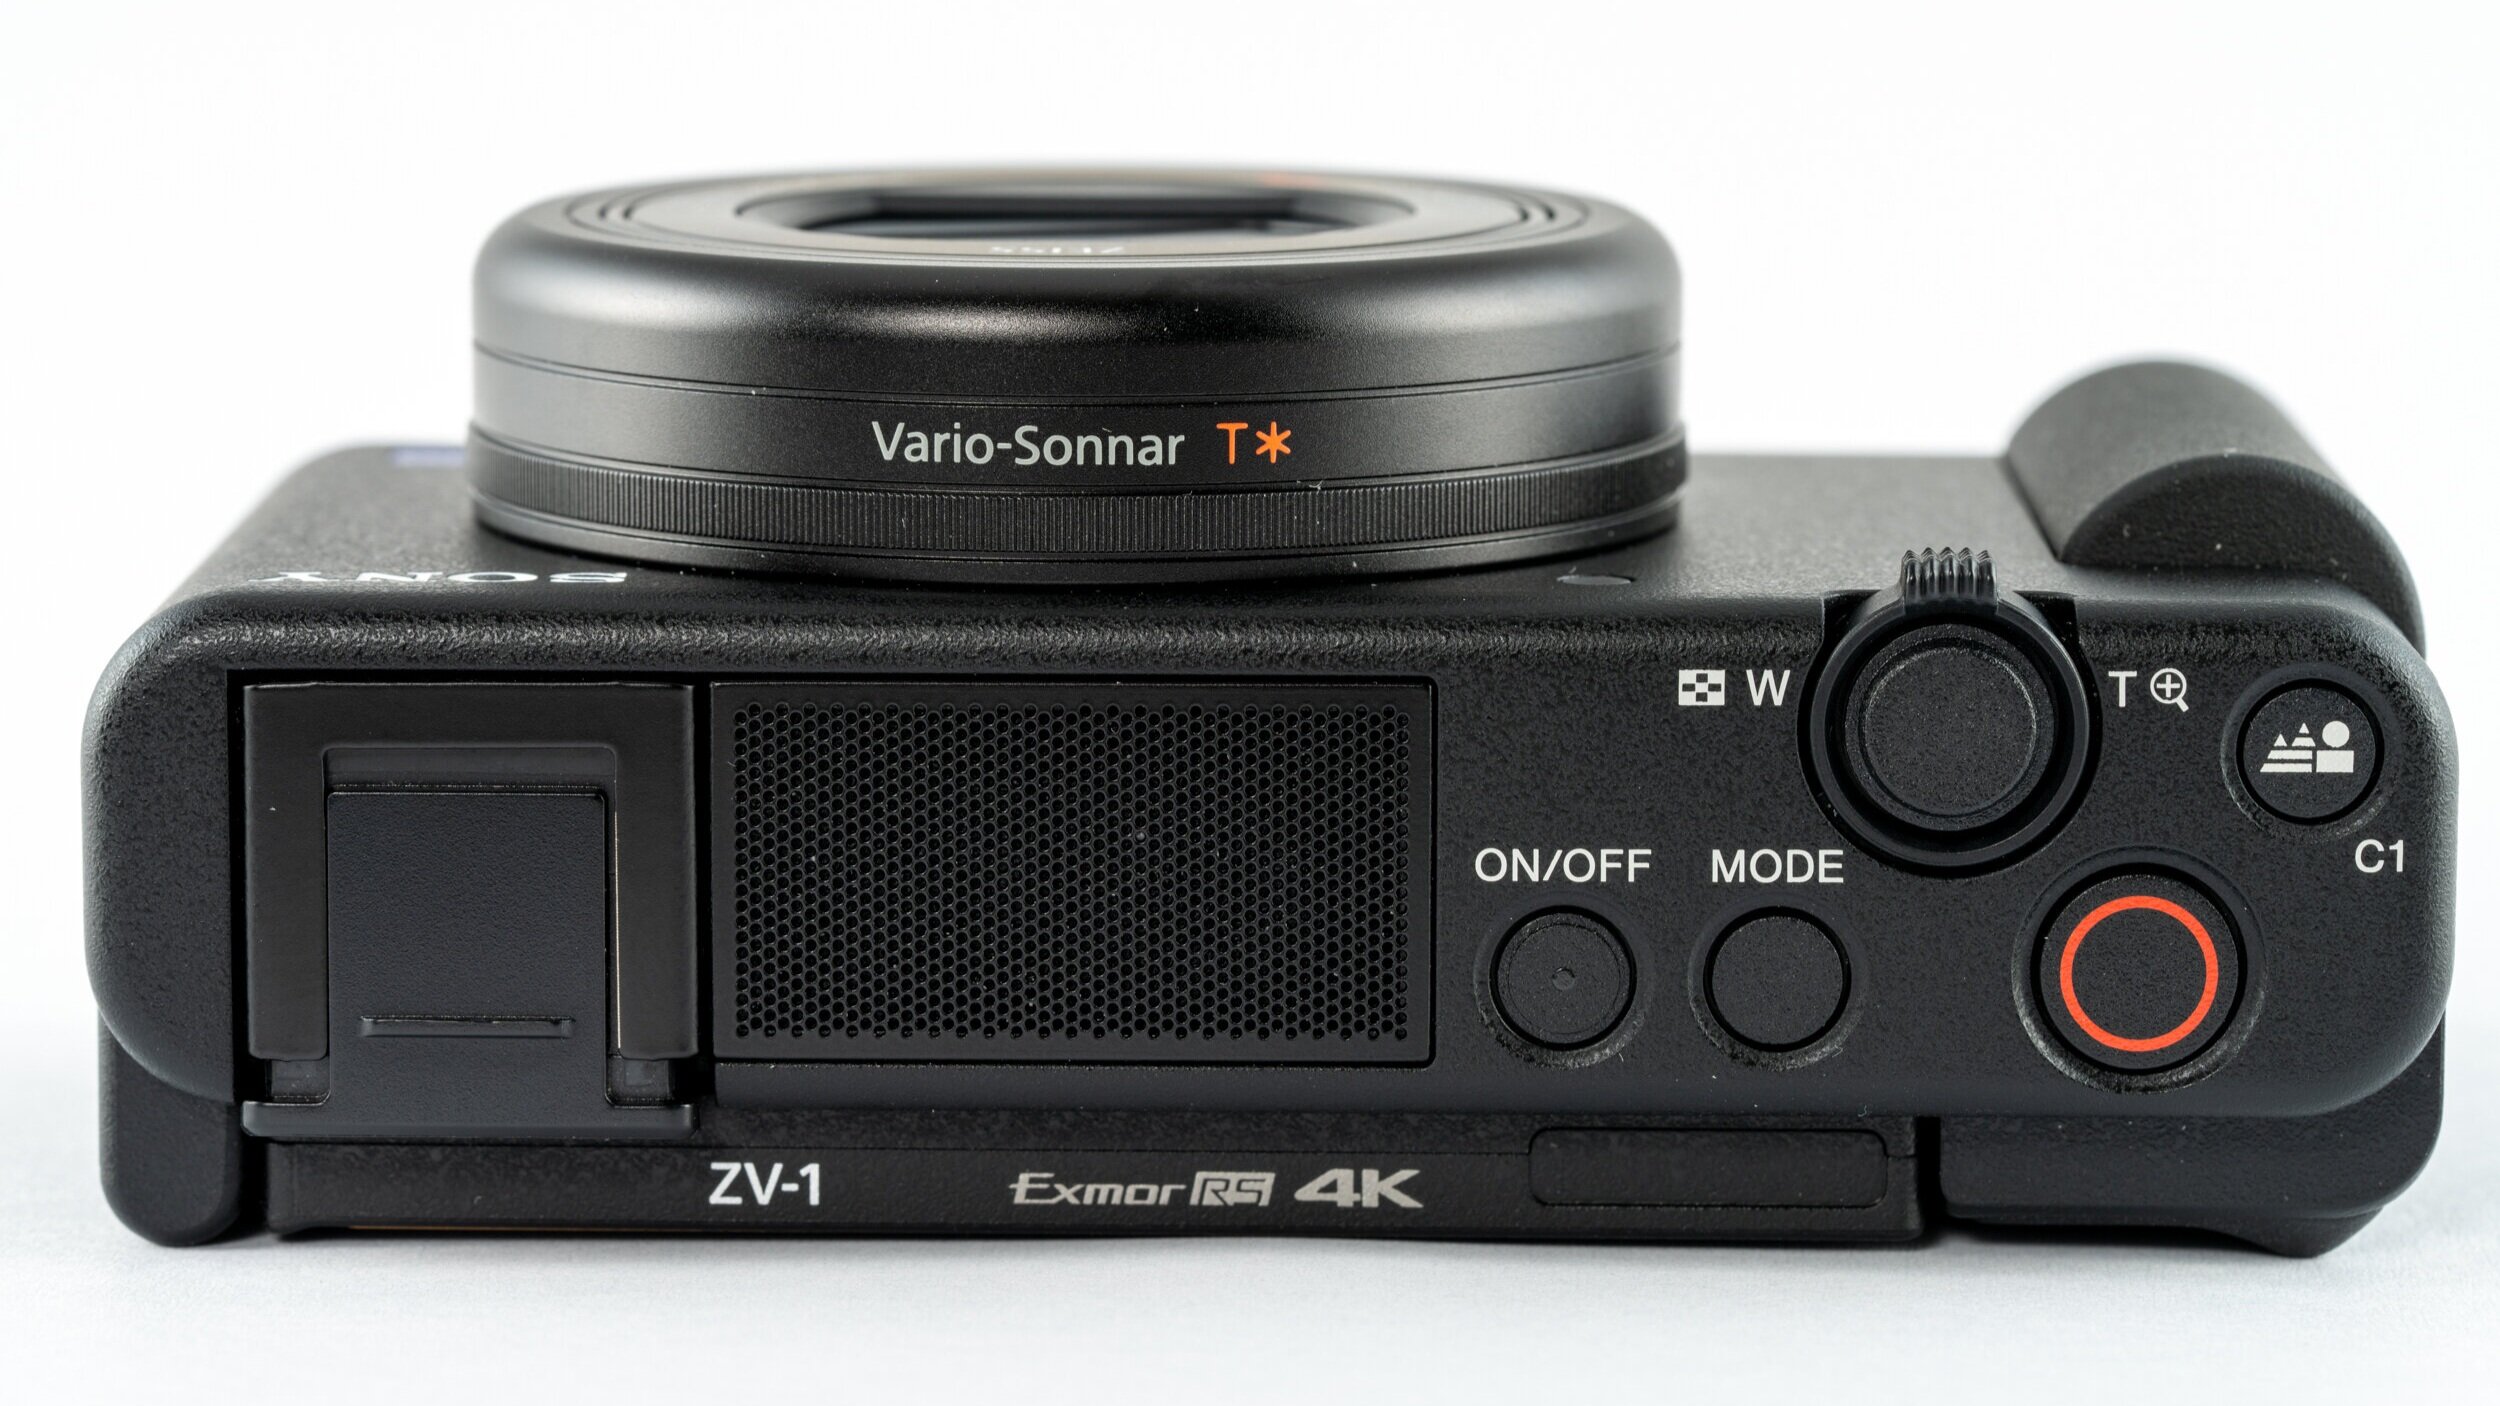
There is also a hot shoes on the top left, which replaced the pop-up EVF that was previously in the RX100 cameras. This can be used for audio accessories, and flash. This is a welcoming change for video shooter to allow easy selfies.
The mash in the middle houses the three-capsule mic, which replaced the pop-up flash on the RX100. The mode dial has been replaced with a big red record and mode buttons. The C1 on the right is the background defocus button. These changes are clearly for video shooters.
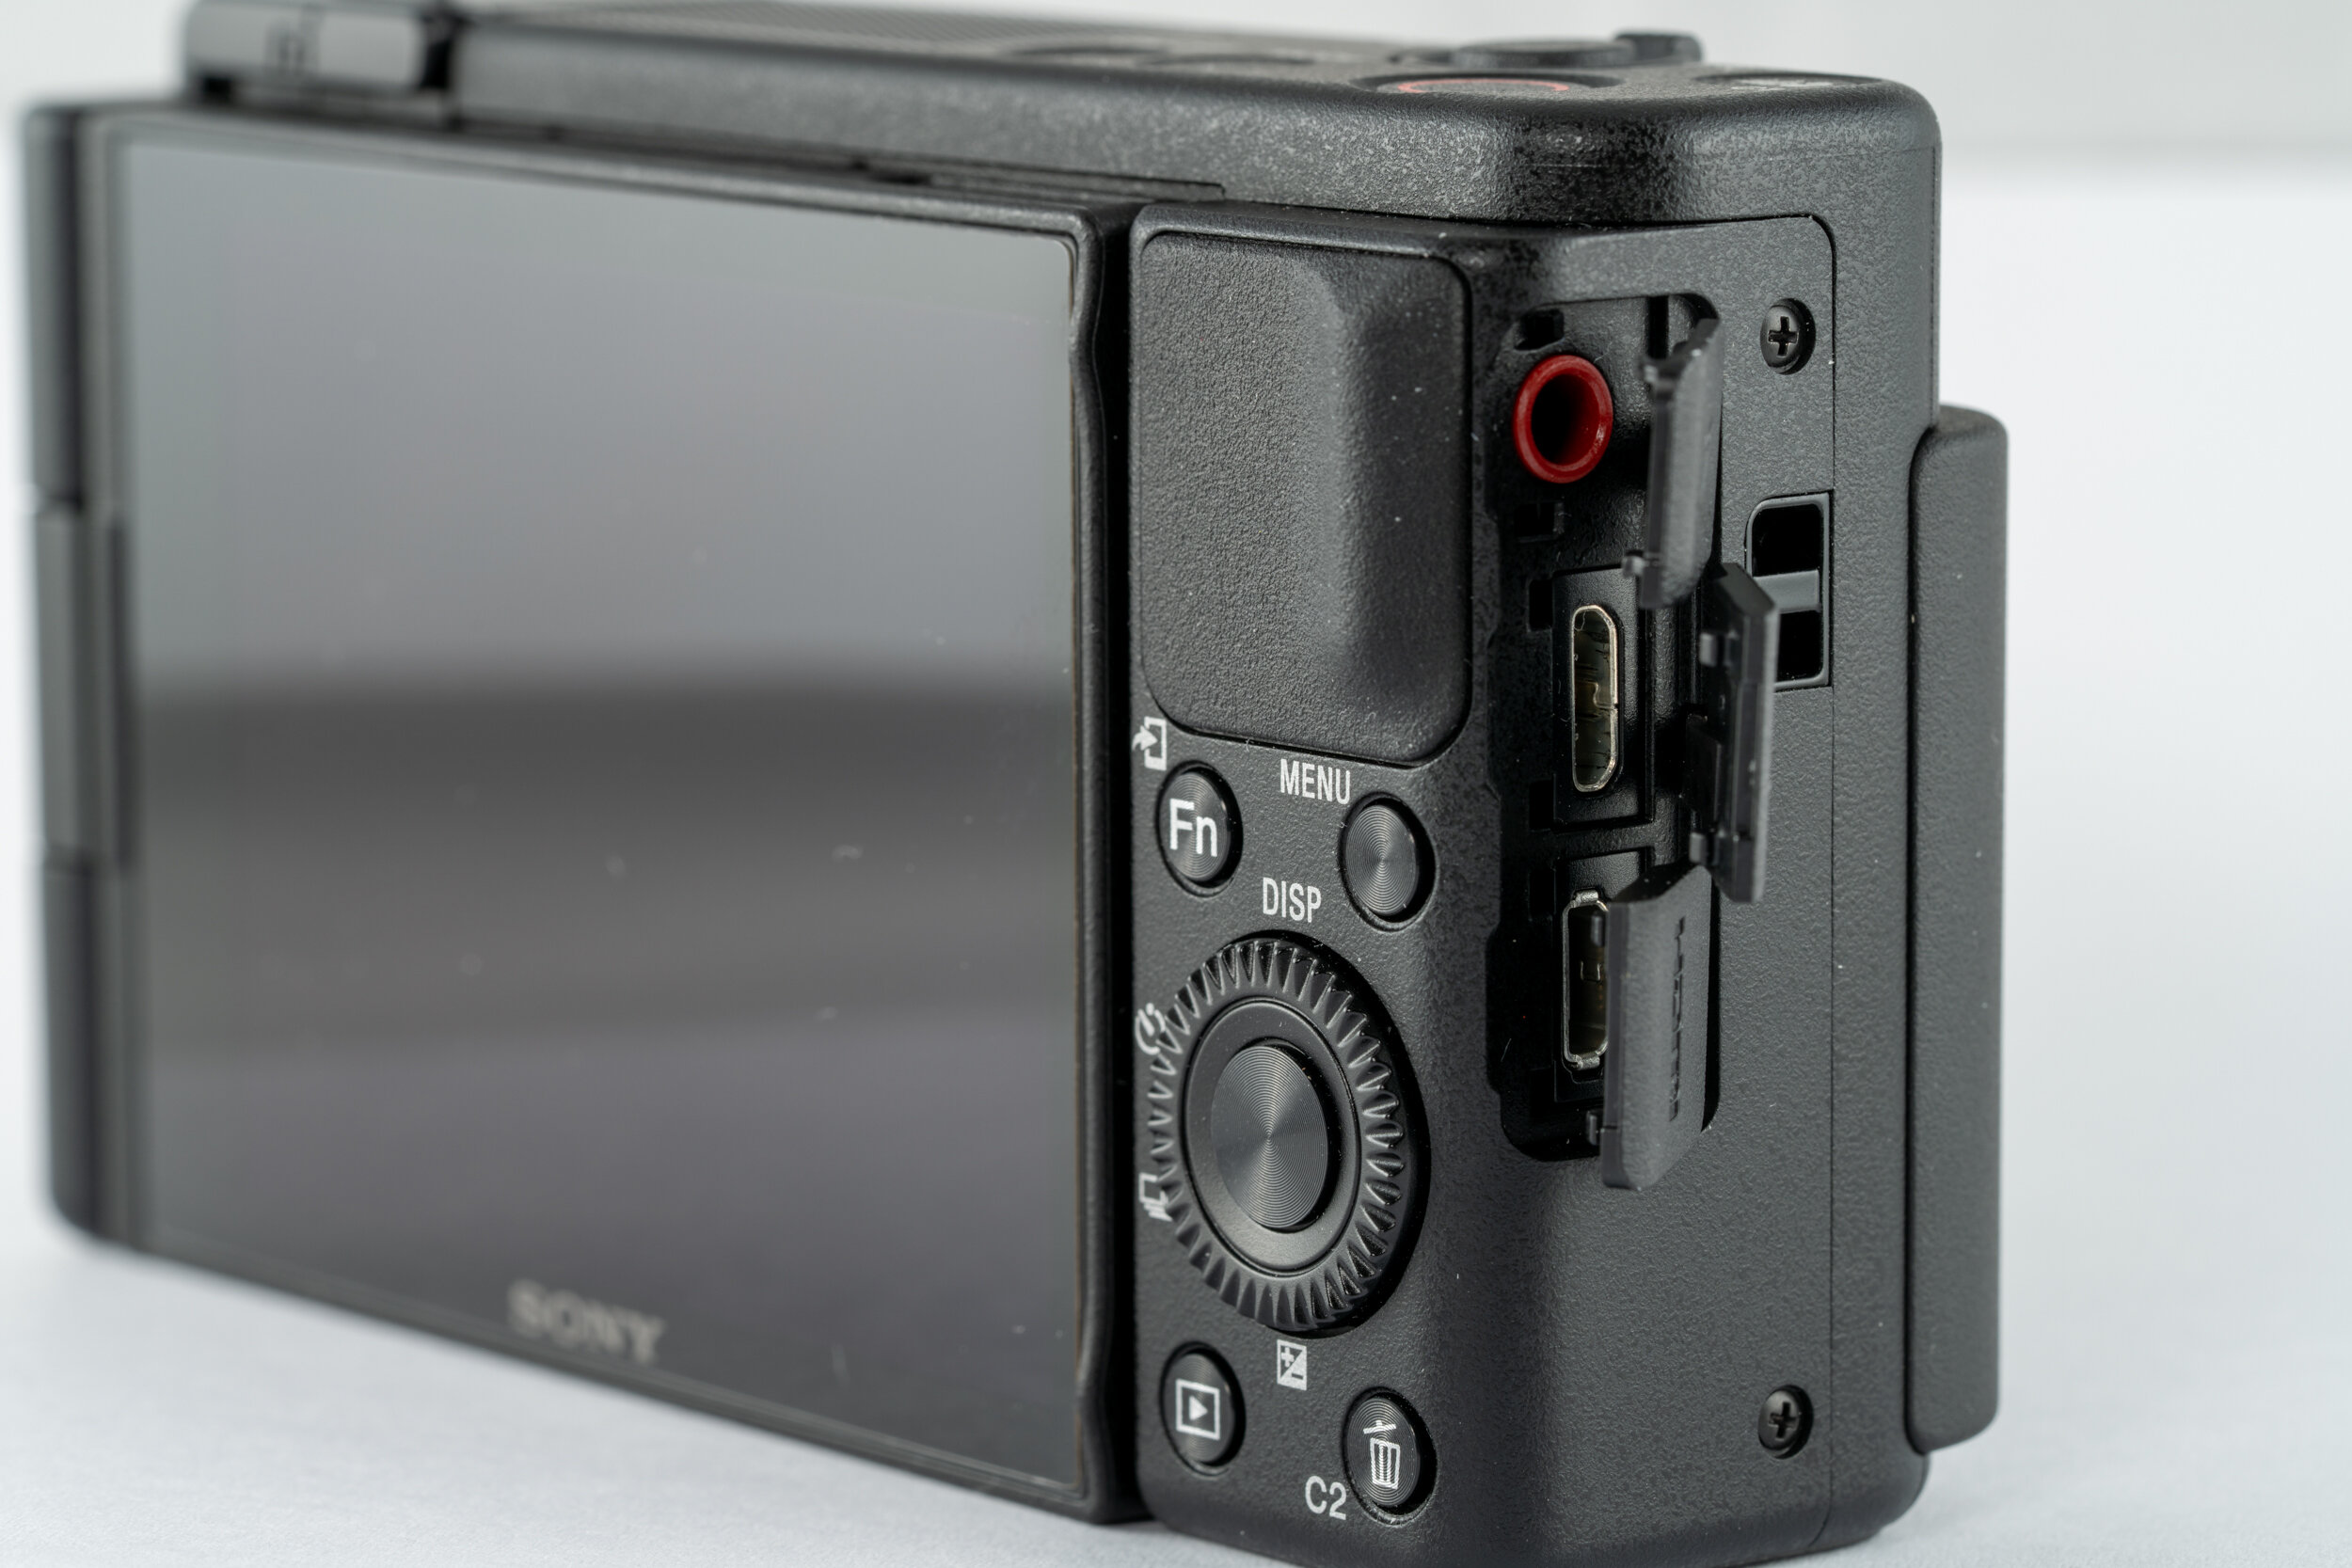
Right side of the body has all the I/O ports covered by flippy flaps. These flaps are quite hard to open due to their small size, and a dangling mess after opened. I would much prefer doors like the A7R4. There is the mic jack on the top, MicroUSB, then Micro HDMI at the bottom. It is annoying to still have Micro USB here, with other consumer electronic devices are already USB C.
There is limited amount of control points on the body with only 5 buttons and control wheel at the back. Unlike the RX100, there is no control ring on the lens, so only 1 rotating control on the ZV-1. It requires diving into the menu to make exposure changes. Luckily, there is the FN button to bring up the quick function bar.
At the bottom, you will find the battery cover. It is very close to the tripod socket, and impossible to open if you have anything installed there. Under the cover, there is the NP-BX1, and the single UHS-I SD card slot.
Sensor
ZV-1 uses a 1.0” type 20.1 Megapixels Exmor RS CMOS sensor with BIONZ X processor with Phase Detect Autofocus. It captures a 5472 x 3678 still image. As for video, it records maximum of 100M 4k30p at 8 bit (4:2:0) or HFR at 50M 1080p 1000fps.
Lens
It has a similar lens as the RX100 V/VA. Focal length is 9.4-25.7mm with a f/1.8 to f/2.8 aperture, therefore equivalent to a 24-70mm f/4 to f/8 full frame lens. The maximum aperture is at follow:
24mm = f/1.8
28mm = f/2.5
35mm = f/2.8
Minimum focal distance is at 5 cm for the wide end, and 30 cm at the telephoto end. The lens also include a 3 stop ND filter that is useful to control the shutter angle for video, or could be used for long exposure for stills.
Image Quality
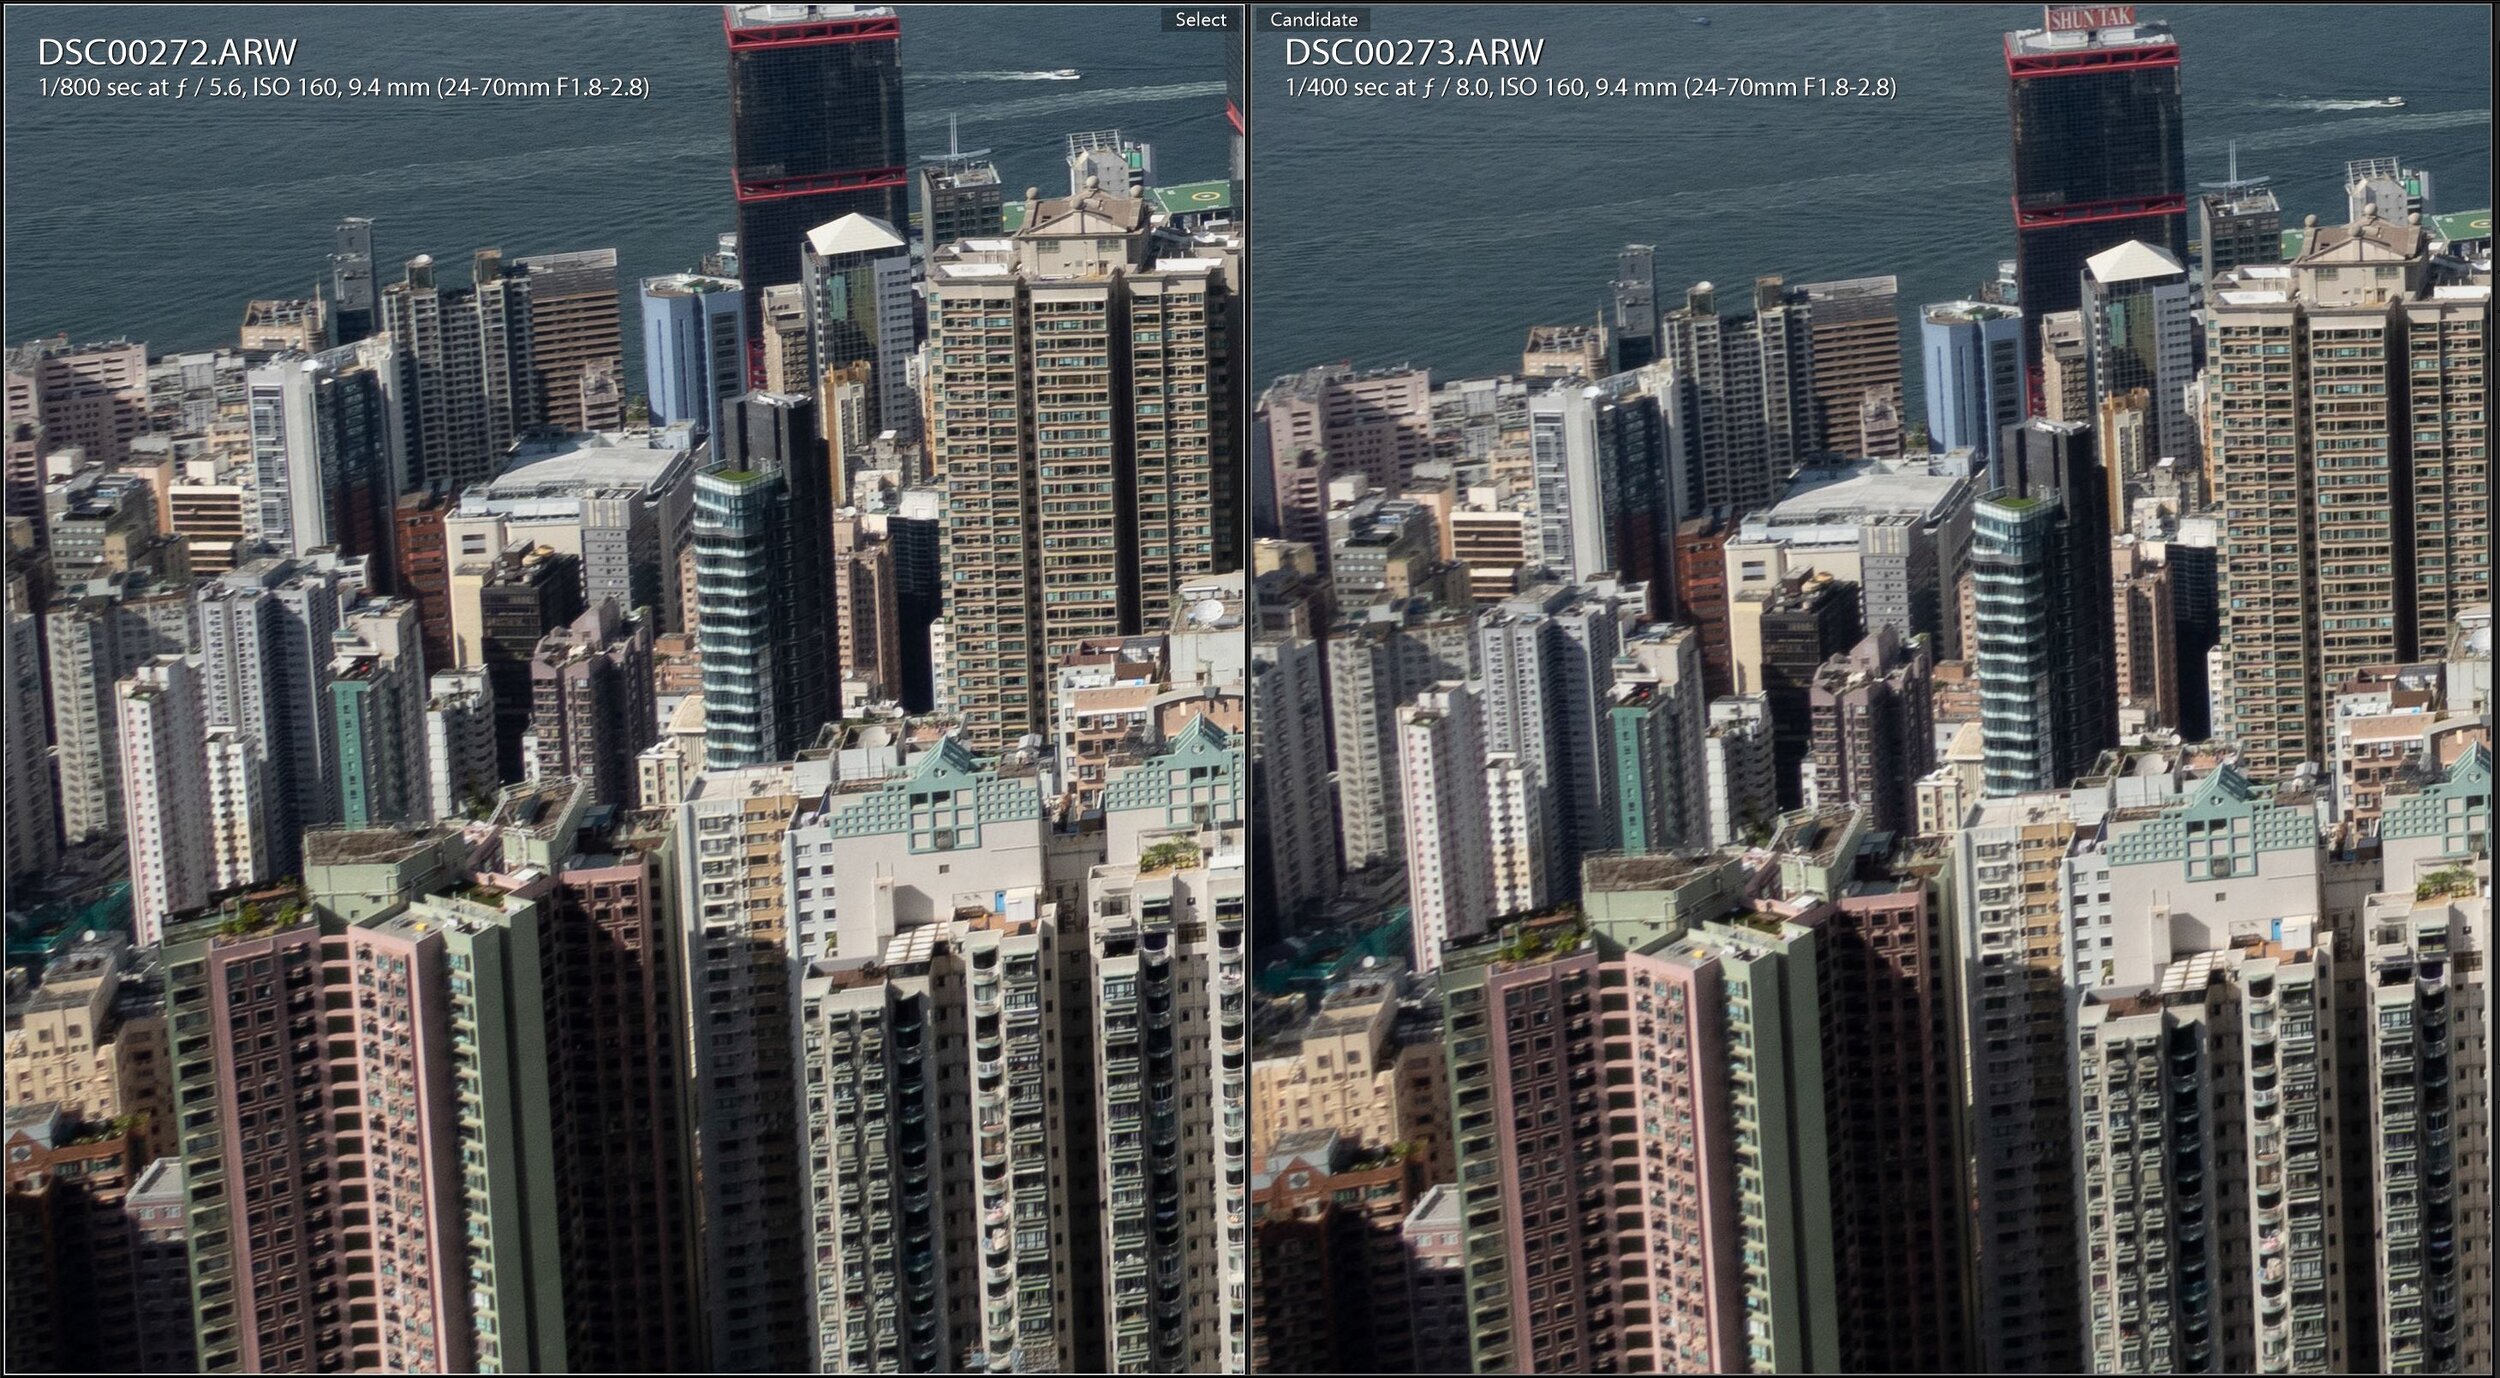
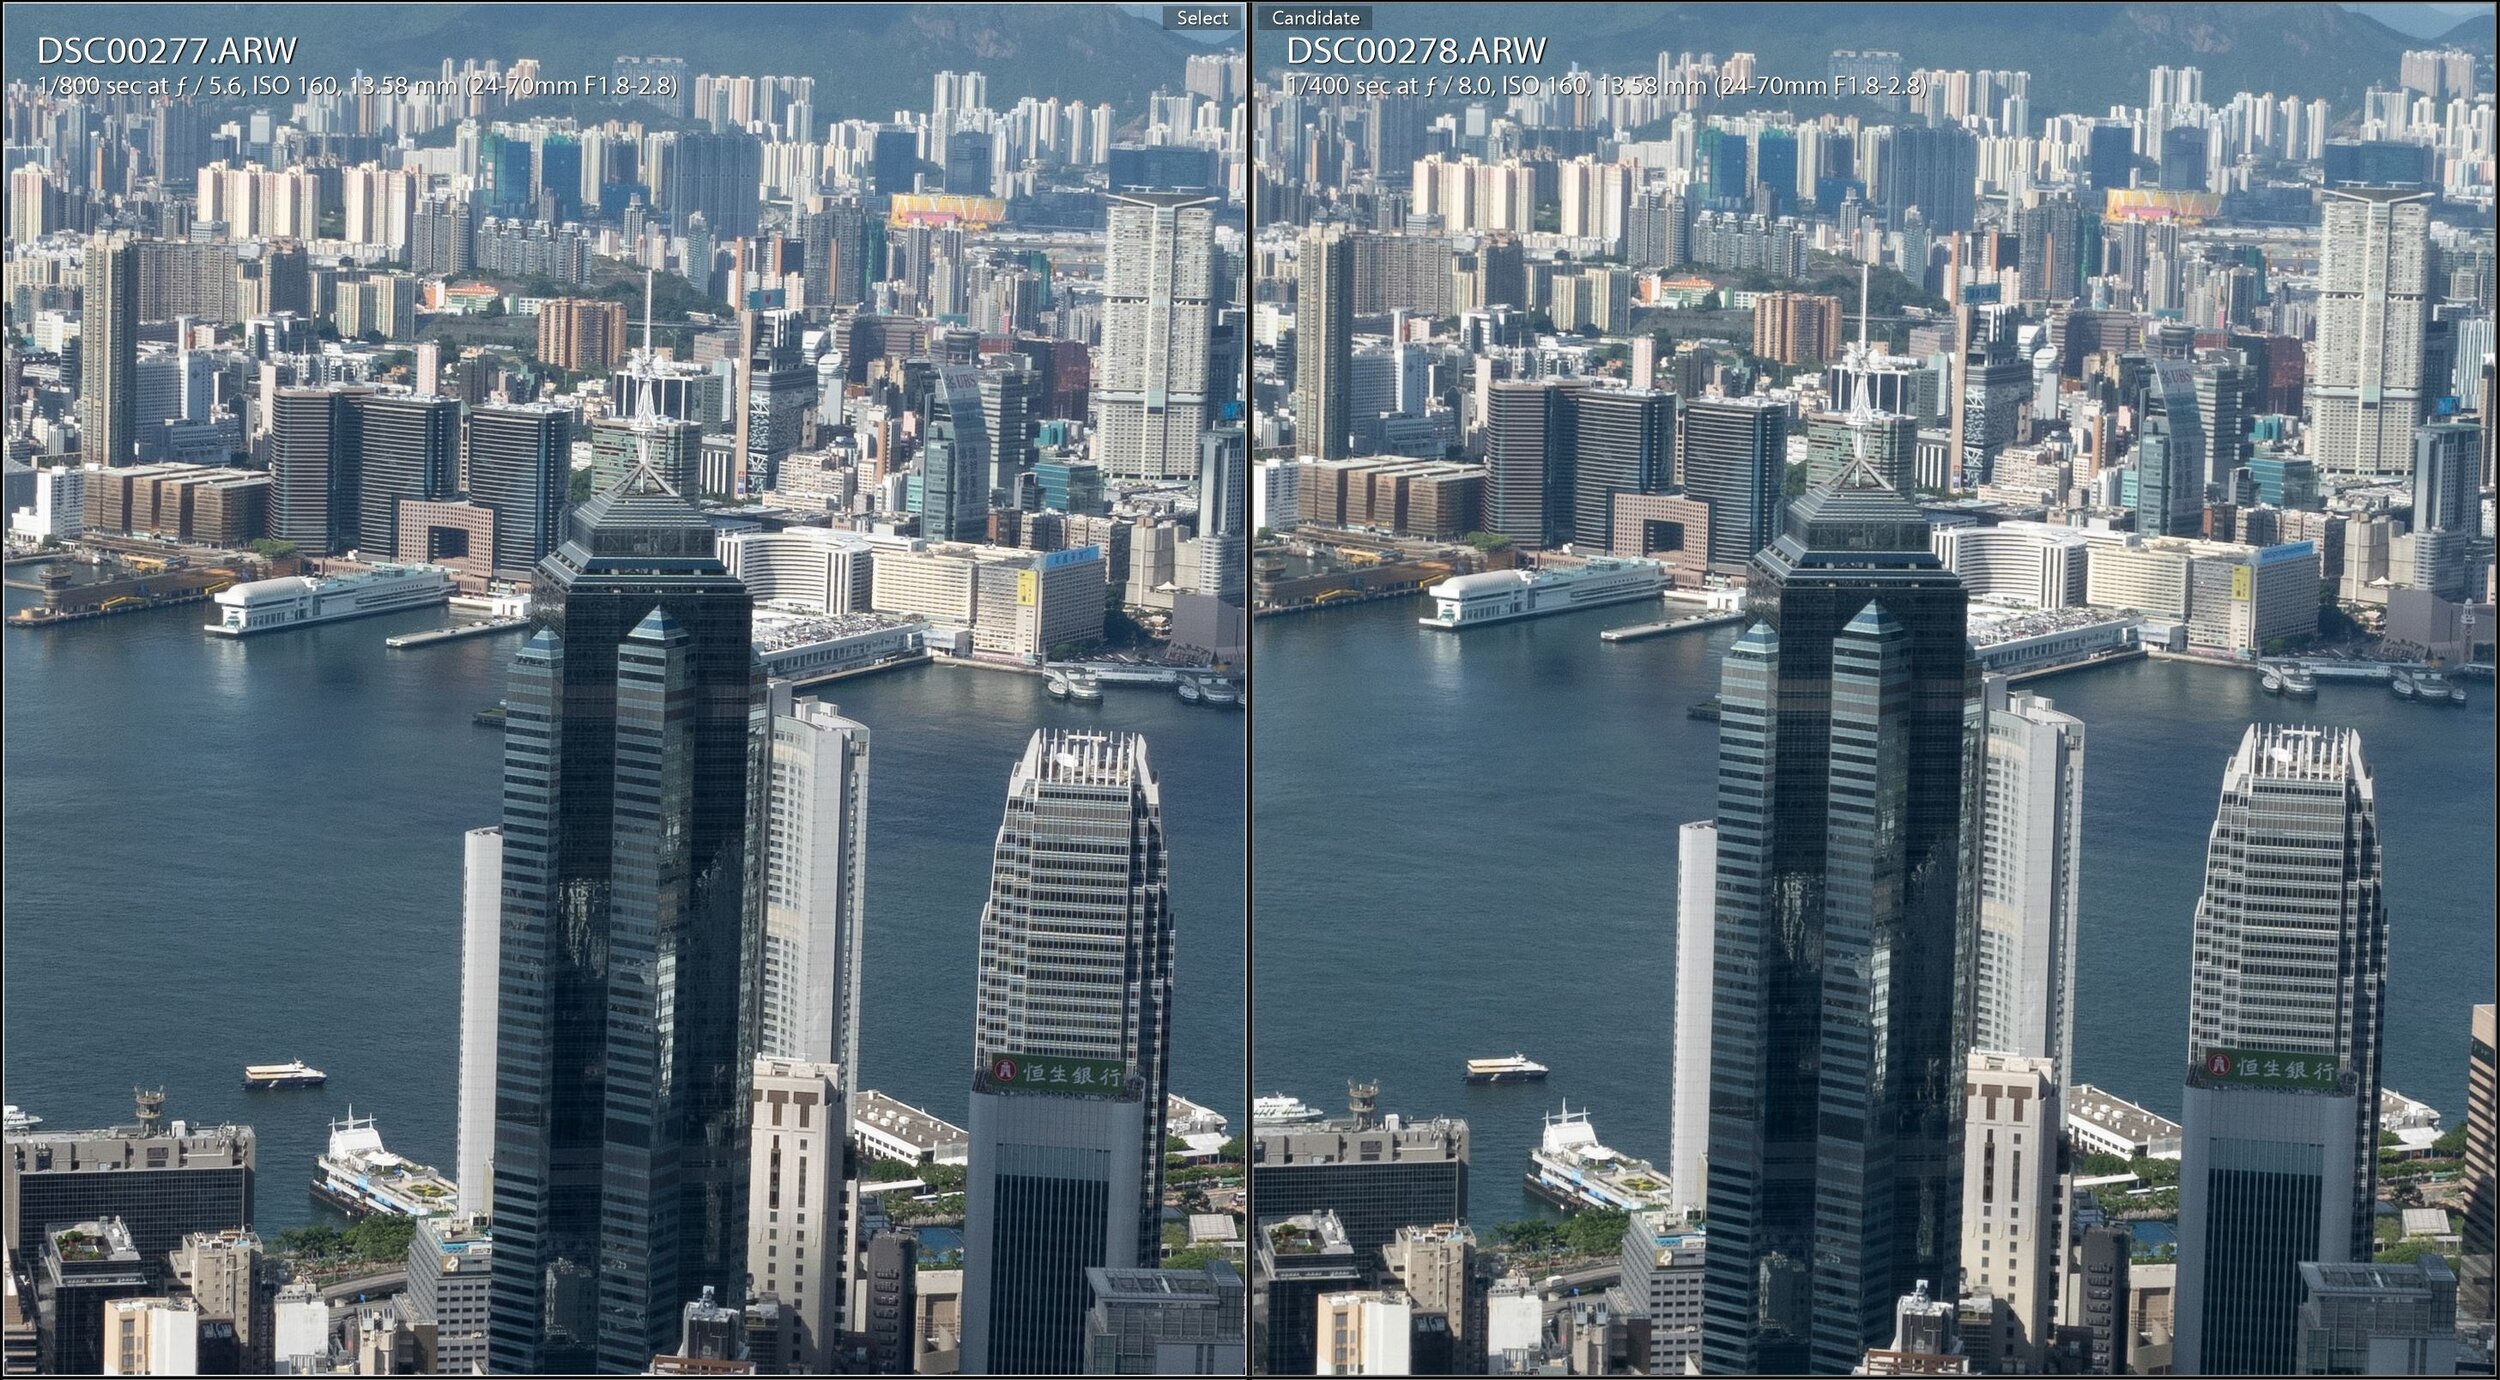
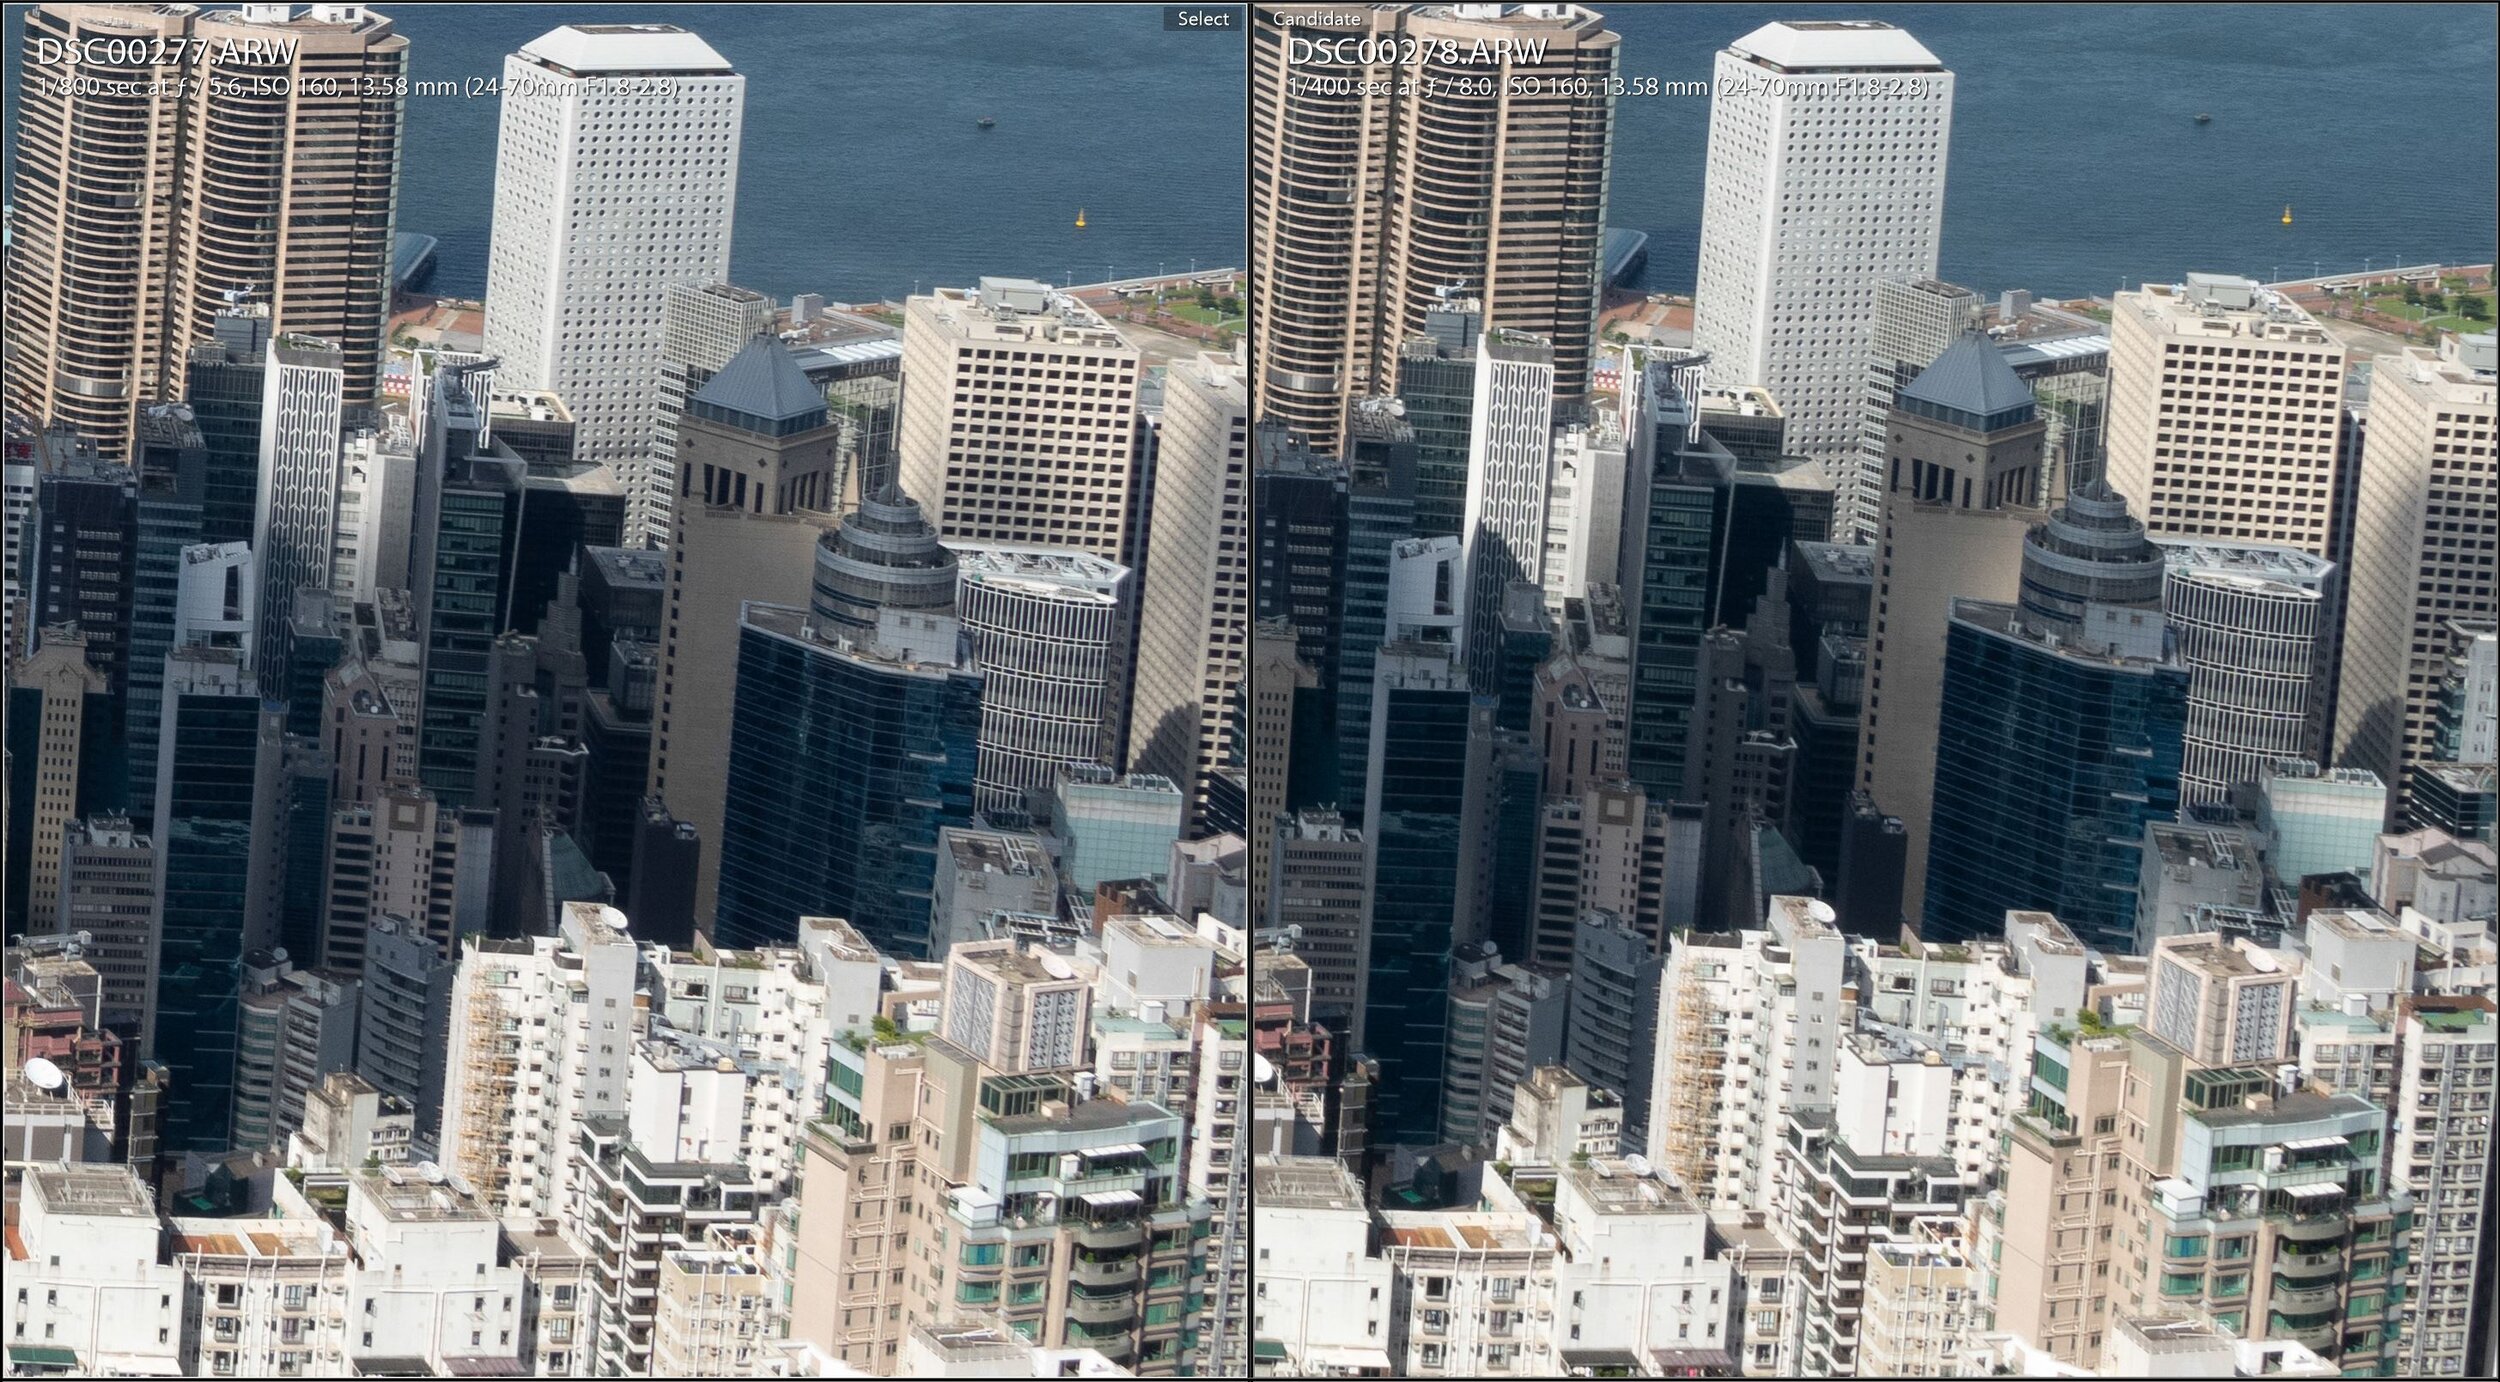
First lets look at wide end at 24mm. The centre is quite sharp already wide open, gets better at f/2.8, then soften up at f/8. Corner is quite soft across the range, and best at f/4.
Next at 35mm, the center is sharp wide open, and get a little better at f/4. Corner is a bit soft, and best at f/5.6.
At 50mm, the center is a little soft at f/2.8 with some purple fringing going on. It gets much better at f/4. Corner is better than at the wide end, but still soft at f/2.8, and is good at f/4.
Finally 70mm. The center is sharp with a bit of purple fringing, and the issue is gone at f/4. Corner is already sharp wide open.
Still Shooting Experience
It is quite nice to carry such a light and compact body compared to a full frame camera. The grip is useful, and provides more confidence when handling the camera. The flip out screen is nice to compose at various angle. However, glare is an issue under the sun. The reduced numbers of control dials/button slows down the process as I often has to go to function bar to change settings. The Eye AF and continuous tracking works great. It is not as sticky as the A7 series, but provide good result and easy to use. Background defocus function works great in still as well, and is useful in program mode to blur out the background without having to switch to aperture mode.
There are a few annoyances with the ZV-1. The zoom toggle is hard to trigger to get the exact framing you want. It either goes too much or too little. The biggest problem is the blurry pictures. The ZV-1 light weight body with no EVF, which makes it a unstable shooting platform. Holding the camera at arm’s length is shaky, and have to be careful when pressing the shutter button.
Video Shooting Experience
The ZV-1 shoots 4k 30p 8 bit video. It has different picture profile, such as HLG, SLOG2 and SLOG3. All the advertise video functions work well. I have tested them all on my YouTube Cantonese channel. Out of all the new features, I find the product showcase mode most interesting. It automatically focus on closest subject in the center of the frame even if Eye-AF is on.
Active steady shot stabilization uses the gyroscopic data, which crop in the image a bit. The alternative way to use the metadata is to use Sony’s Catalyst Browse software in post. From my experience (My Comparison Video Here), the result is better than pure software solution like in Resolve. However, it is not a substitute for a proper Gimbal, especially you can pair the ZV-1 with the tiny Zhiyun M2 gimbal. The new mic setup with the DeadCat windshield is an improvement compared to typical built in mic in cameras. However, it really is not the same level as a separate shotgun or LAV mic. I have used Rode Wireless Go for the small size and easy to use wireless lav mic system.
I am not a pro videographer, so I really enjoy ZV-1 trusty auto focus and the selfie screen. The selfie screen makes framing the video much easier than the previous tilting screen. The lens at 24mm is a bit too tight at times, and it would be better with a 20-50mm lens. A wider lens would be much more useful for vlogging. The battery life is acceptable, and luckily it can be charged with Power Bank via micro USB. A weird issue is that the exposure/white balance seems to shift randomly. I was under the same setting/lighting condition, one video would be normal then the next would be too warm. This happened a couple of times to me, so best to set the white balance manually orcheck the footage after shooting.
Conclusion
The ZV-1 is a great little video camera that can gives excellent result. It is great for casual video shooting with the selfie screen, trusty autofocus, and different features for vlogging. There are some compromises that makes it feels like a part bin camera. First is the ancient micro USB, then the 24-70mm lens used in RX-100 V. Even though the lens perform great, I think vlogger would prefer ZV-1 with a wider lens. Another crazy idea would be to put the A7 Z battery in the grip.
However, it is still a great compact camera for casual vlogging user at the price point. I am happy to see flip screen finally show up on Sony camera, and it is now on the A7S3 and A7C as well. The video features are useful, and I hope to see more use on the gyroscopic data in the future.
For still shooters, the RX-100 series remains the better choice with the EVF and additional controls. There are design choices on ZV-1 that sacrificed the usability for still shooting. I will be interesting to see how Sony updates the next RX-100.
Sample Gallery
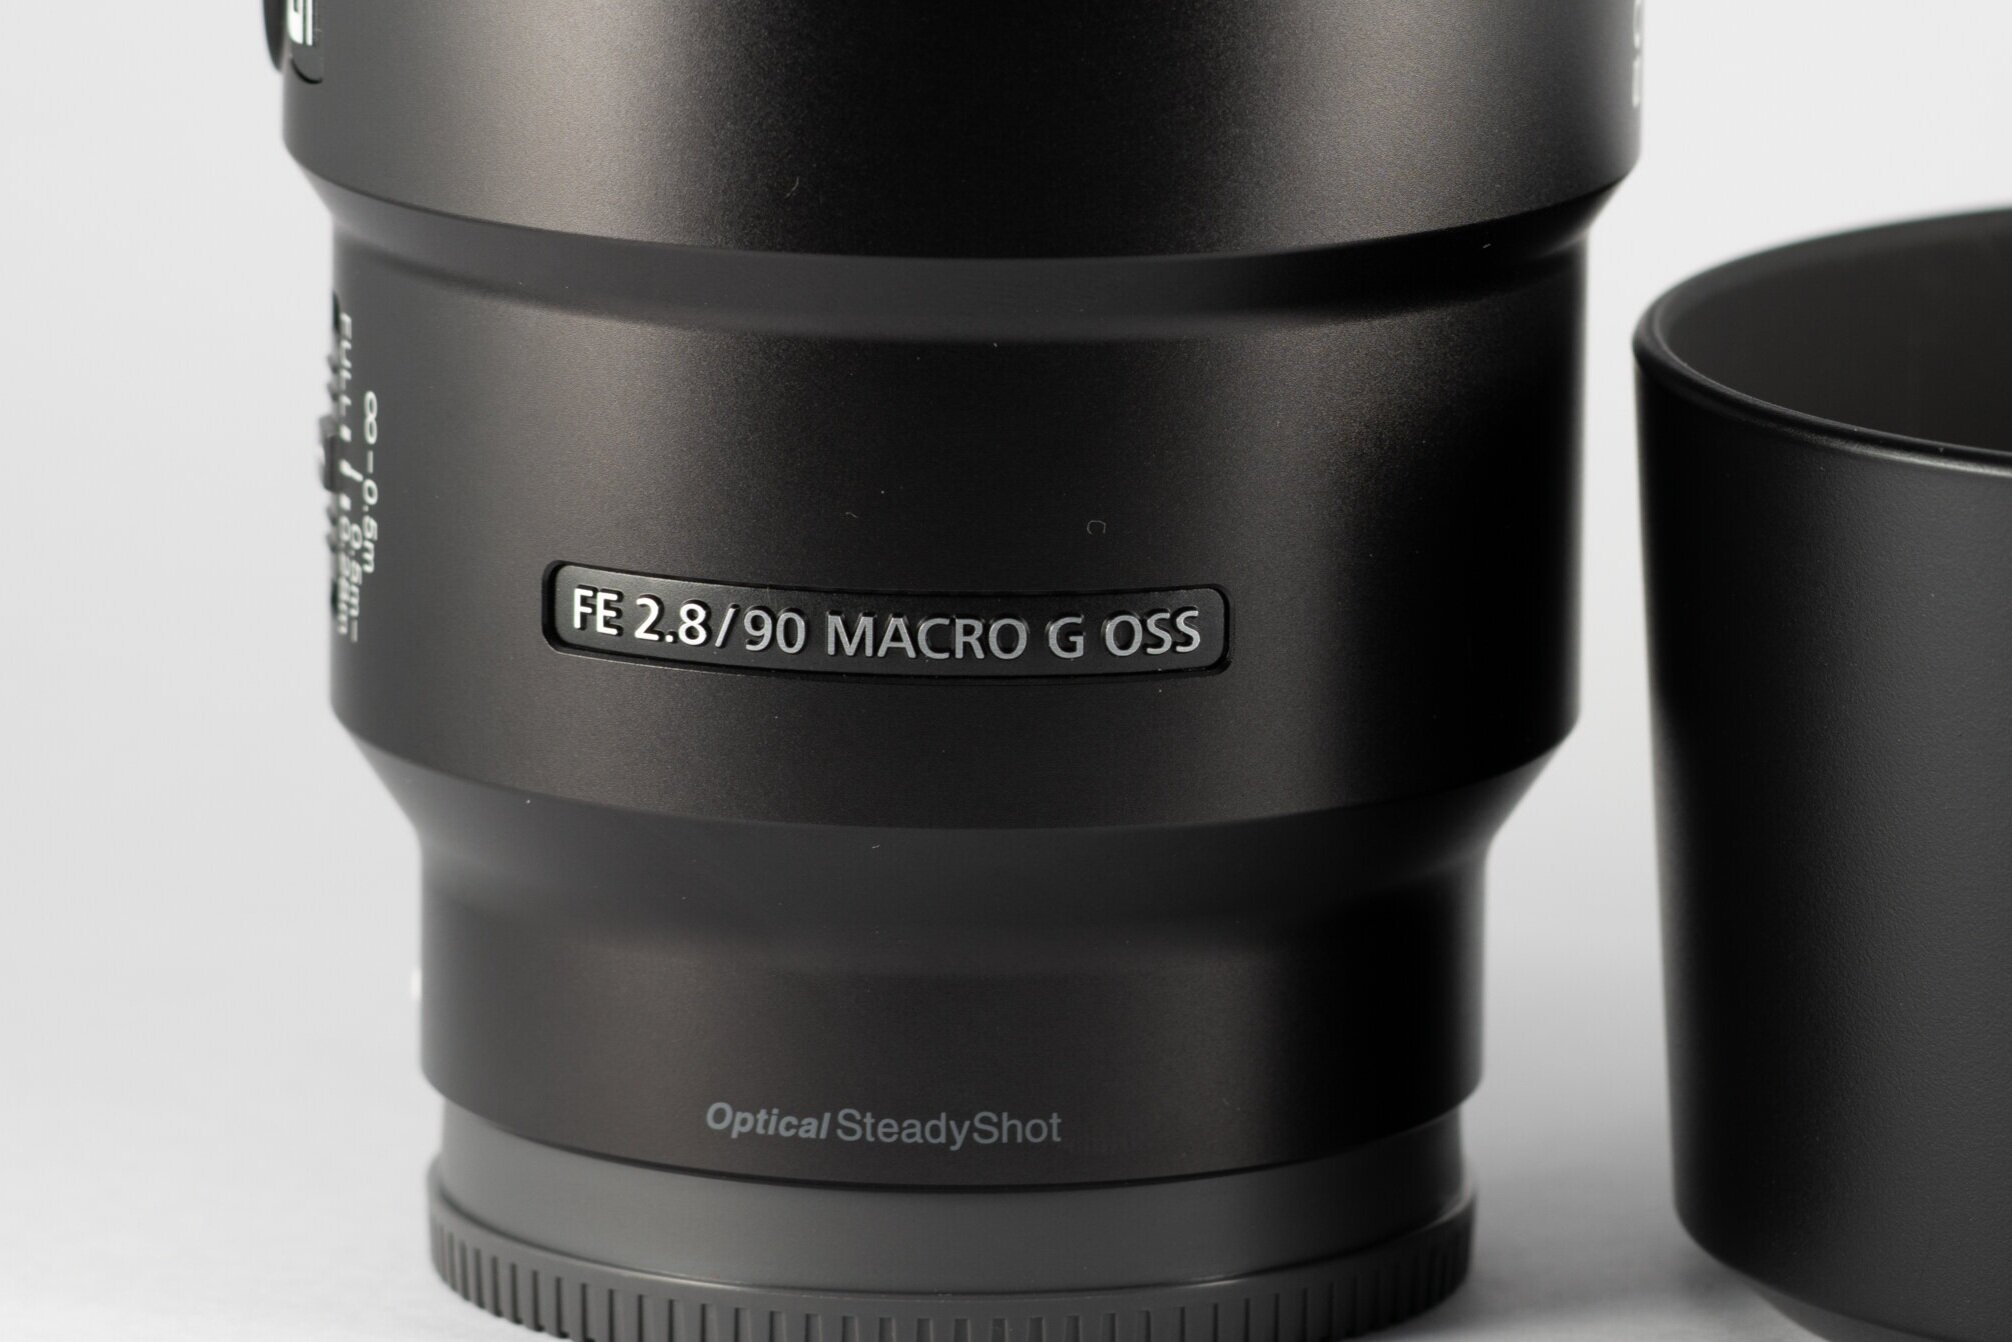
Sony FE 90mm F2.8 Macro G OSS Review
SEL90M28
Sony FE 90mm F2.8 Macro G OSS (SEL90M28G)
Announced- Mar 2015
Pro
Autofocus with 1:1 macro ability
Comfortable Size and Weight
Push/Pull focus ring
Con
Soft at the corner
Whiny/noisy autofocus in AF-C
What’s included
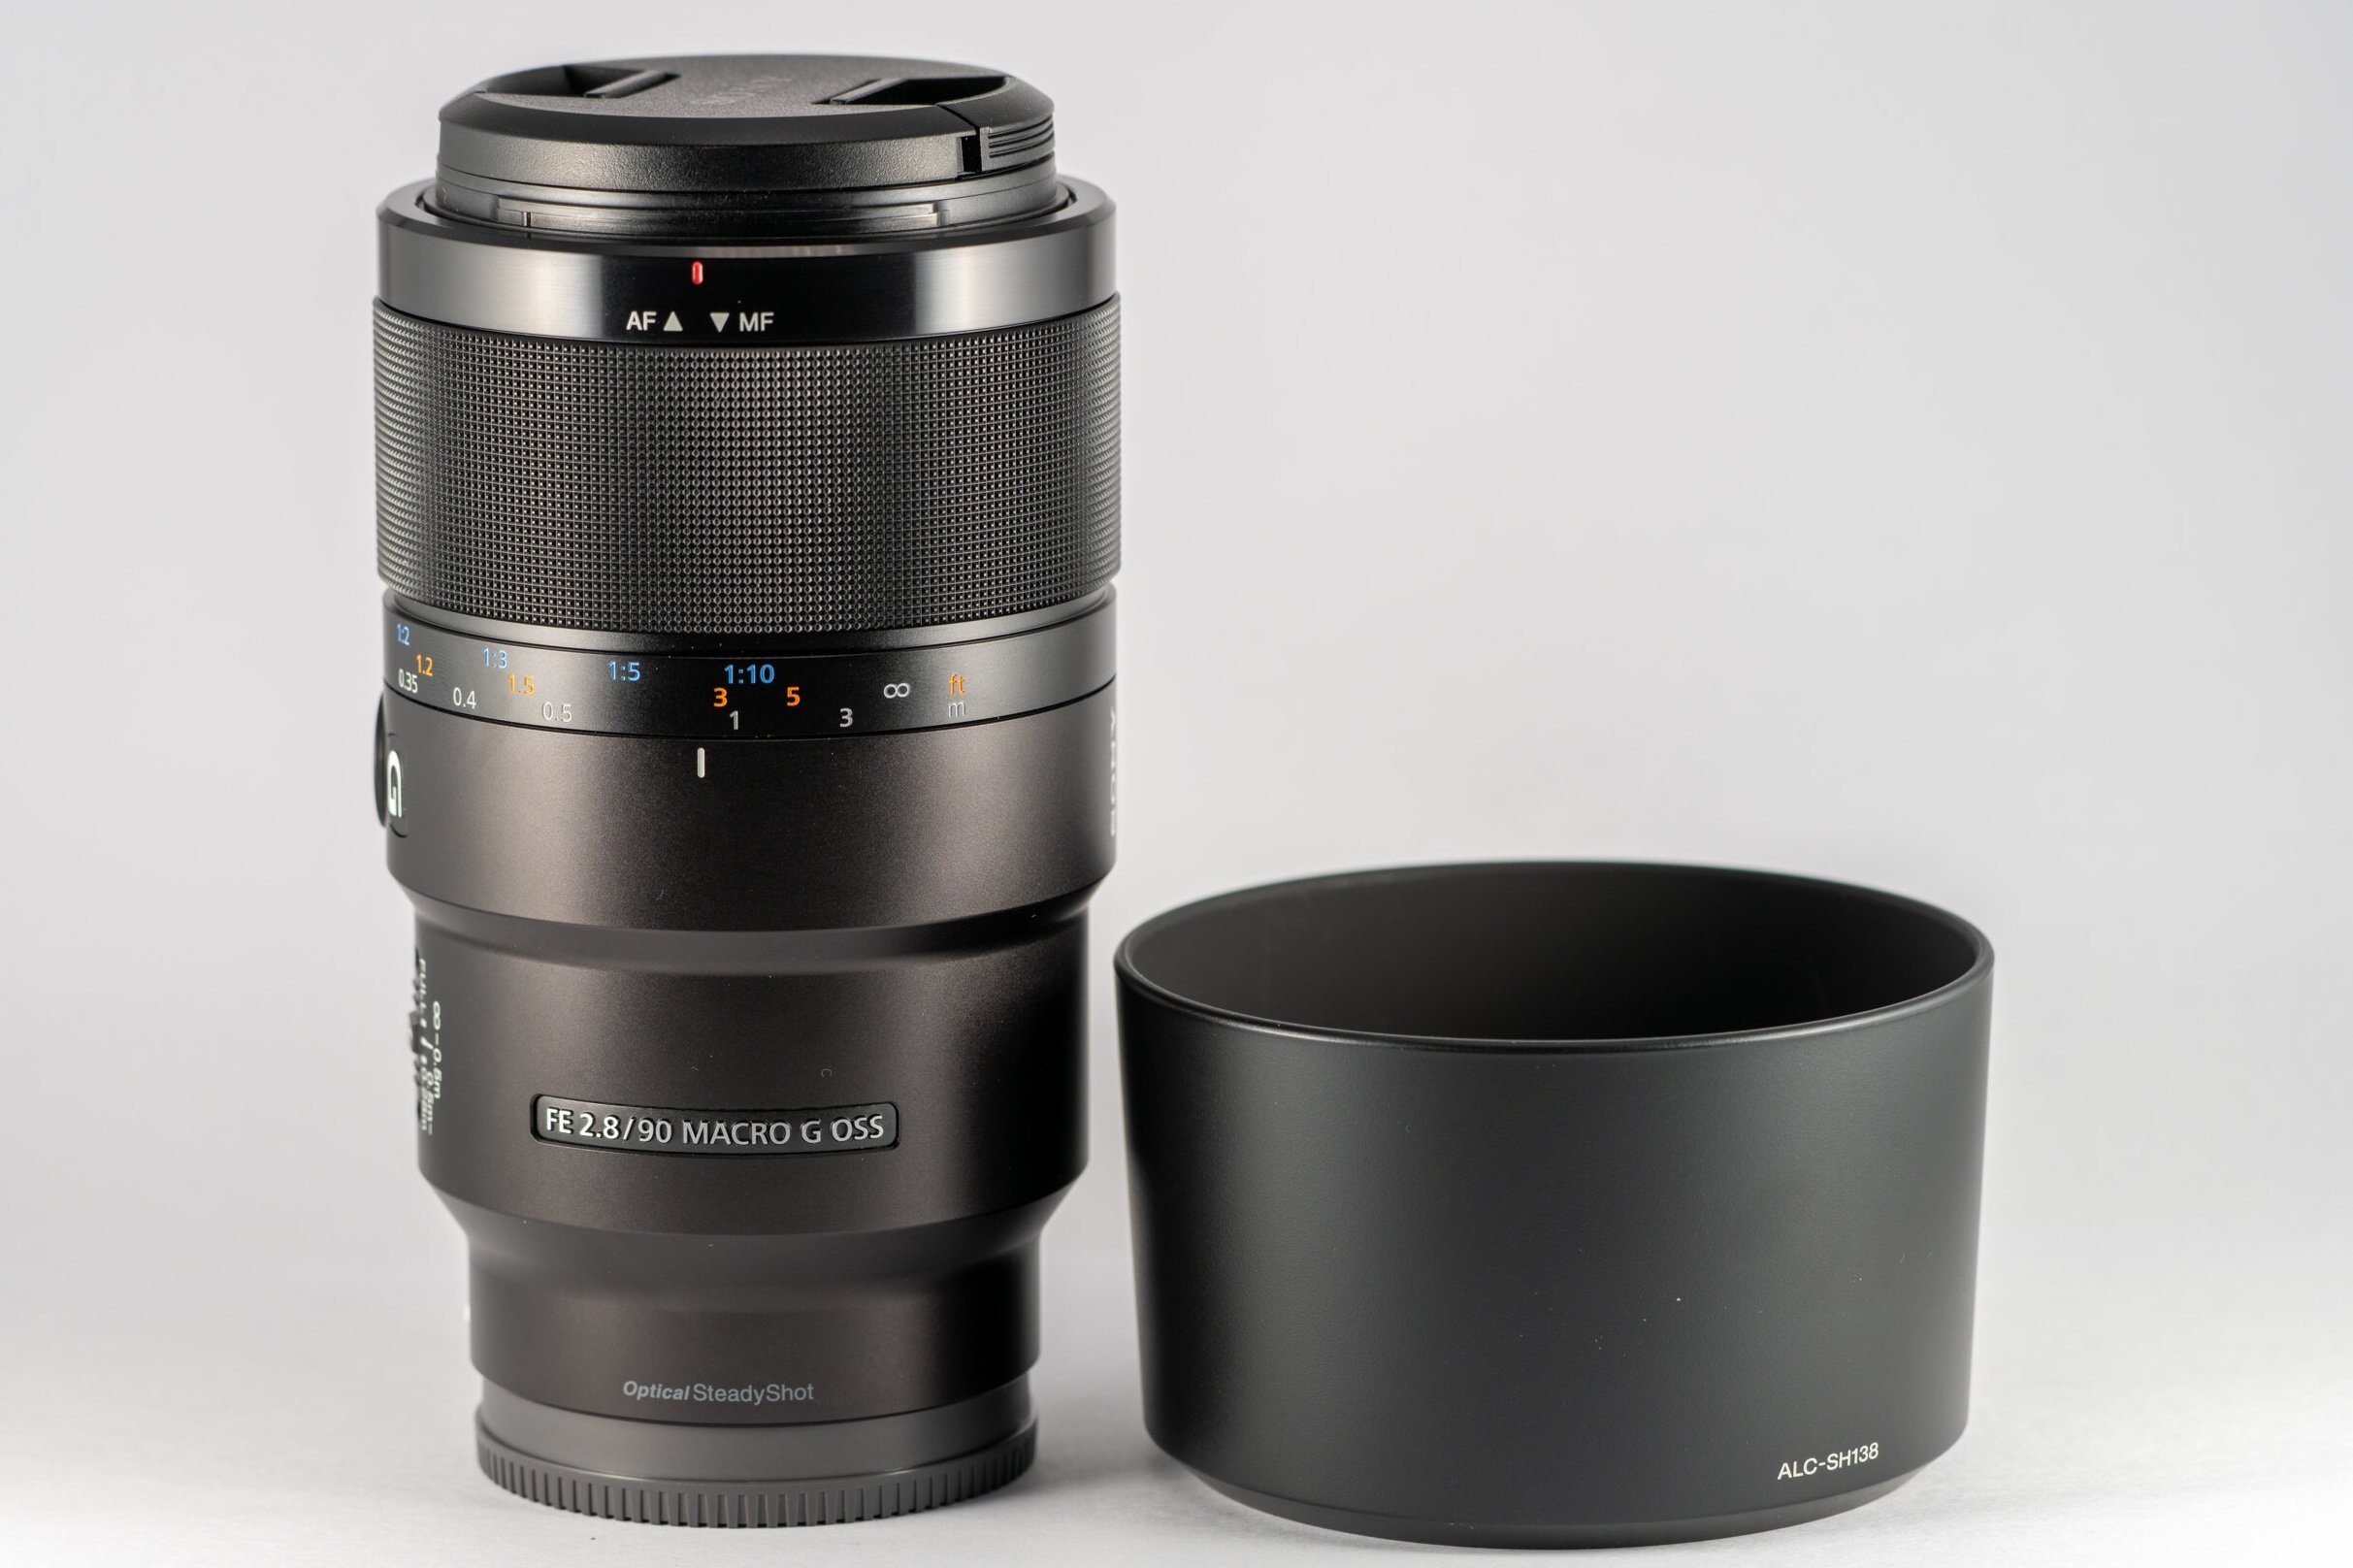
There is the lens, hood, caps, manuals, and a soft carrying case in the box.
Body
The lens body is 131mm long x 79mm in diameter, weight at 602g. It takes a 62mm filter at the front, and is not compatible with Sony’s 1.4x and 2.0x teleconverter.
There is a bunch of controls on the side. At the front is the zoom ring, then focus hold, focus ring, then a bunch of controls. Then there is a panel of switches closer to the body. Top is the focus mode switch, focus range limiter, and steady shot switch at the bottom. There is a lock button on the side that can be used to prevent zoom creep.
The lens is nicely built overall, but there is no rubber gasket like the GM series lens.
Image Quality
This lens is a true macro, can do 1:1 with minimum focus distance at 28cm. Above is a photo of SD card (32mm x 24mm) shot on a A7R3 which has a (36mm x 24mm) sensor. This lens is really sharp. All the dusts, sparkles in the plastic, and the printed letters textures can be clearly be seen.
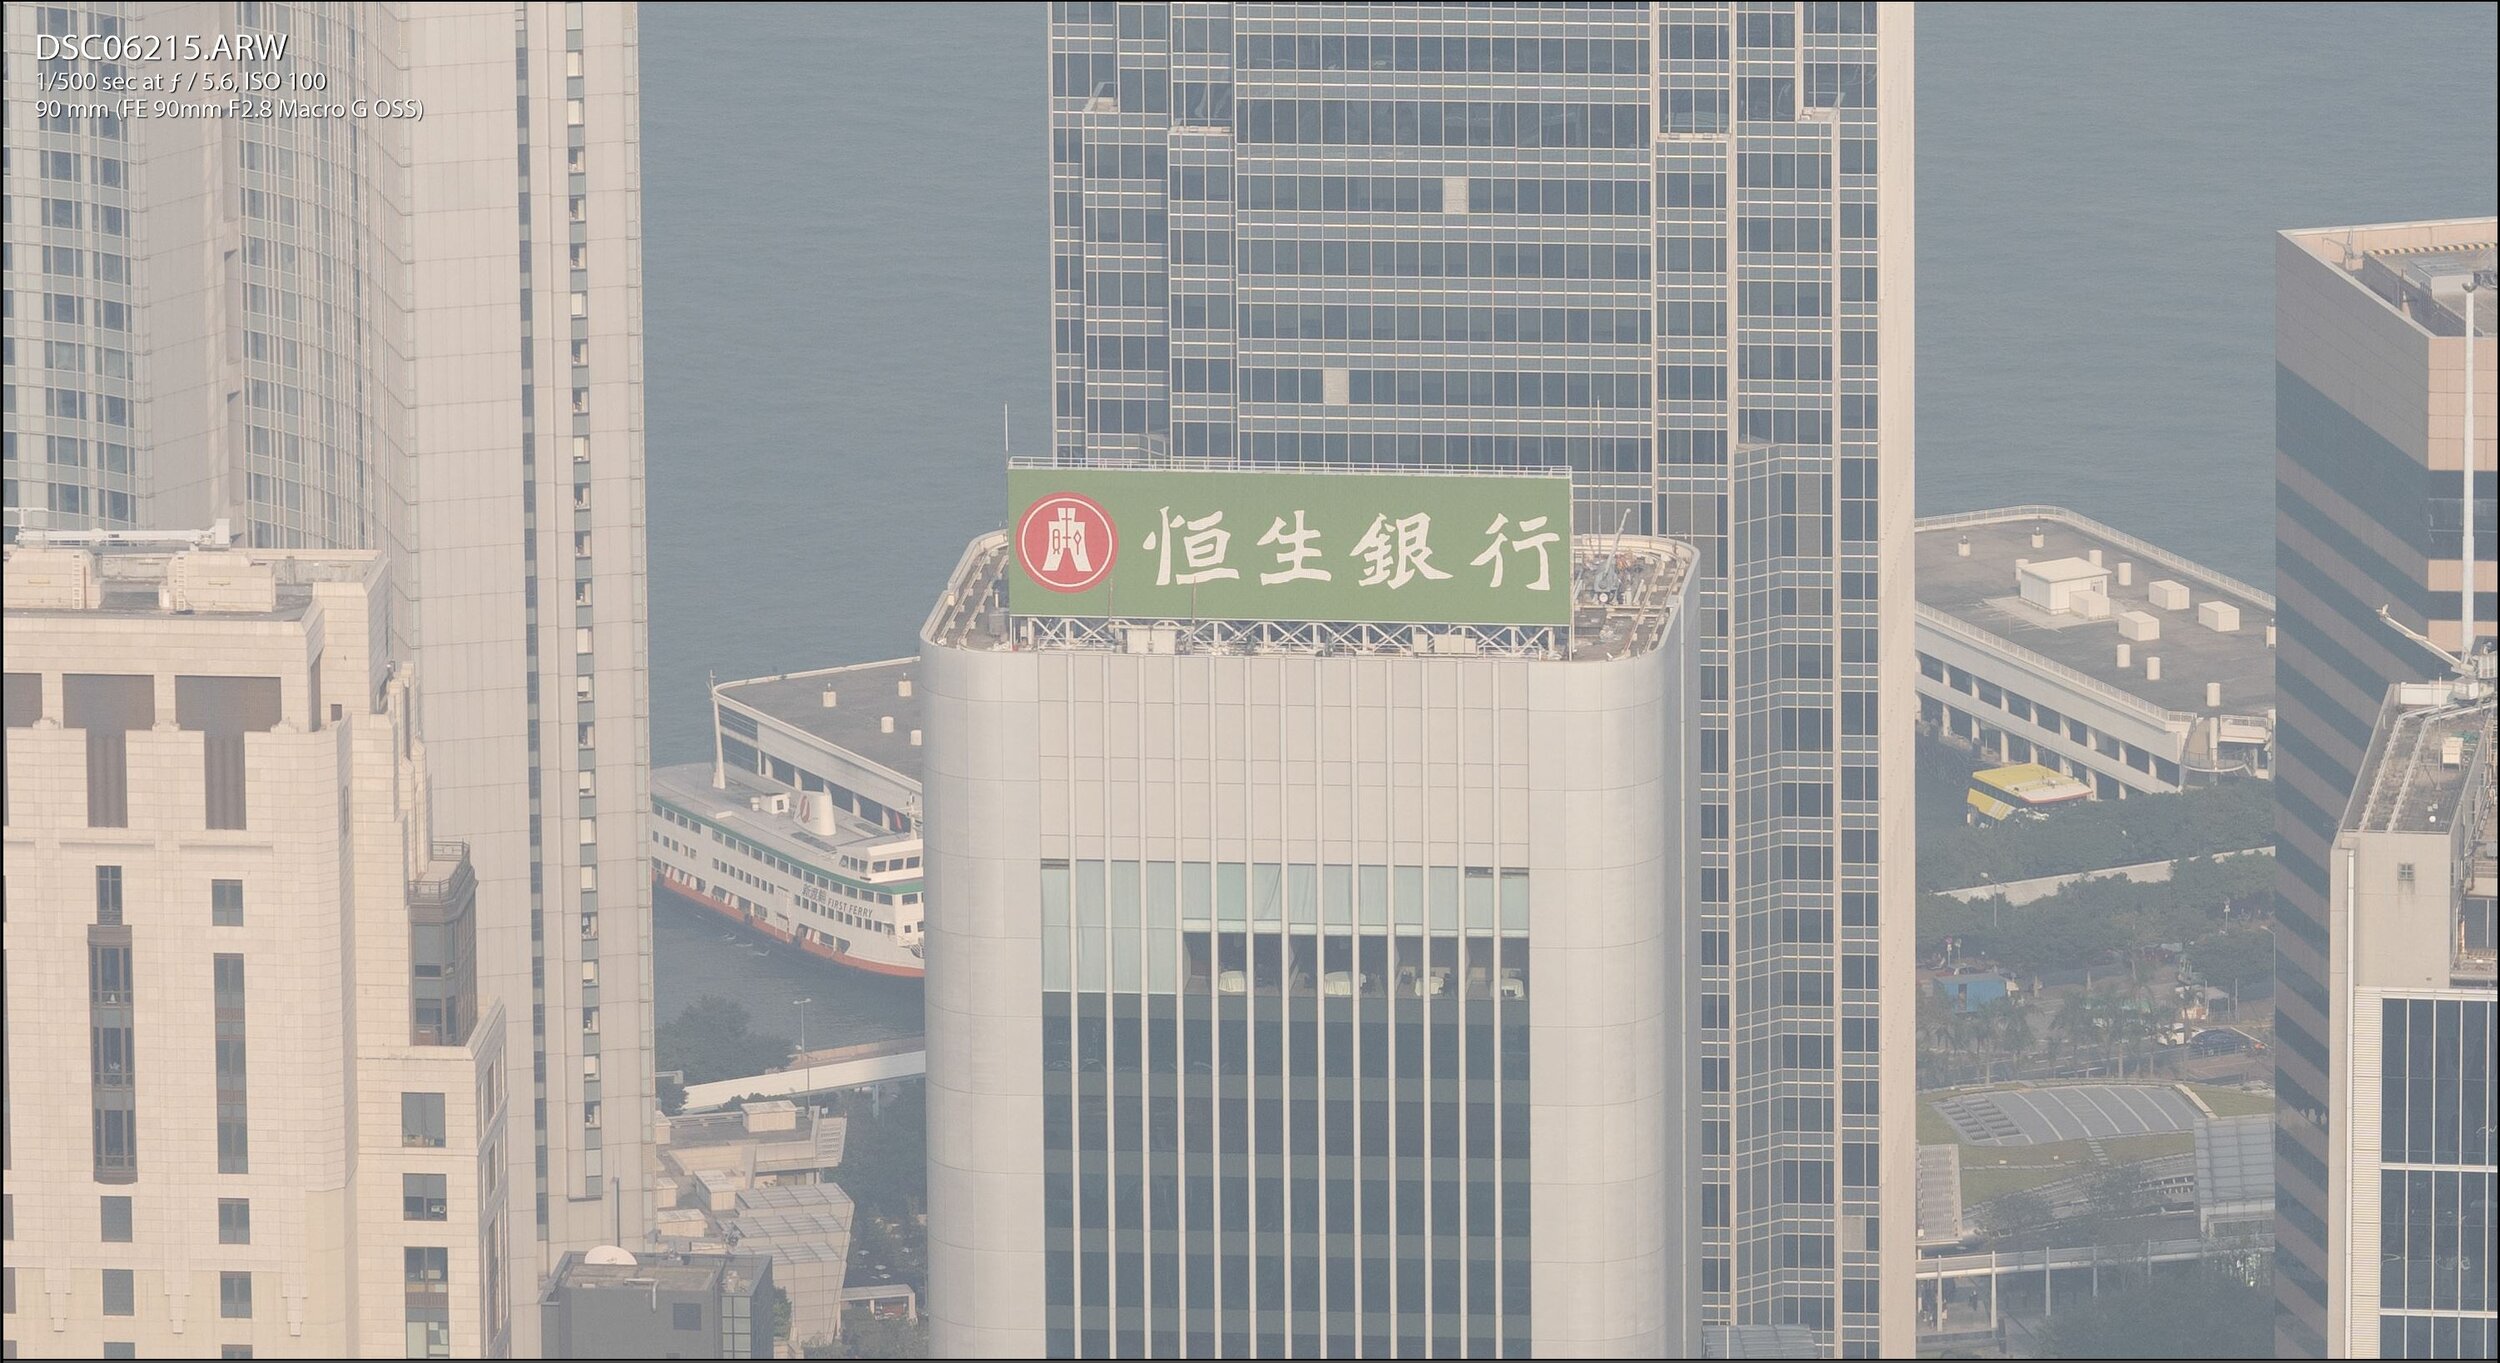
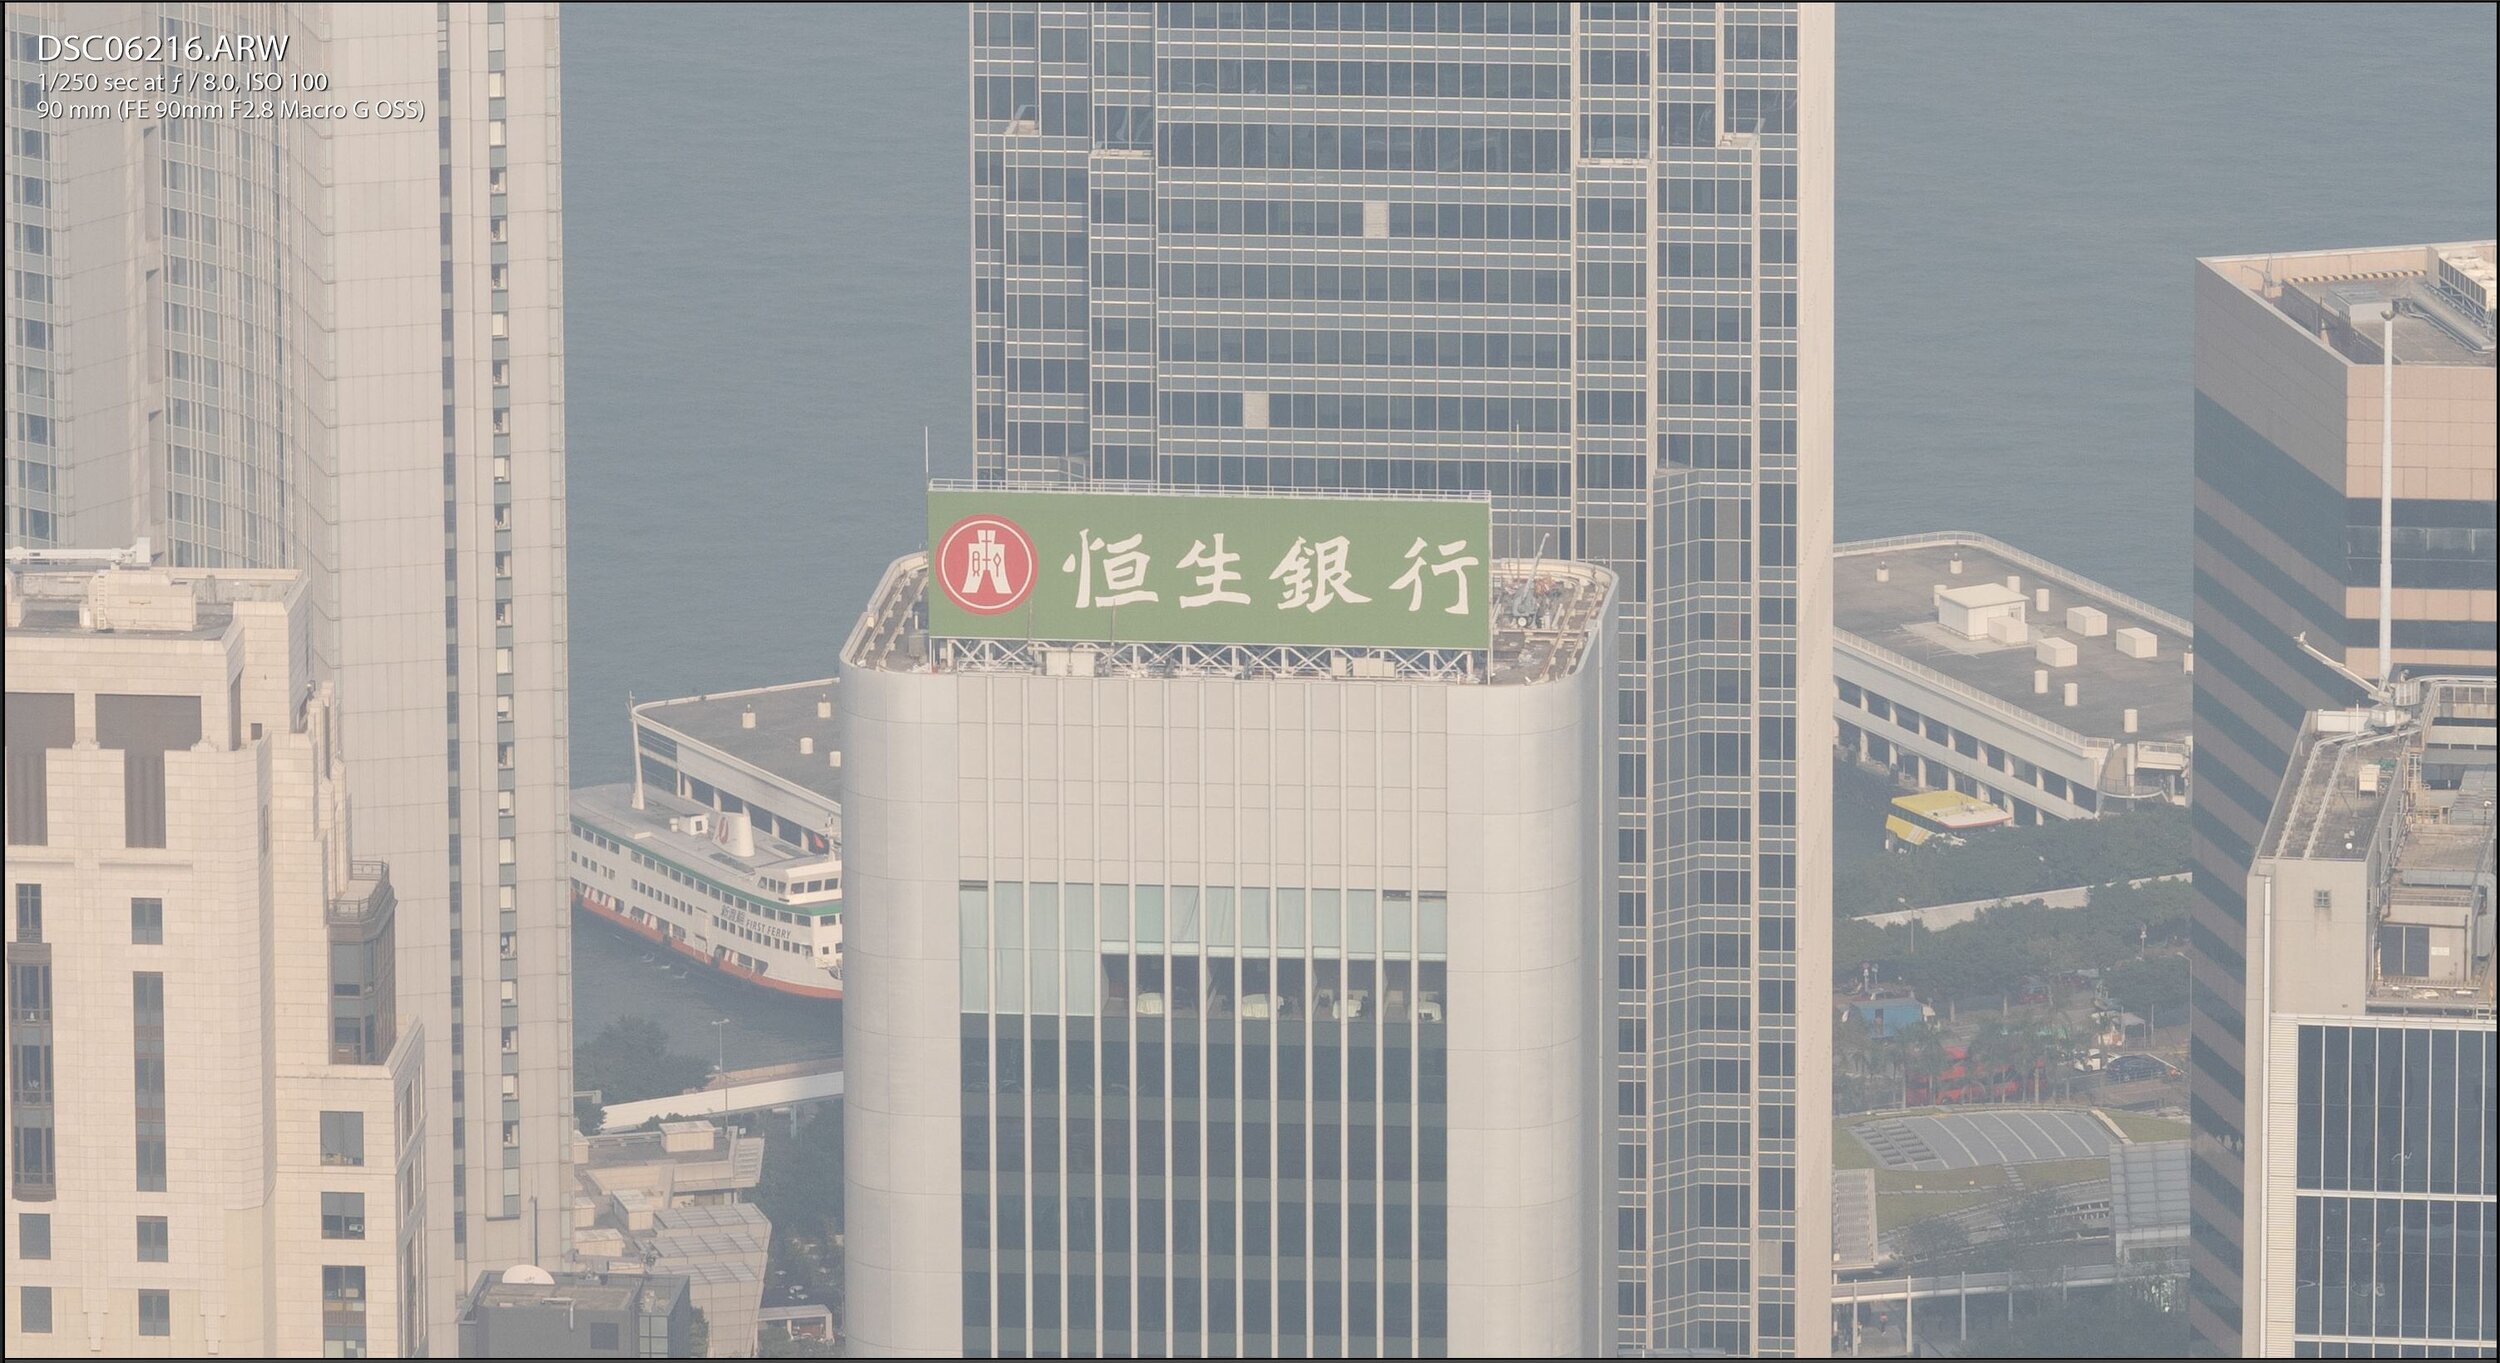
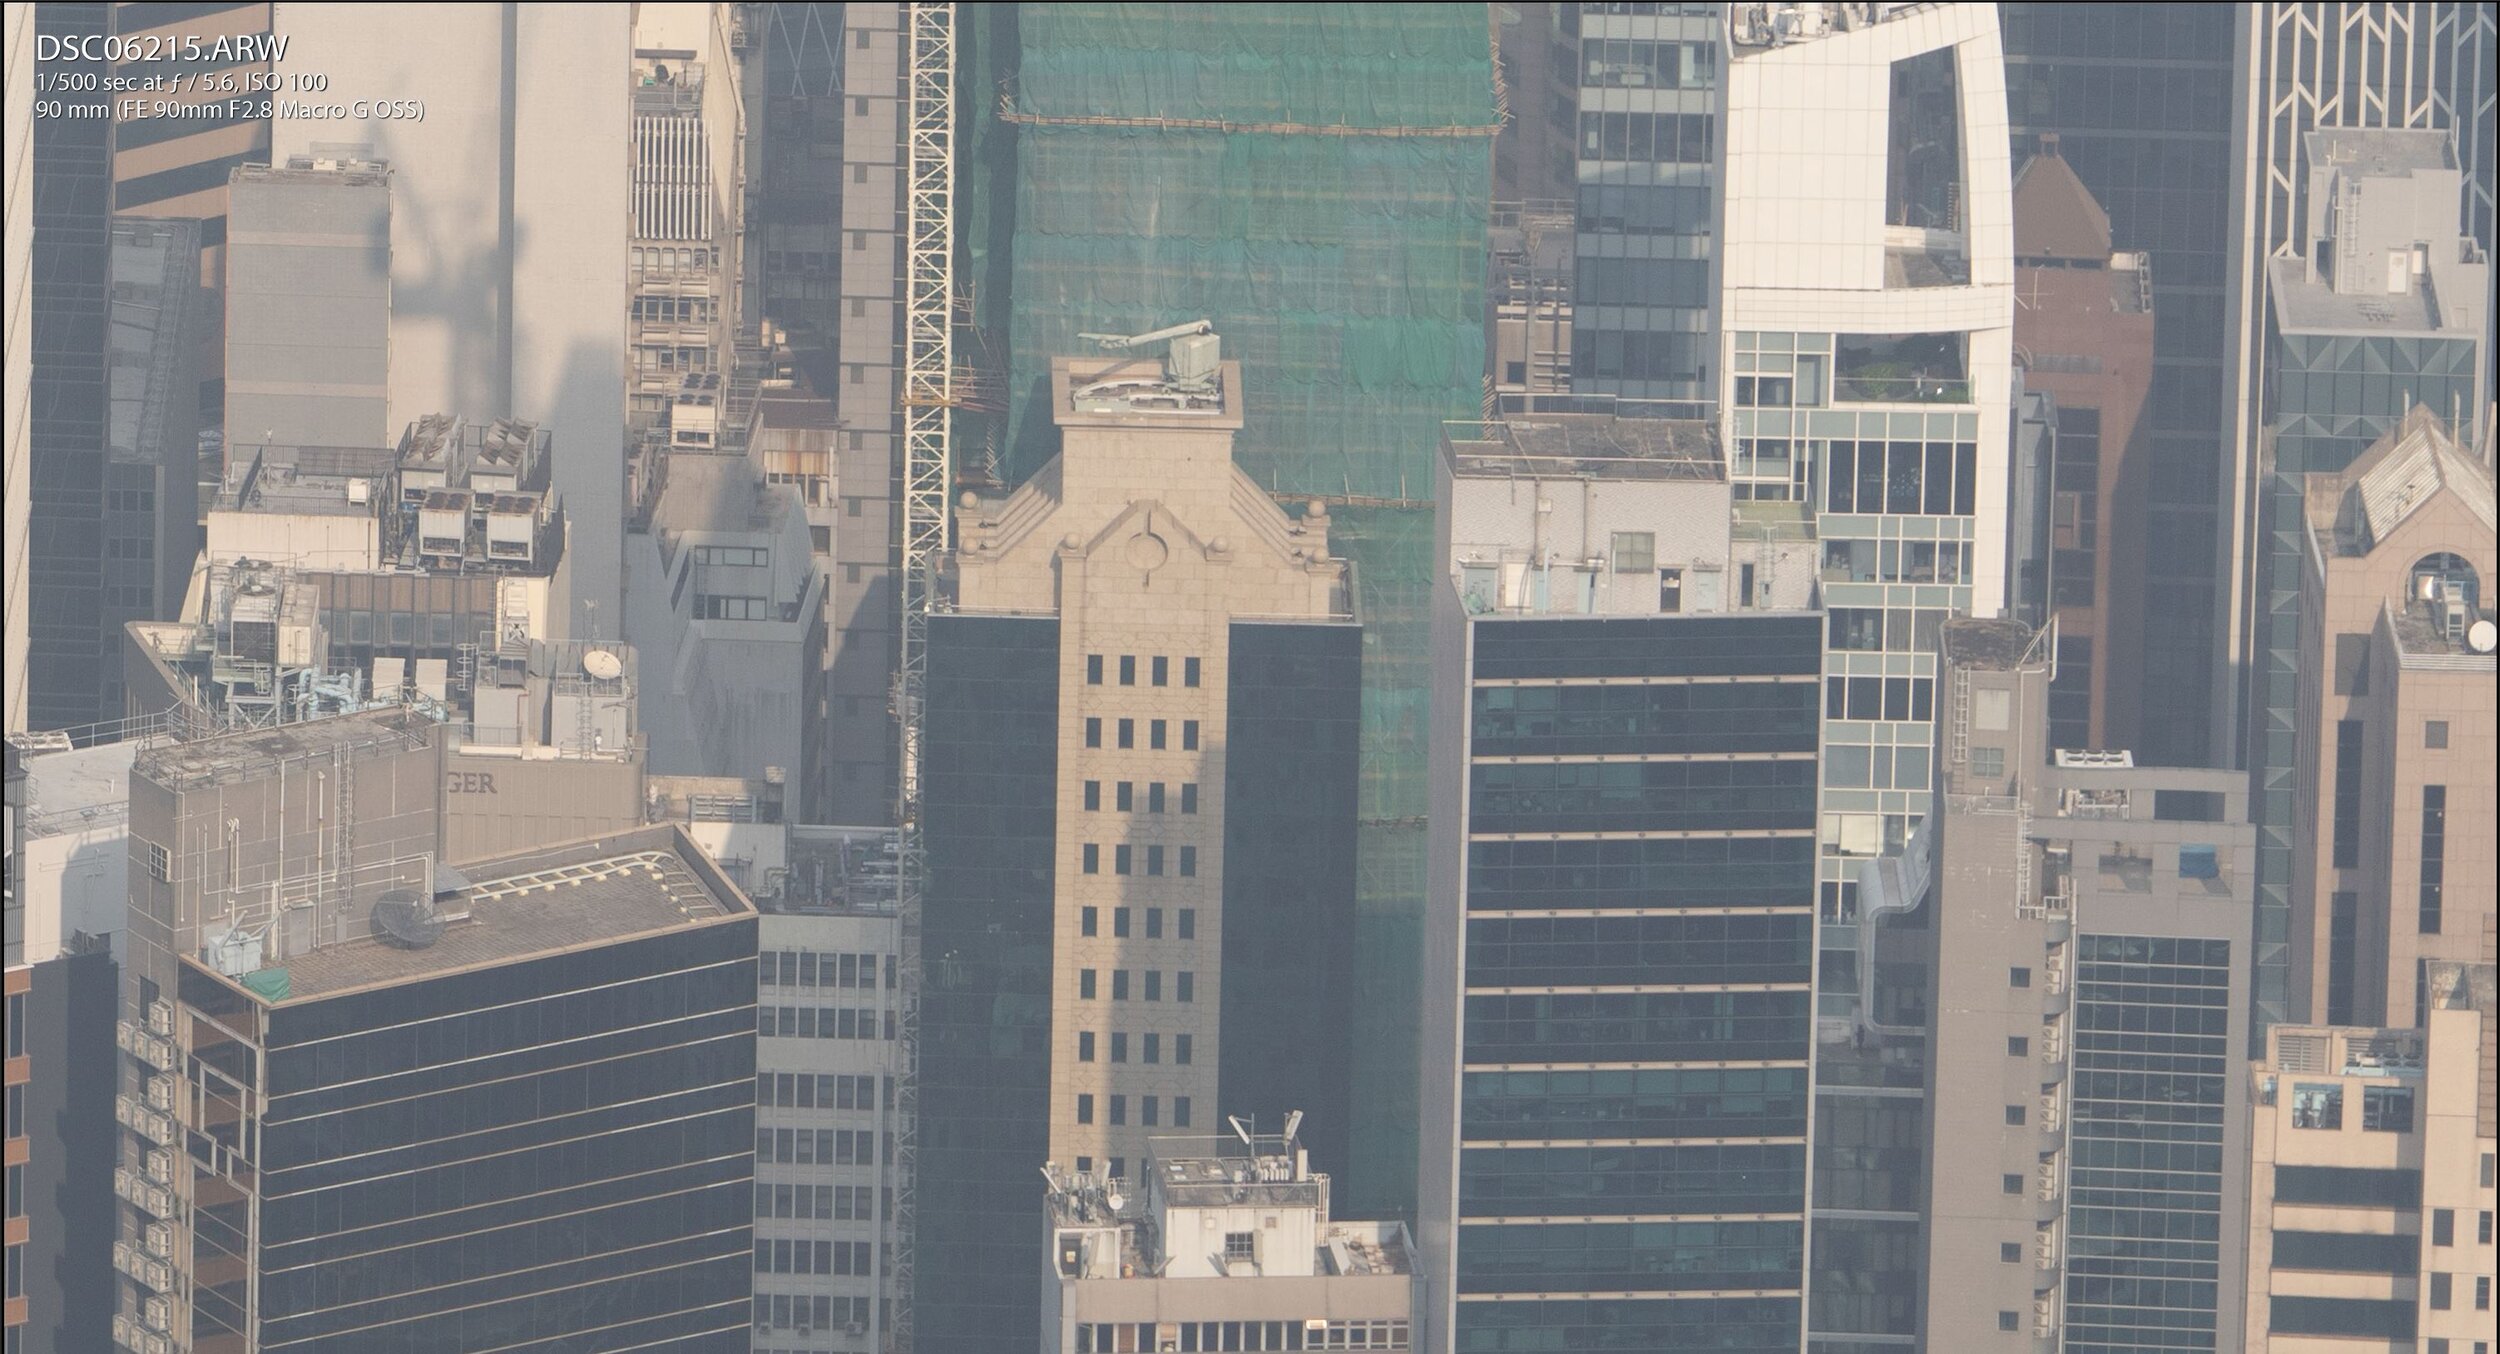
Below is 1:1 comparison on different apertures, and these are shot on the Sony A7R4. First, let’s look at the center:
The lens is sharp at the center, even at f/2.8. It gets better as the aperture is stepped down, with no noticeable difference between f/5.6 and f/8. Next, onto the corners:
The corner is a soft at f/2.8, and improves as the aperture is stepped down. At f/5.6 is very good, but f/8 has more textures on the building walls.
Conclusion
The 90mm macro is an excellent lens, and should be considered if you are interested to shoot macro photography. Its focal length provides a good working distance for shooting macro and products. In fact, it is what I use to shoot most of the product shots on the website. The build quality is great, and the size/weight is reasonable to bring around. The push/pull focusing ring is an interesting design that is practical as well.
It offers great image quality, and is really sharp in the center. I am a bit surprised at the soft corner at f/2.8, as this is often mentioned as one of the sharpest lens on Sony E mount. However, macro often requires stepping down the lens to get enough depth of field anyway, so this is not an issue.The focus speed is acceptable, and using the focal limiter helps on it as well. One thing to watch out for is the focus motor makes loud whiny noise when in AF-C.
There are other macro options on the market, but they are all manual focus lens. The 90mm Macro having autofocus makes it a more versatile lens for day to day shooting as well. However, I would not recommend buying this unless you really need a macro lens. I will review the Sony 85mm F1.8, and do a comparison between the two to explain why.
Sample Gallery
Sony FE 70-300mm F4.5-5.6 G OSS Review
With Comparison to 100400GM
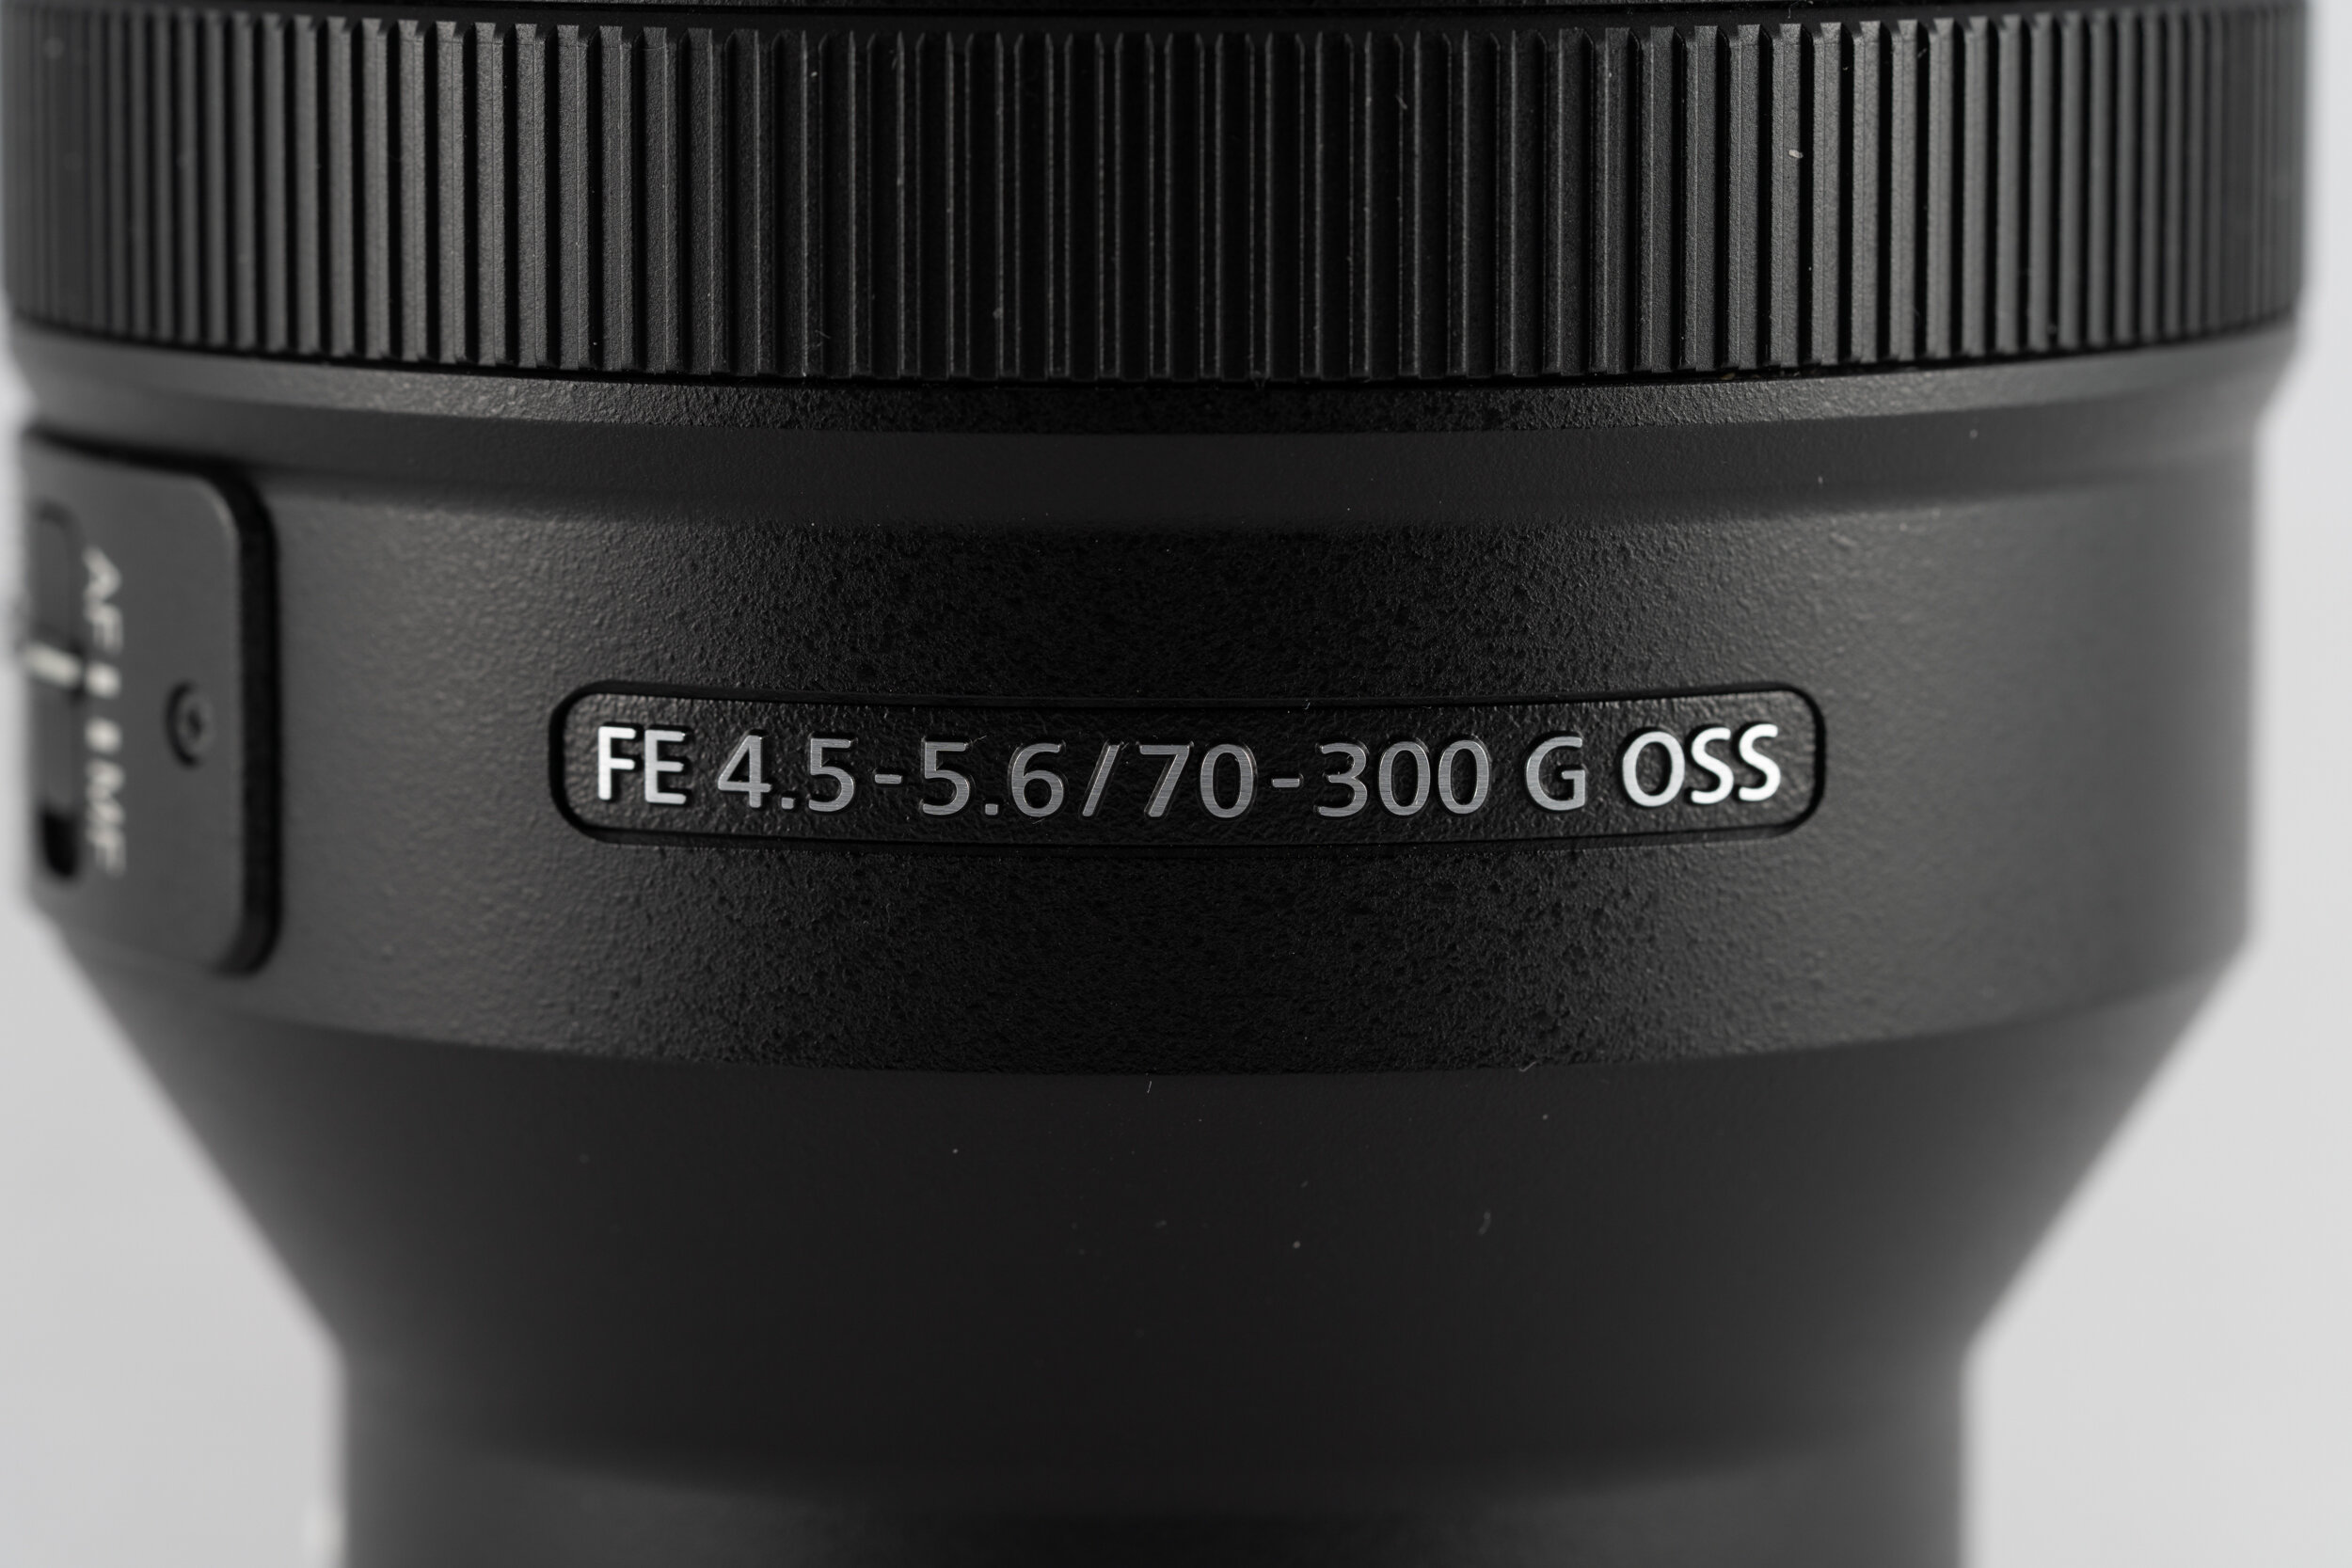
Sony FE 70-300mm F4.5-5.6 G OSS (SEL70300G)
Announced- Mar 2016
Pro
Comfortable Size and Weight
Con
Soft at the corner
Not compatible with teleconverter
What’s included:
There is the lens, hood, caps, manuals, and a soft carrying case in the box.
Body
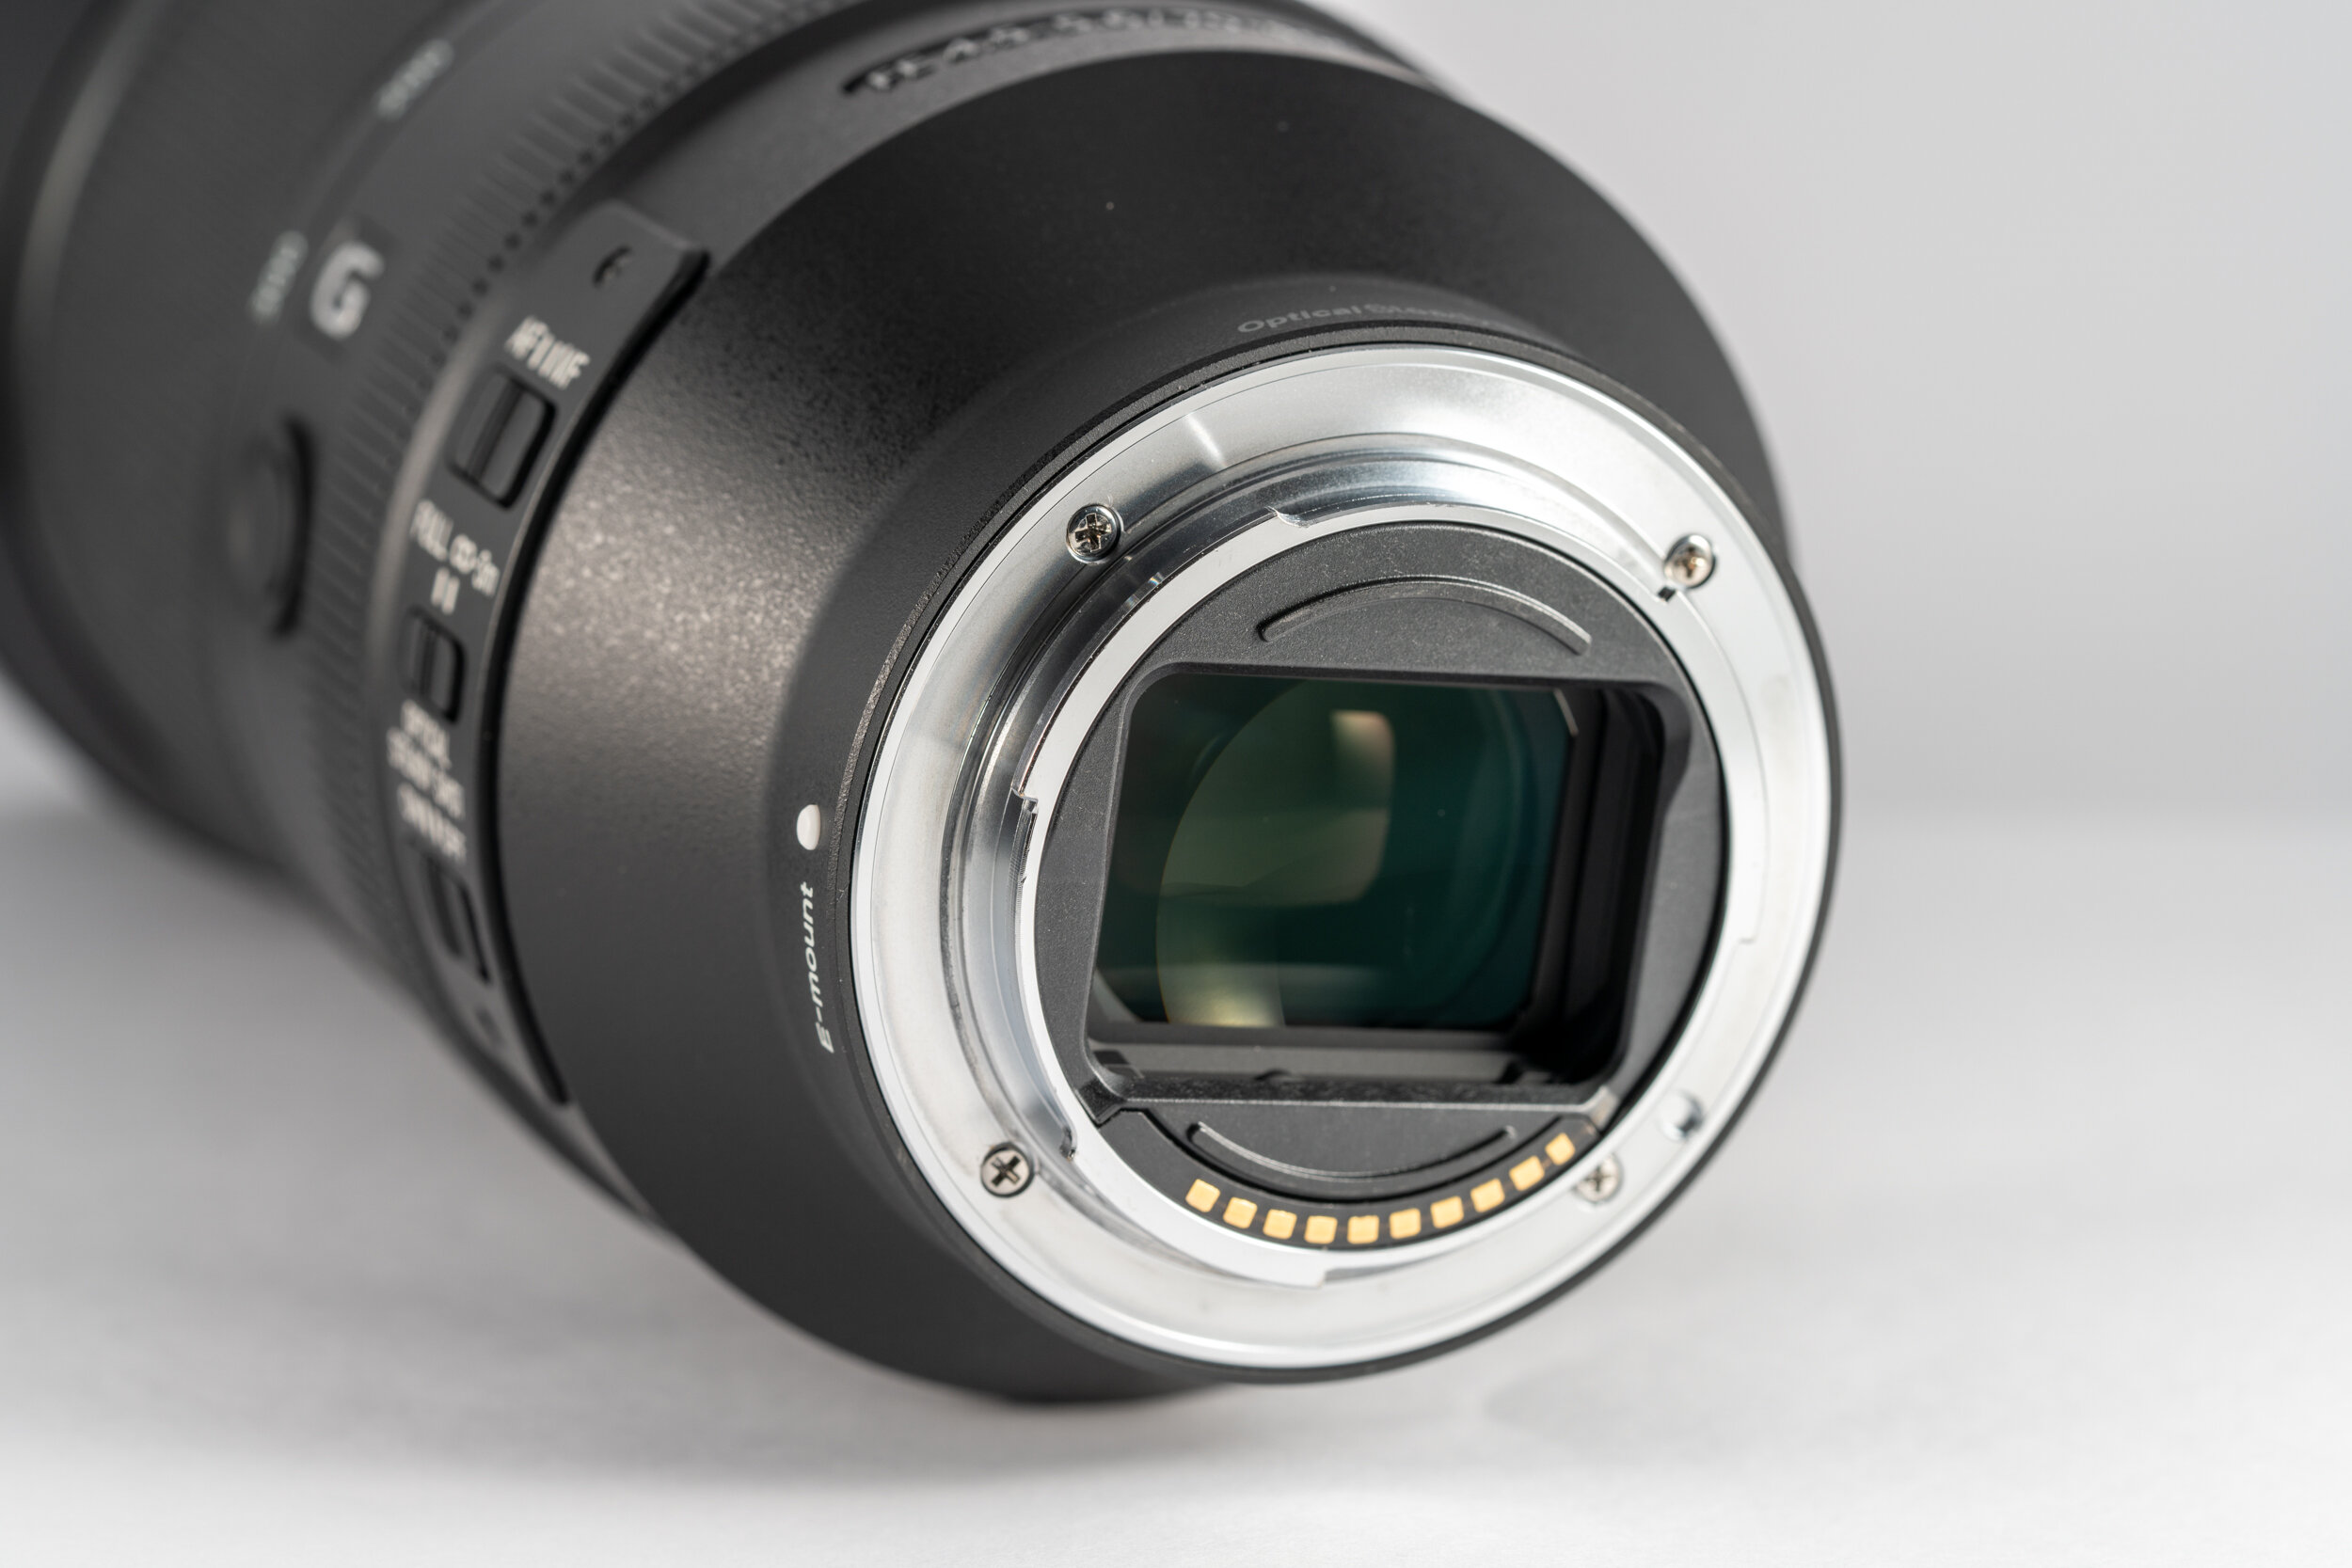
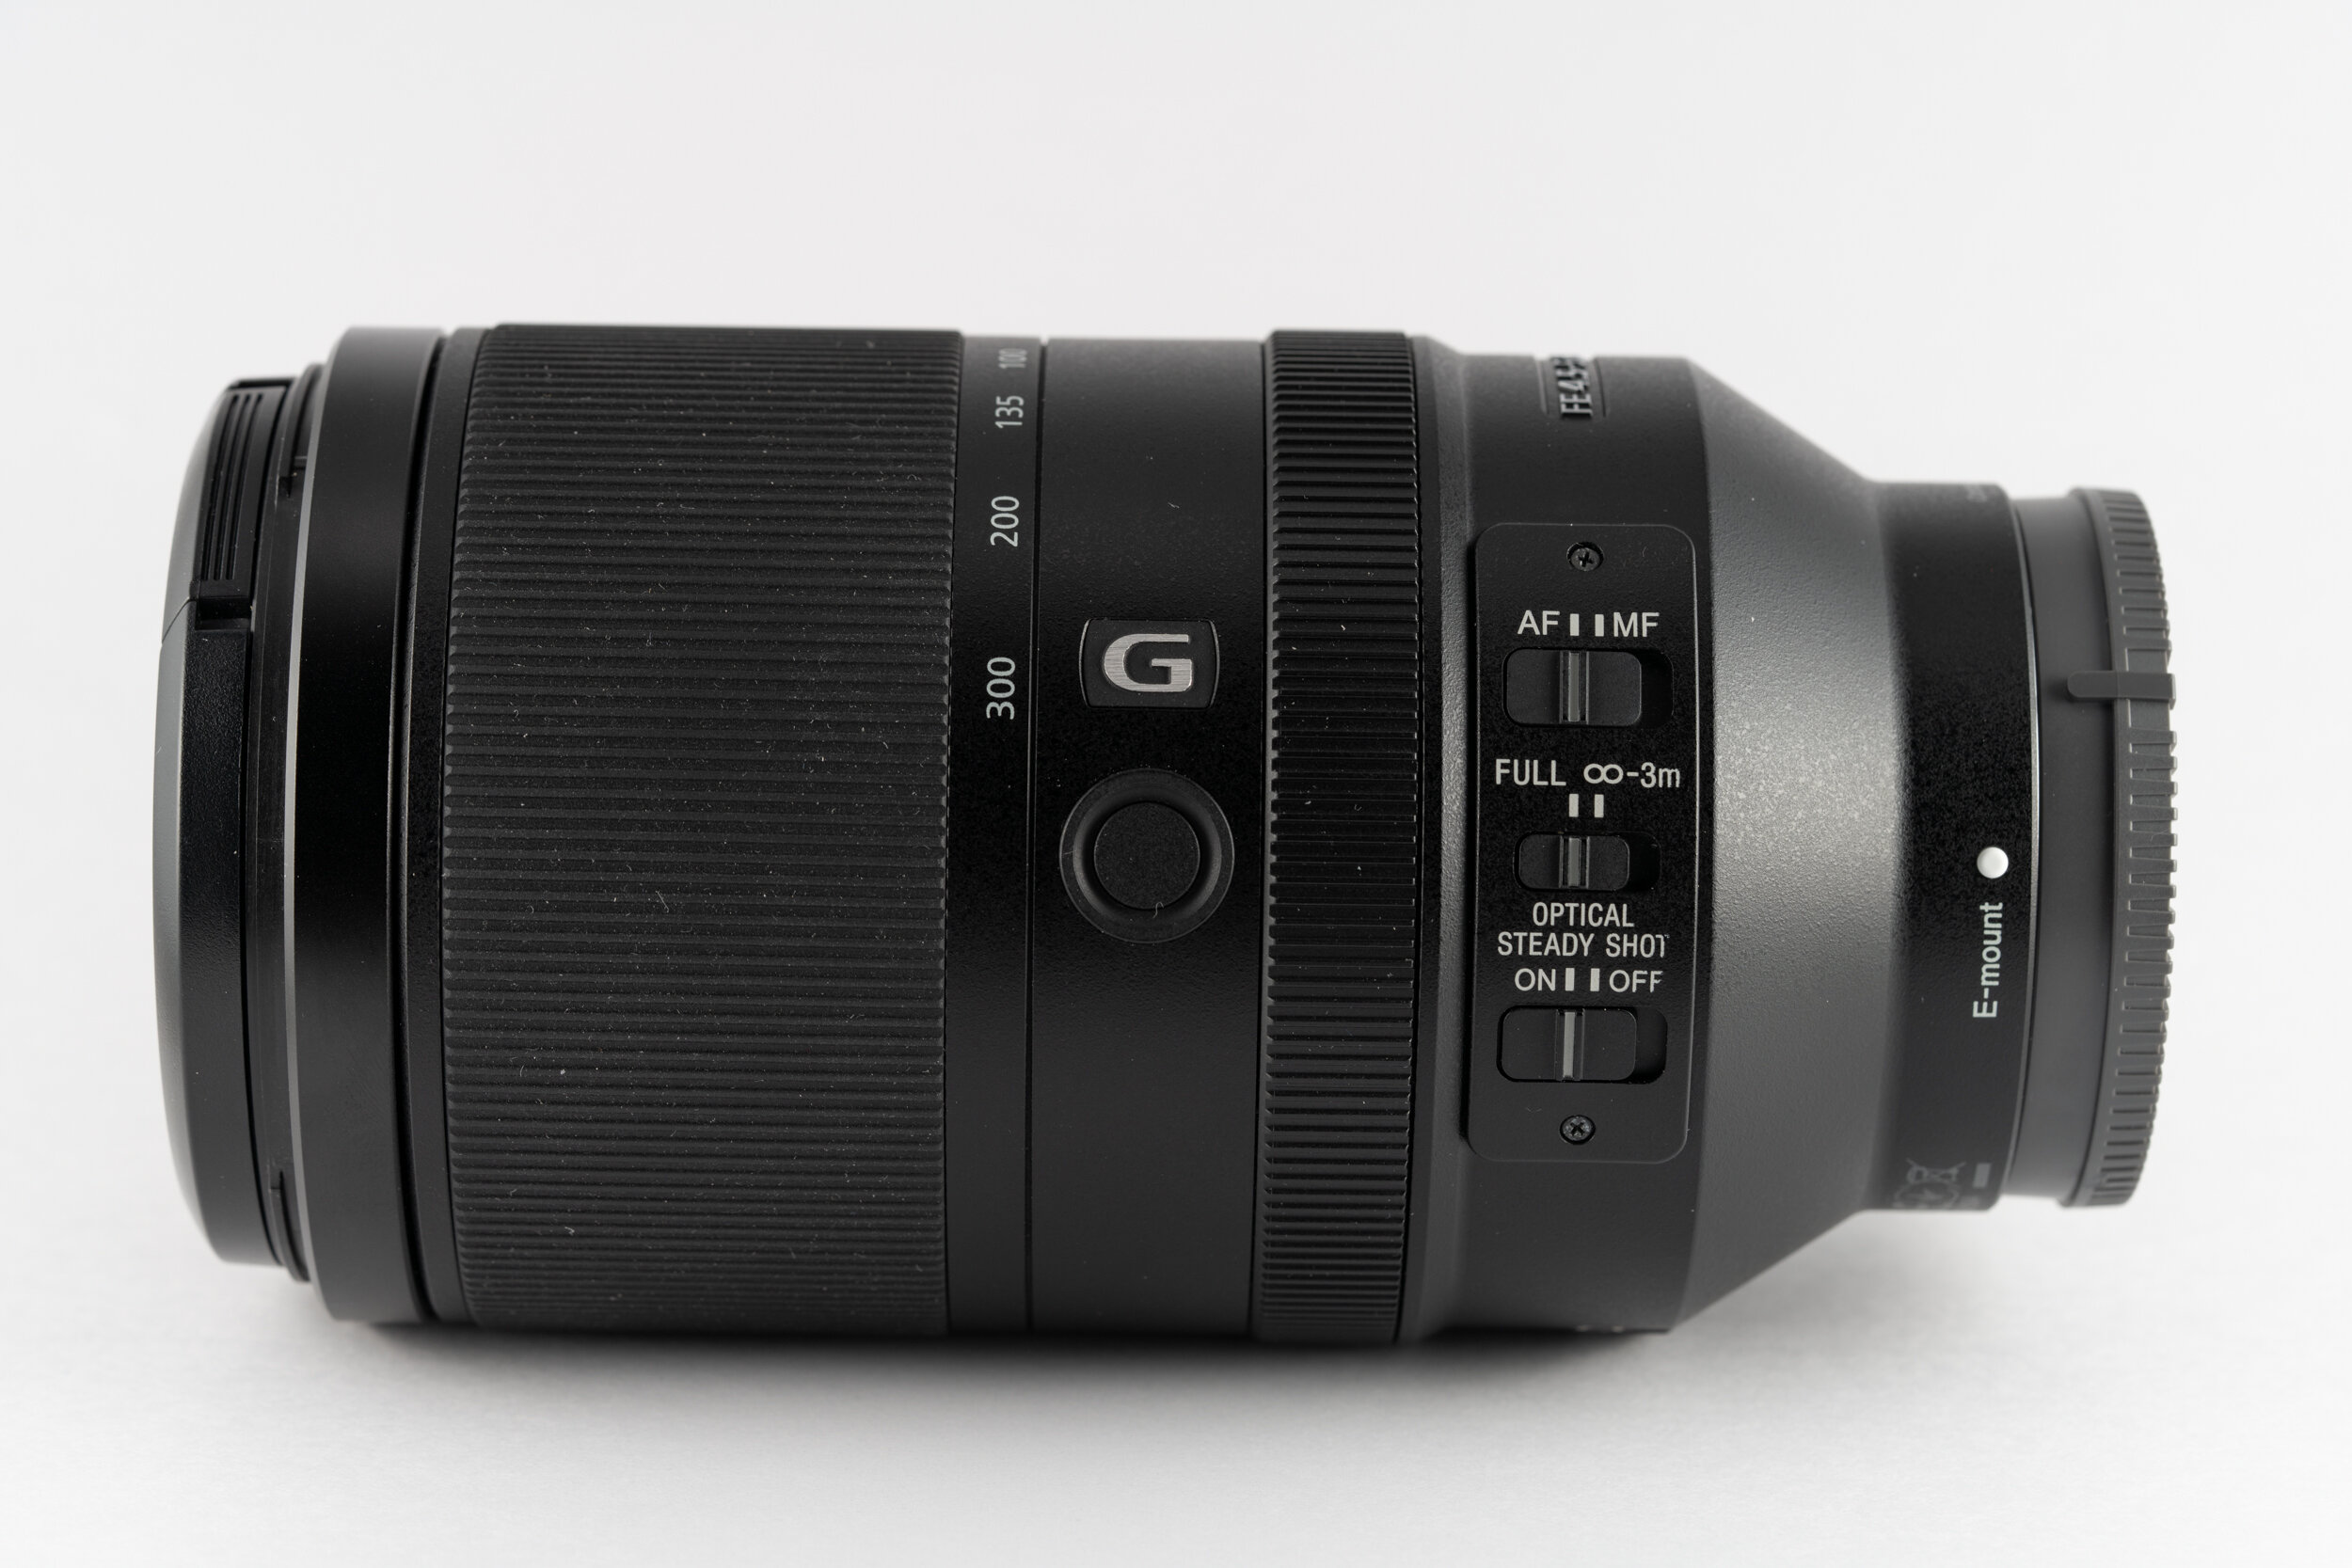
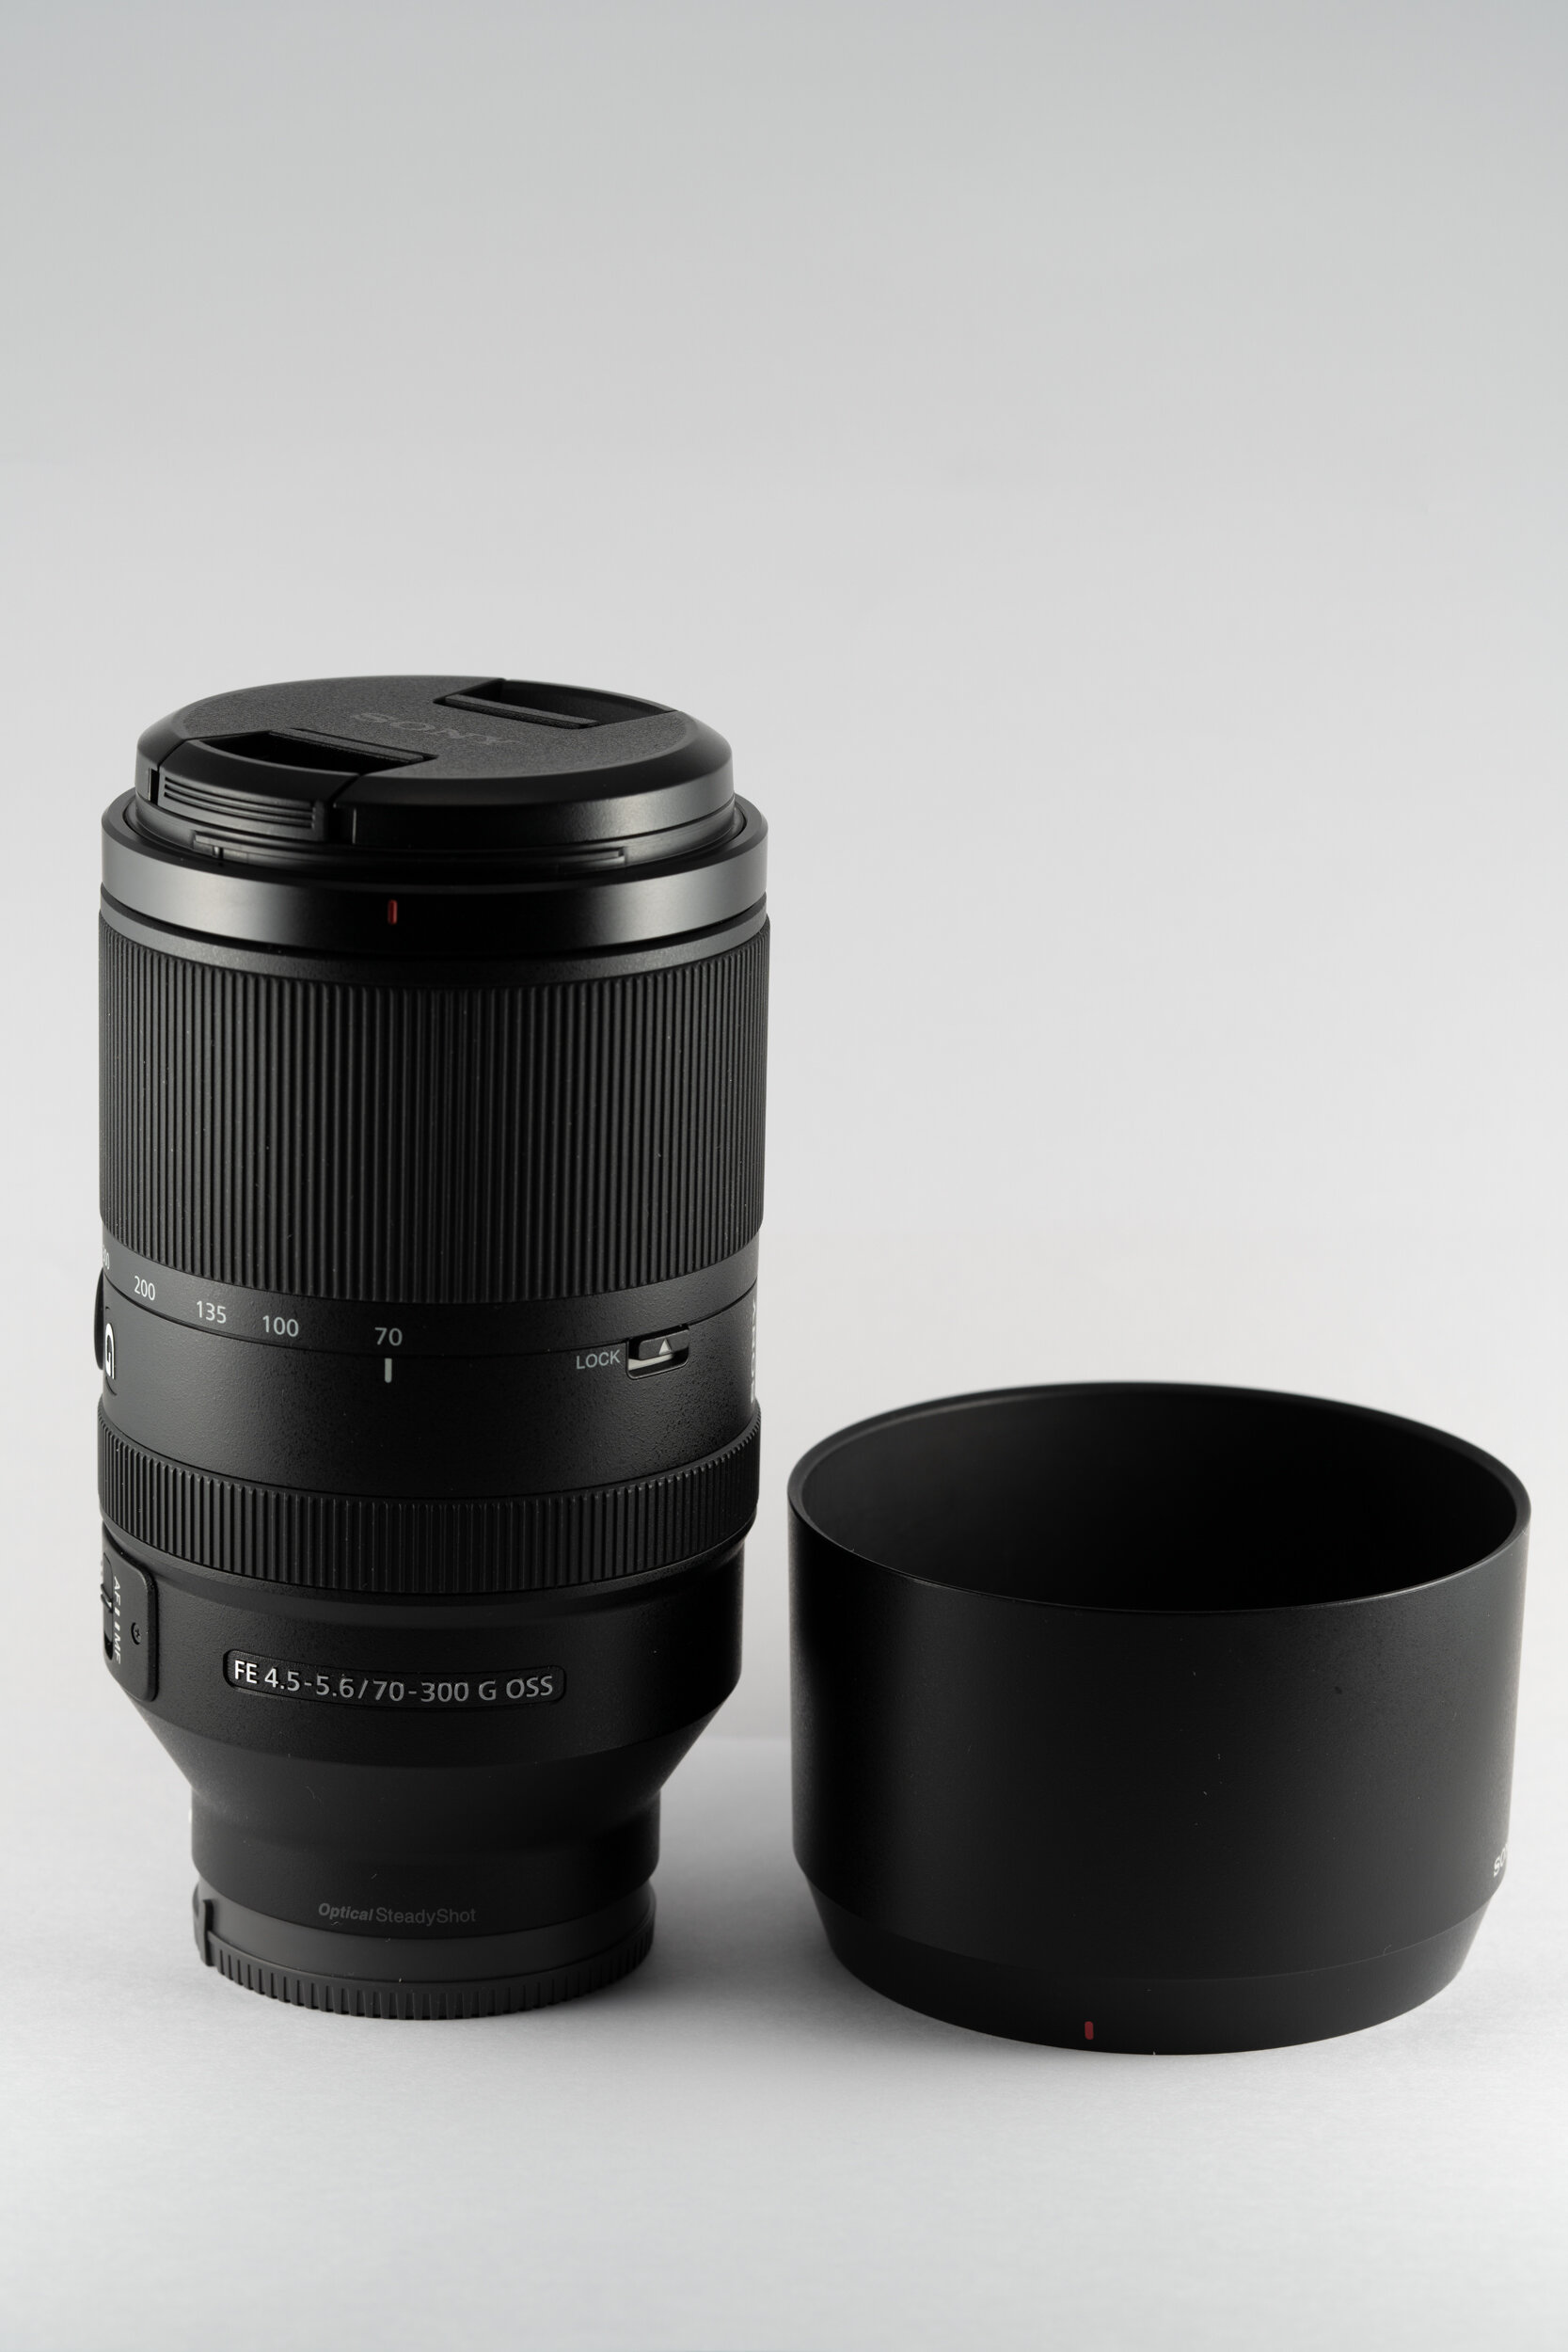
The lens body is 144mm long x 84mm in diameter, weight at 854g. It takes a 72mm filter at the front, and is not compatible with Sony’s 1.4x and 2.0x teleconverter.
There is a bunch of controls on the side. At the front is the zoom ring, then focus hold, focus ring, then a bunch of controls. Then there is a panel of switches closer to the body. Top is the focus mode switch, focus range limiter, and steady shot switch at the bottom. There is a lock button on the side that can be used to prevent zoom creep.
The lens is nicely built overall, but there is no rubber gasket like the GM series lens.
There is a lock button on the side that can be used to prevent zoom creep.
Image Quality
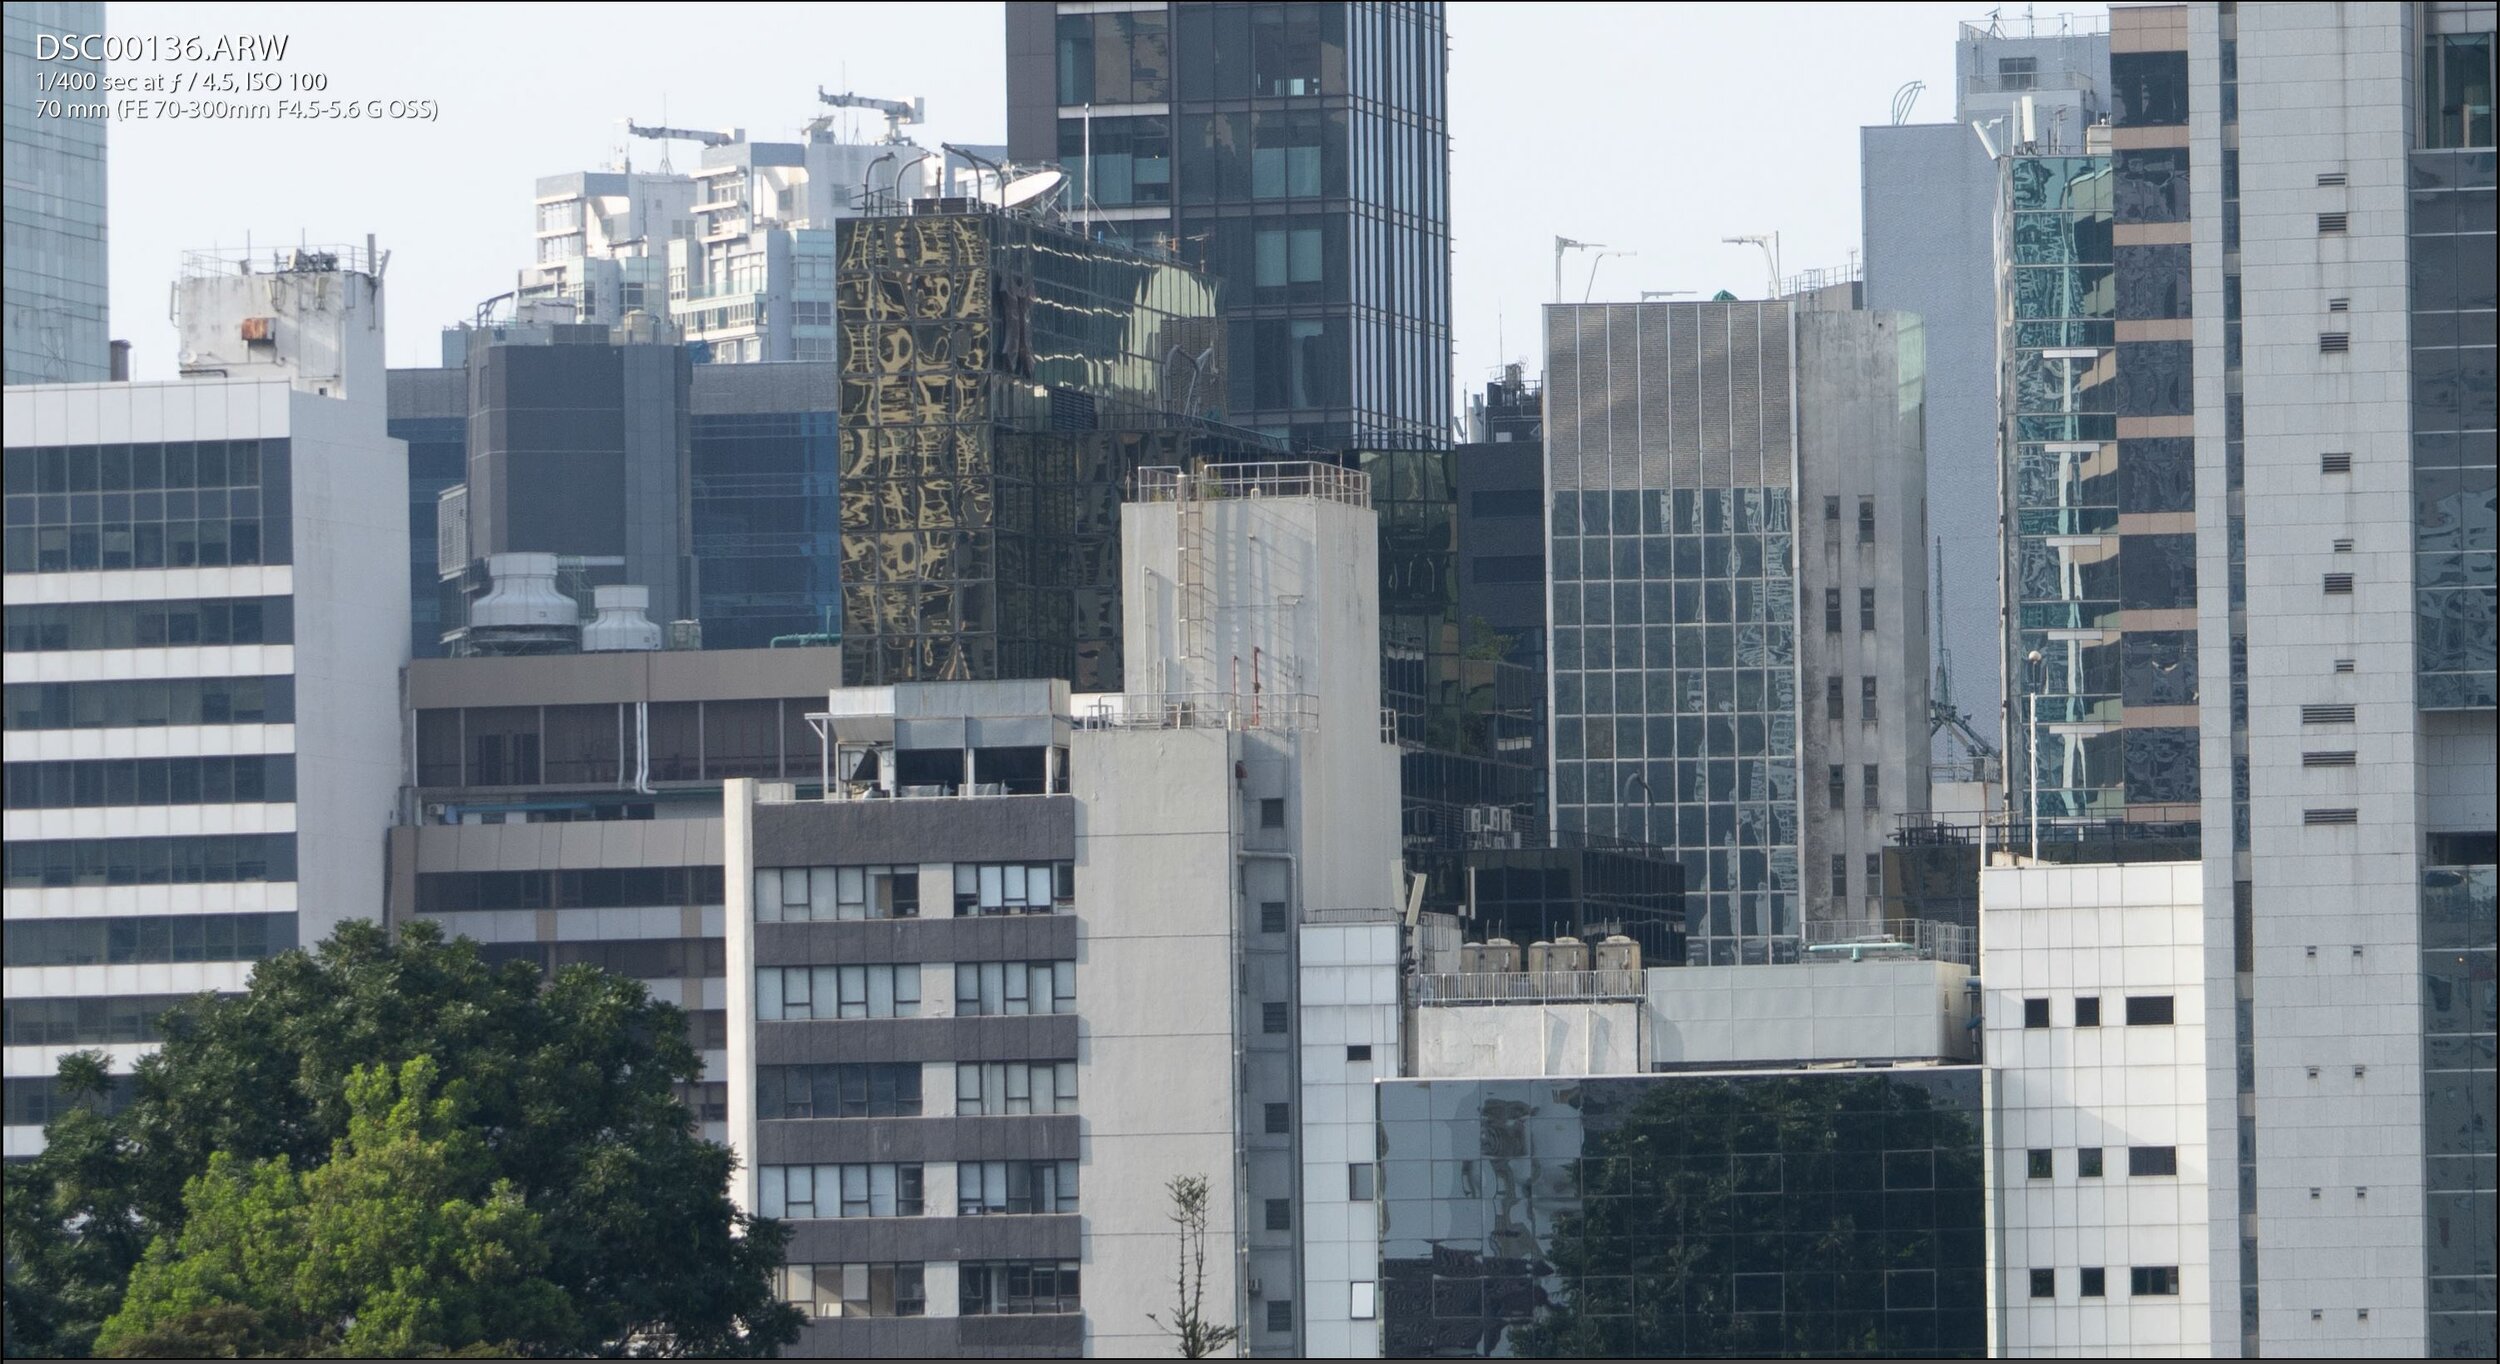
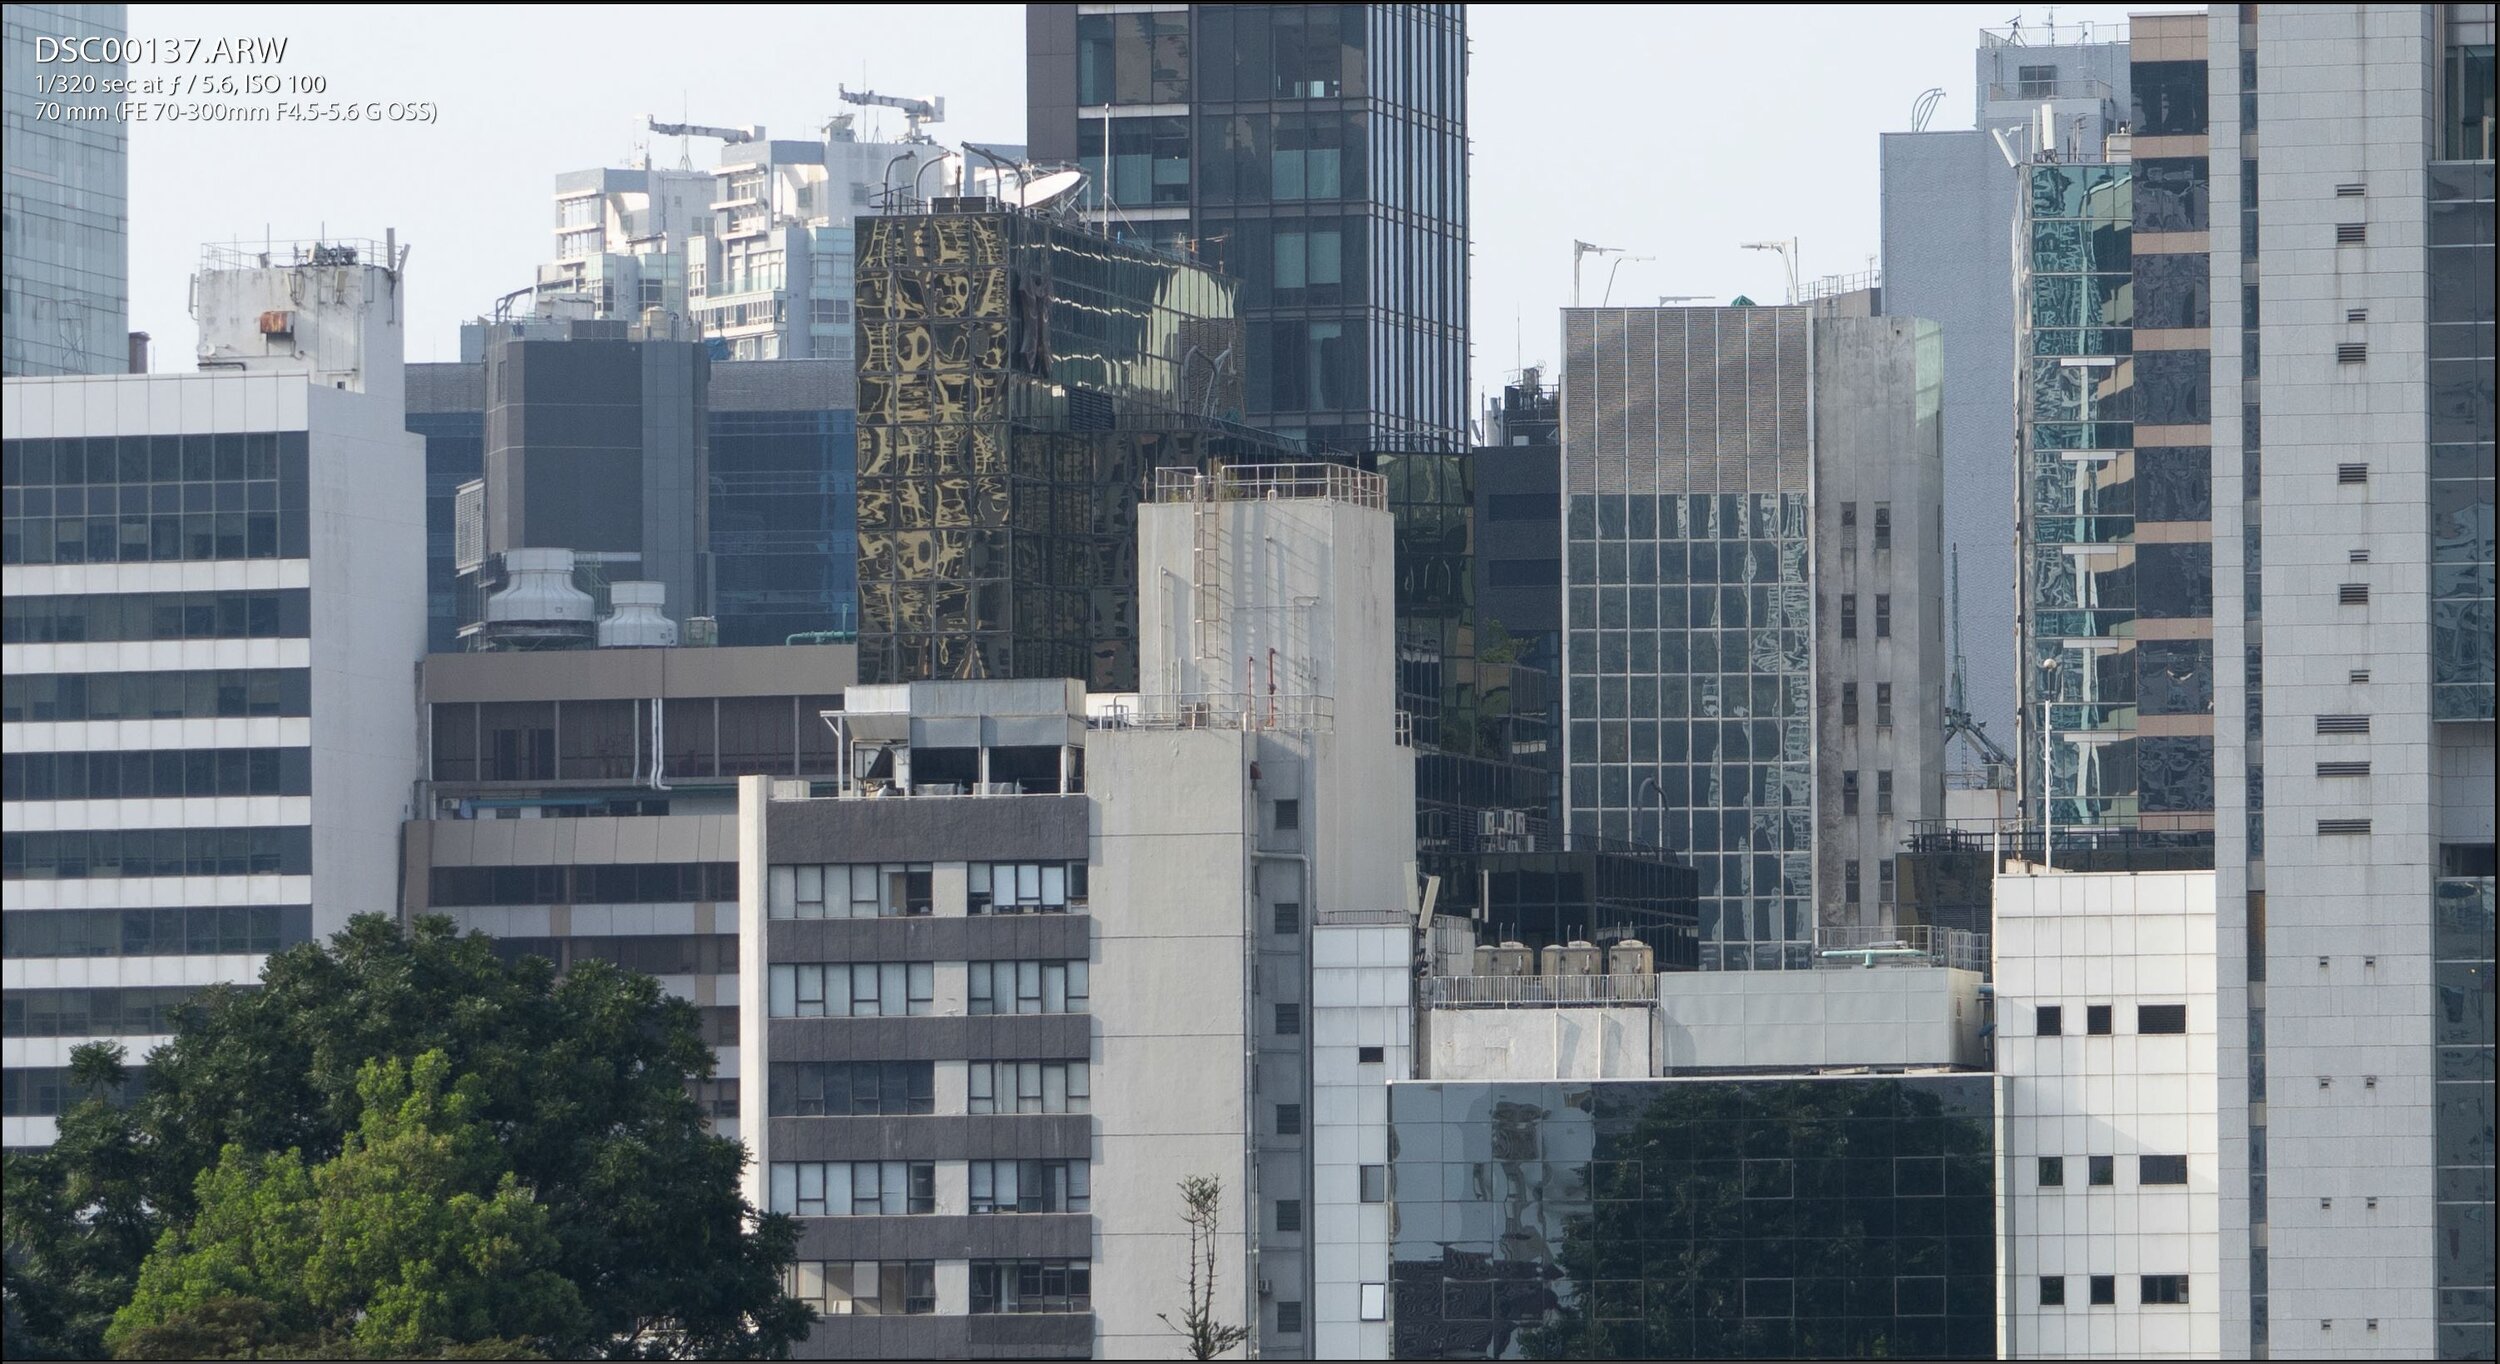
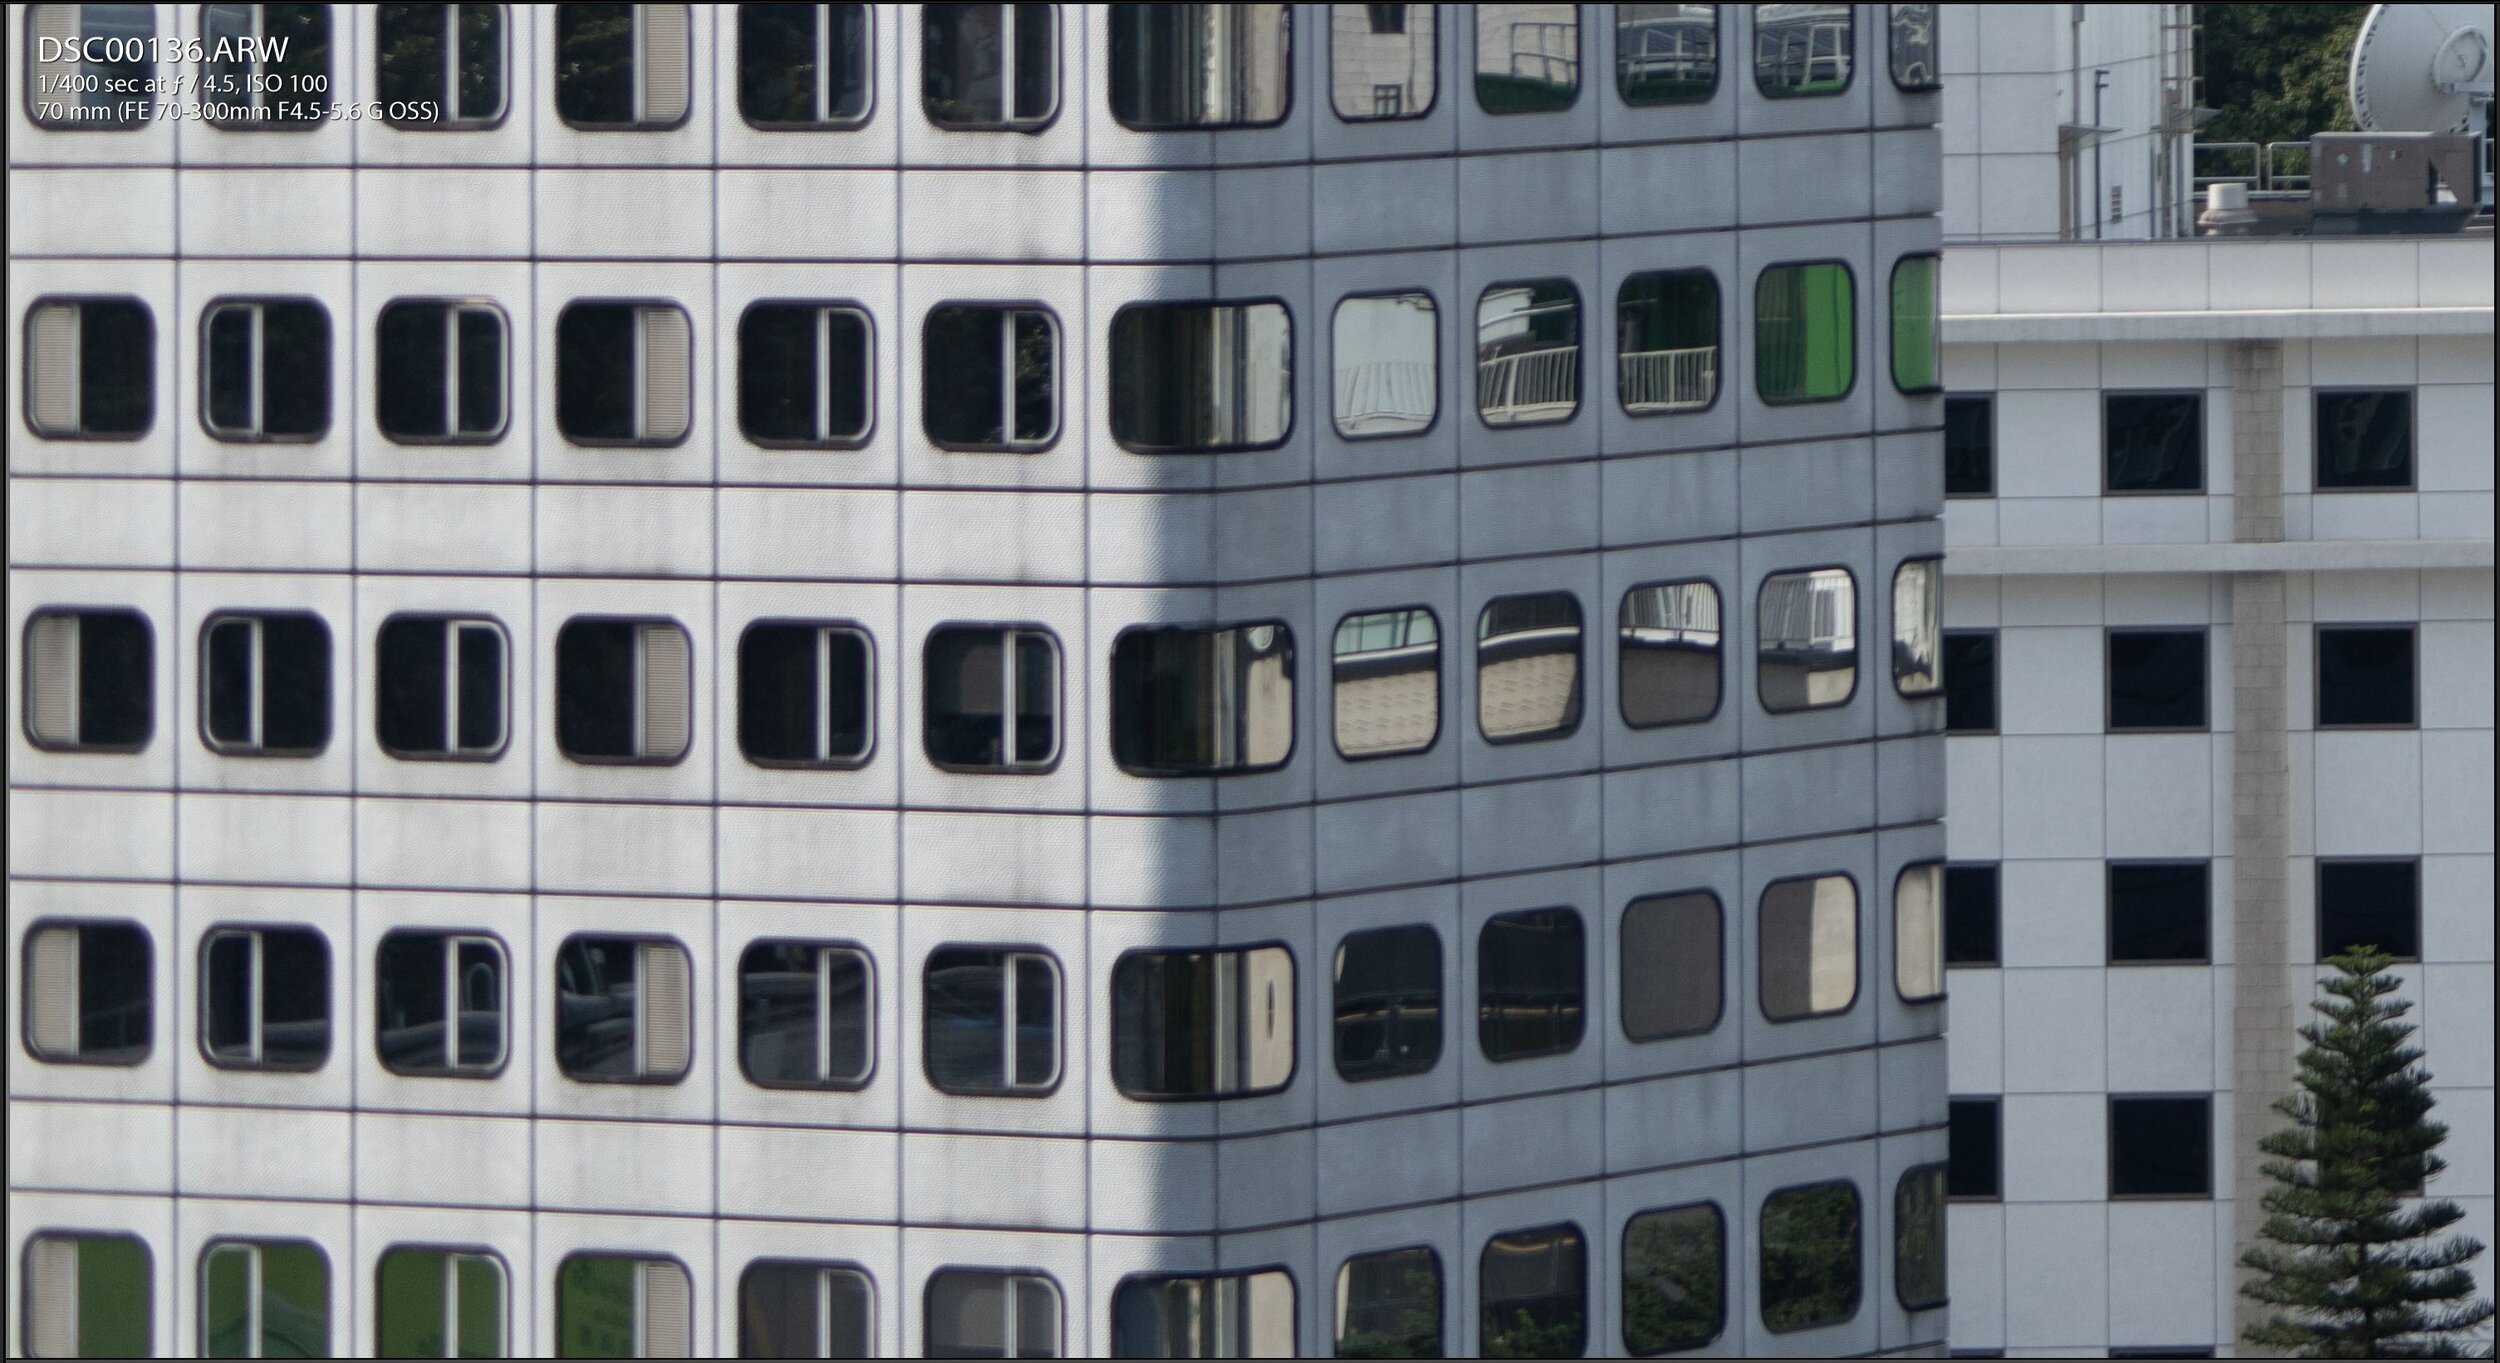
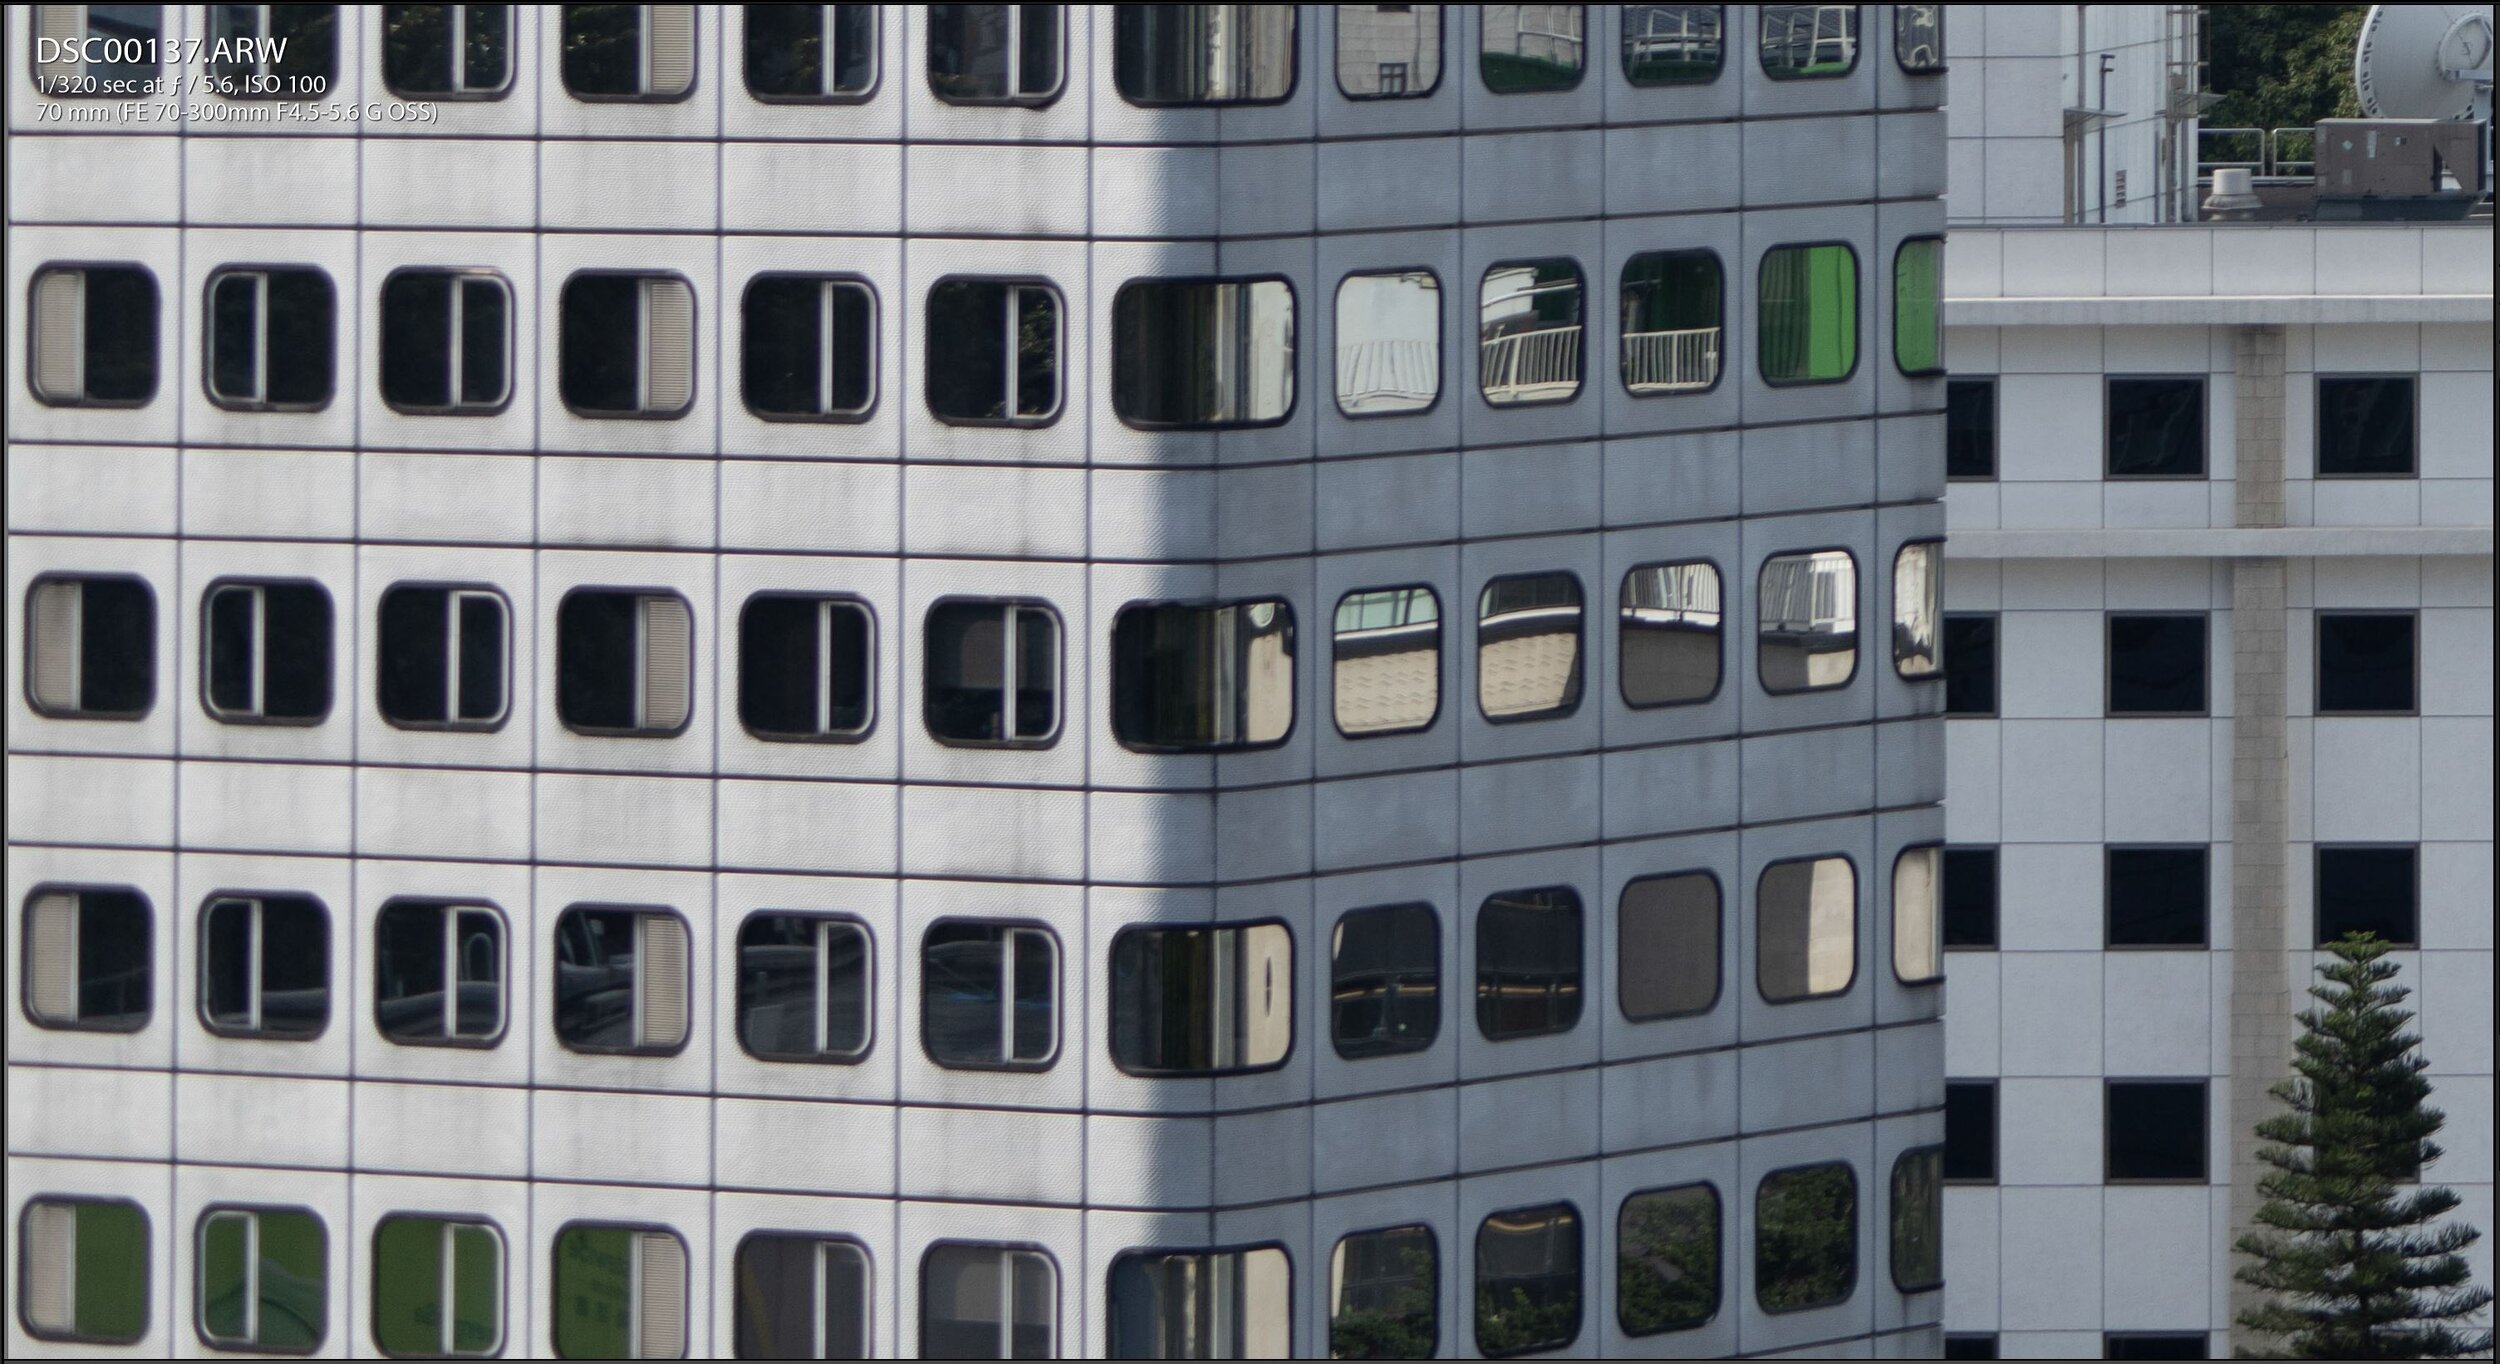
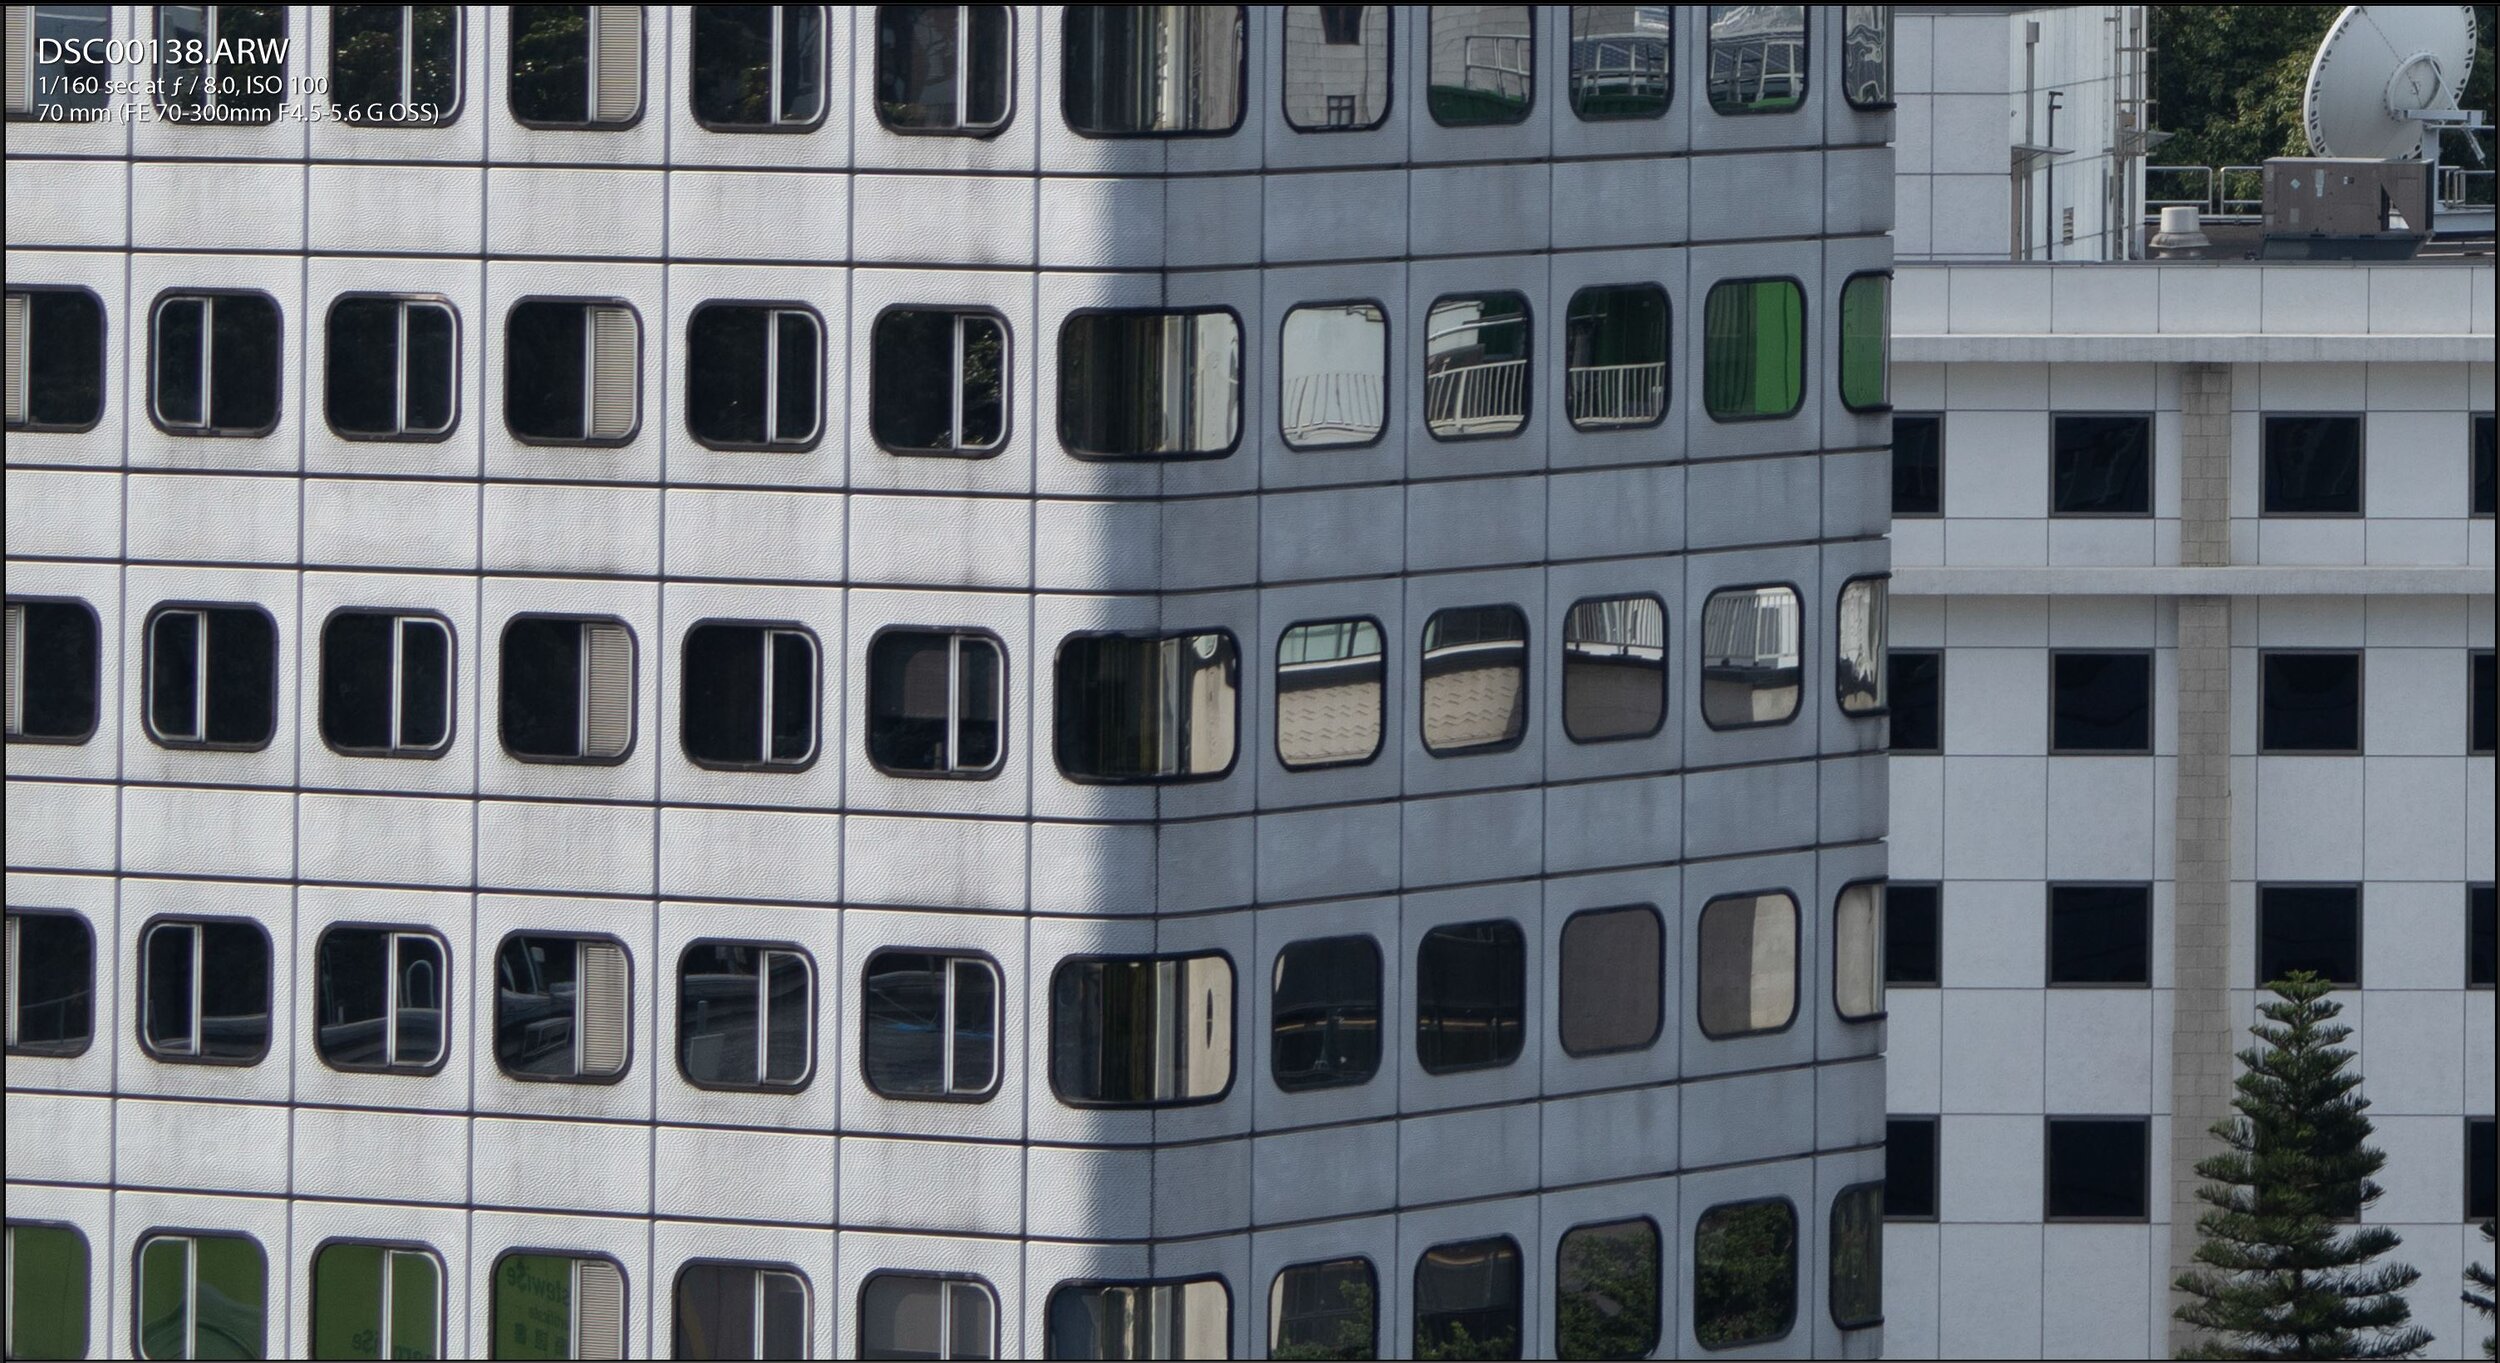
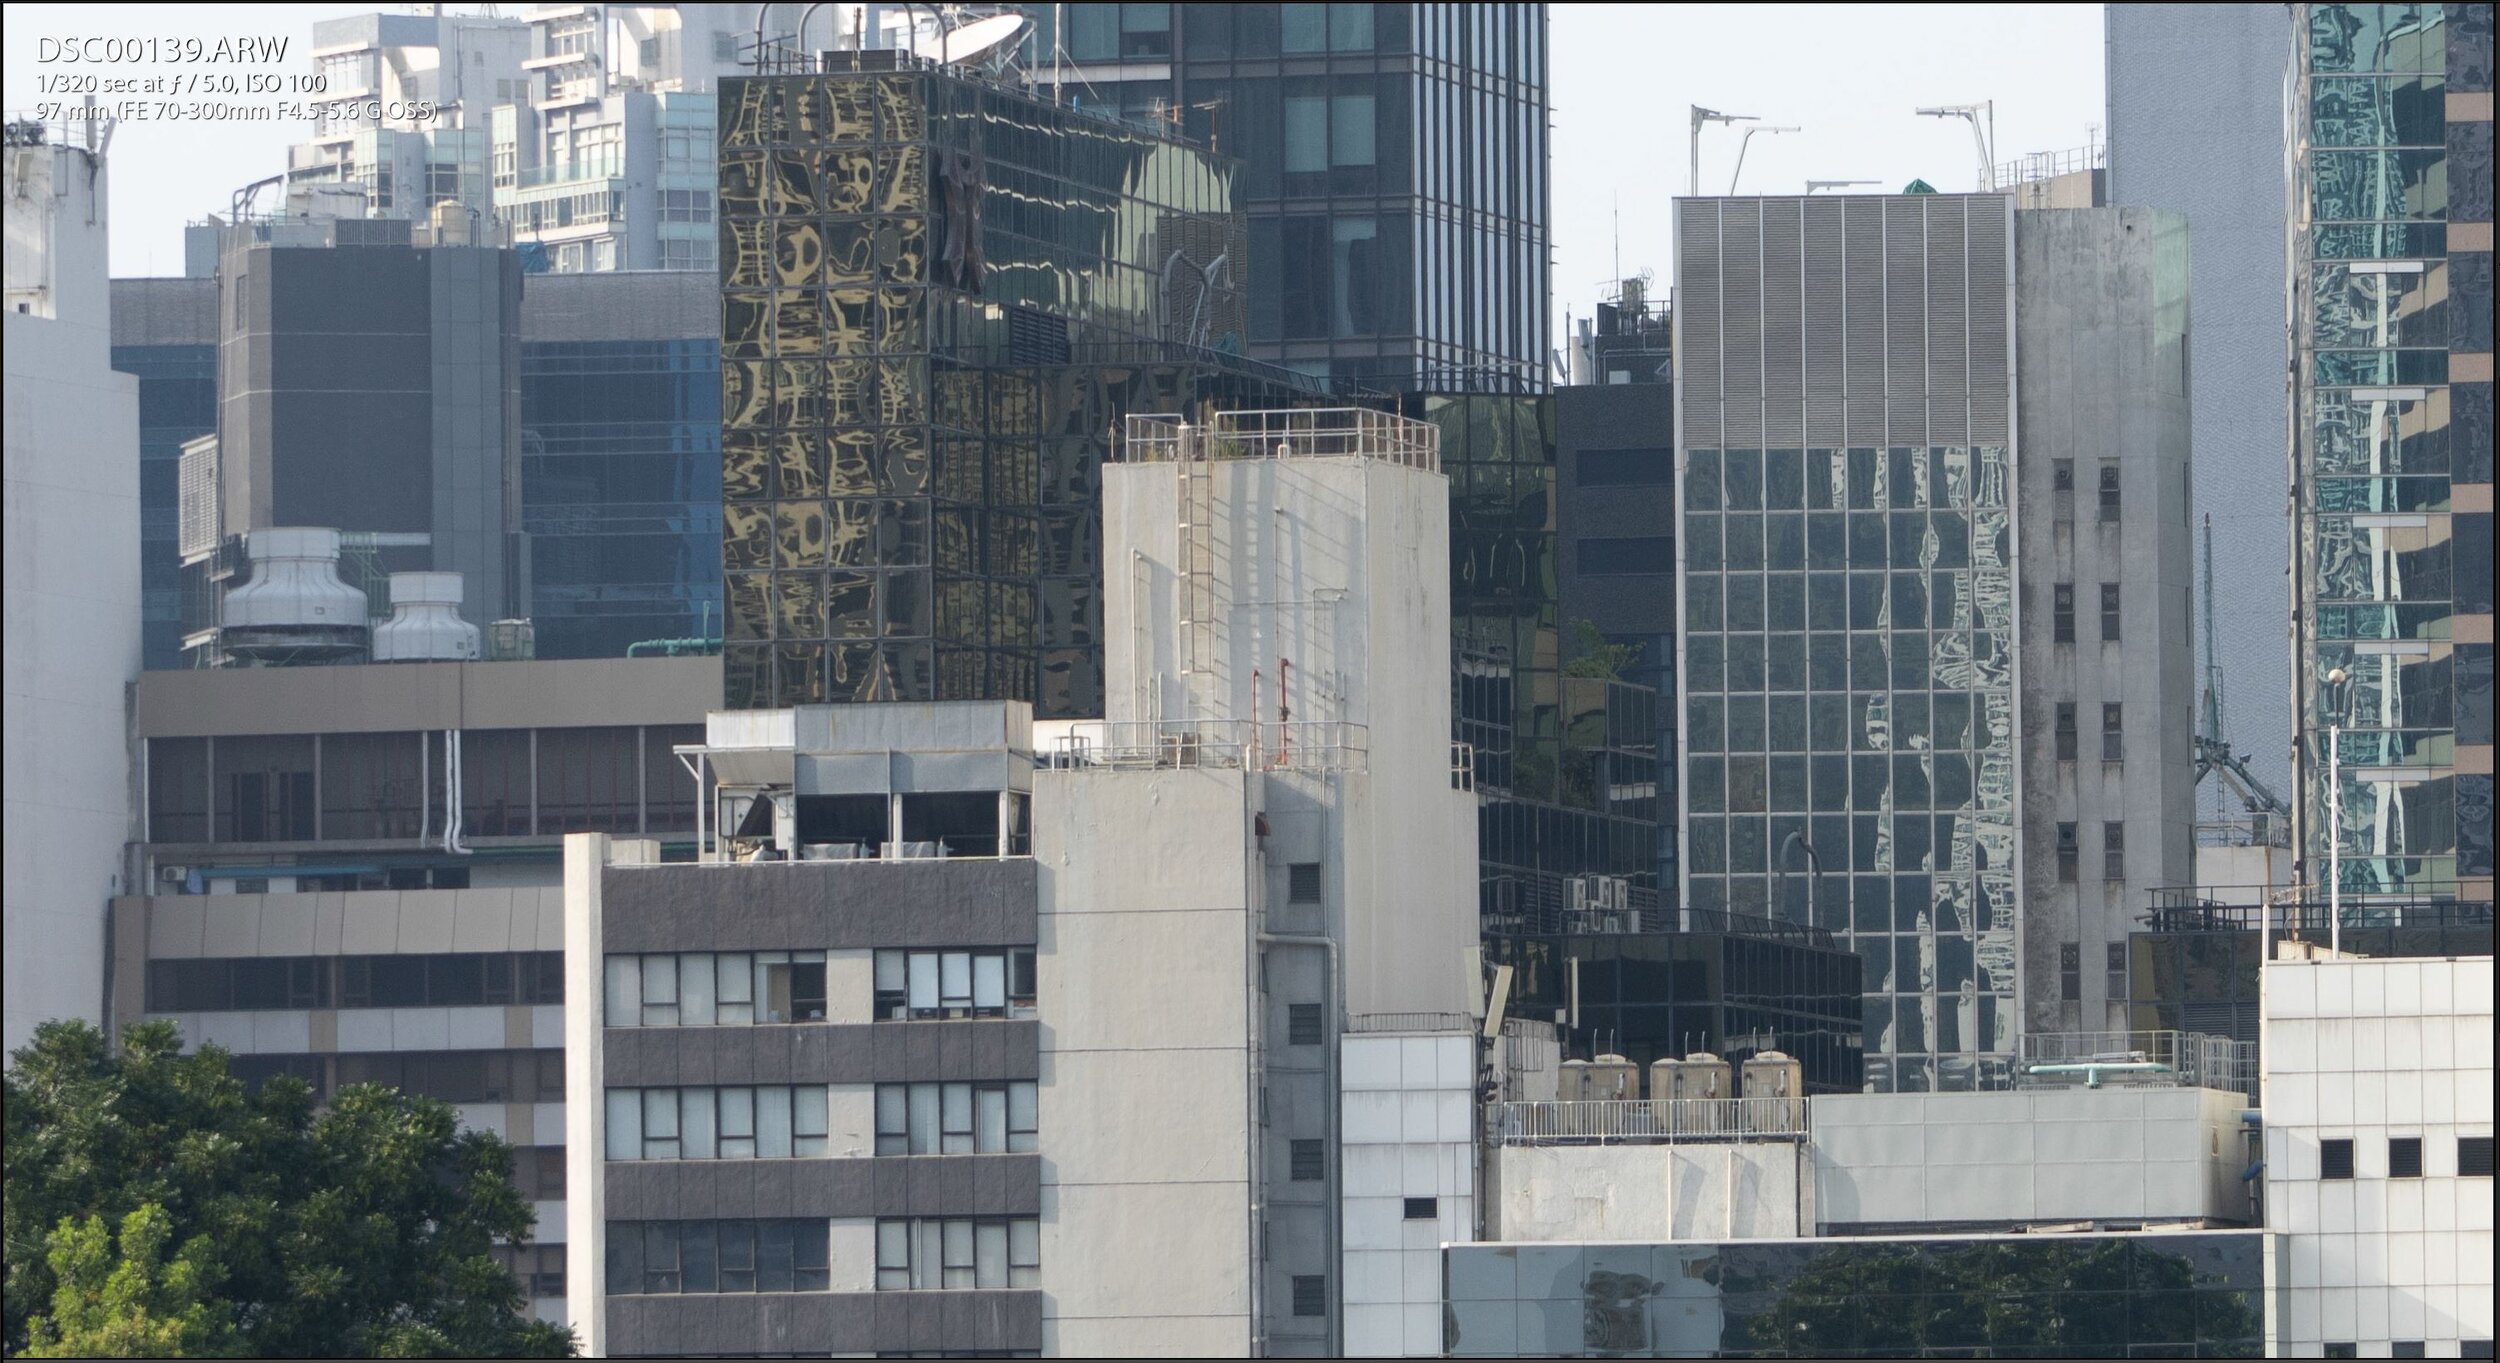
This is a variable aperture lens. The aperture starts at f/4.5 at 70mm, f/5 at 85, then f/5.6 starting 160. Below is a comparison on different focal lengths. First with 70mm comparison, starting at largest aperture @ f/4.5. The center is a bit soft wide open, and gets better as the aperture is stepped down. The corner is soft with noticable chromatic aberration until f/8.
100mm comparison, starting at largest aperture @ f/5. The center is good wide open and gets better as the aperture is stepped down. The corner is still soft until f/8.
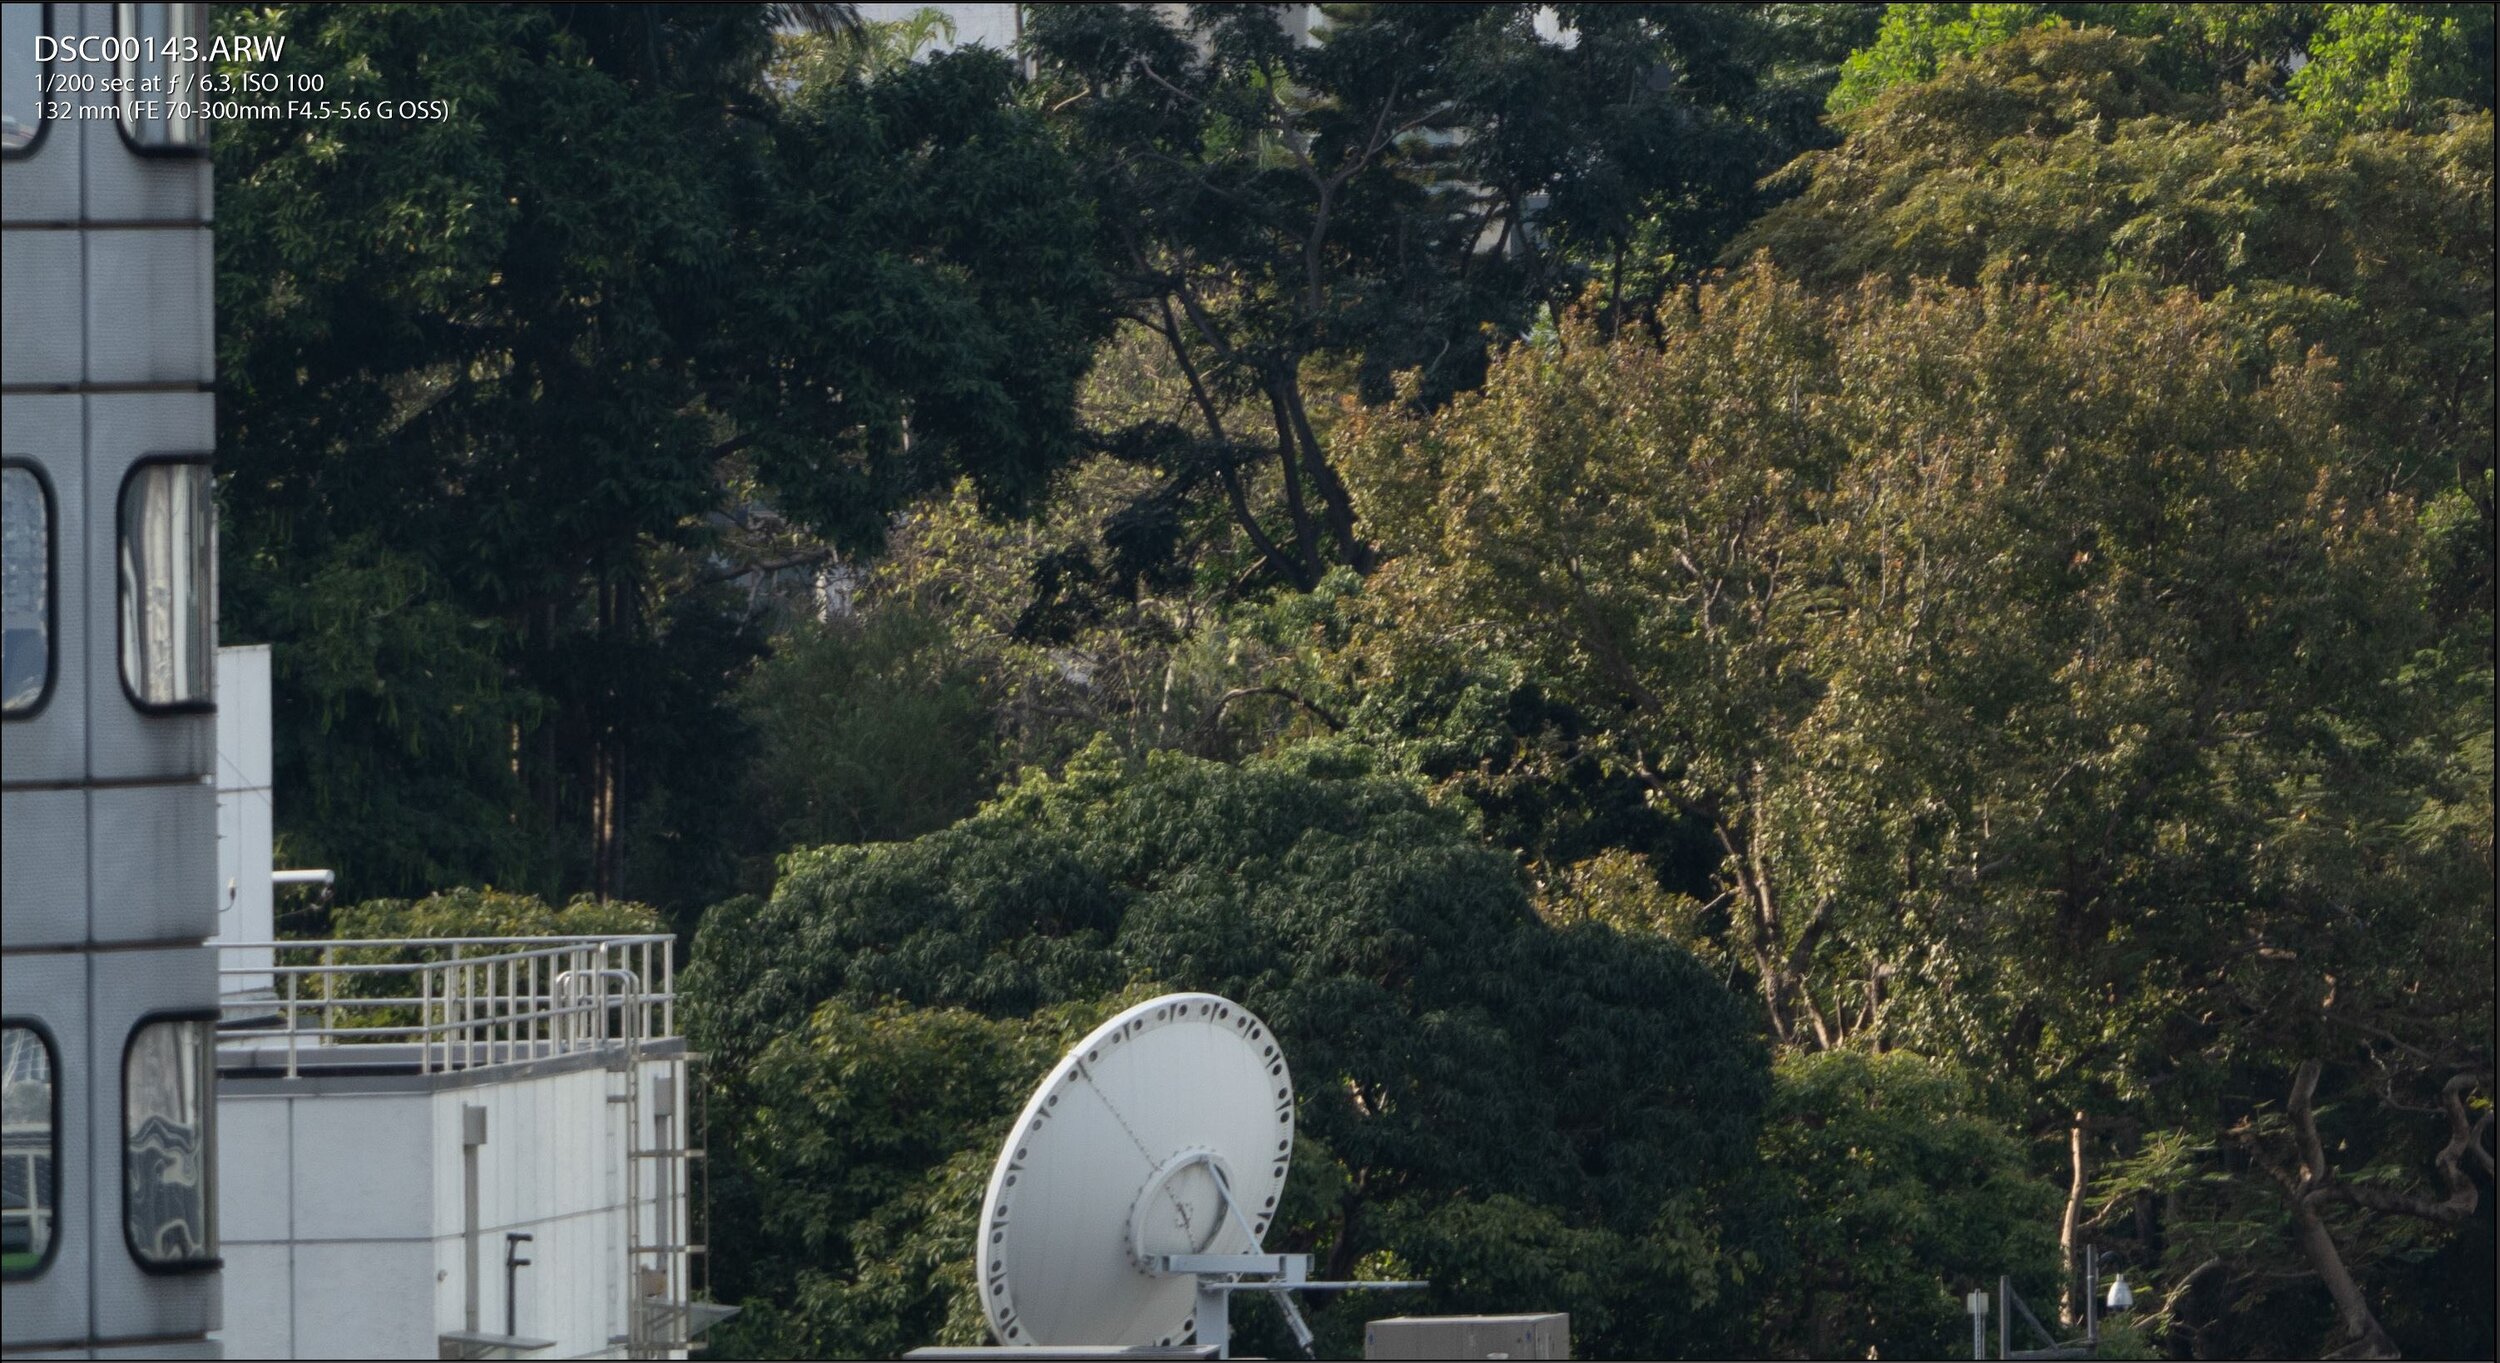
135mm comparison, starting at f/5, The center is good already wide open. However, the corner is quite soft.
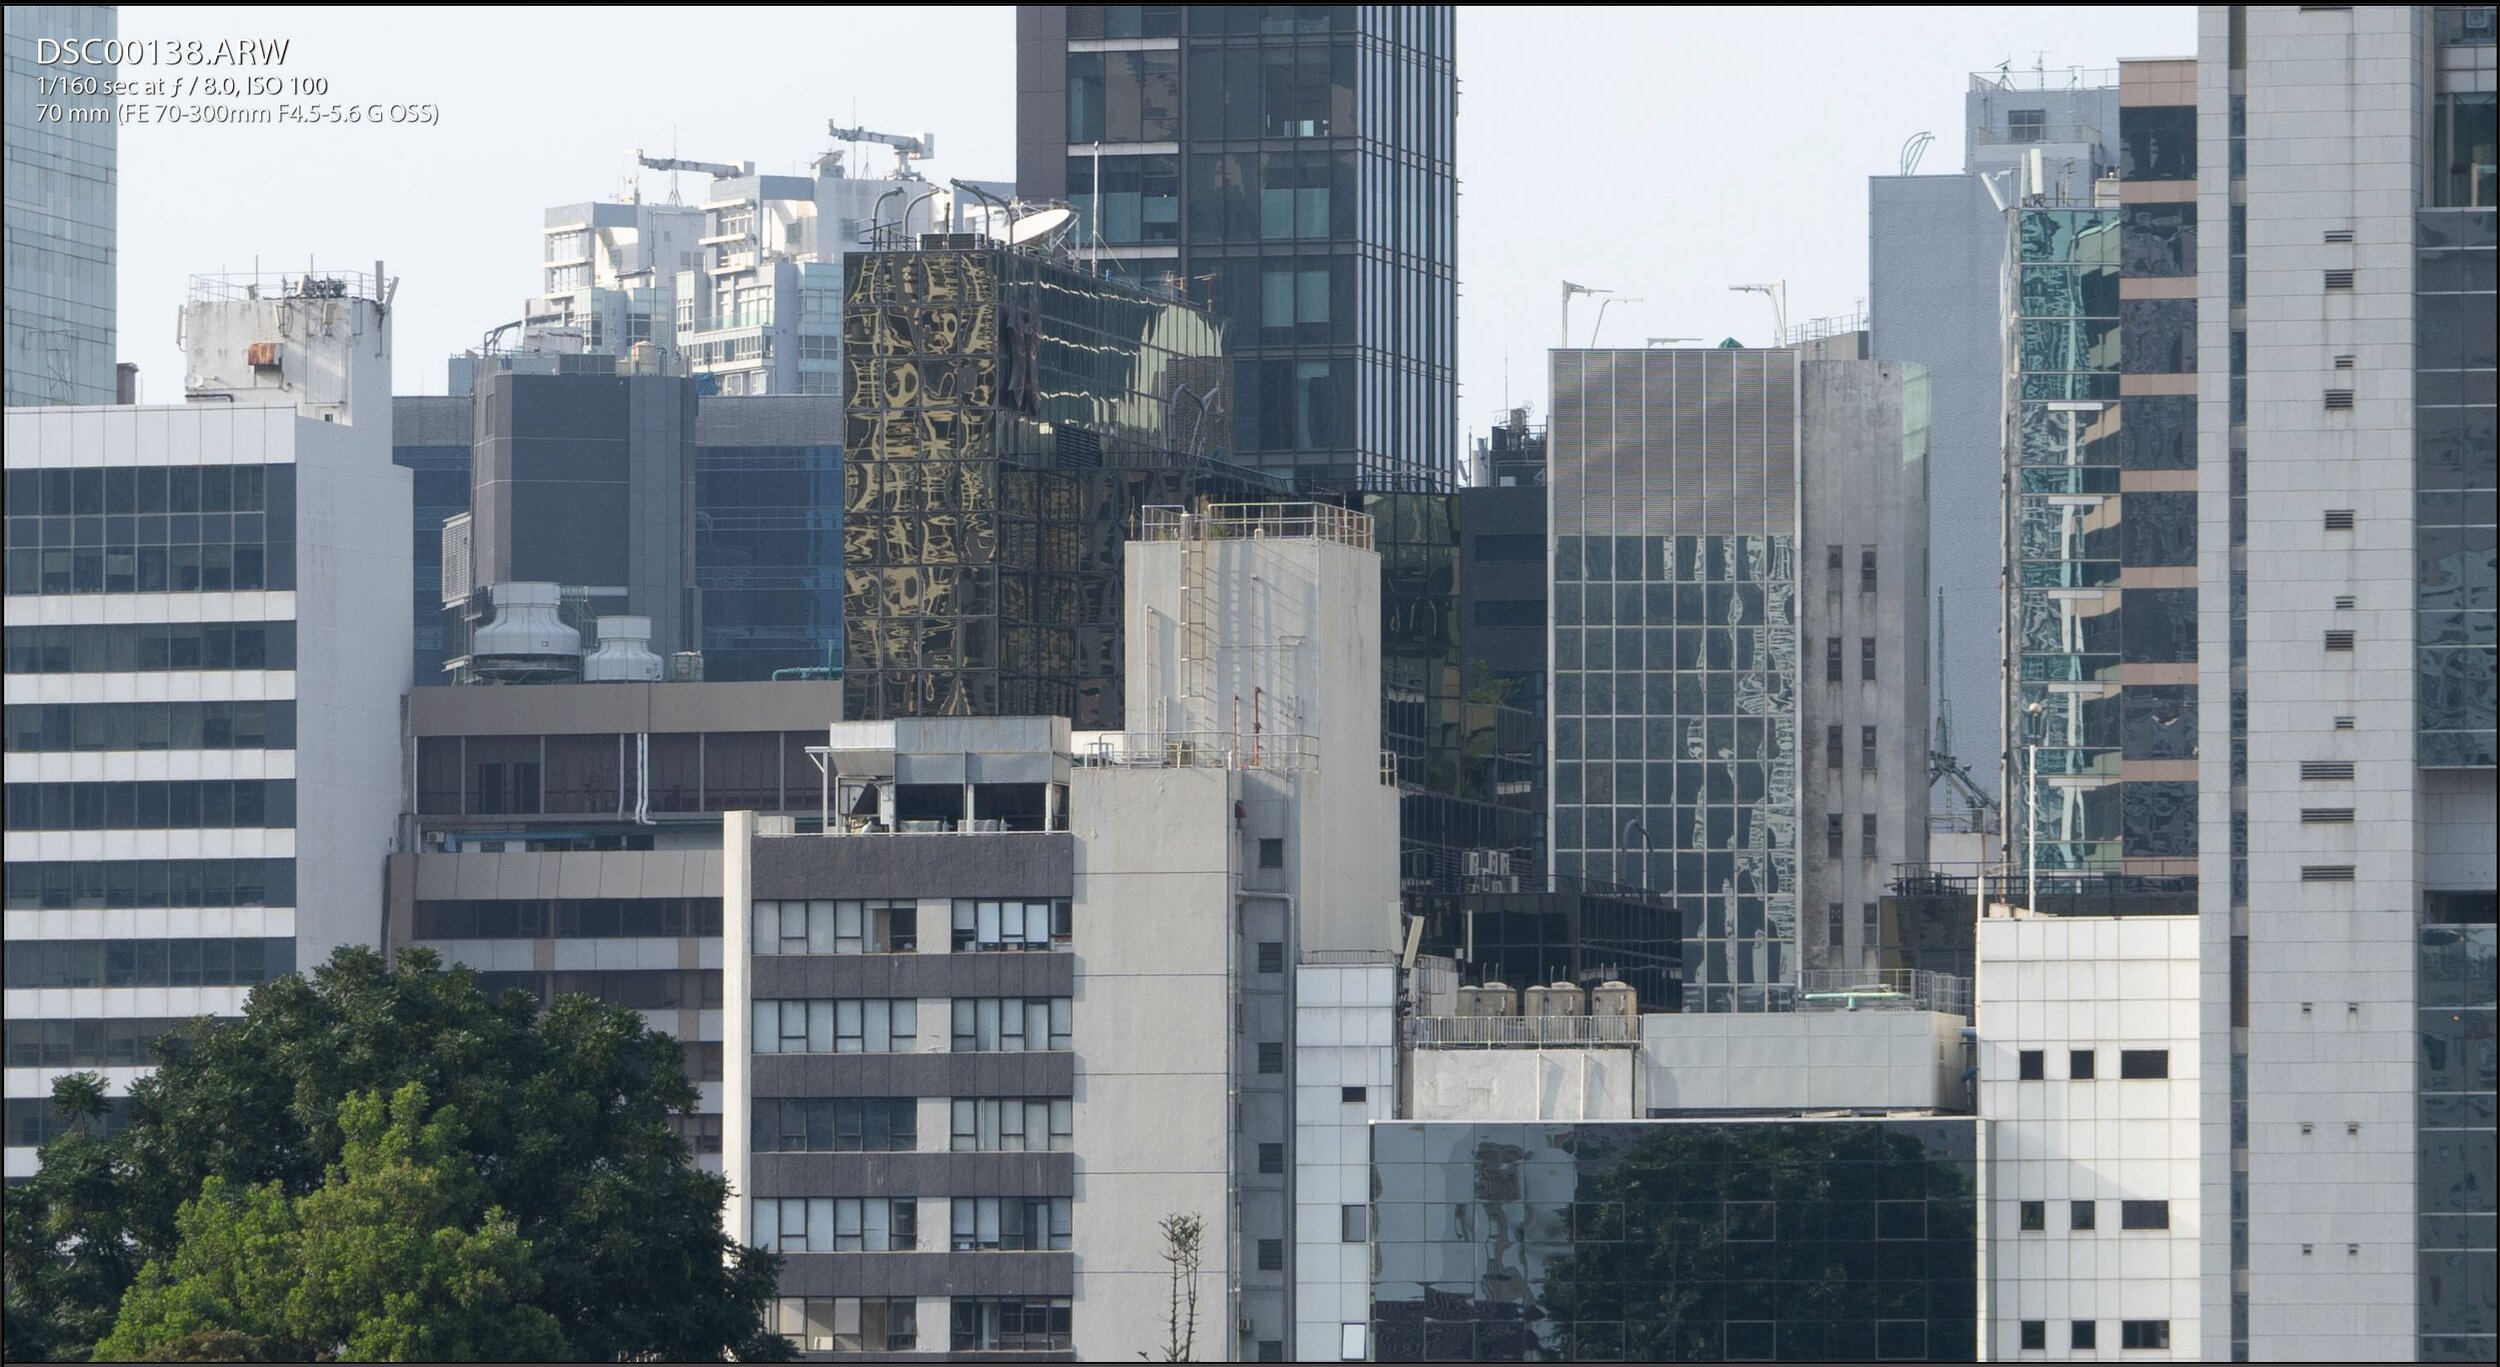
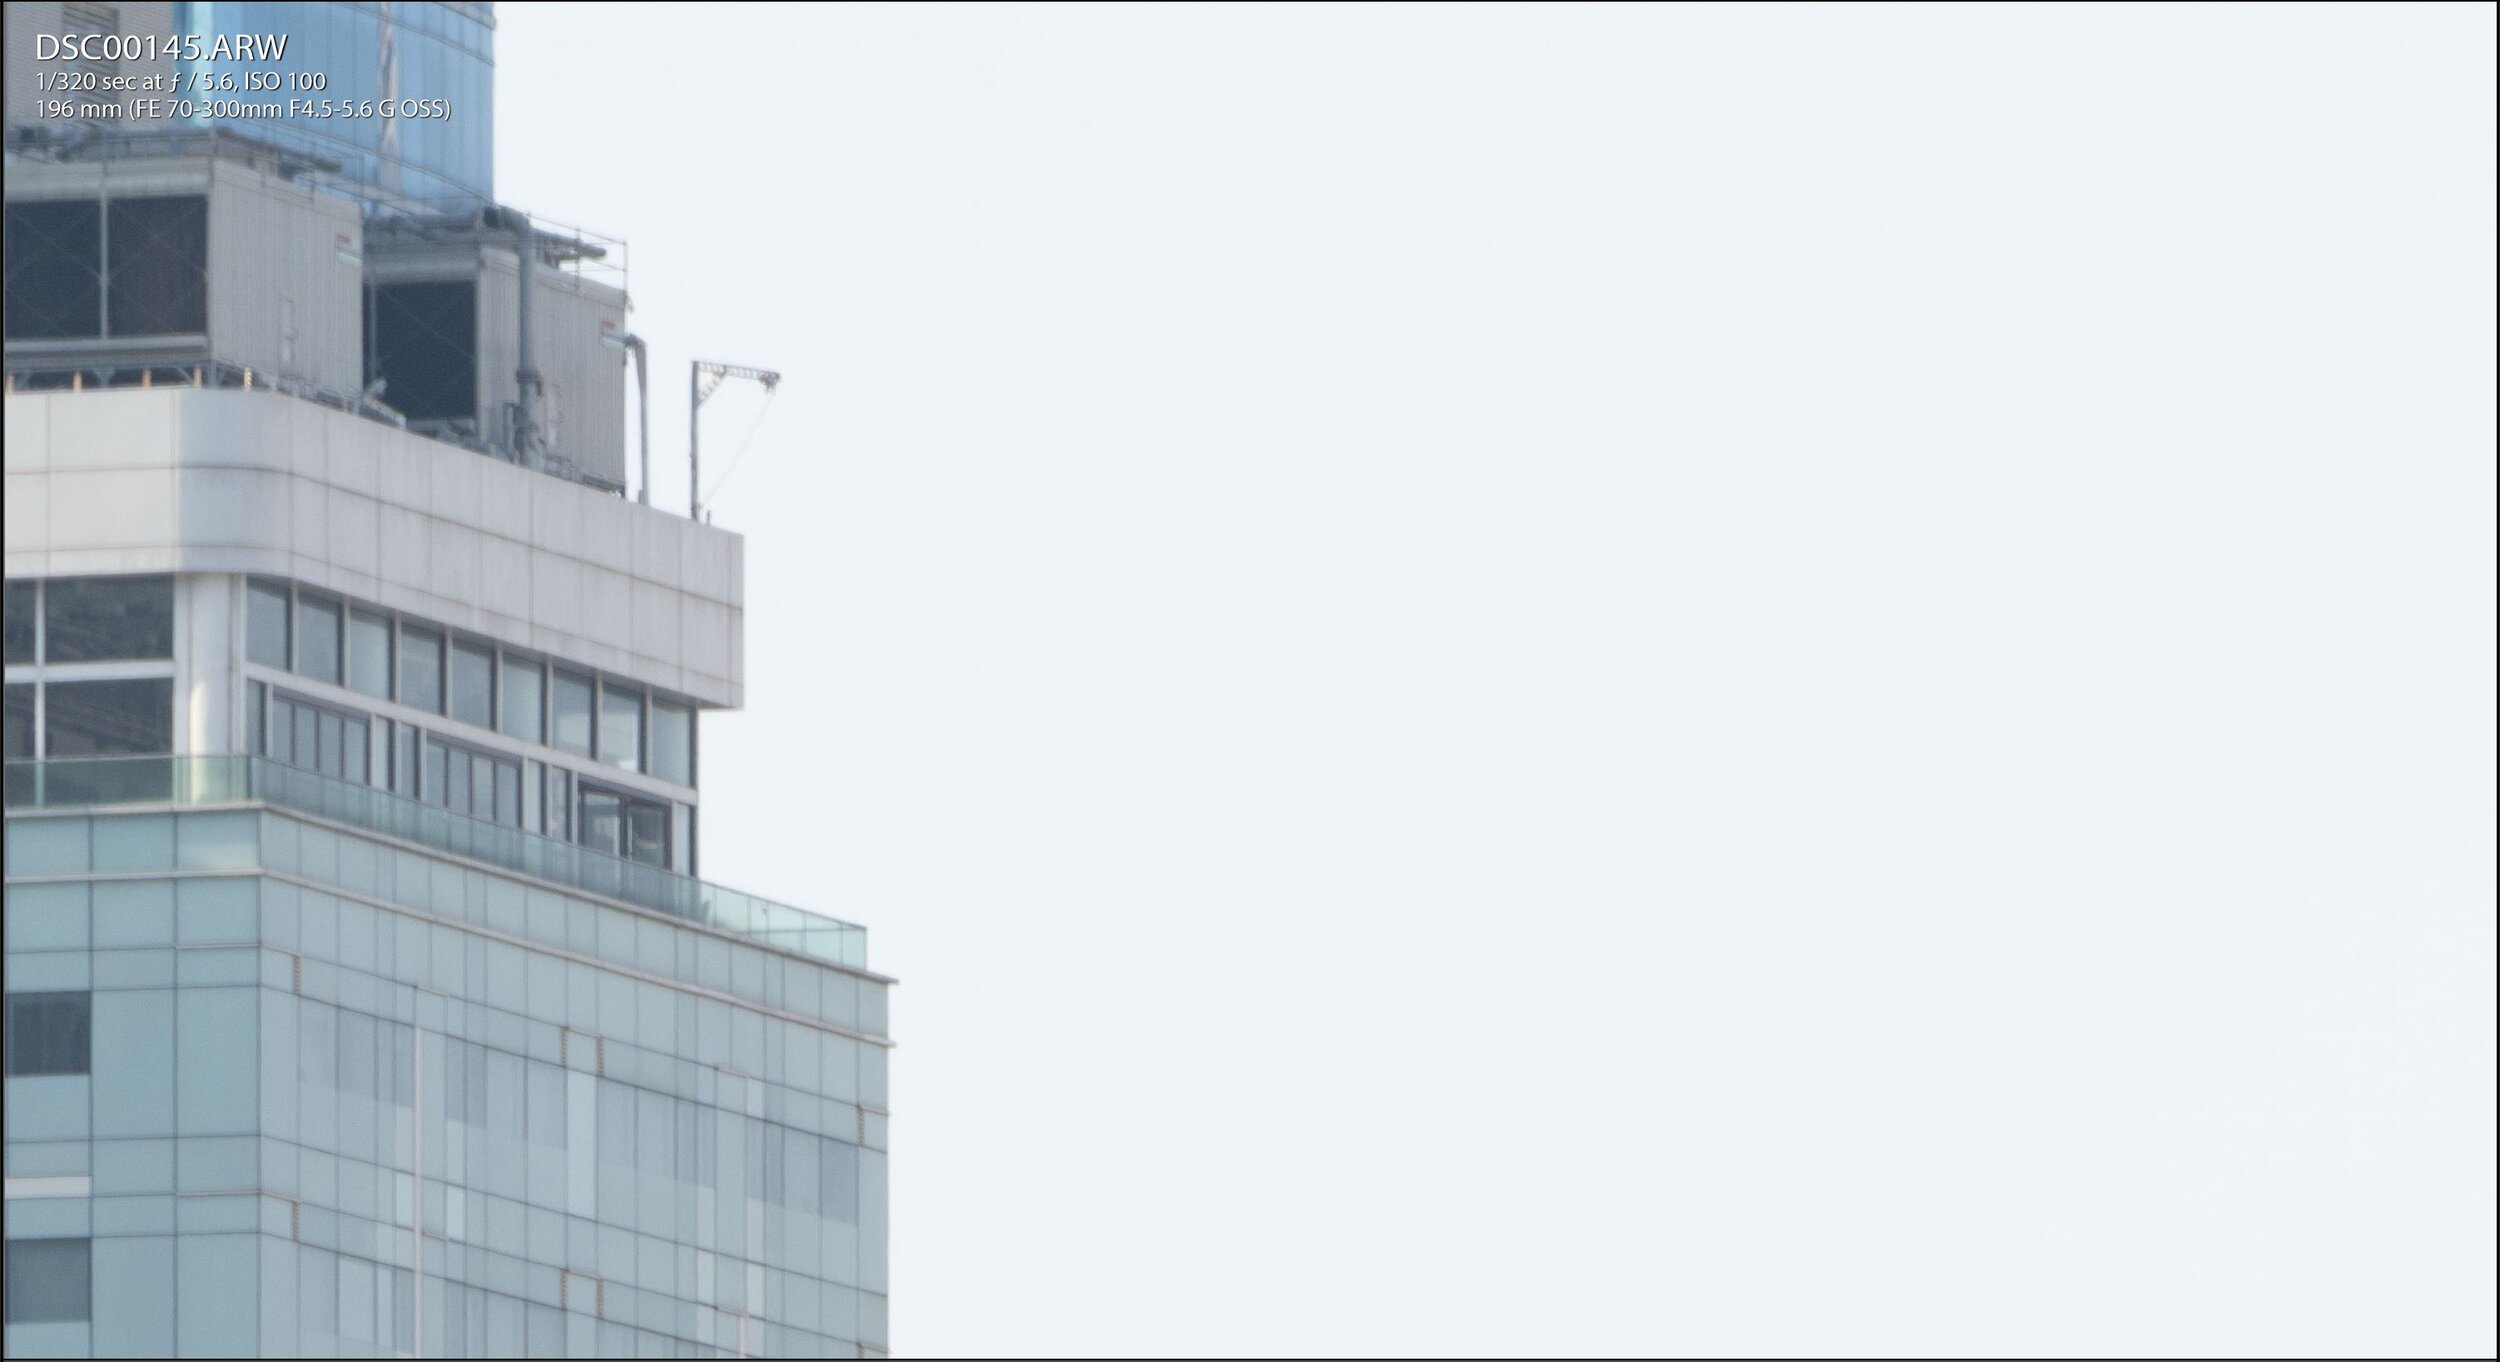
200mm comparison, starting at f/5.6, the two lens are really similar at center and corner. No significant improvement at f/8 at 2:1.
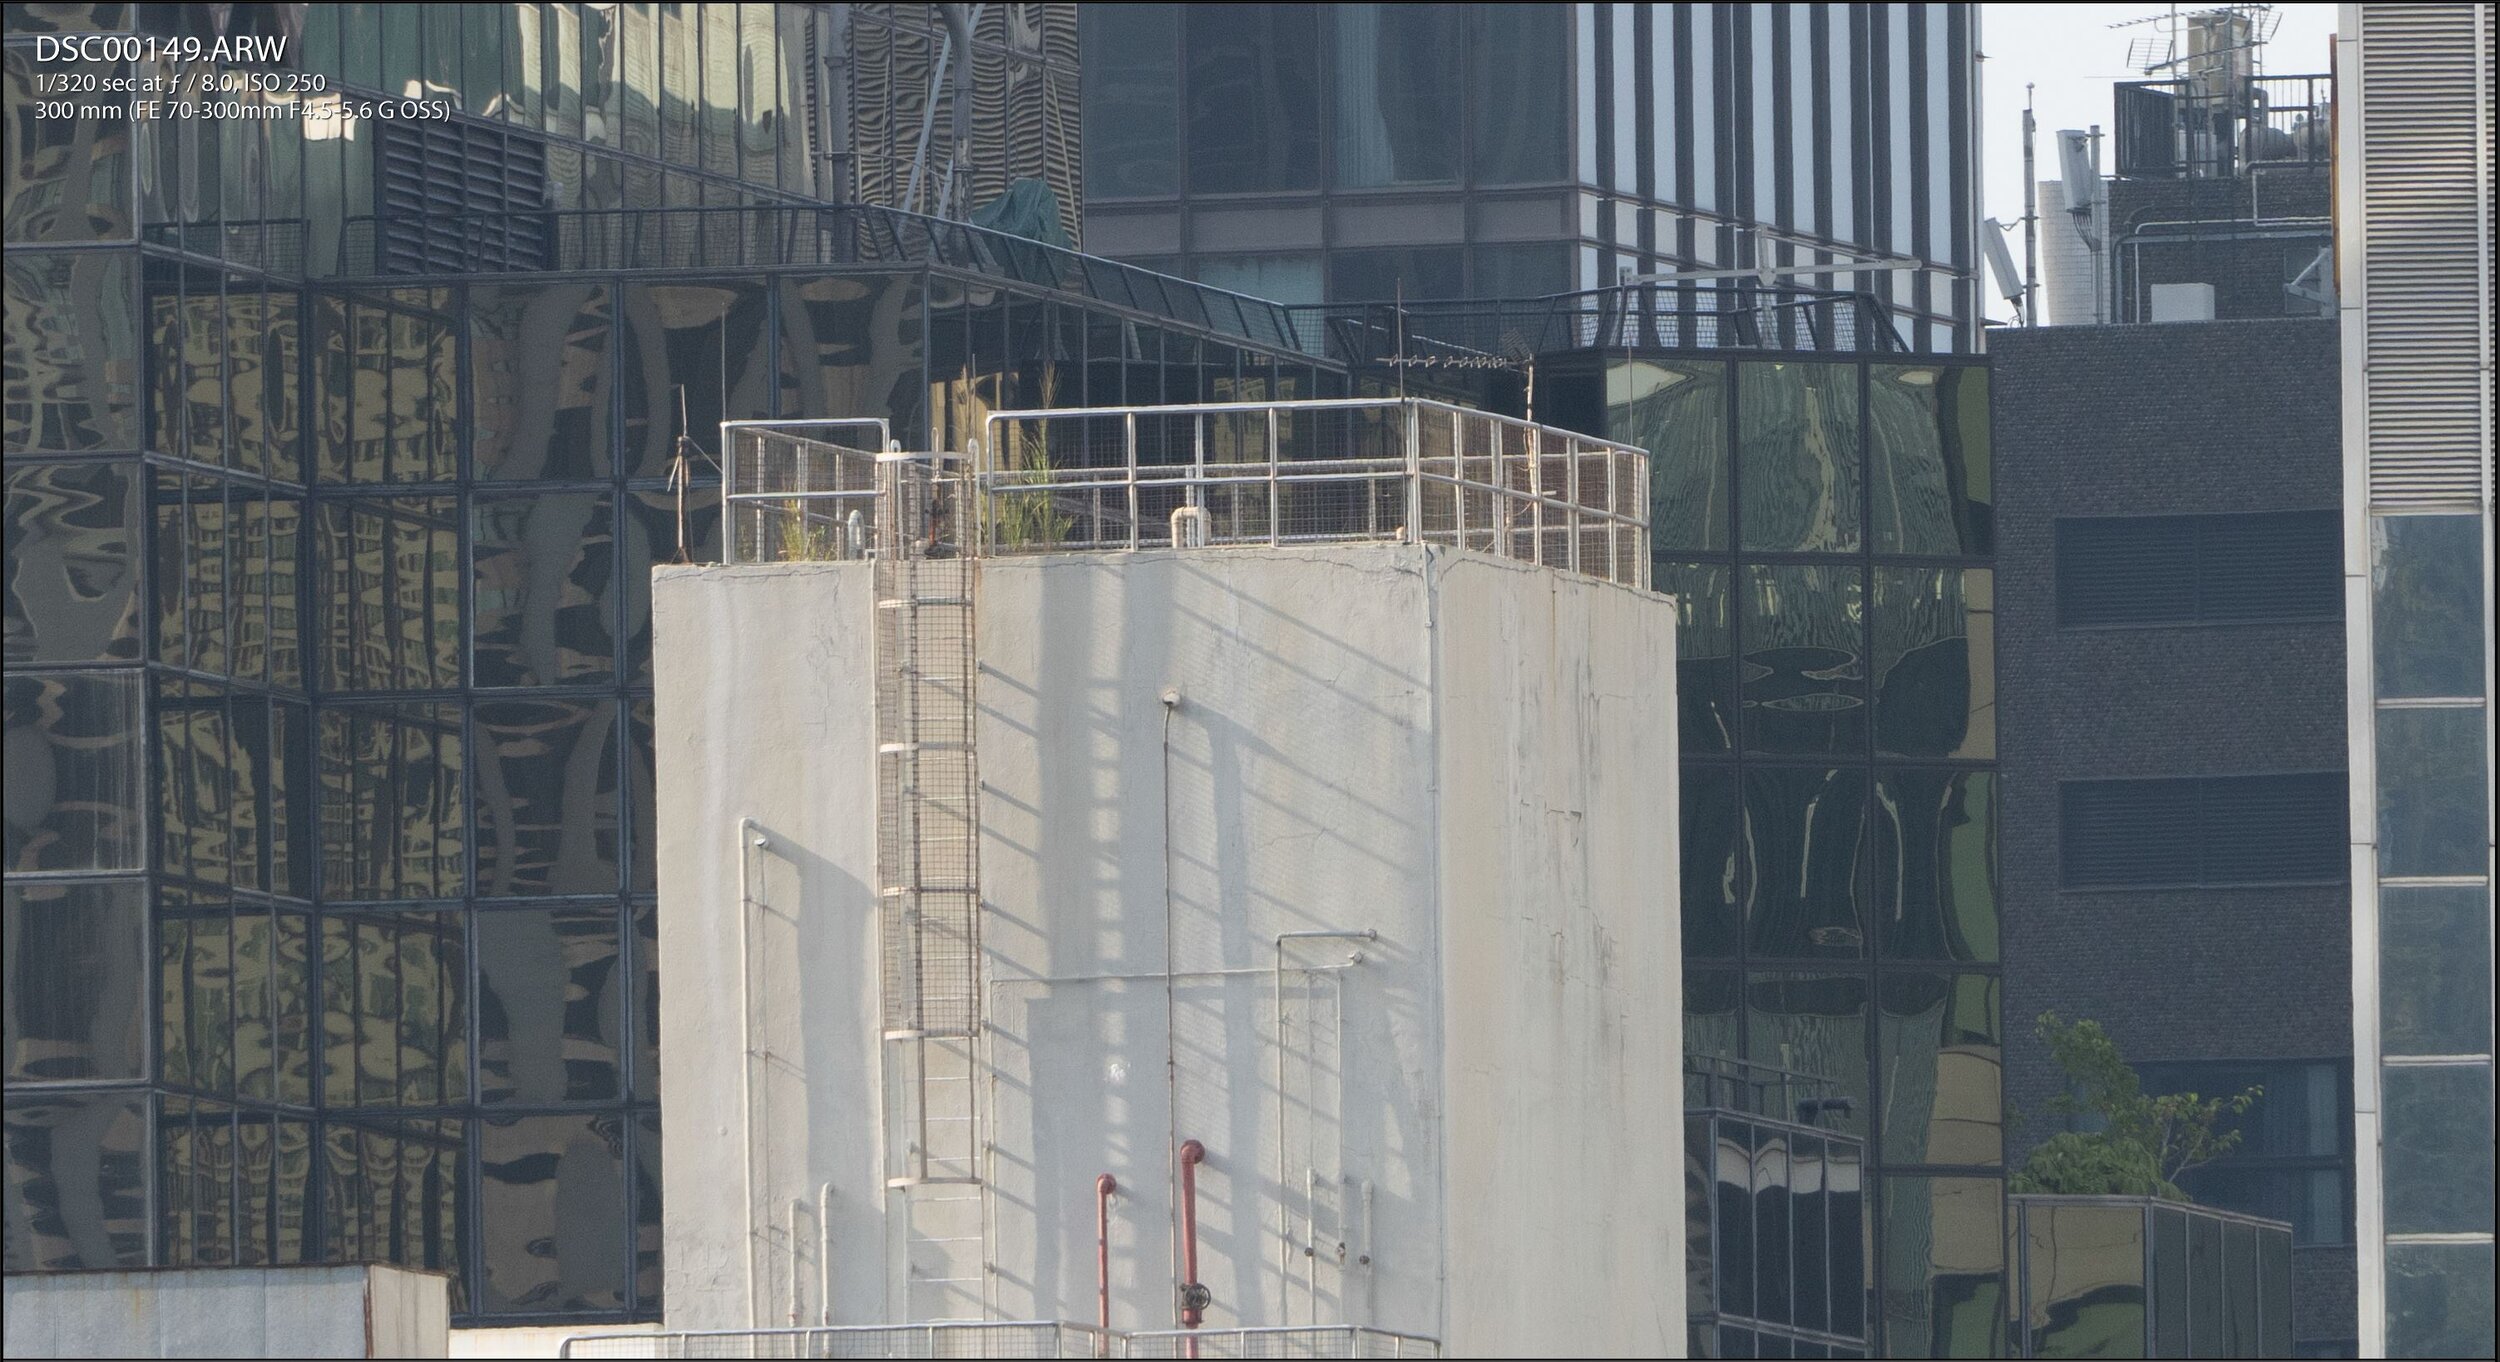
300mm comparison, starting at f/5.6. The center and corner are good at 5.6. I feel this is the strongest focal length of this lens.
Conclusion
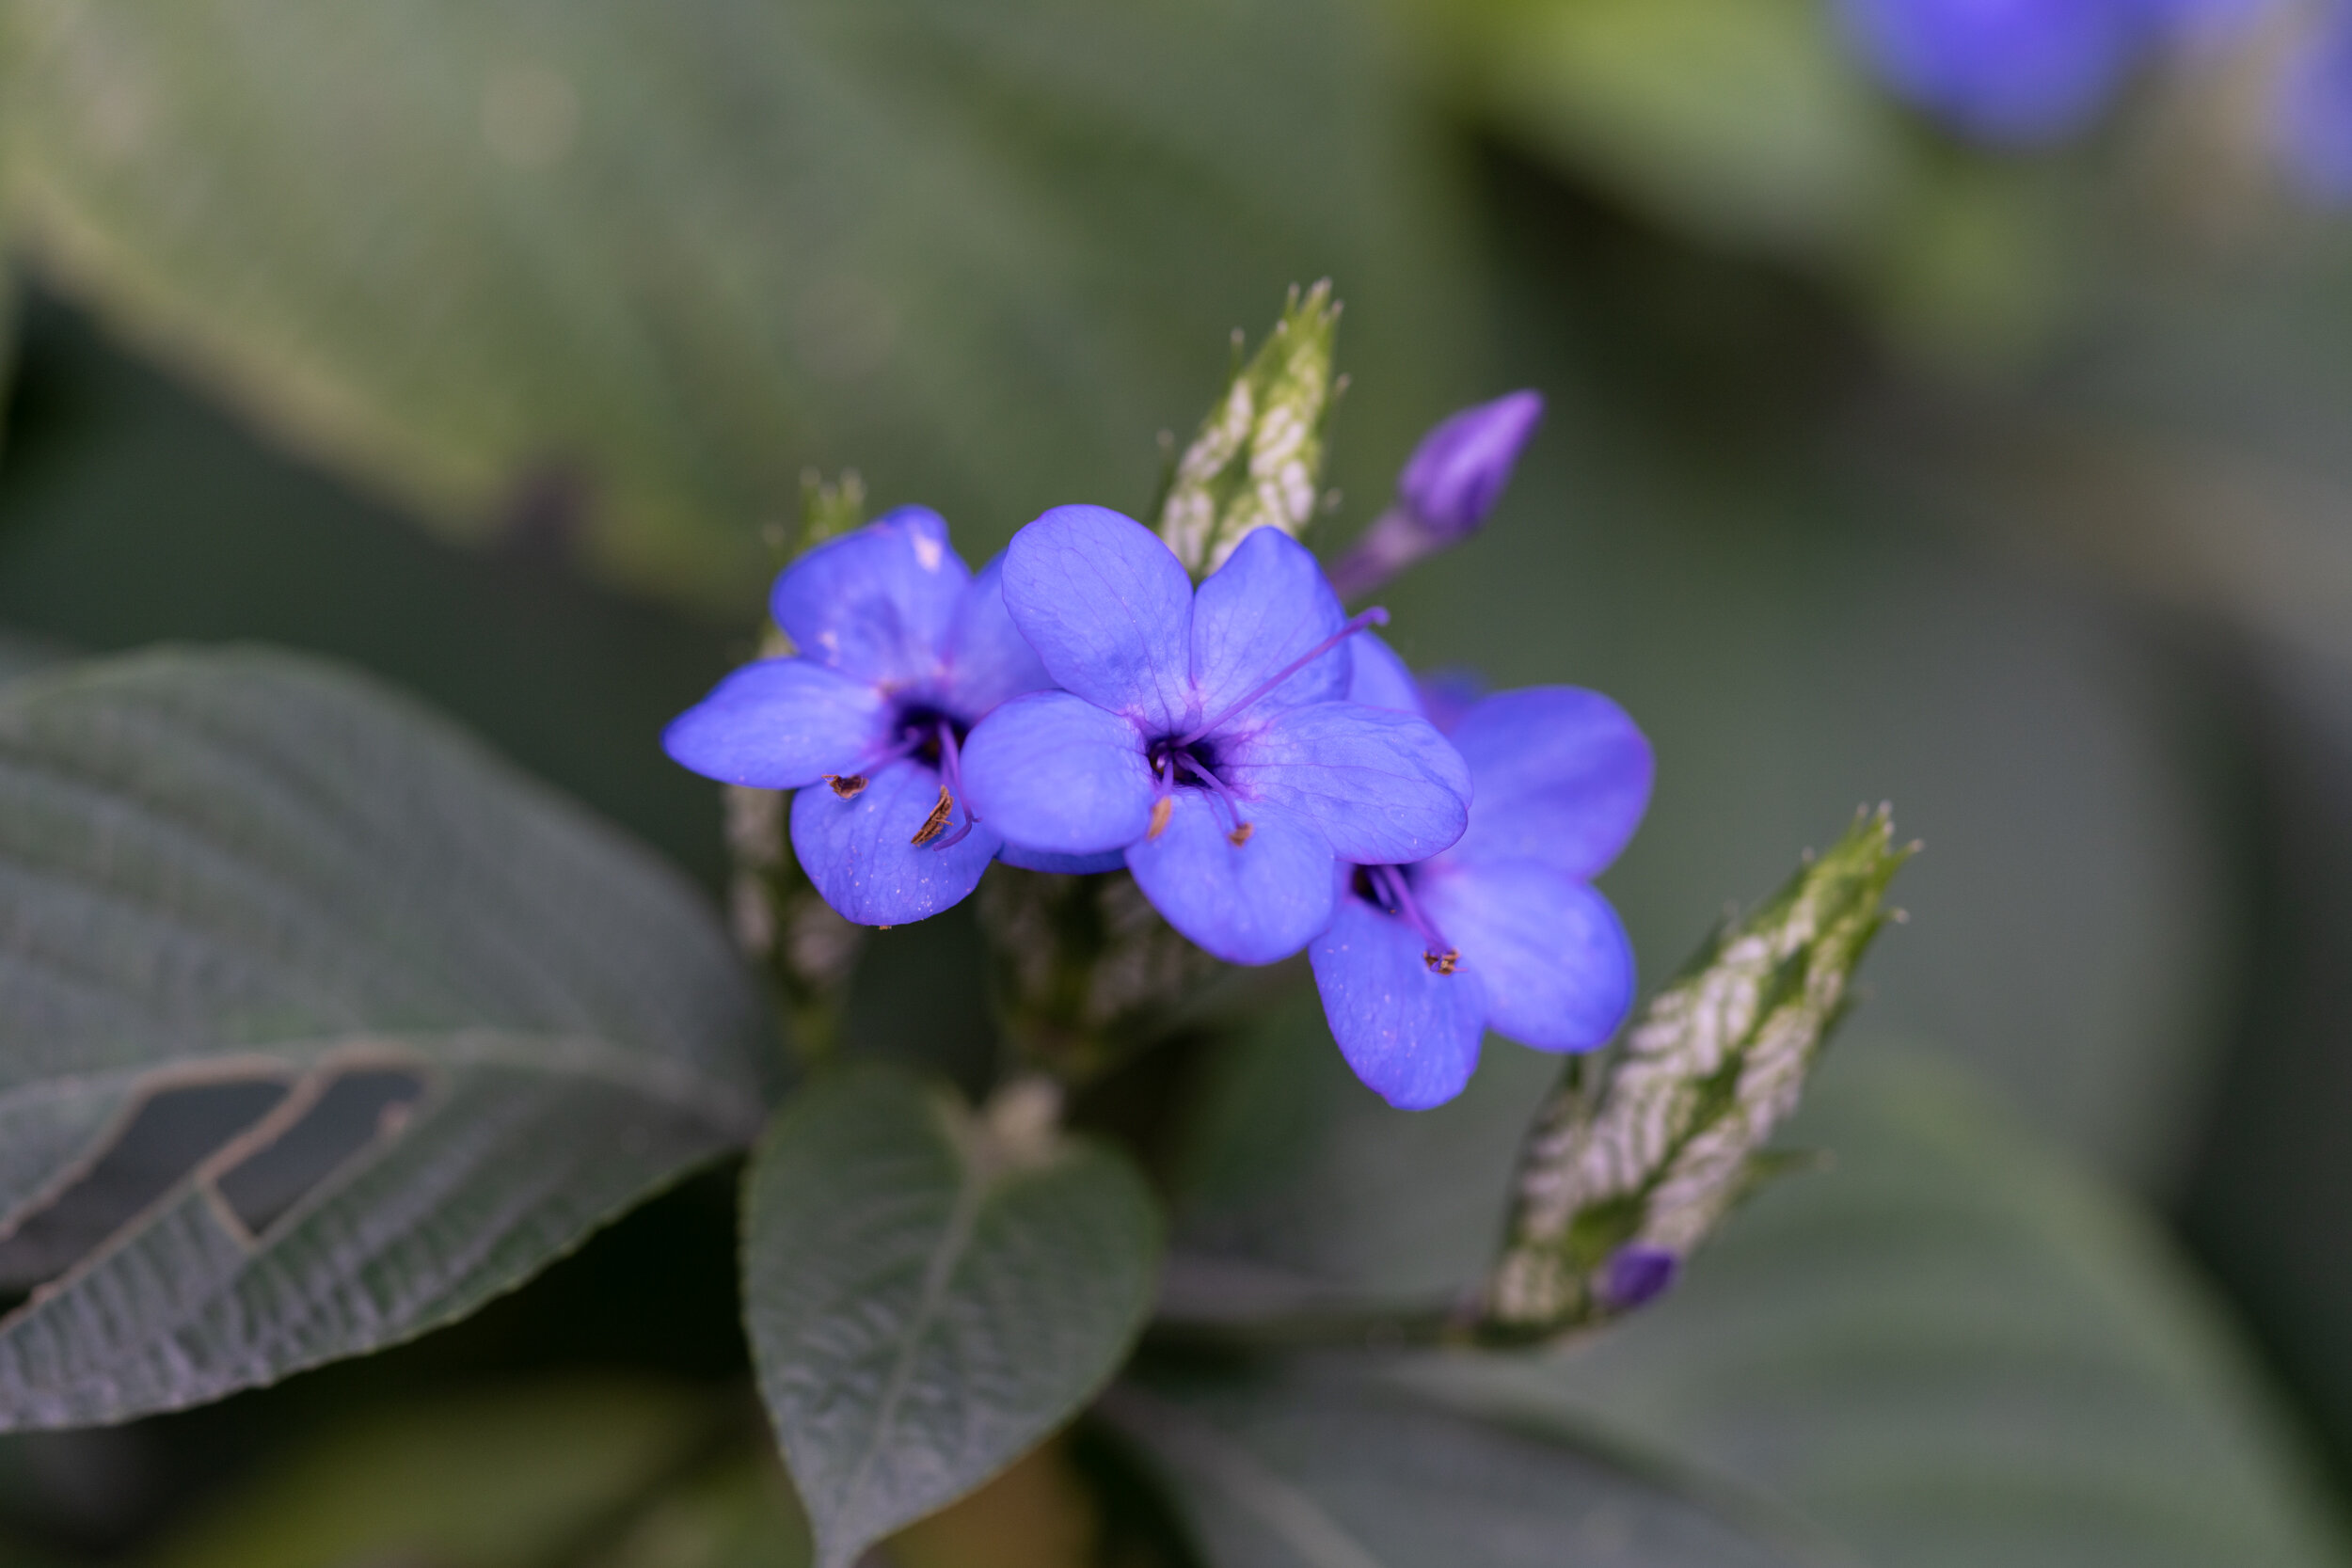
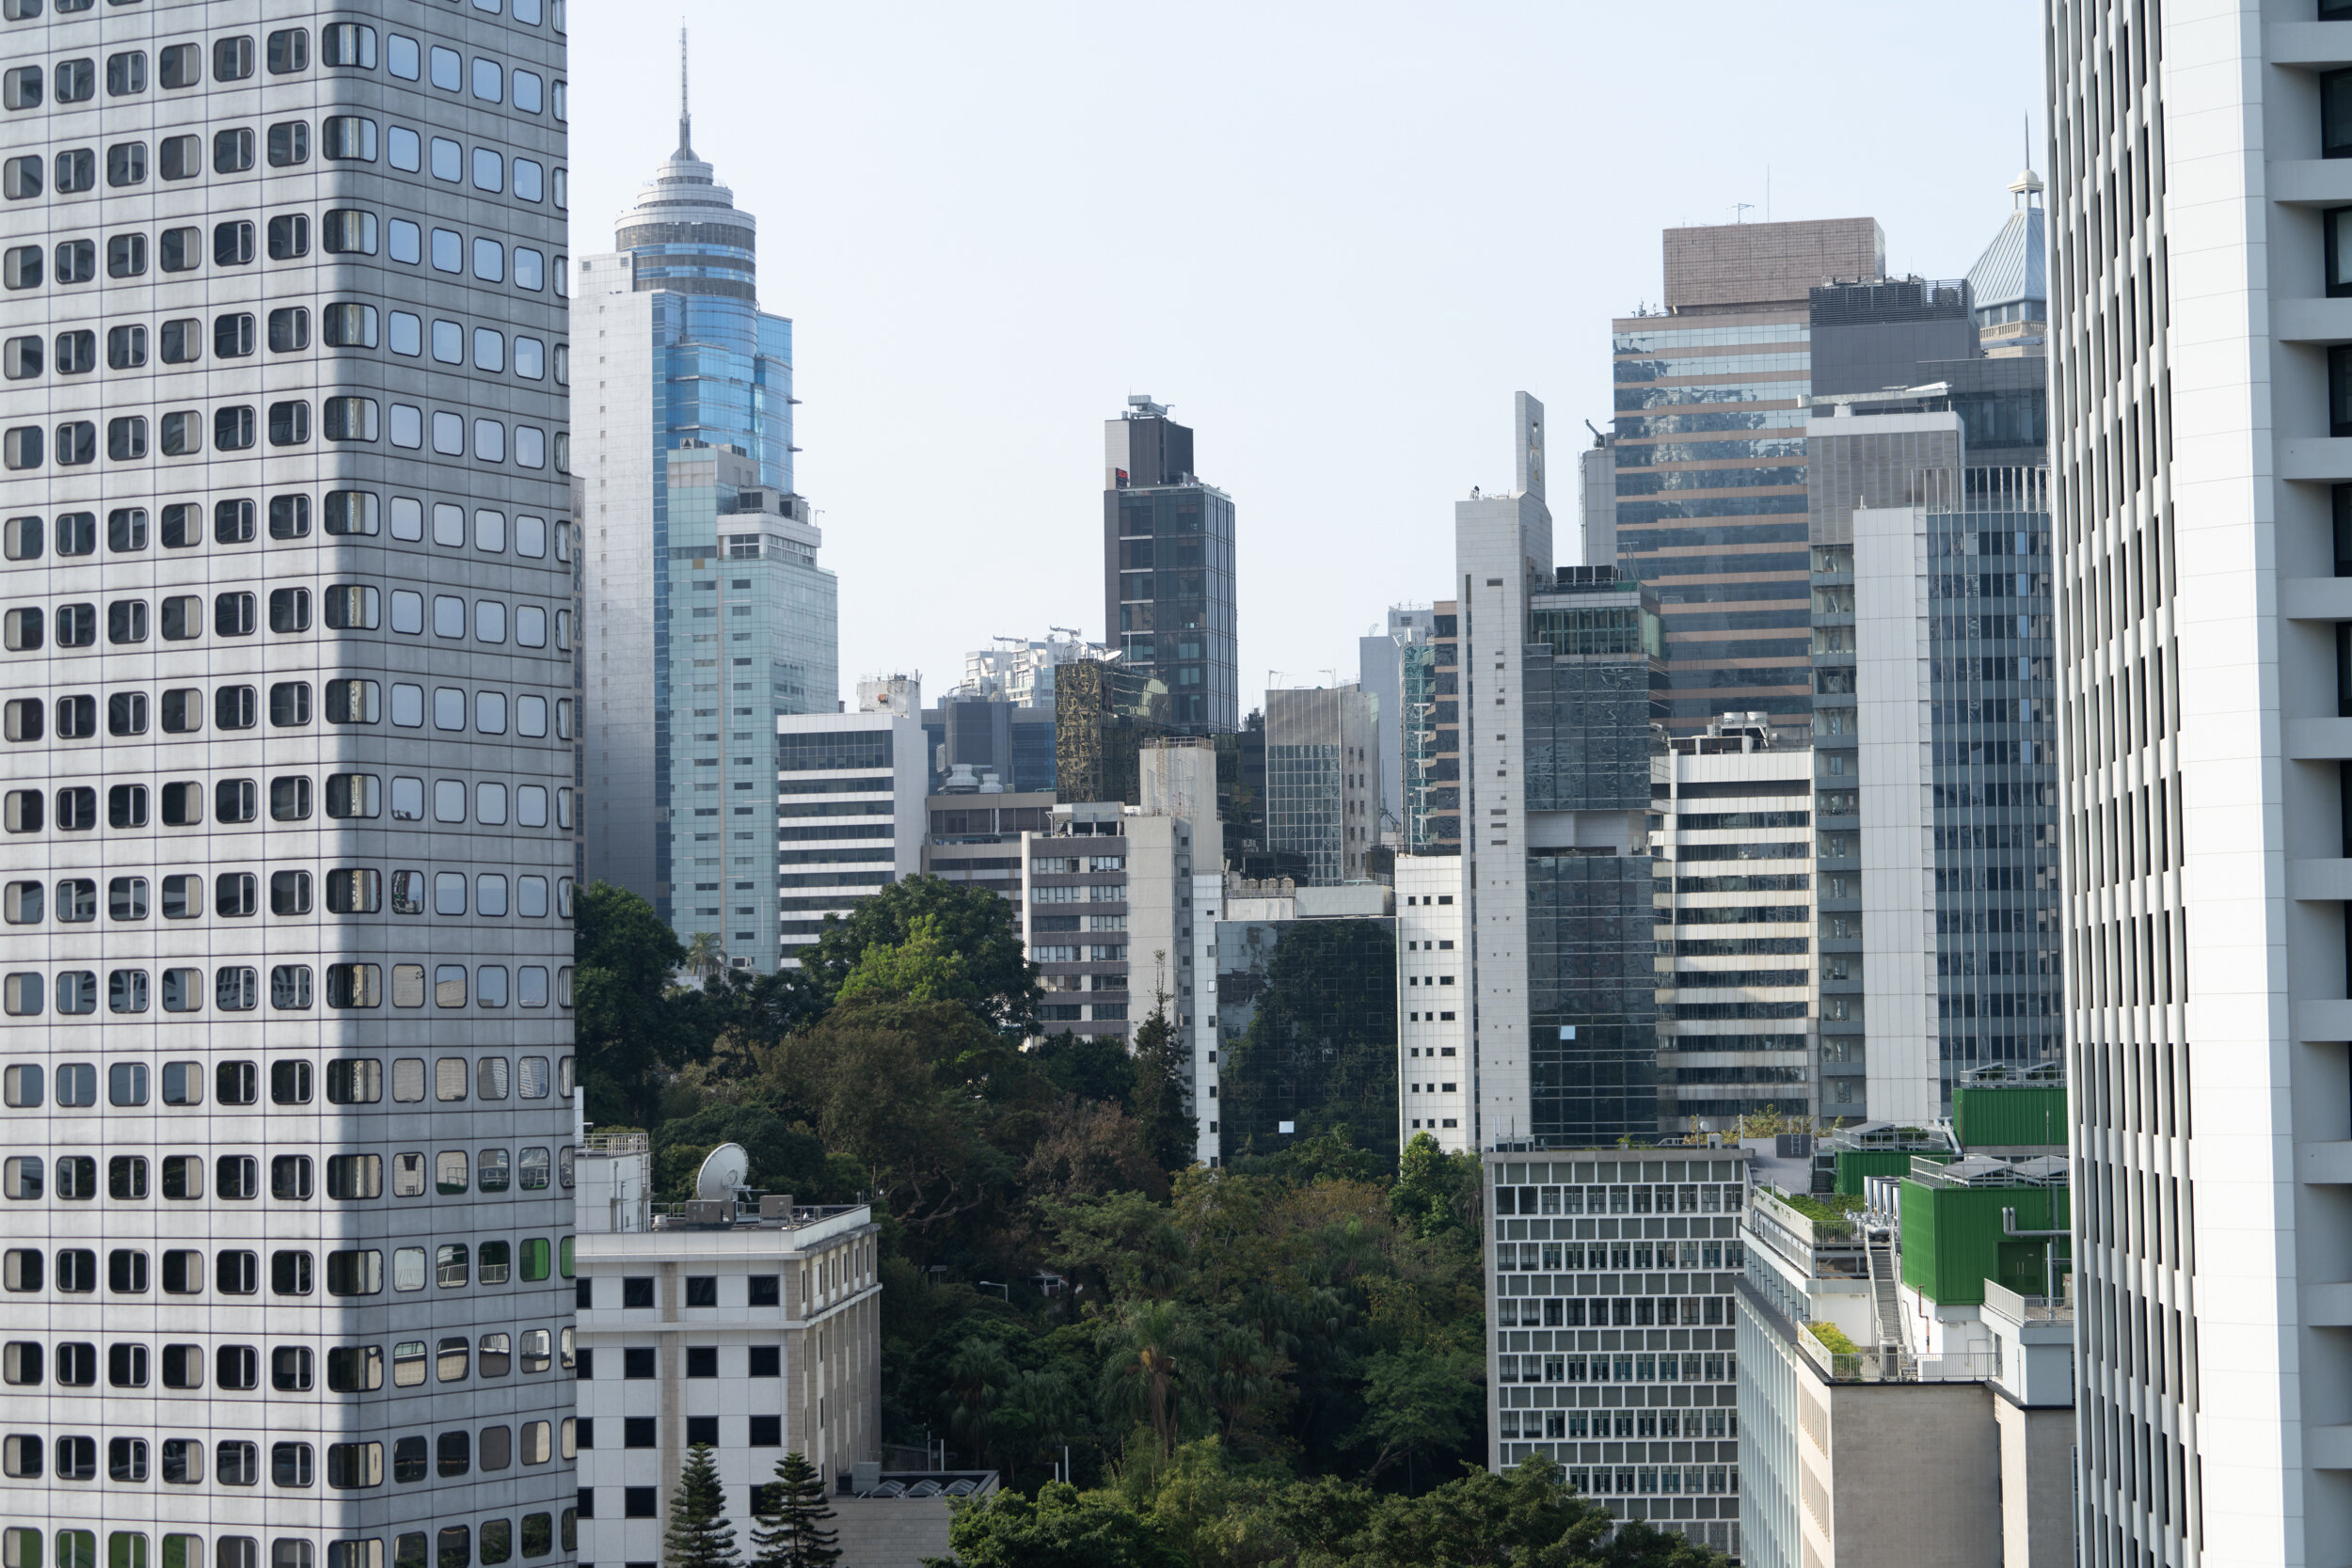
The 70300G is a good telephoto lens for the Sony FE camera, but with some compromises on image quality. It is also the cheapest telephoto option for Sony full frame, and is a good size and weight to travel with. The IQ is good at the center, but the corner is pretty soft across most focal ranges. Some other options to consider is the 70200G, 70200GM, 100400GM, and the 200600G. For APSC user, I think the newly E 70350G is probably a better choice, as it seems to have good reviews and is even lighter. However, I still believe it is a good choice if you are not a pixel peeper. Below are sample images I shot on my A7R3 and A7R4 across the years using this lens.
Sample Gallery
Sony FE 100-400mm G Master vs Sony FE 70-300mm F4.5-5.6 G OSS
Announced - Apr 2017
Pro
Amazing IQ
Build quality
Fast AF
Compatible with teleconverter
Con
Expensive
Big and Heavy
Sony FE 70-300mm F4.5-5.6 G OSS (SEL70300G)
Announced- Mar 2016
Pro
Size and Weight
Price
Con
Soft corner
Body
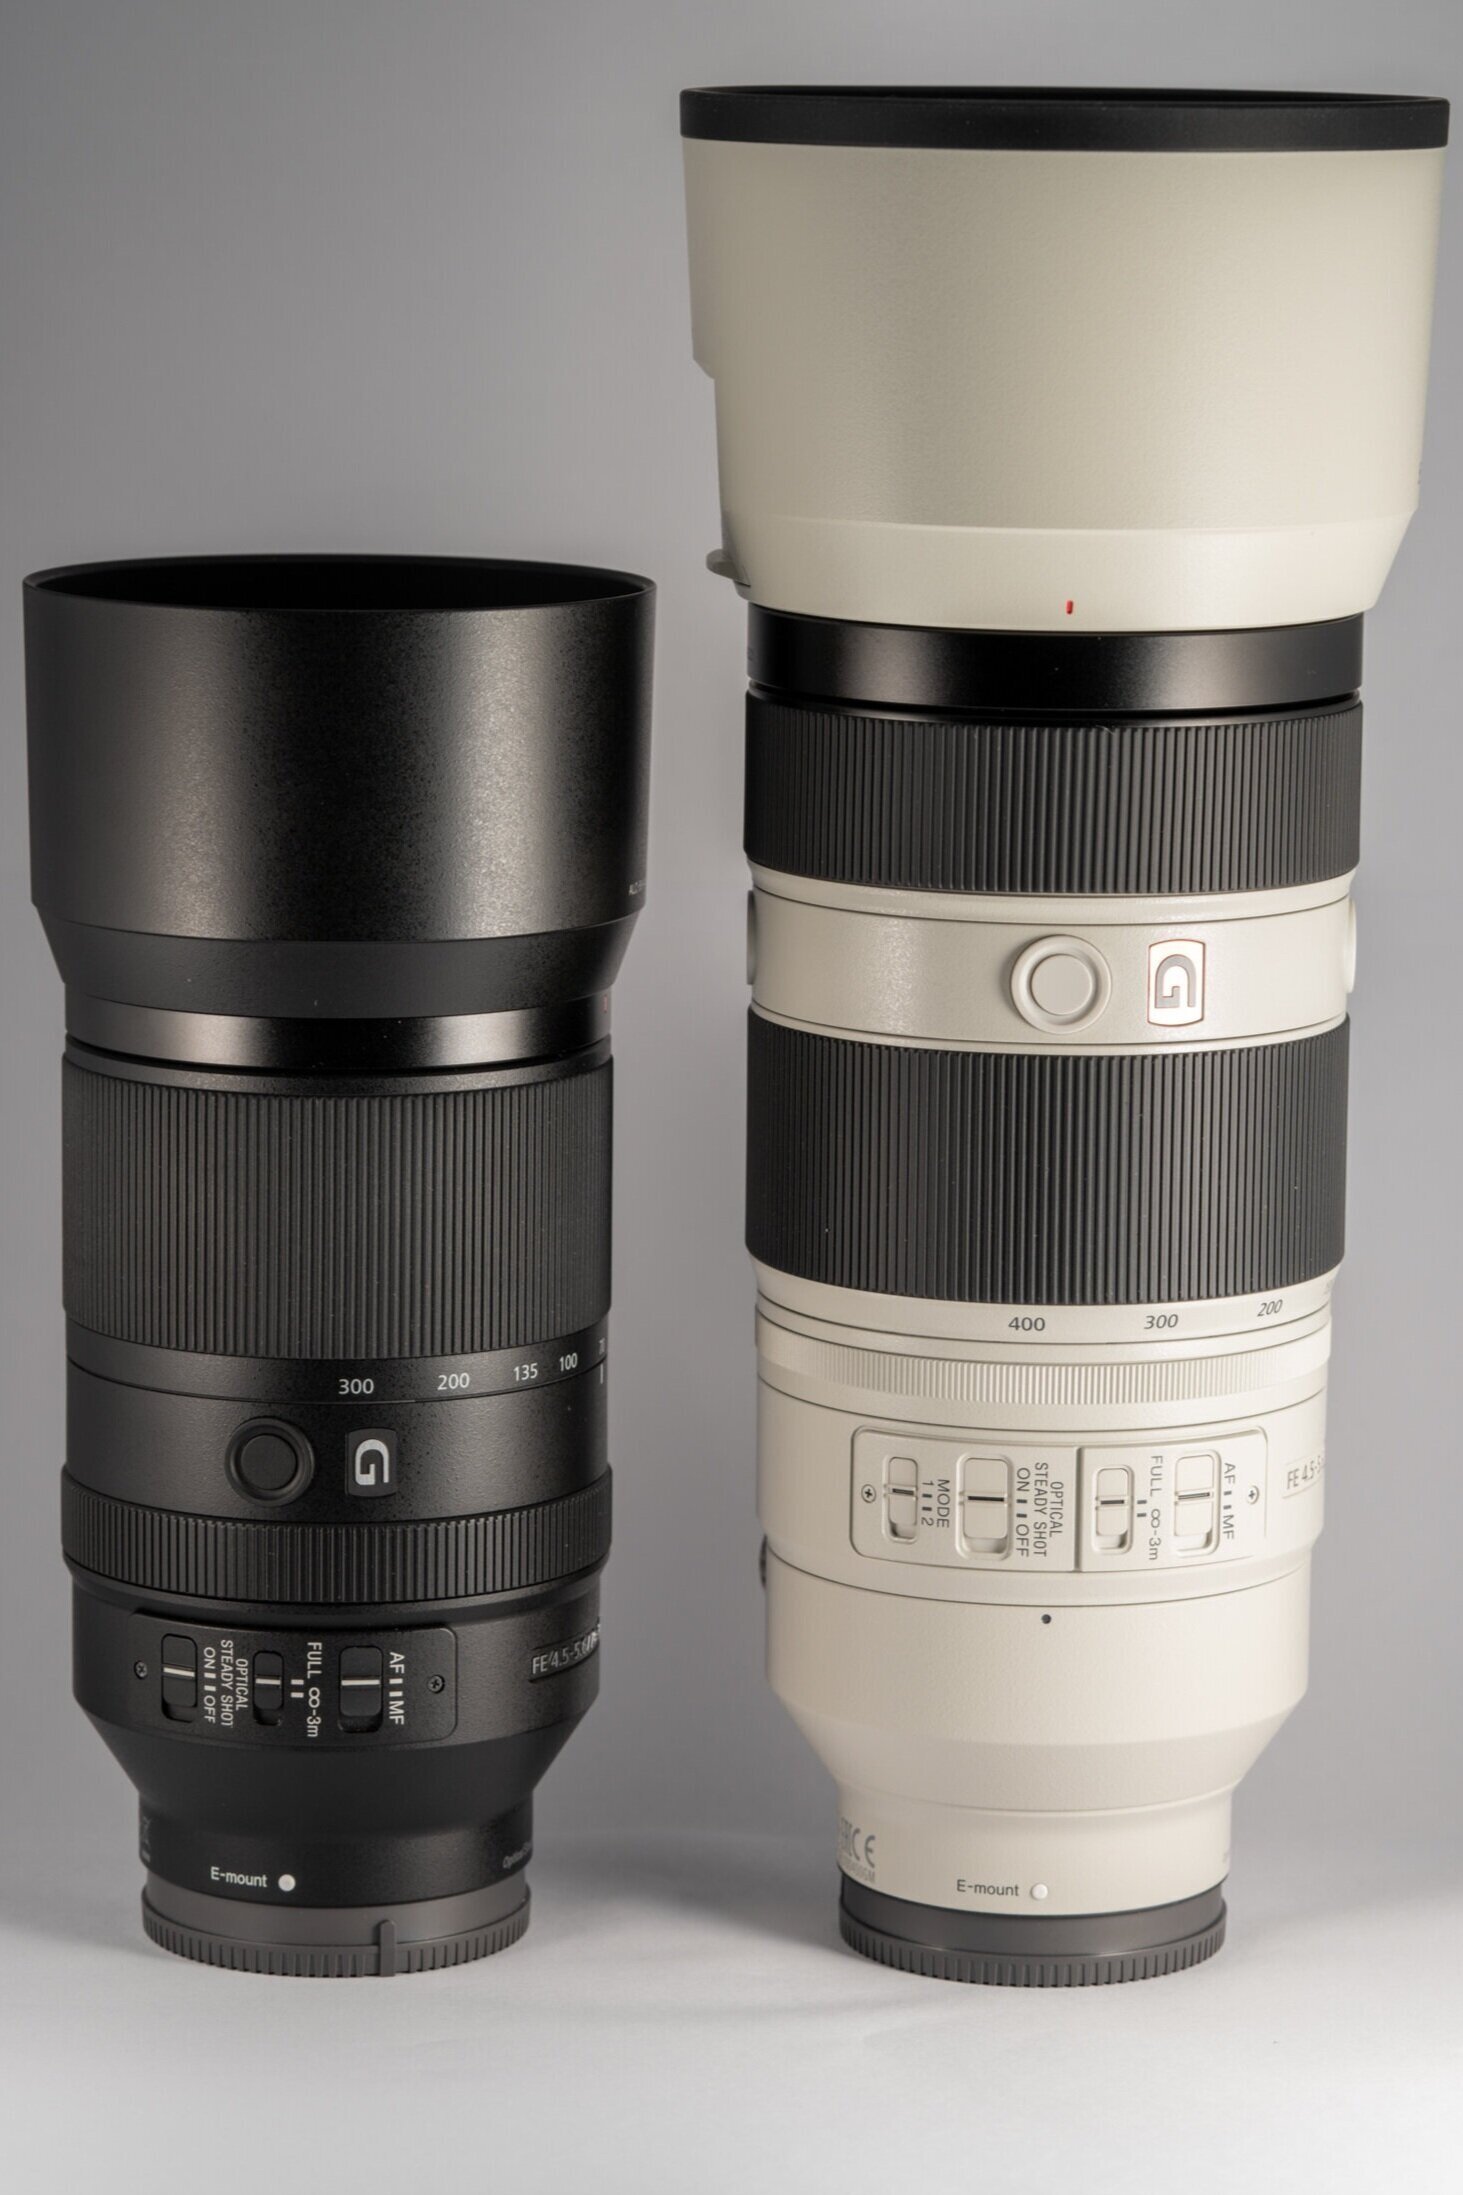
The 100400GM is 6cm longer, and 550g heavier than the 70300G. The length difference makes it difficult to store in the bag. The size is not a huge issue, and still ok to shoot handheld without a monopod. However, I definitely felt the weight after shooting for a few minutes. There is no tripod collar and foot on the 70300G, and it also doesn’t have the rubber gasket on the lens mount. However, 100400GM is more than double the price of the 70300G.
The 100400GM is better built with rubber gasket on the lens mount to help with dust/weather sealing. The rear element is more recessed in the 100400GM to accommodate the teleconverter.
These are variable aperture lens, and the table above shows the largest aperture at various focal lengths. There is no significant aperture advantage on 100400GM to 70300G.
Image Quality
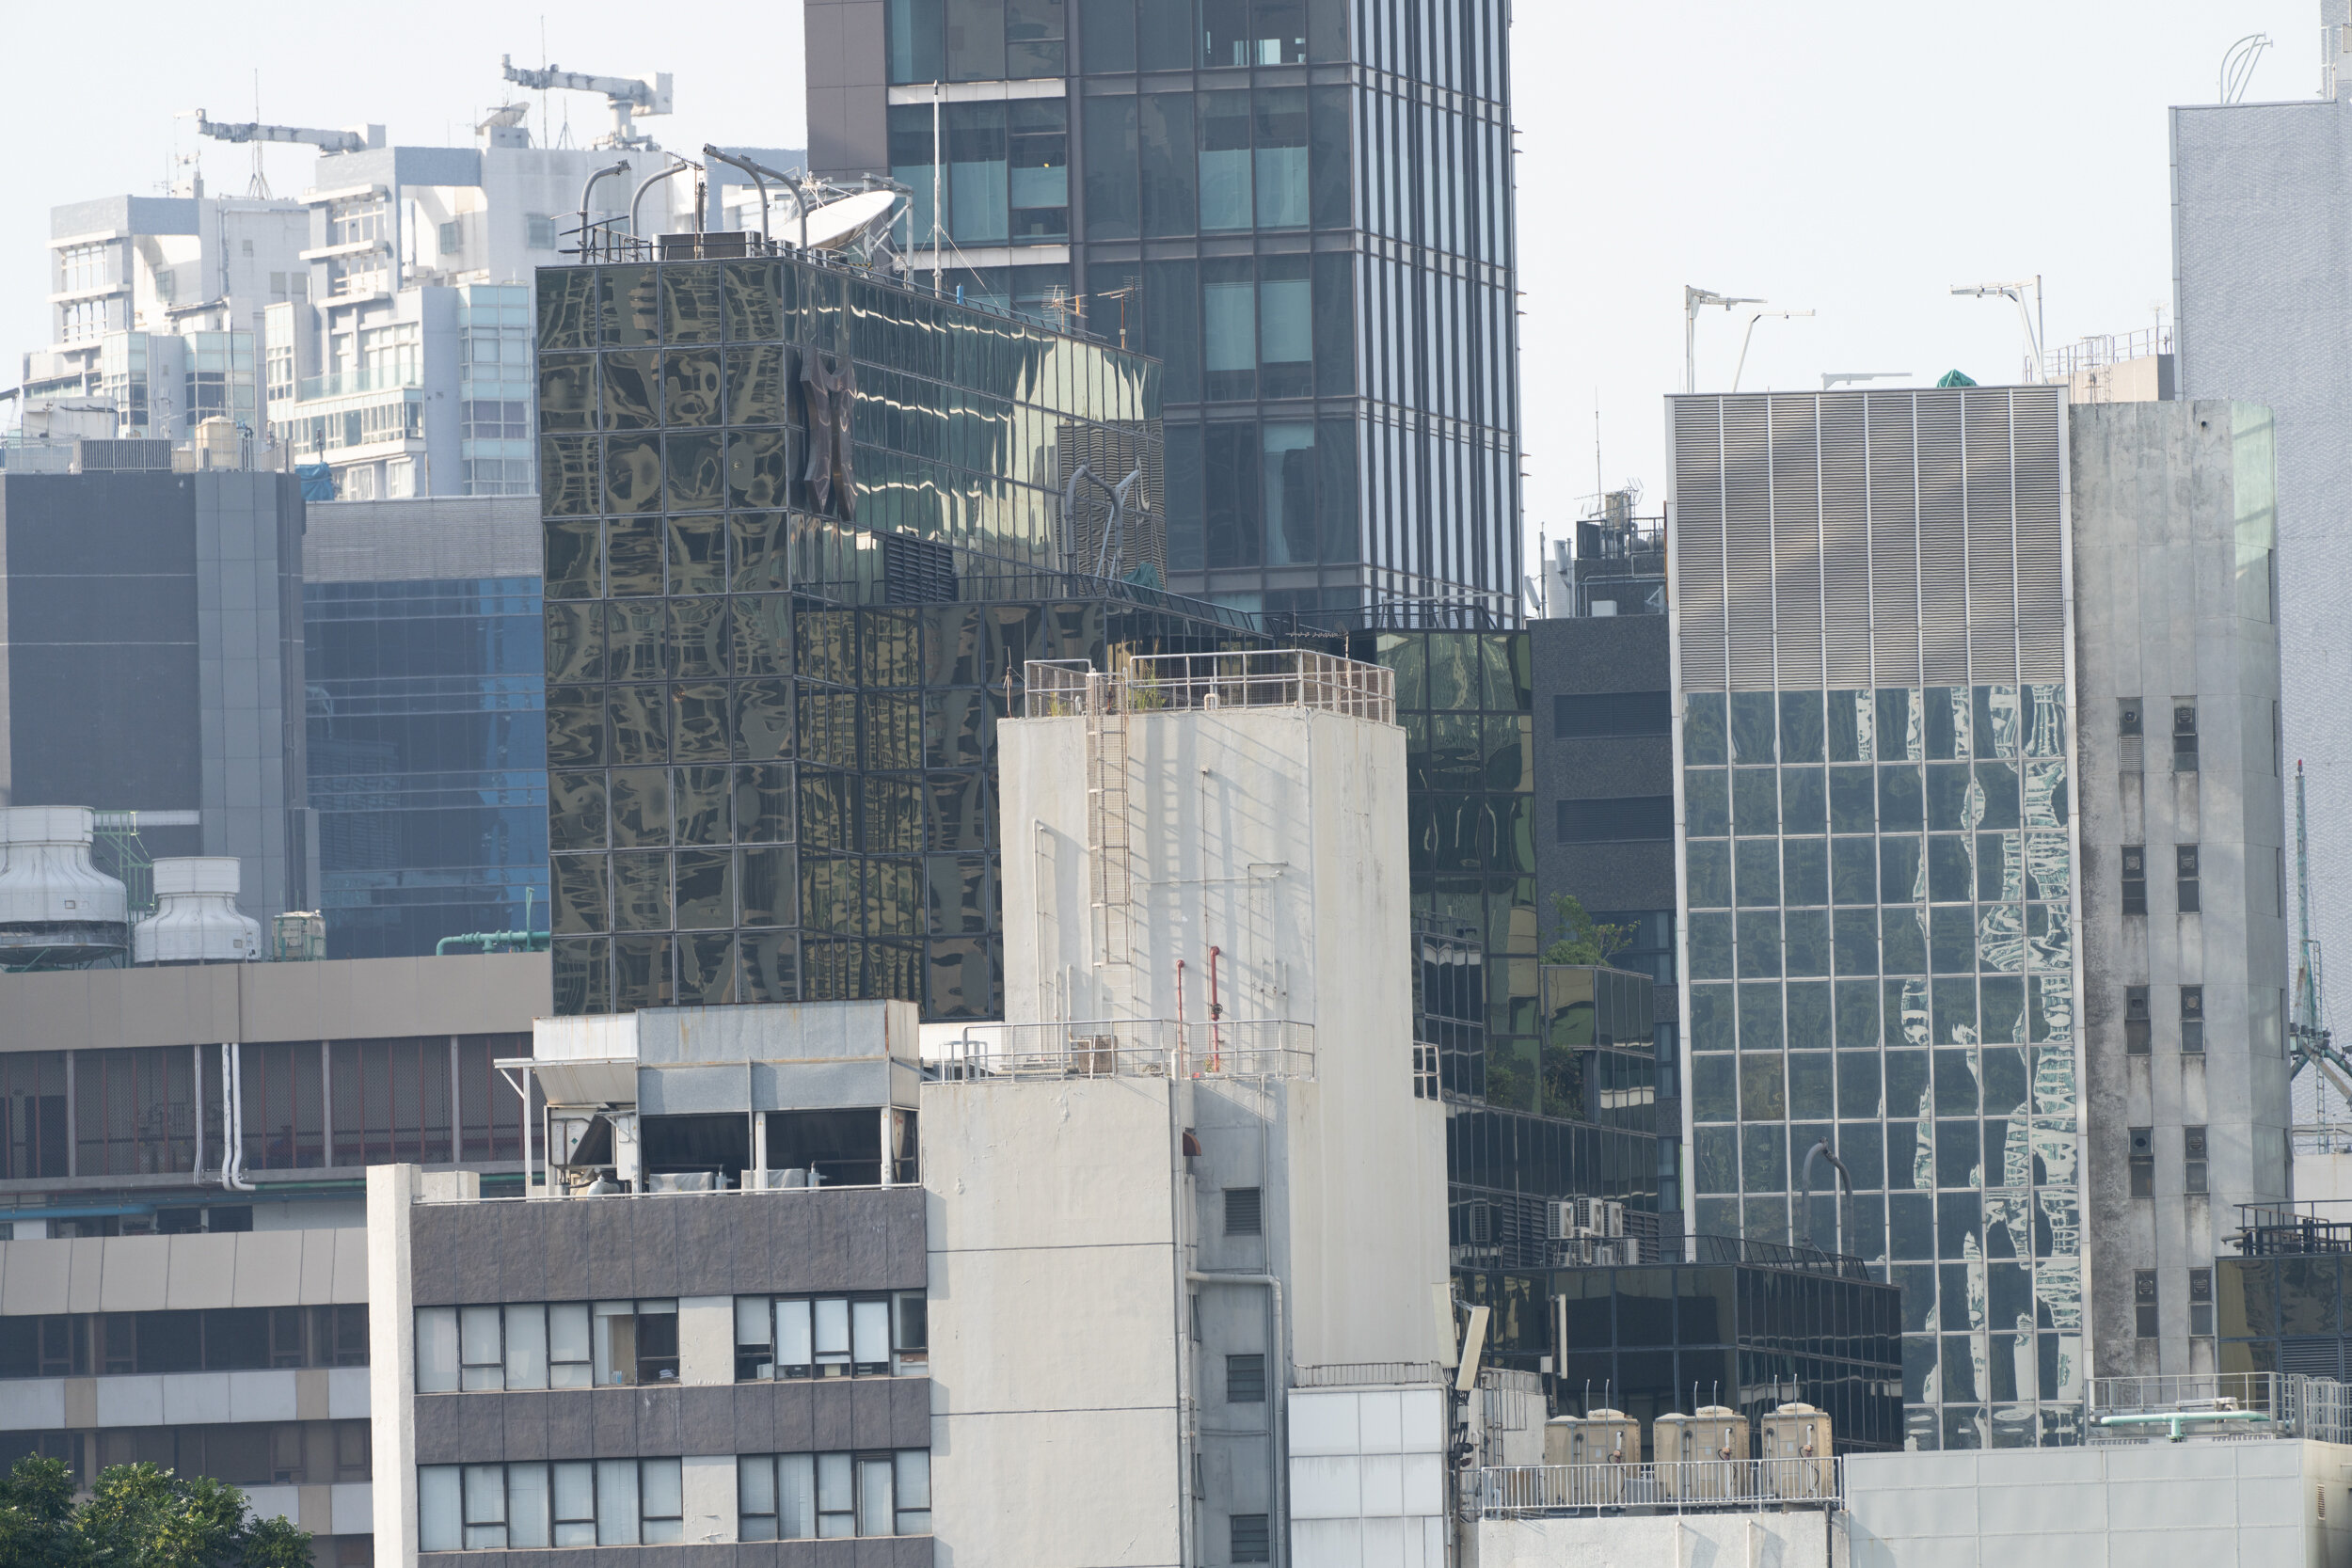
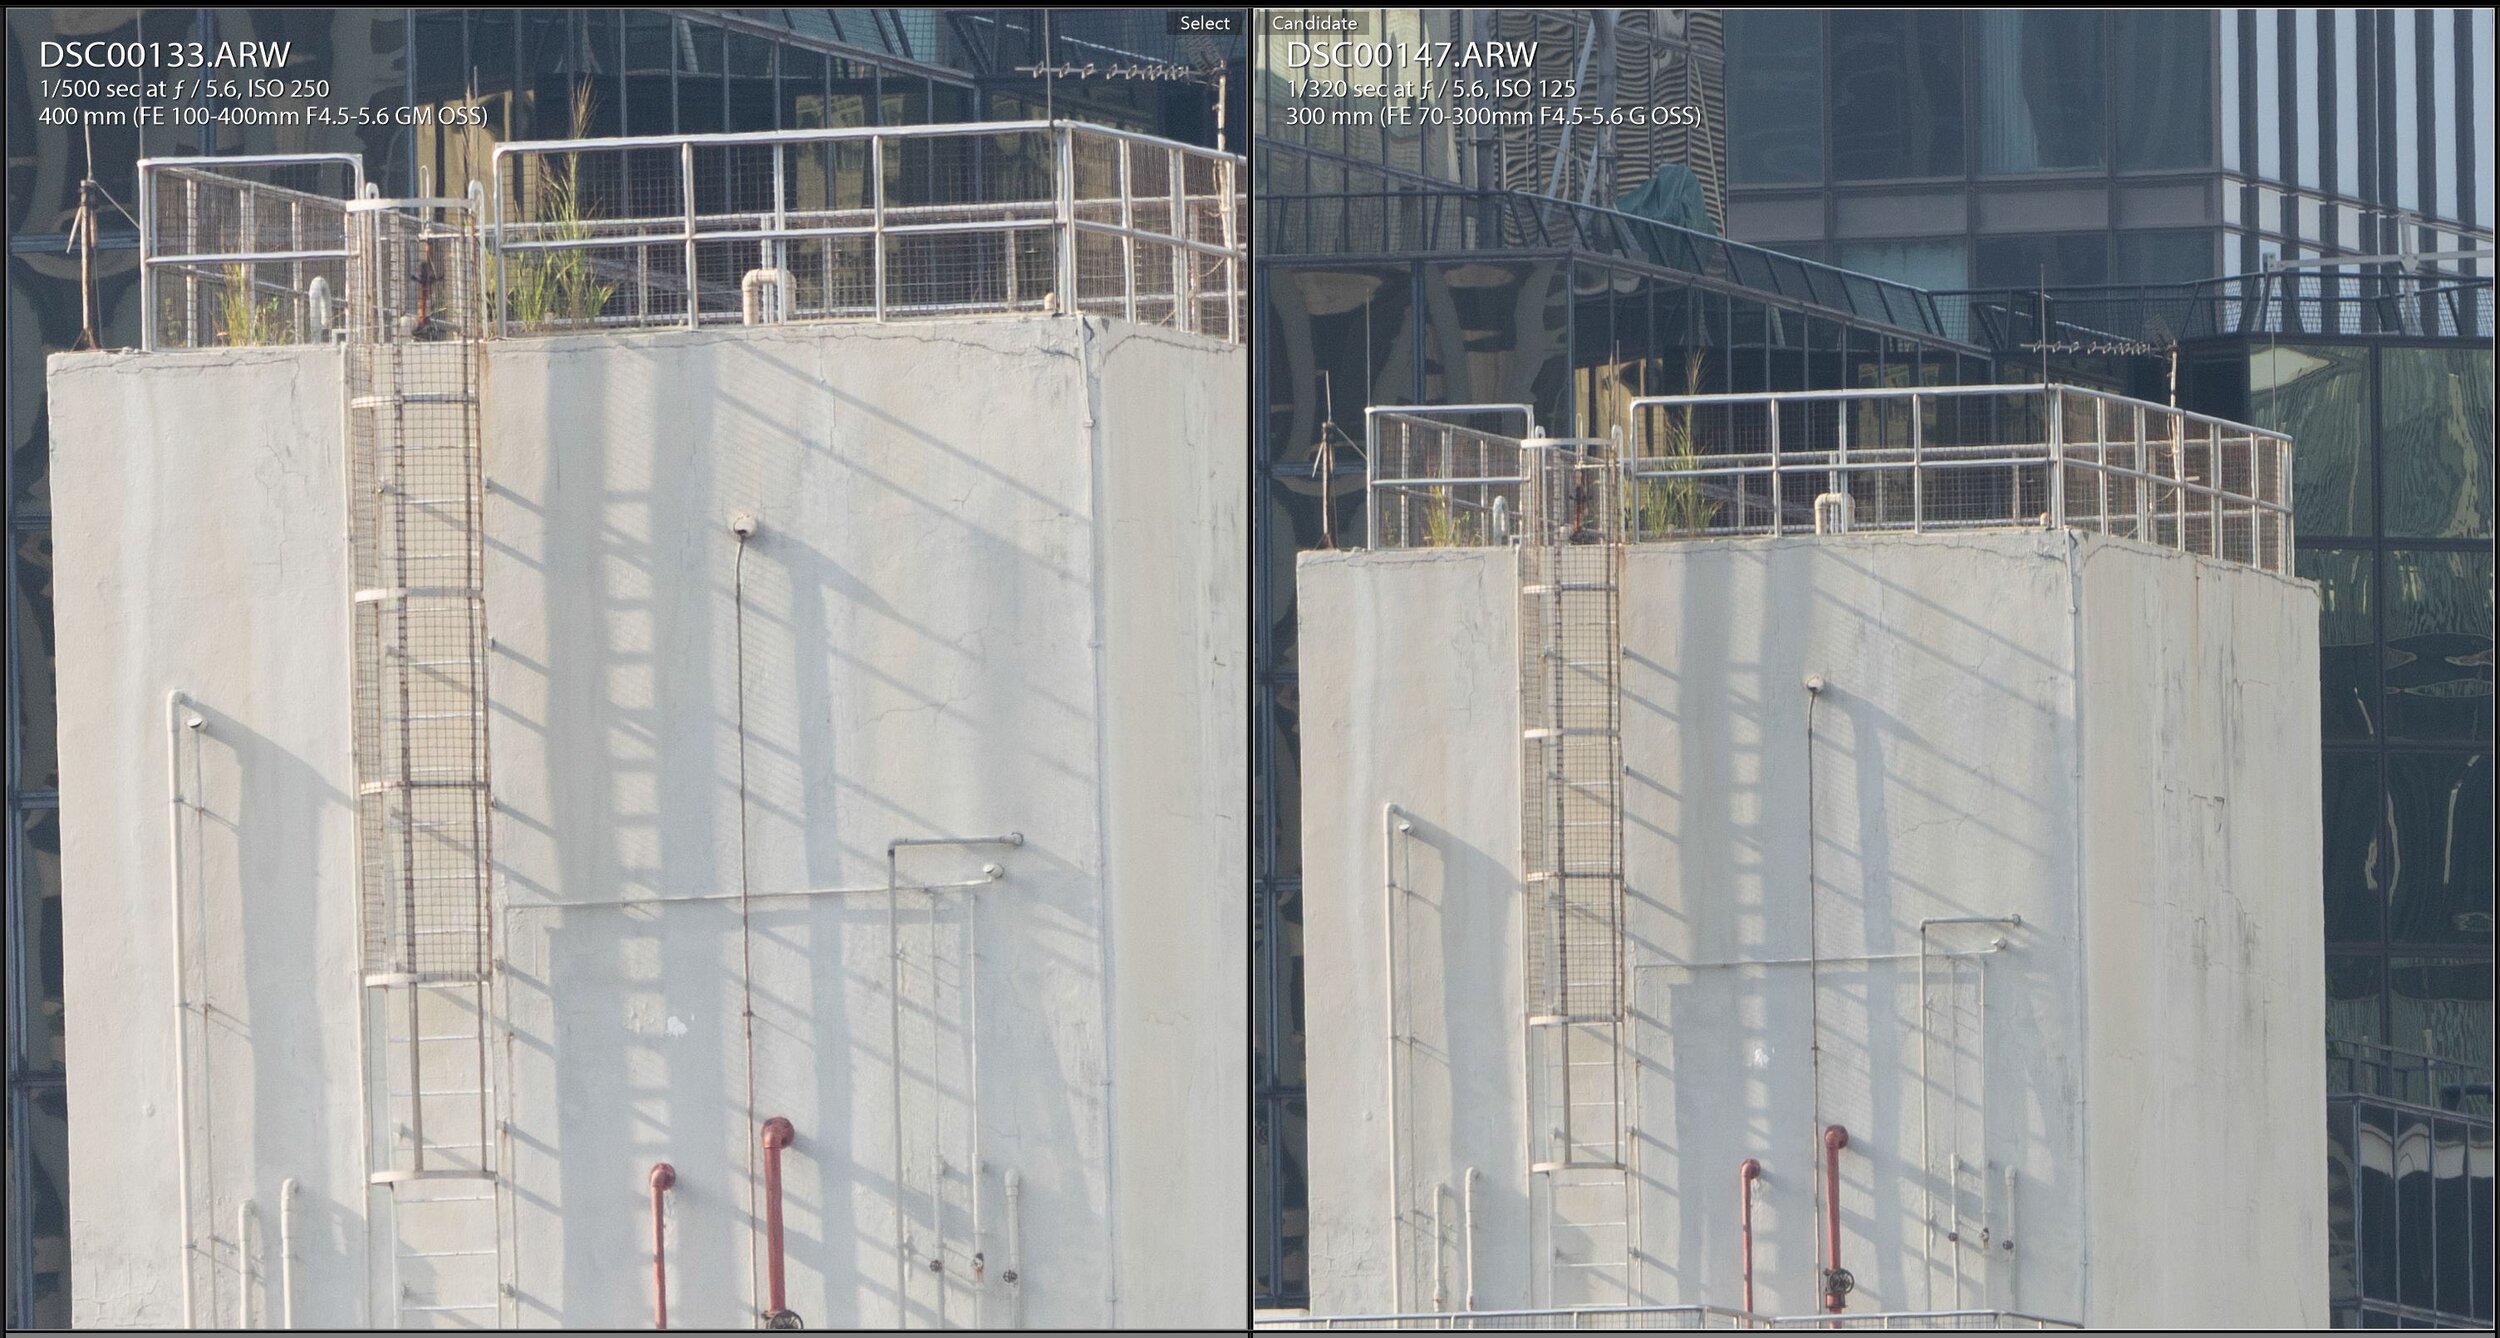
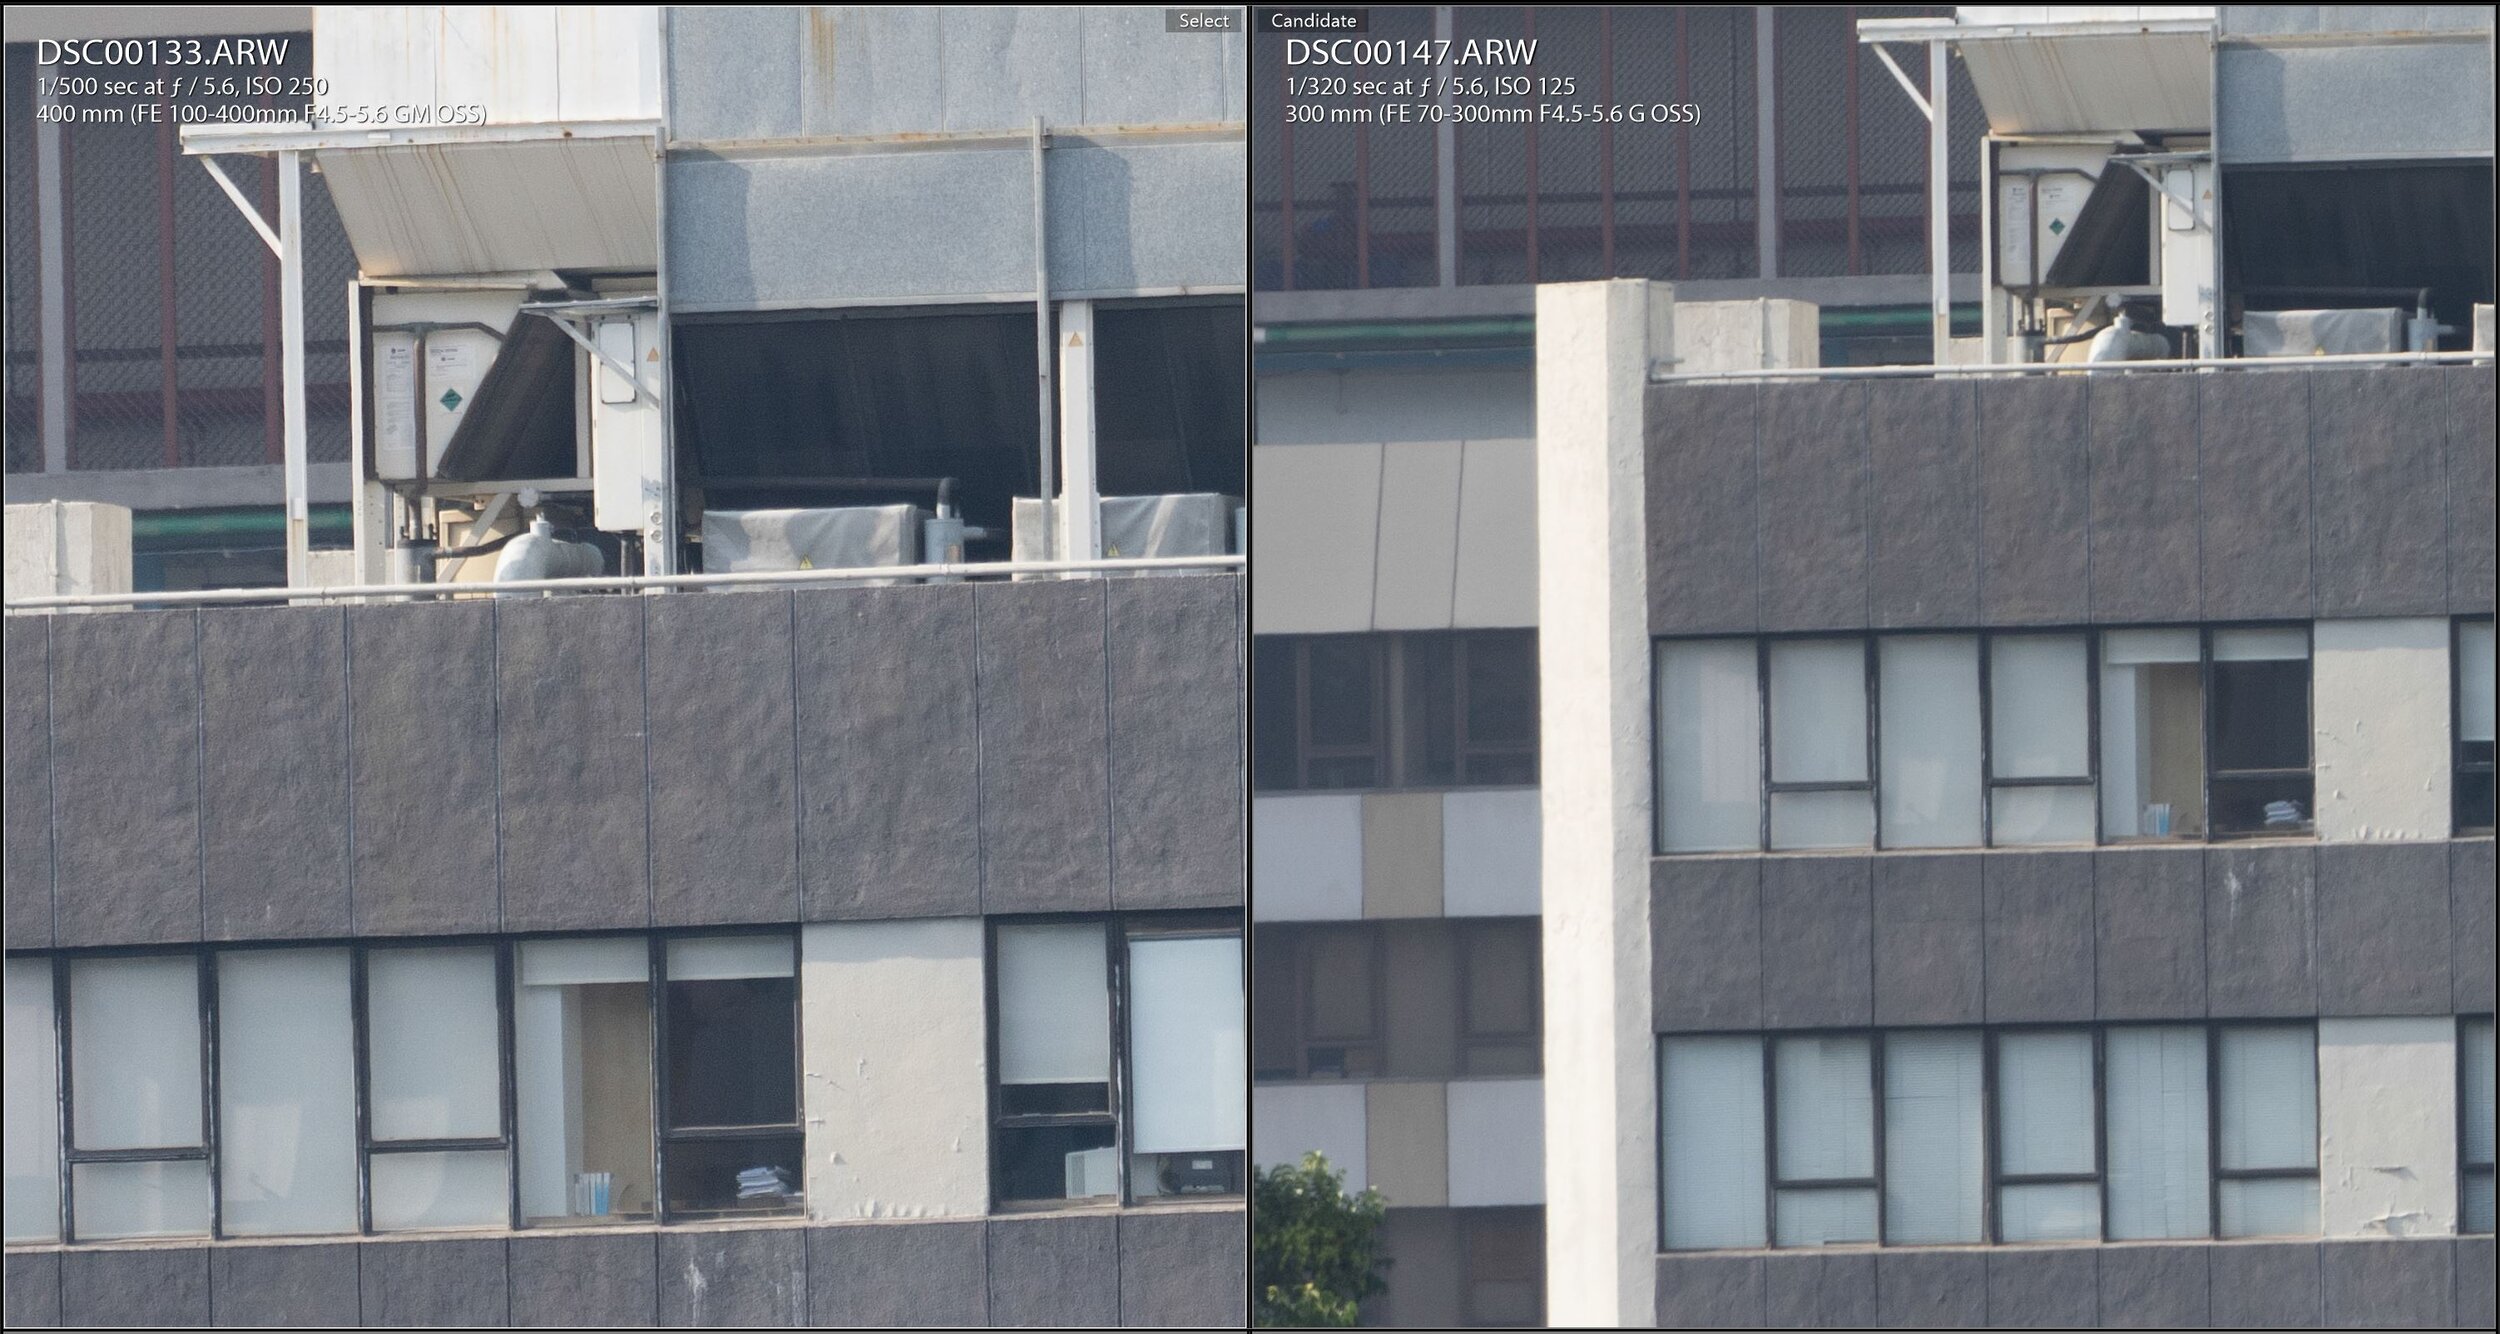
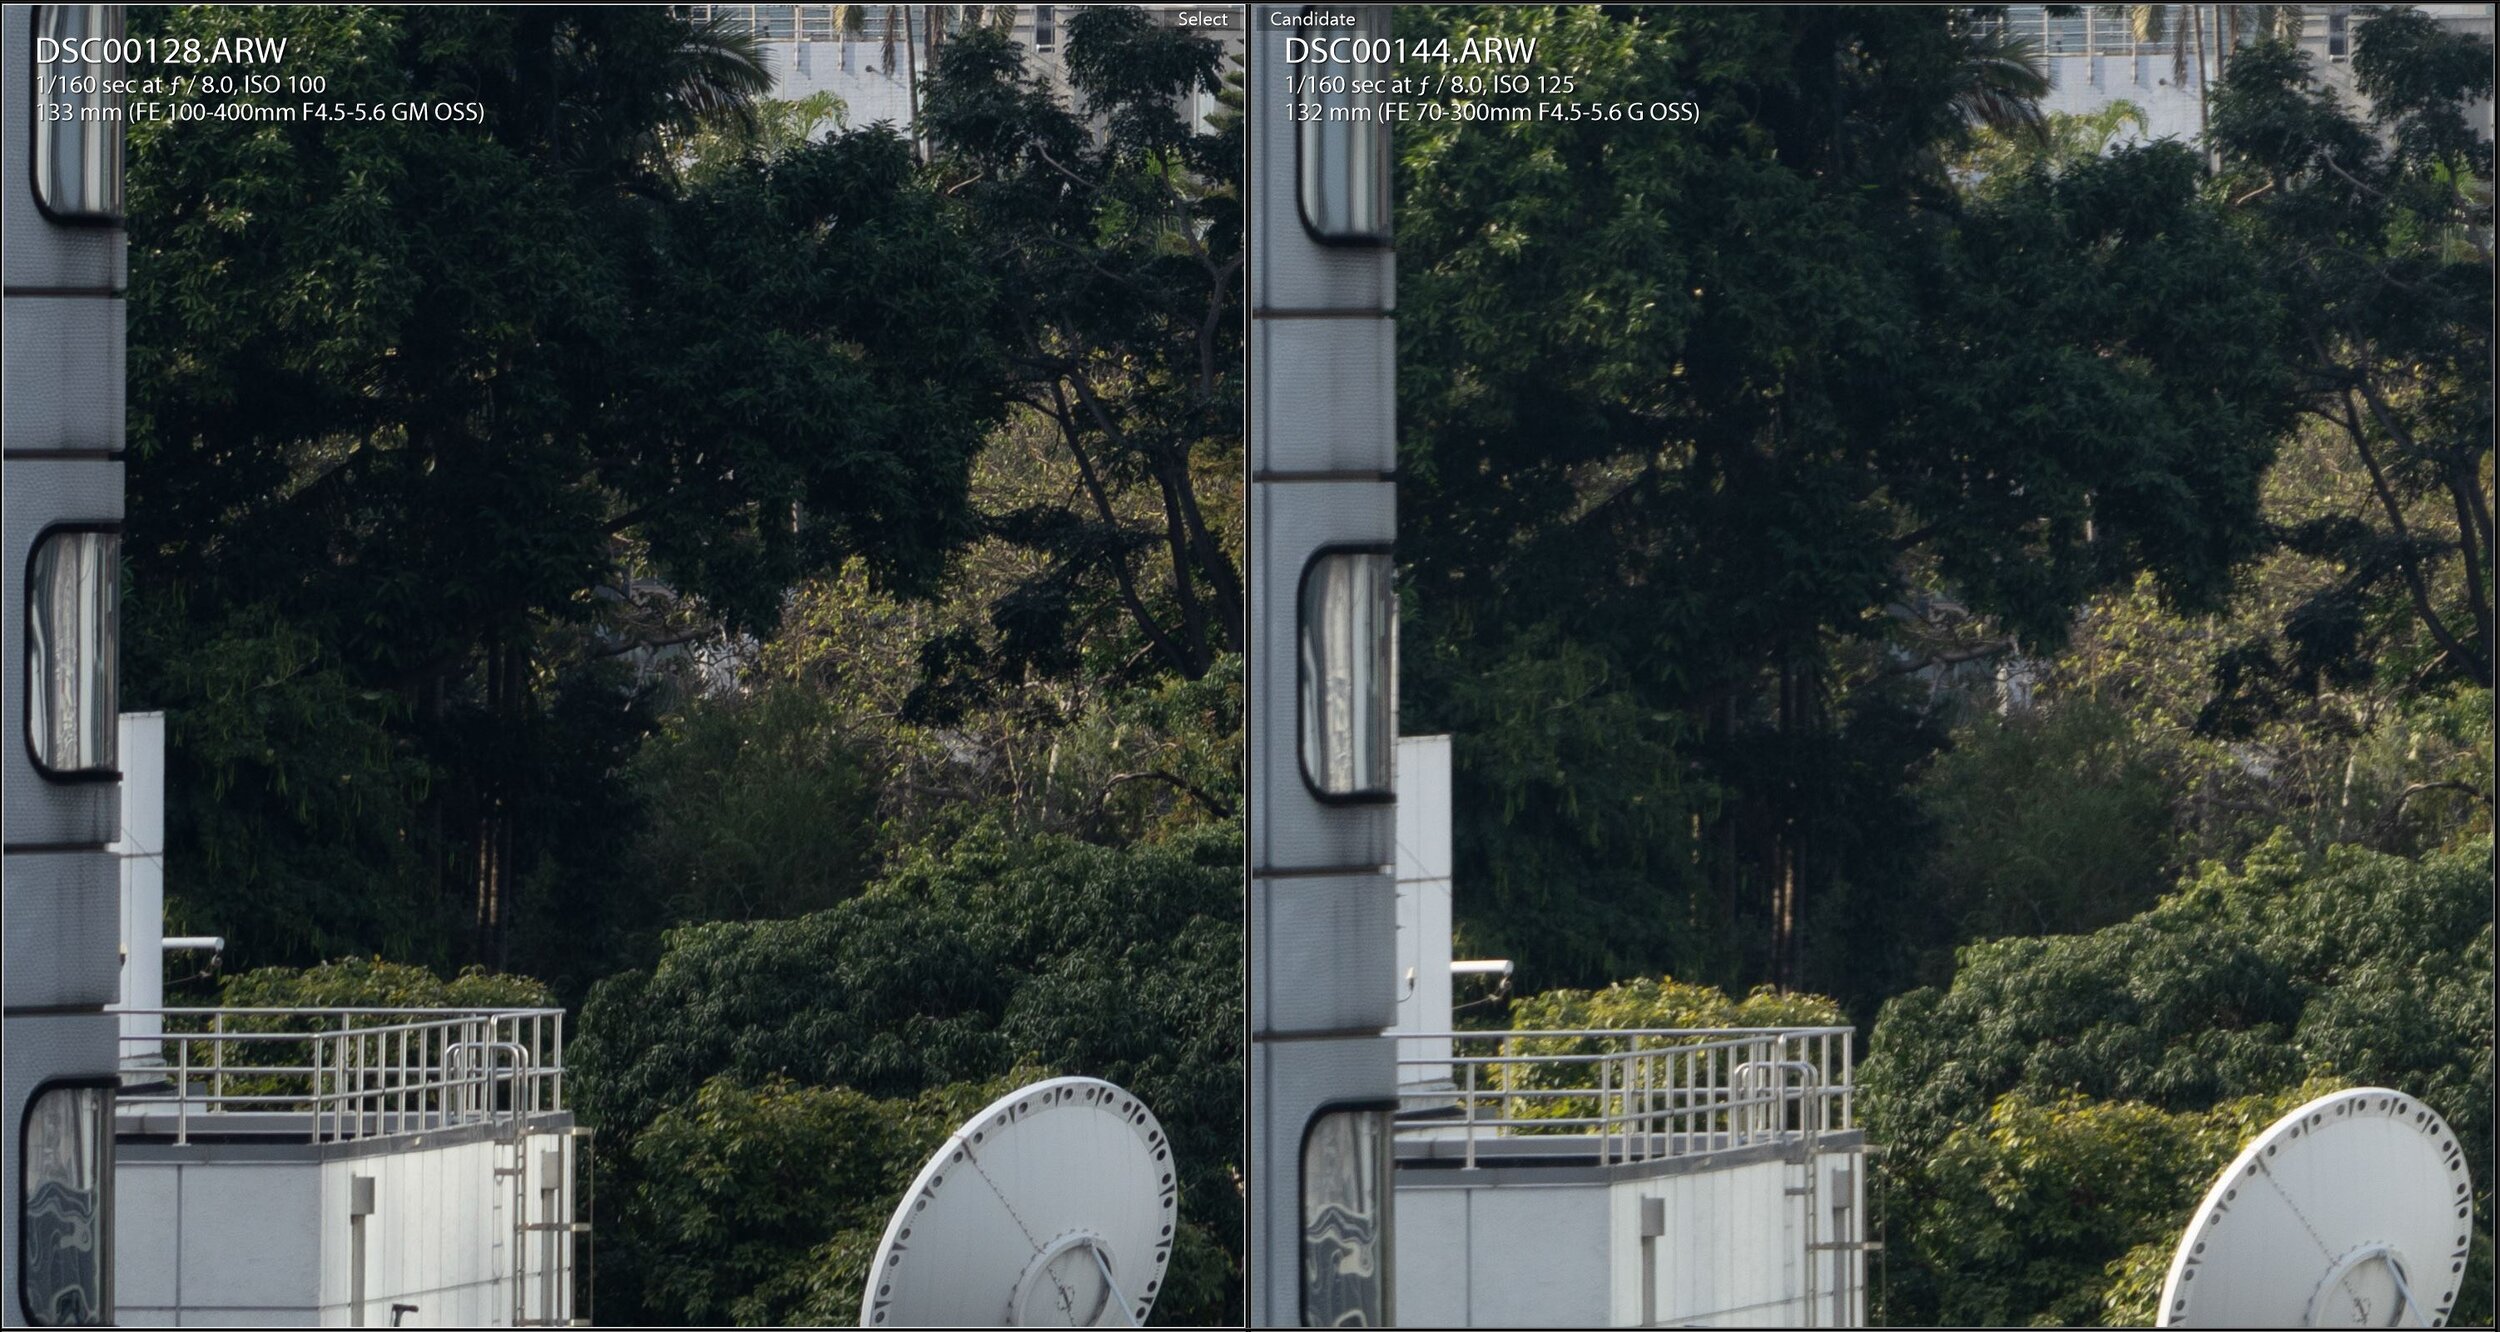
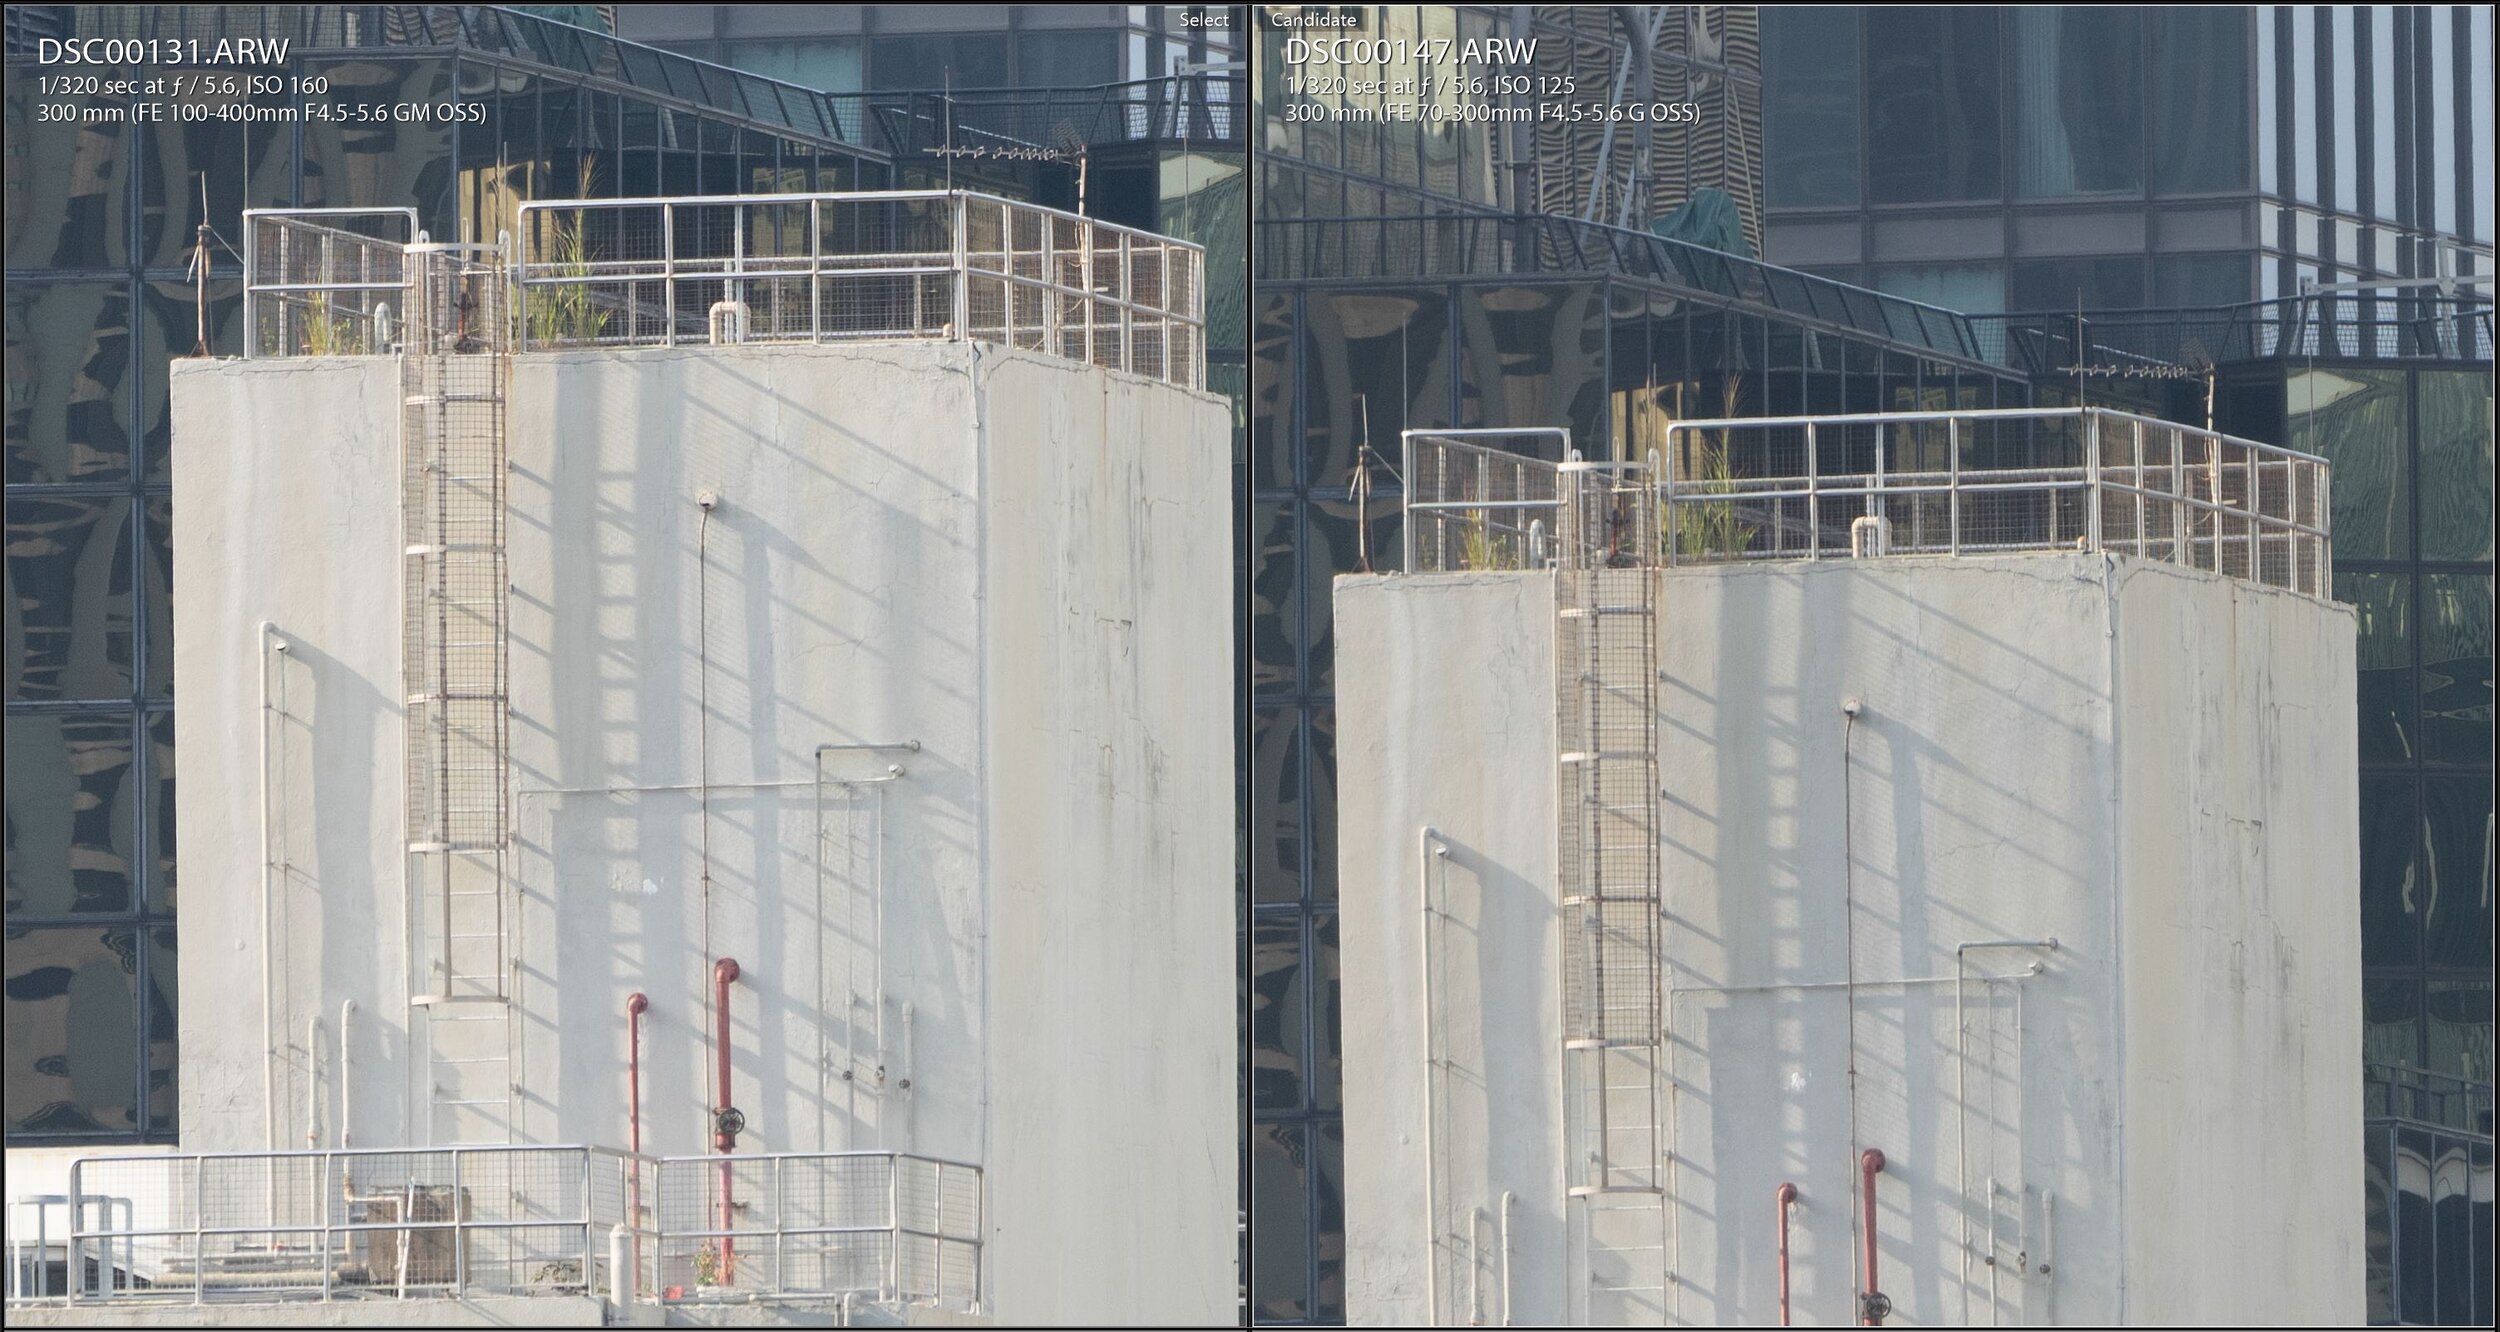
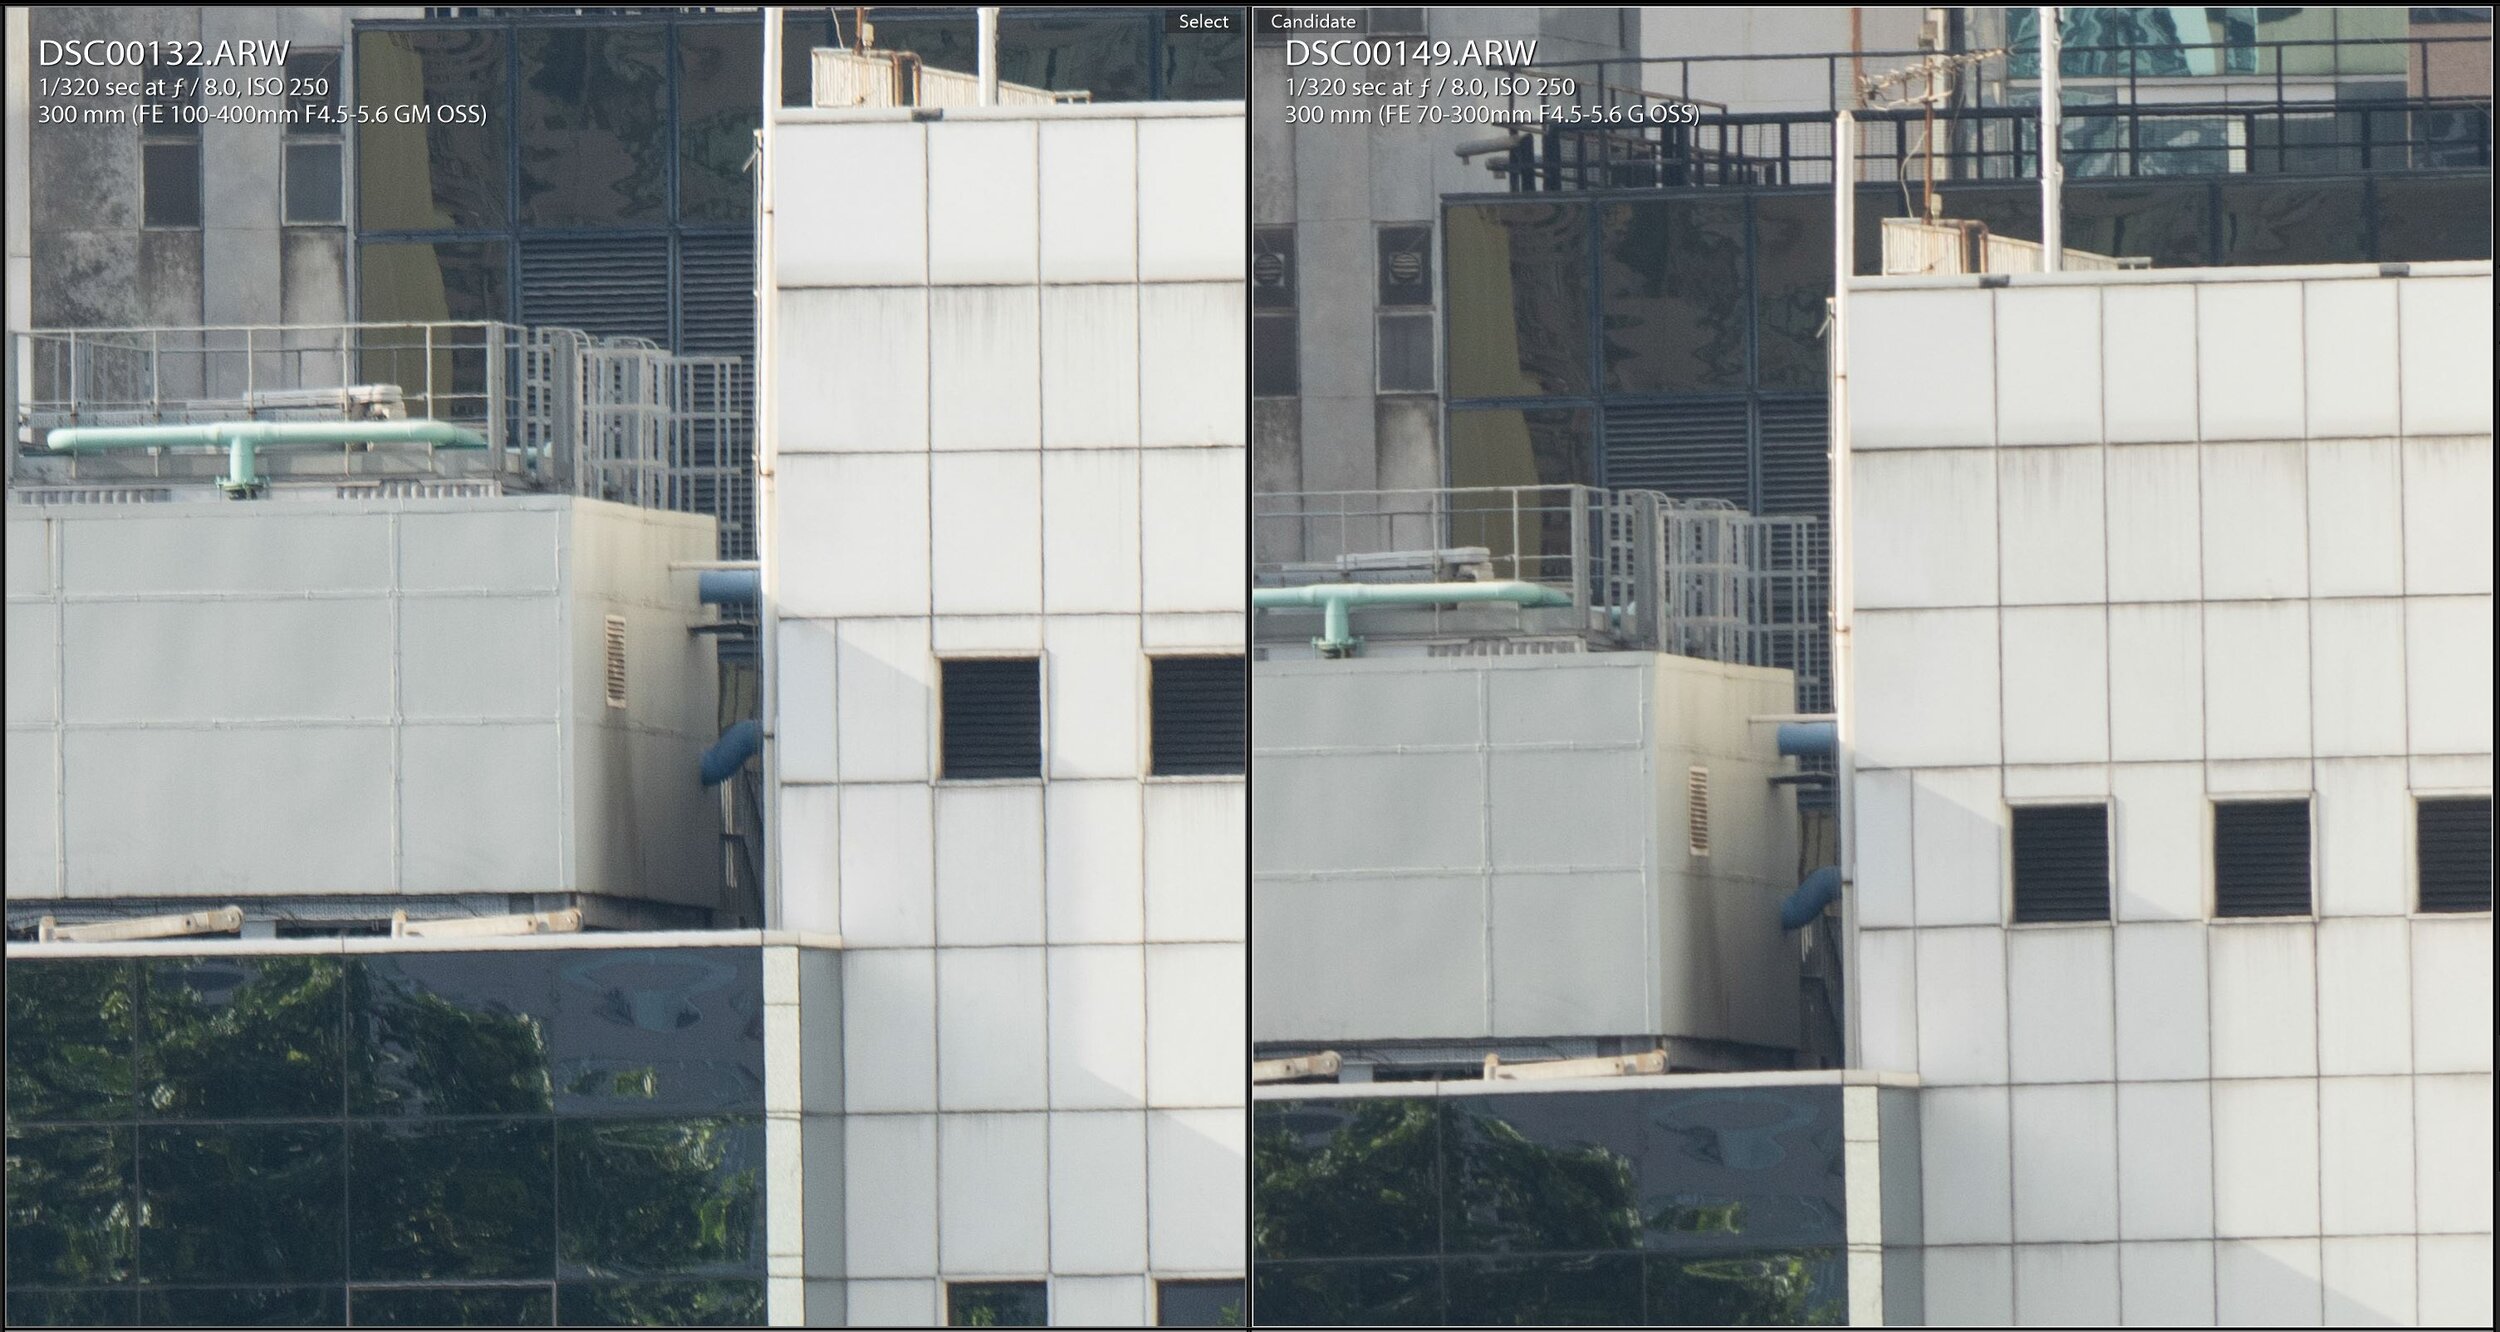
This is comparing the 2 lens shooting at their widest/narrowest focal length at the largest aperture. This also shows the difference between 70mm vs 100mm, and 300mm vs 400mm. At the widest focal length, the 70300G looks acceptable at the center, but the 100400GM has more details. Then moving to the corner, the 100400 is significantly sharper with less chromatic aberration. At the narrowest focal length, the center of both lens looks good. The 70300G improve significantly compared to at 70mm.
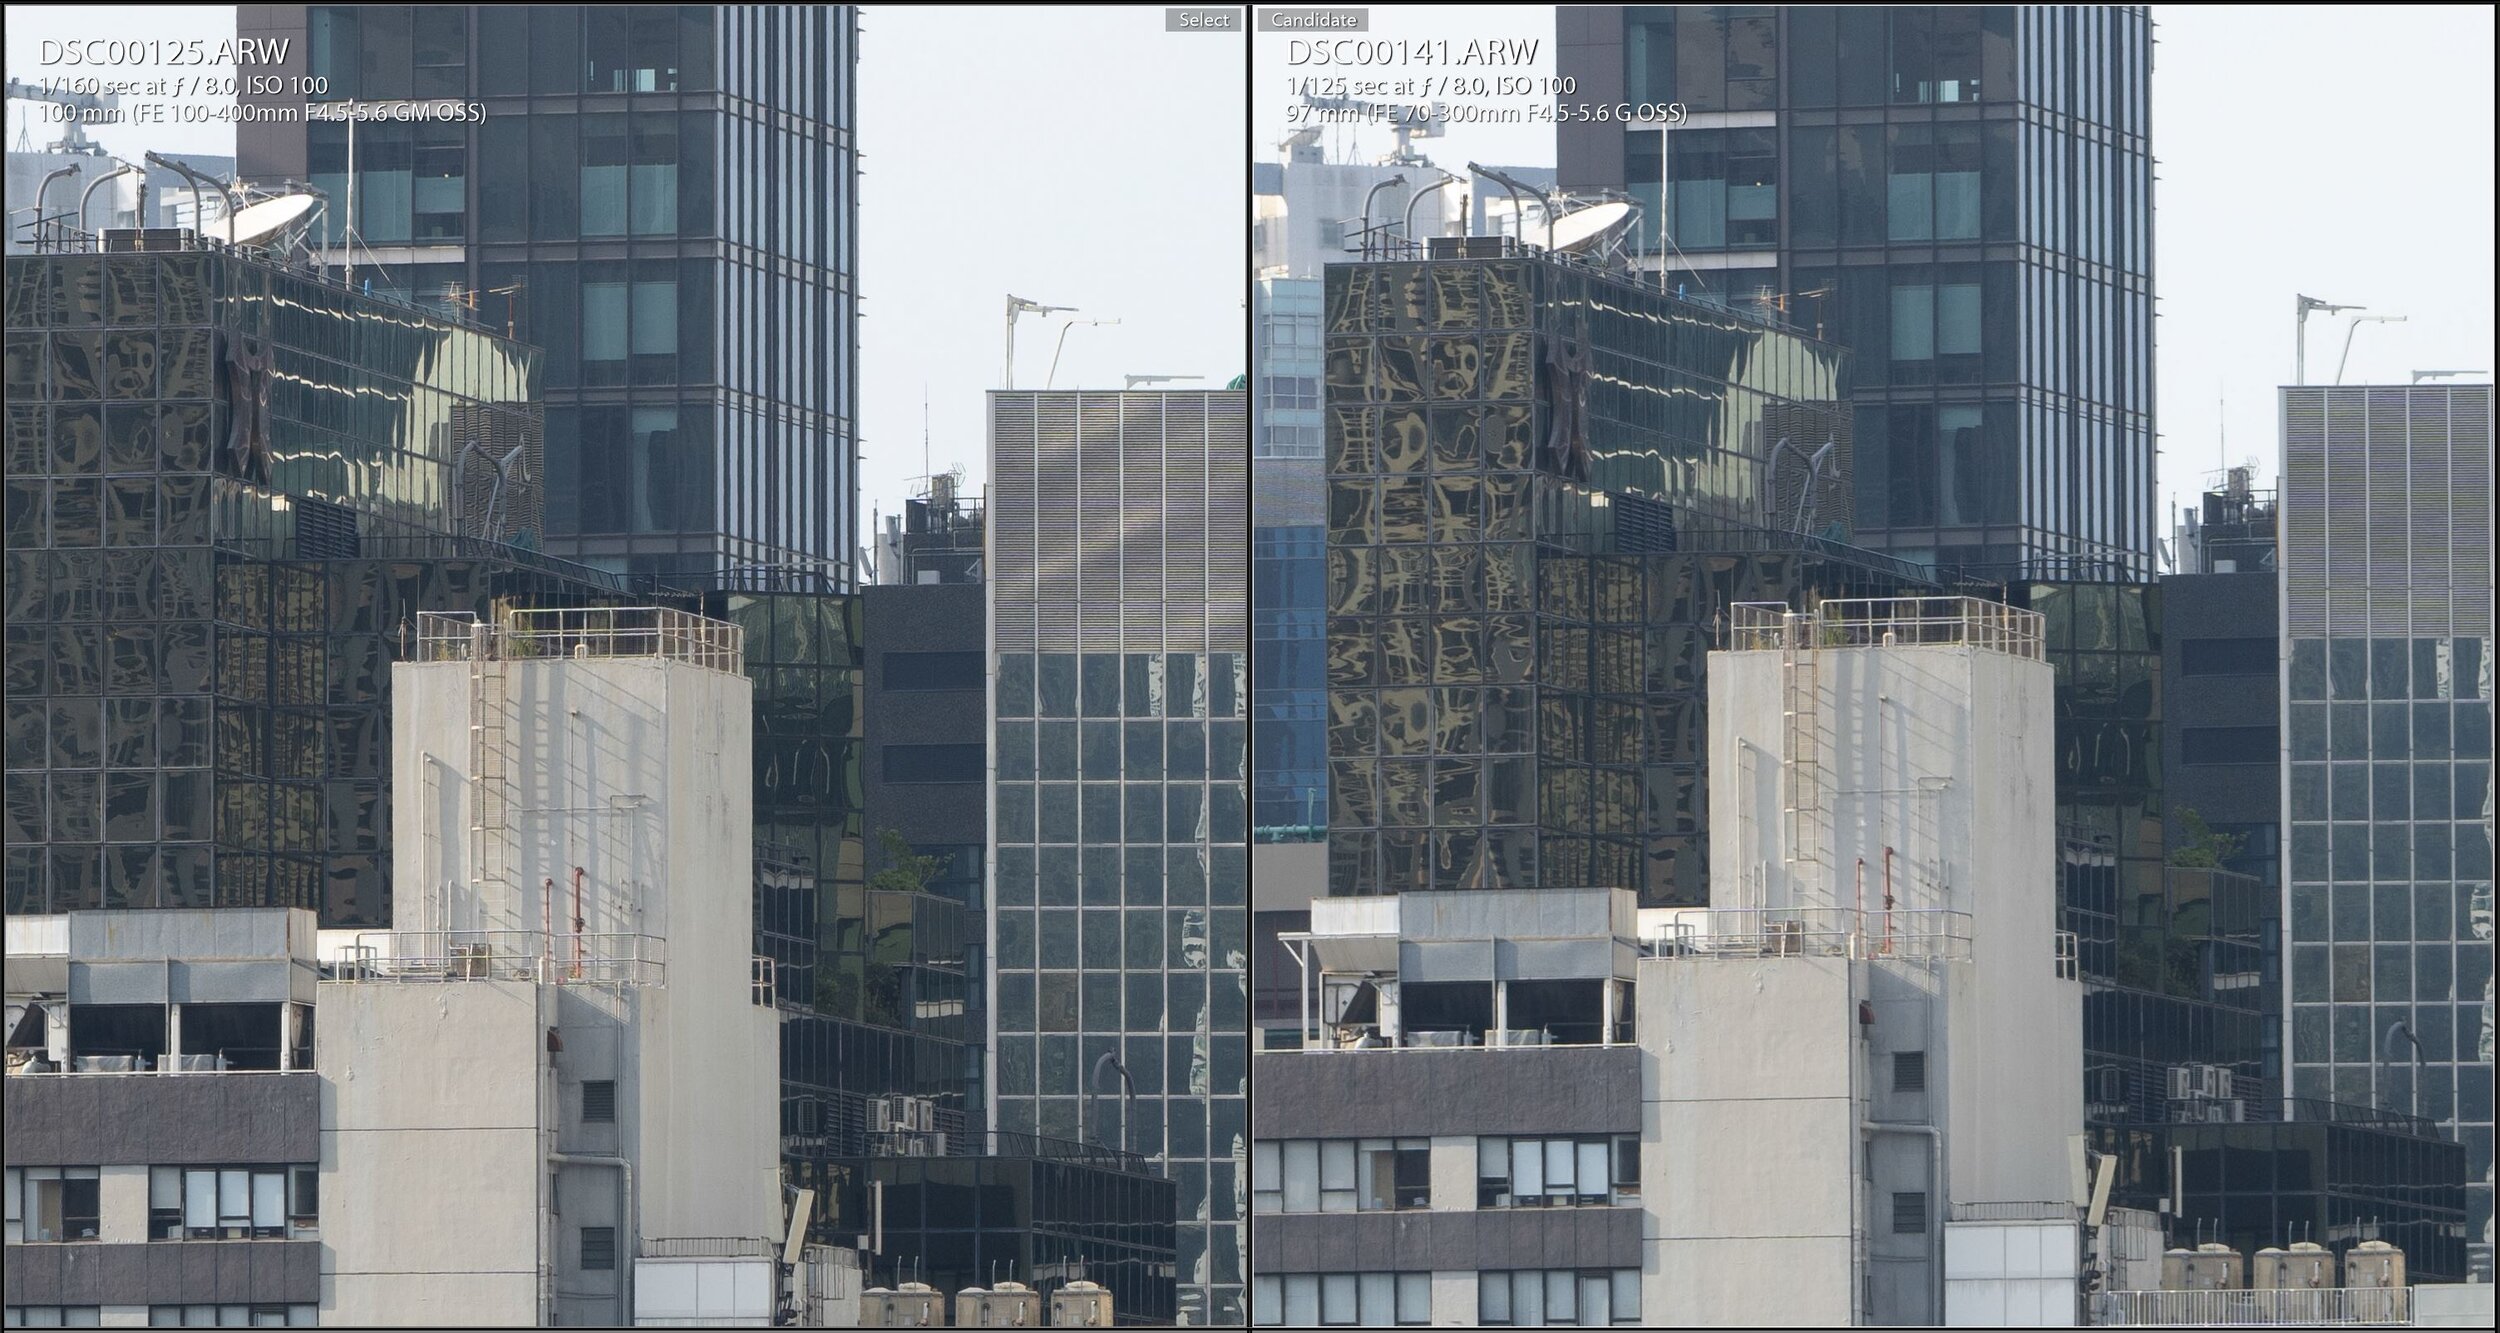
100mm comparison, starting at largest aperture (f/4.5 on 100400GM vs f/5 on 70300G), the 100400GM is sharper than the 70300G. 70300G corner is really soft. At f/5.6, the center is very similar, but 70300G is still soft. The 70300G corner finally improves at f/8, but is still weaker than the 100400GM.
135mm comparison, starting at largest aperture, the centers are really similar between the lens. 70300G corner is a bit better than at 100mm but still soft. At f/5.6, the centers are very similar, but 70300G is still soft. The 70300G corner finally improves at f/8, but is still weaker than the 100400GM.
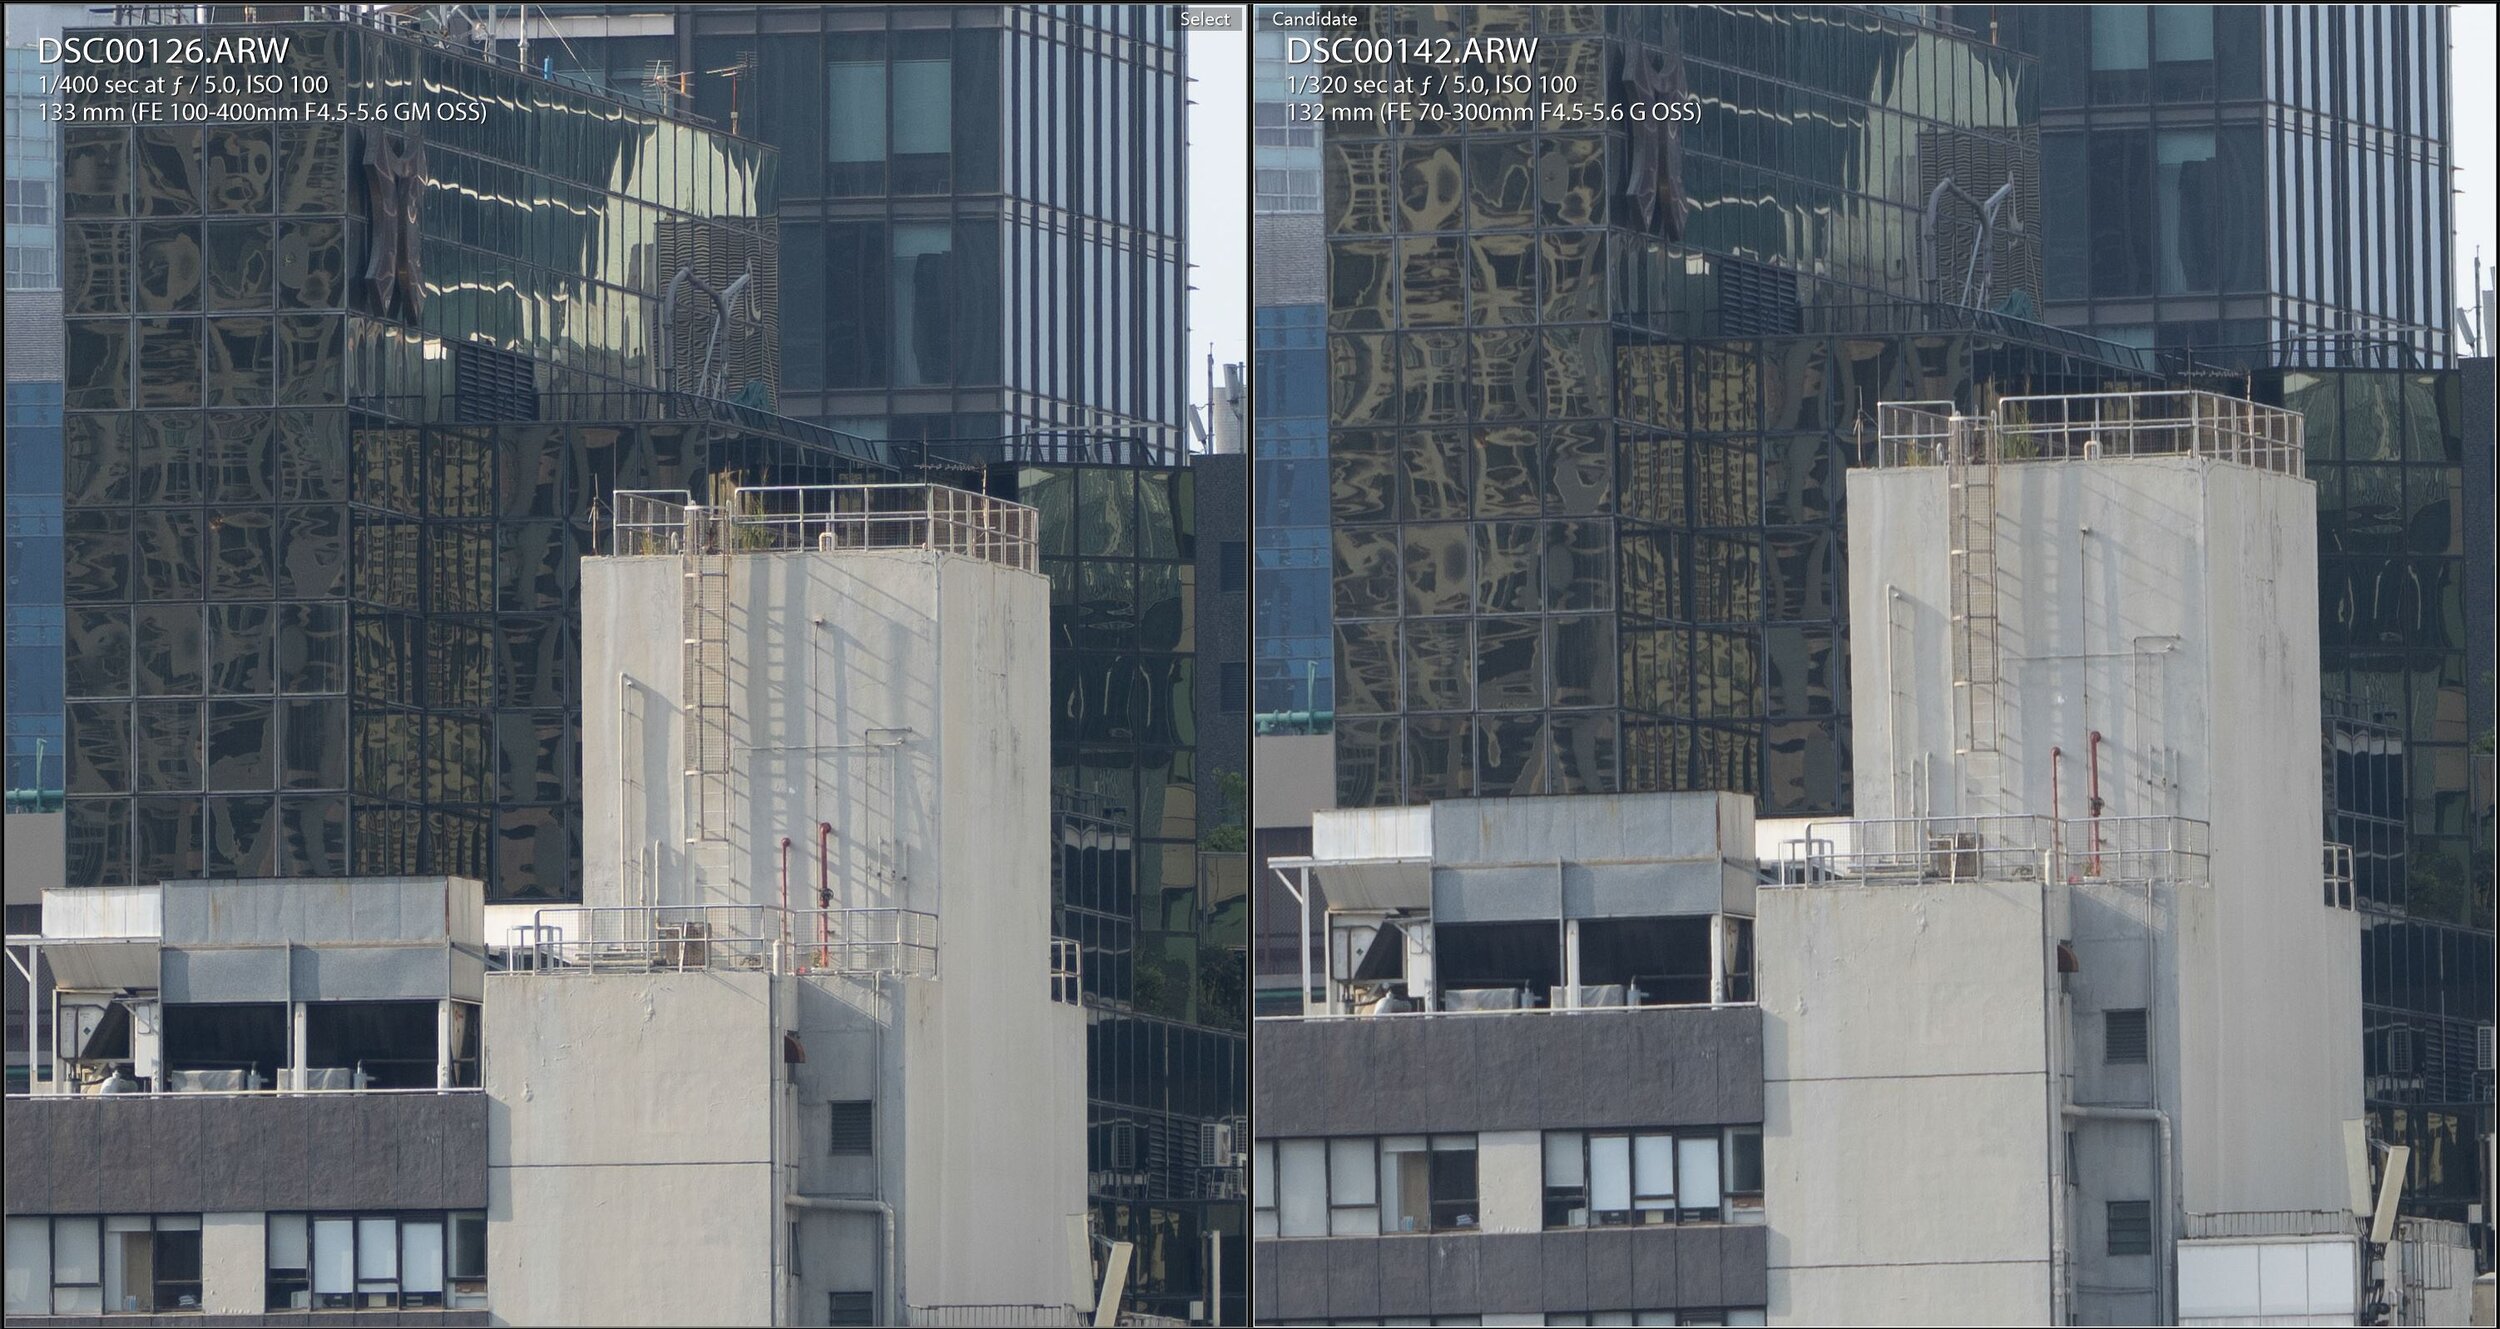
200mm comparison, starting at f/5.6, the centers are really similar between the lens. 70300G corner is still soft, improves at f/8 but is still weaker than the 100400GM.
300mm comparison, starting at f/5.6, the two lens are really similar at center and corner.
Conclusion
The 100400GM is definitely the lens to go for ultimate image quality. It is sharp wide open across the entire range, while 70300G is soft at the corner. On the other hand, it is 2x more expensive, 40% longer and heavier than the 70300G. Depending on the budget and the requirement, both are valid full frame telephoto zoom lens options. However, I think the newly E 70350G is probably a better choice for APS-C than the 70300G, as it seems to have good reviews and is even lighter.
Sony FE 100-400mm G Master Review
With comparison to Sony FE 70-300mm G
Pro
Amazing IQ, sharp wide open across the range
Fast AF
Compatible with teleconverter
Con
Expensive
Big and Heavy
Introduction
I had been using the SEL70300G for a few years, since i got the A6500. I was not interested in shooting telephoto until I have the 2nd body and started shooting landscape, birds…etc. I enjoy the additional reach beyond the 2470GM that I usually use. However, I was never impressed by the IQ of the 70300G, and decided to treat myself with the 100400. This review will focus on the 100400 and compare it against the 70300G. All pictures here are shot with the A7R4.
I was deciding between this lens or the new 200600G. After handling them both in the showroom, I was more comfortable with the 100400GM size and weight. A teleconverter can be added if more reach is needed. Another reason was the pseudo macro ability of this lens with 0.35x magnification ratio @ 0.98m versus the 0.2x @ 2.4m minimum focus distance on the 200600G.
What’s in the box
There is not much in the box. There is just the lens, hood, manual/warranty info, and a carrying bag.
Body
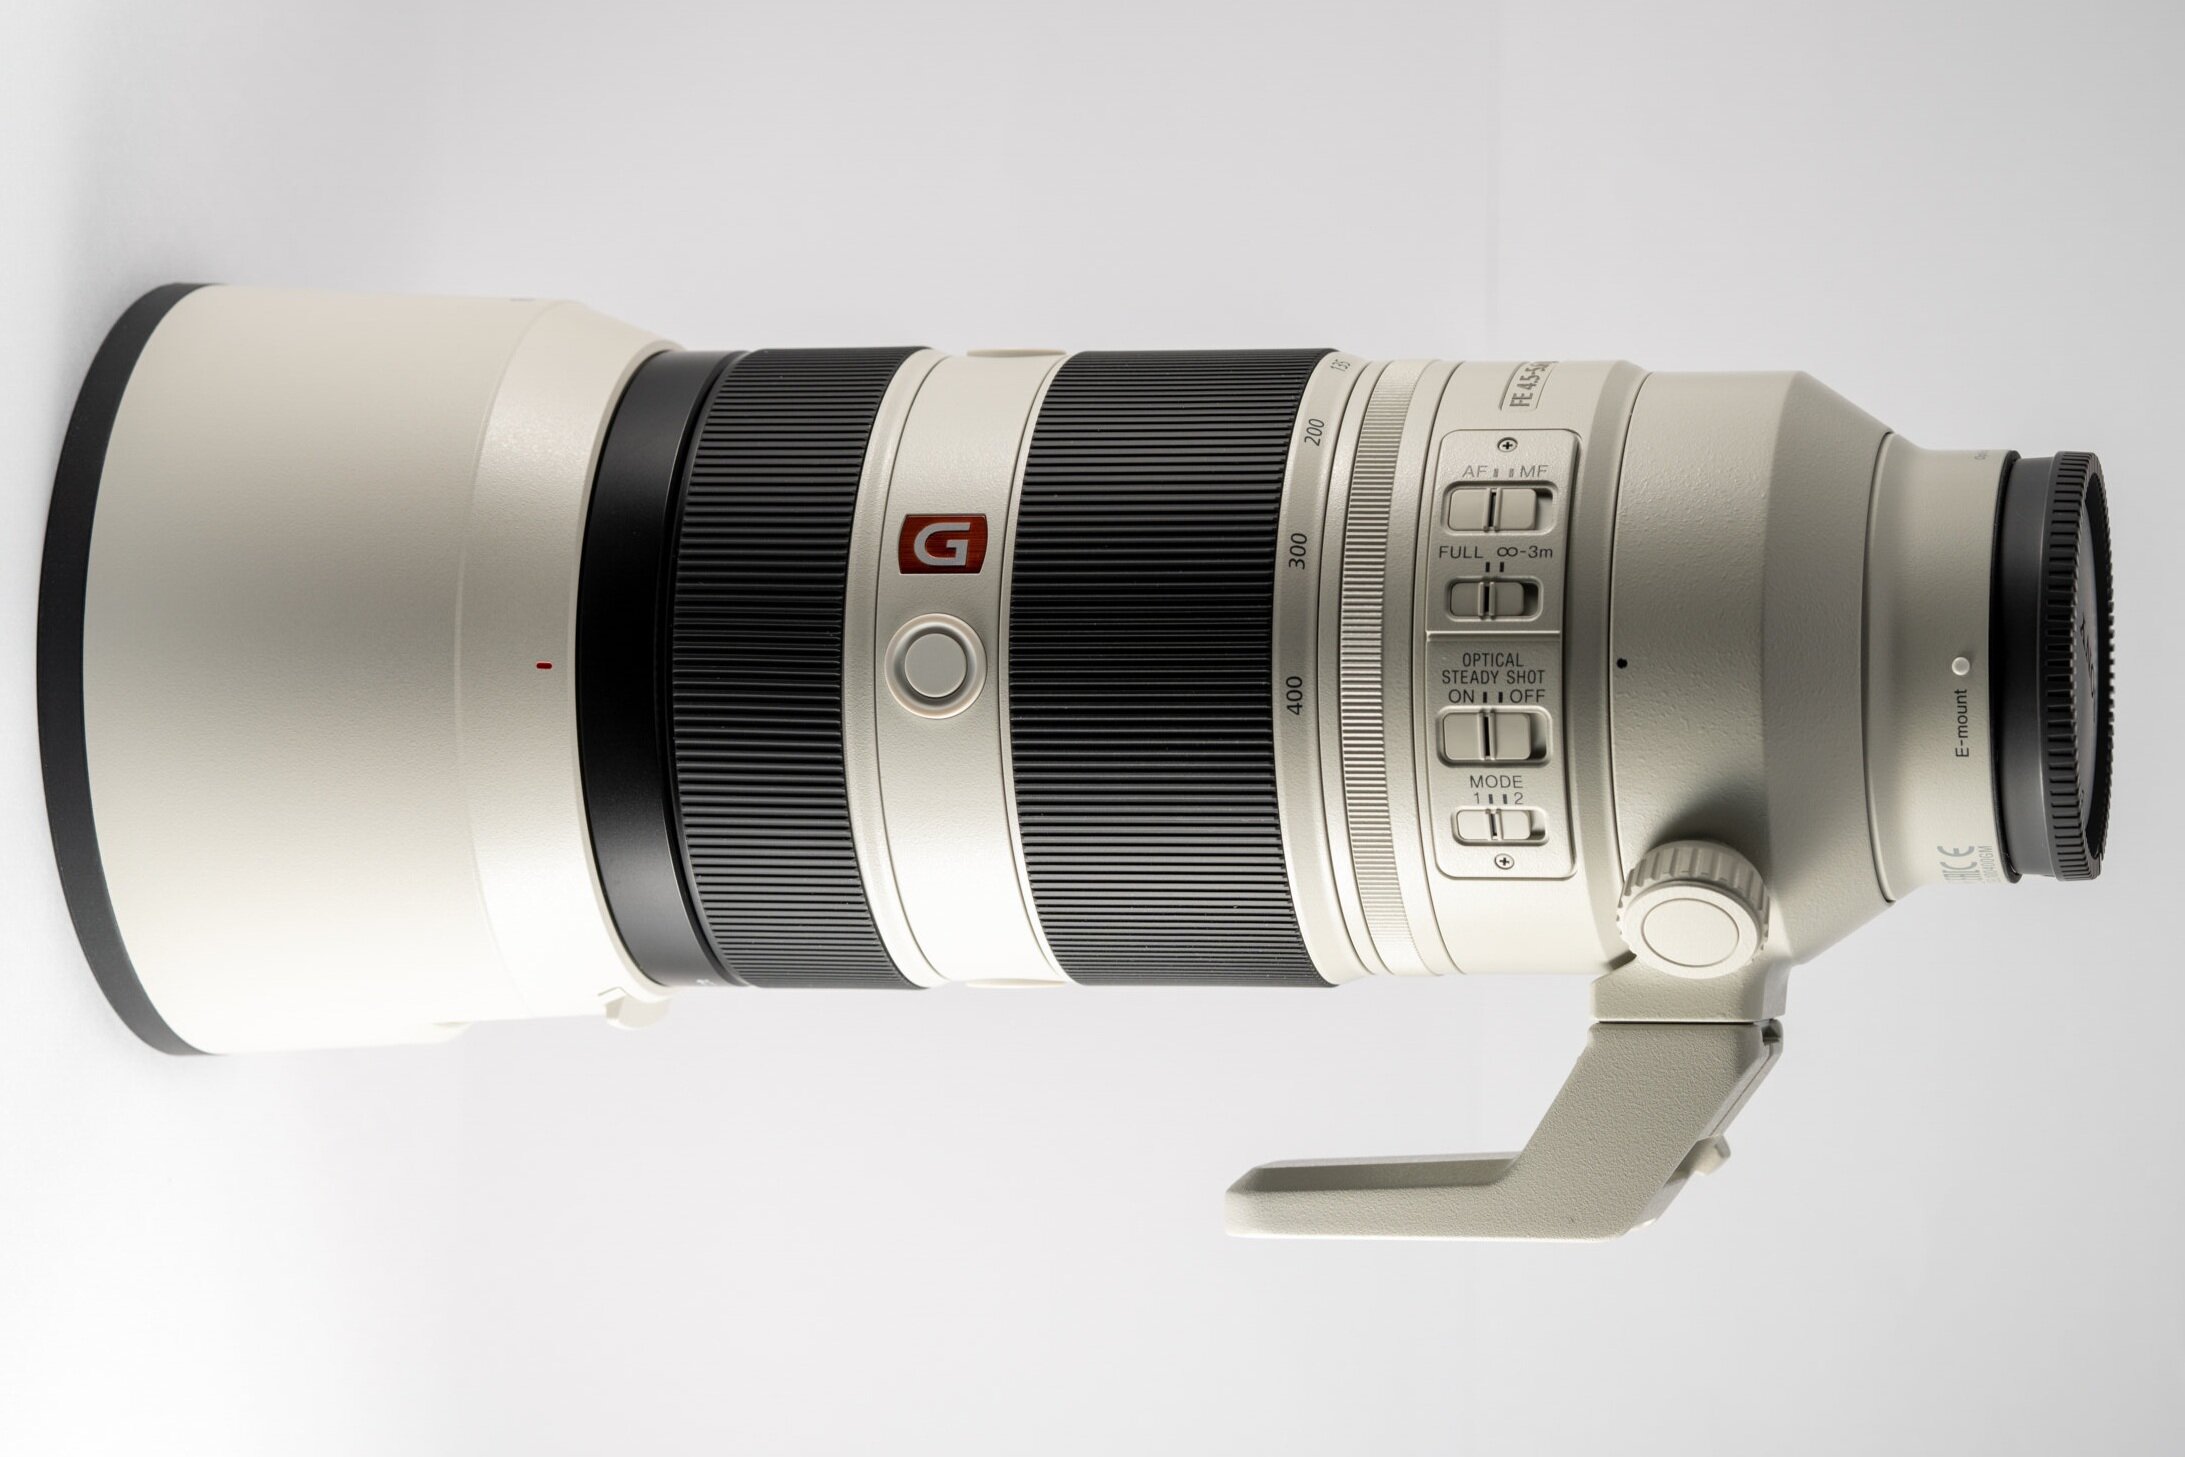
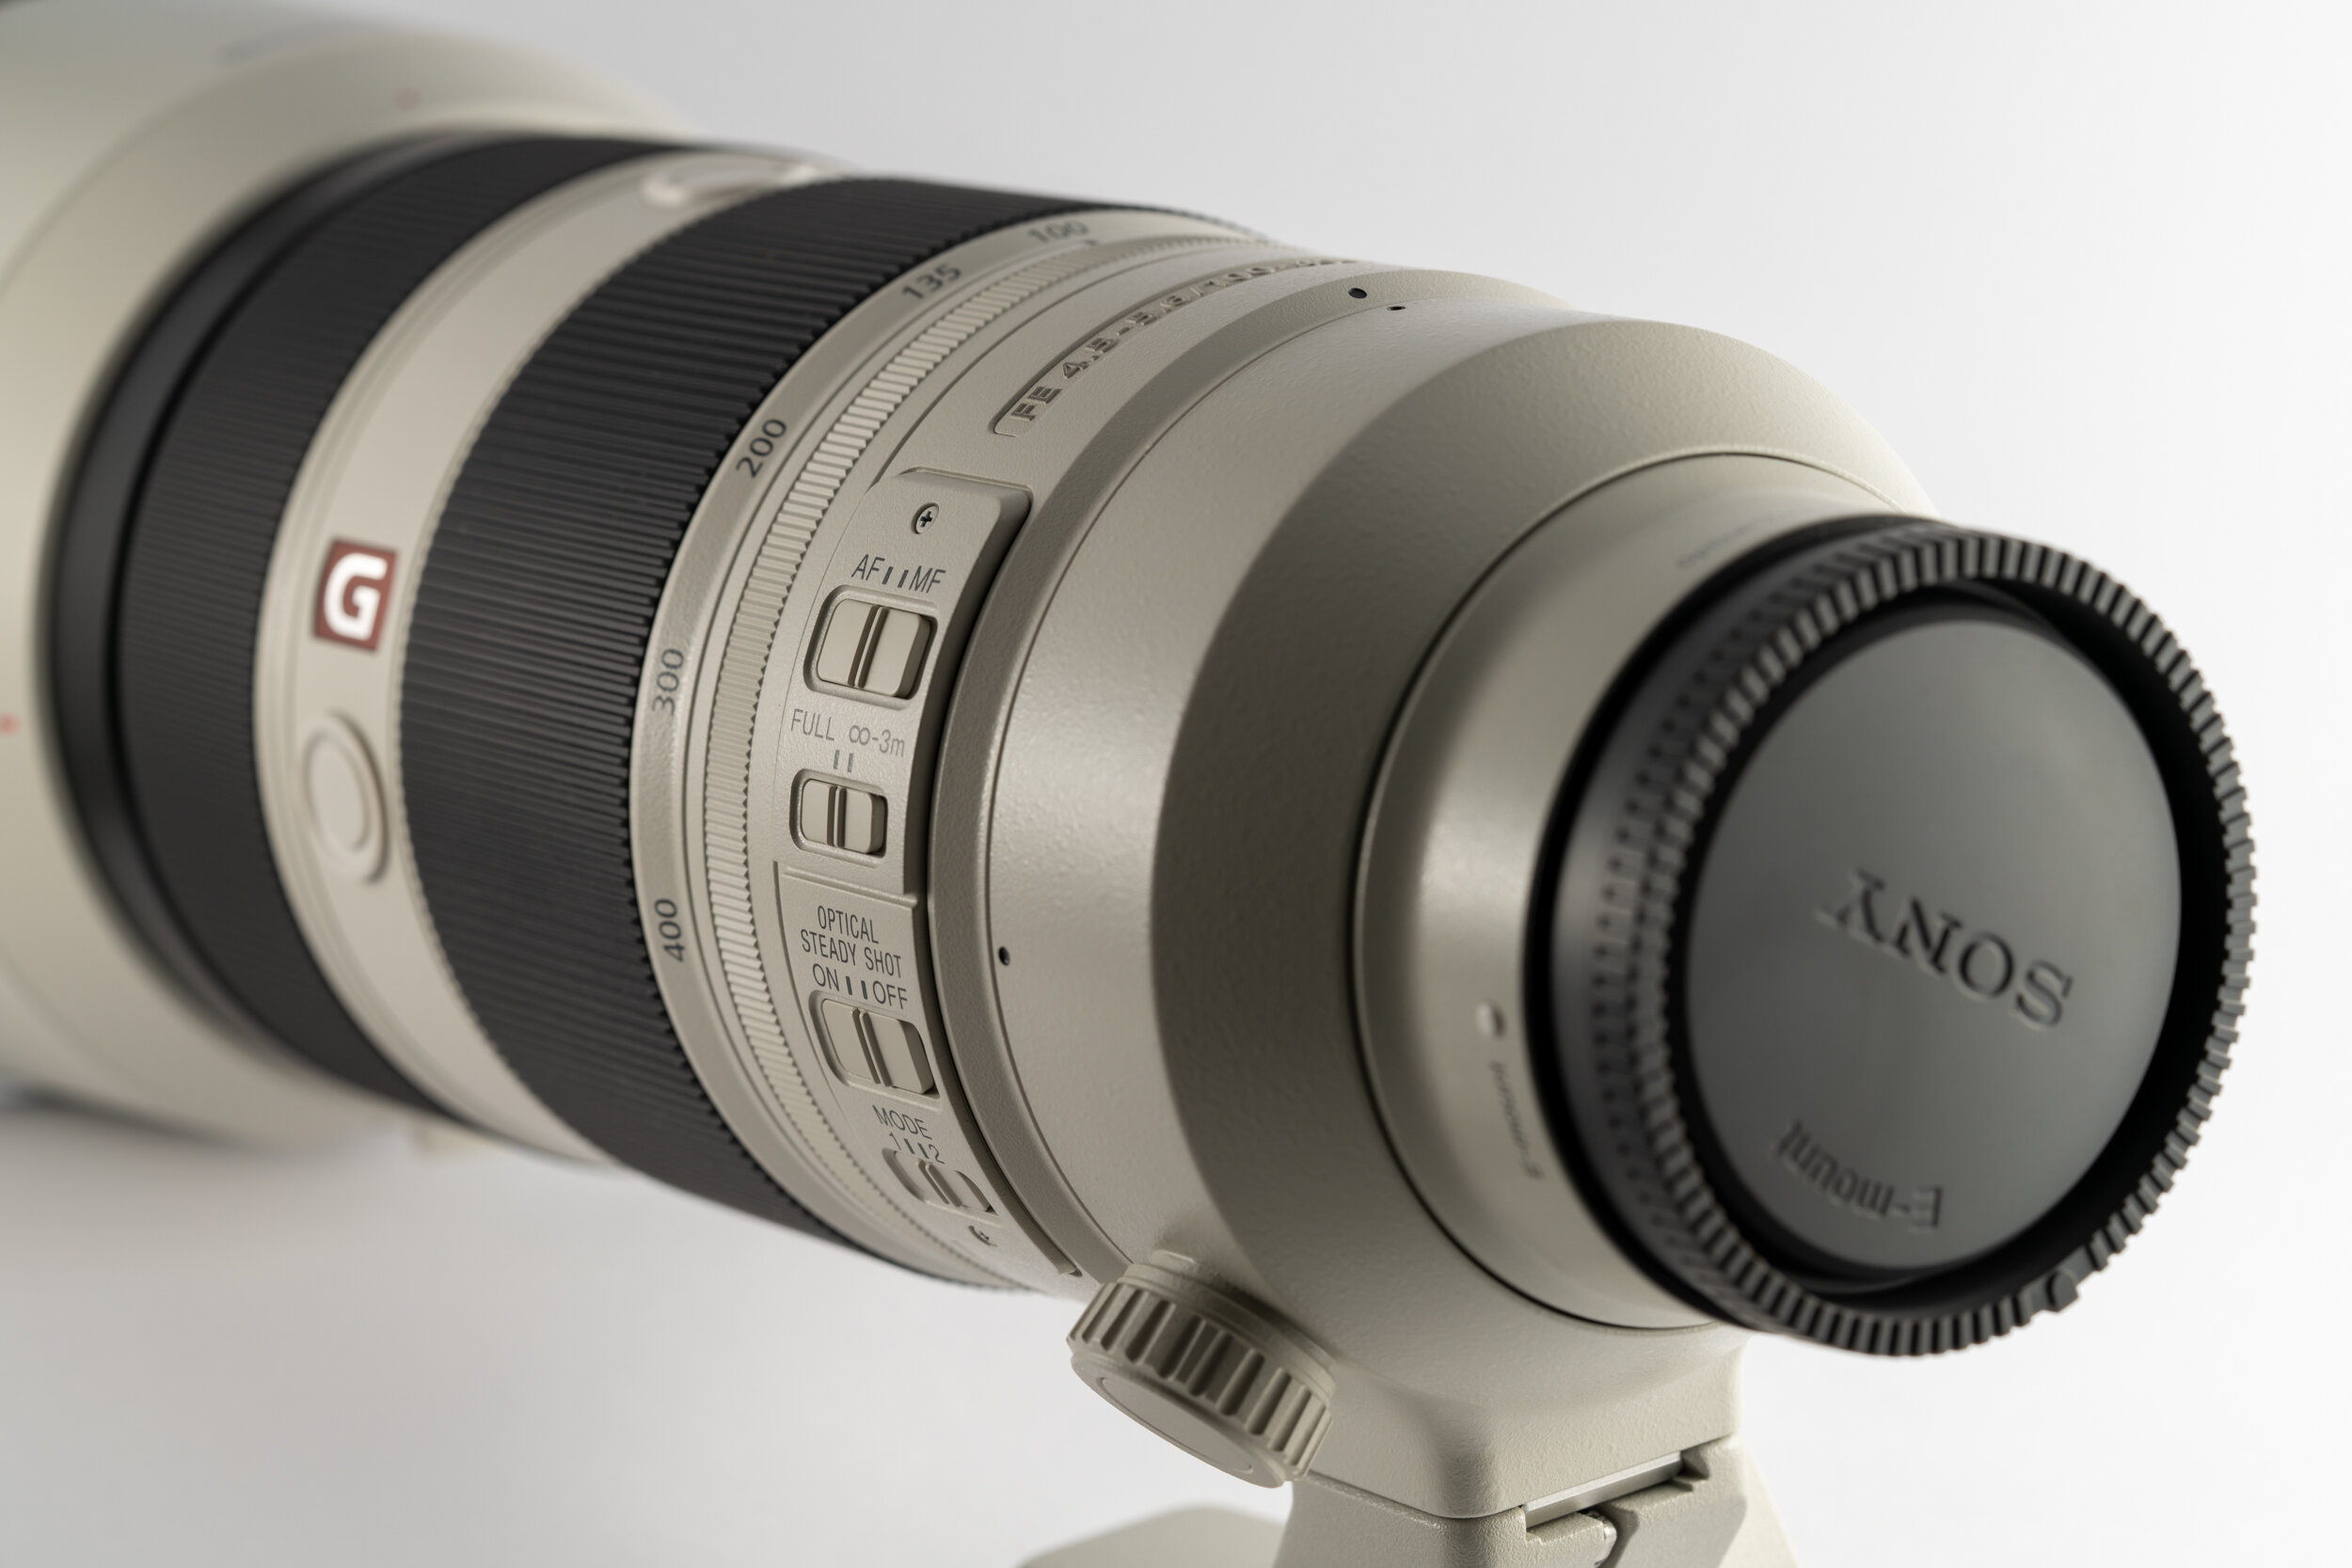
The lens body is 205mm long x 93.9mm in diameter, weight at 1395g. It takes a 77mm filter at the front, and is compatible with Sony’s 1.4x and 2.0x teleconverter. These converters are only compatible with the GM telephoto lens and the 200600G.
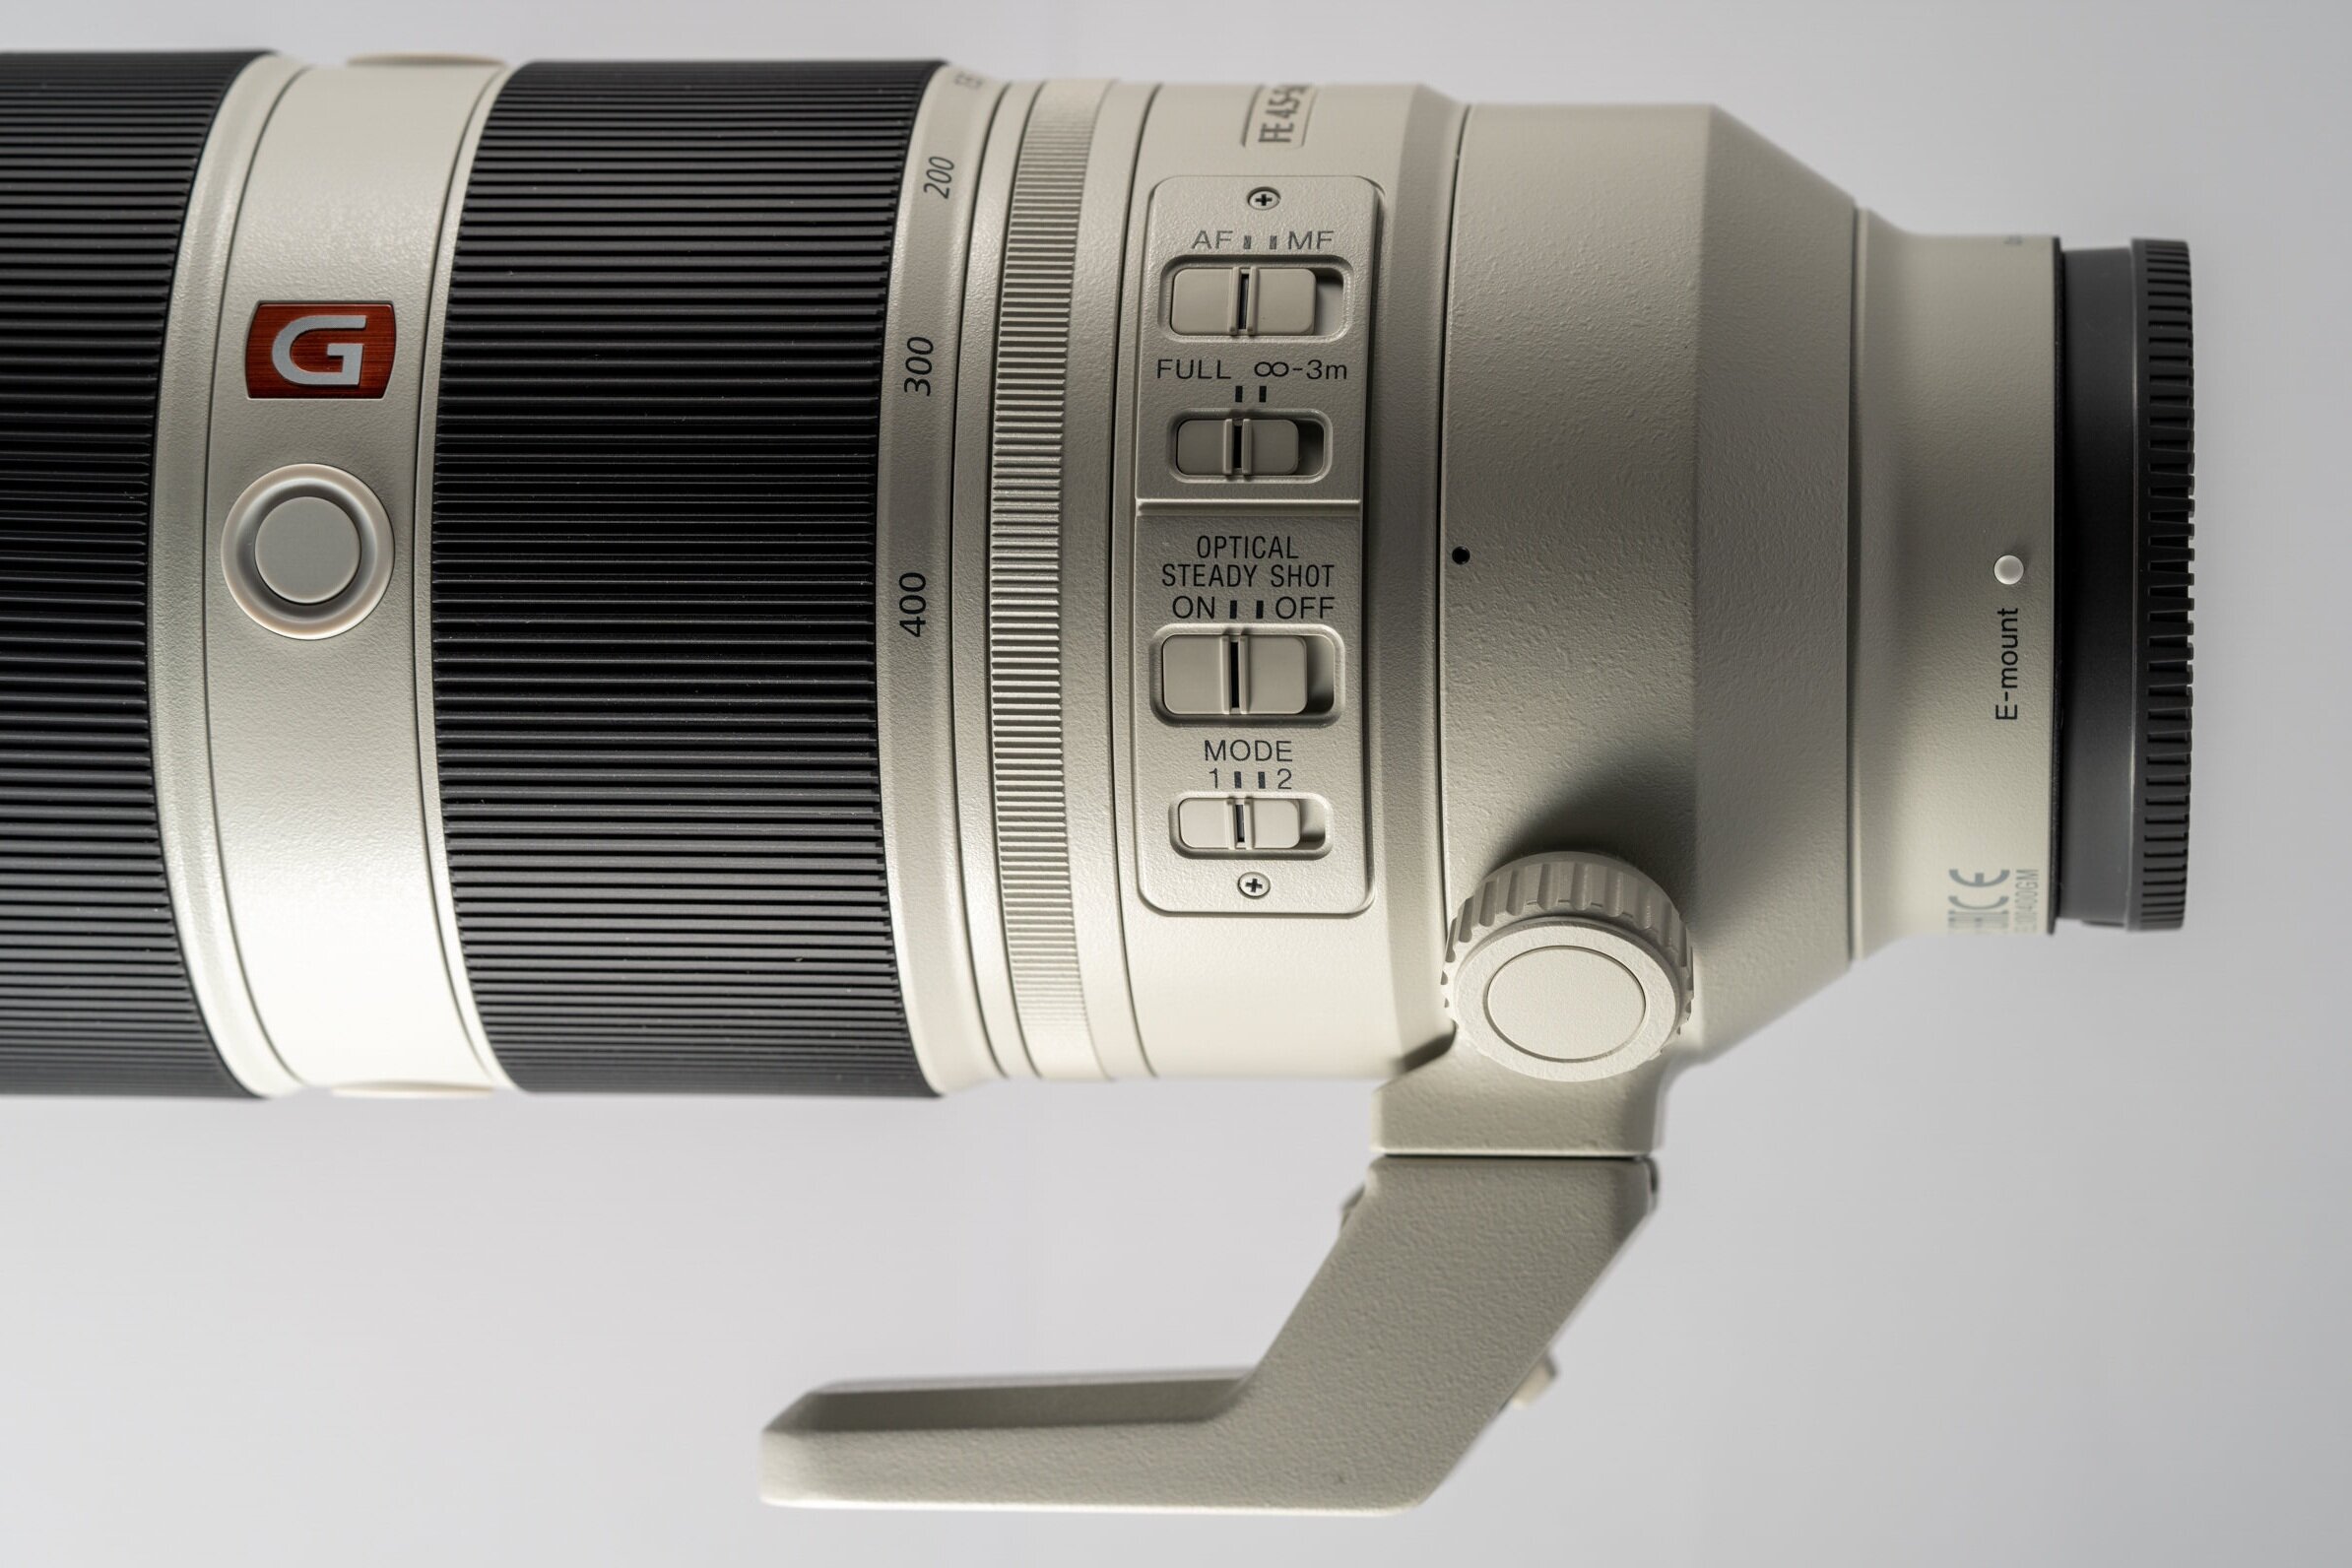
There is a bunch of controls on the side. At the front is the focusing ring, then focus hold, zoom ring, then a zoom tightness adjustment. Unlike the 70300G, there is no lock button, so the tightness adjustment ring can be used to prevent zoom creep. Then there is a panel of switches closer to the body. Top is the focus mode switch, focus range limiter, steady shot switch, and stabilization mode at the bottom. Finally there is a lens foot ring and its adjustment knob.
The lens is solidly built, and there is even rubber gasket on the mount to help with the water and dust resistant.
There is a cut out on the lens hood to allow rotating CPL filter without taking off the hood.
Image Quality
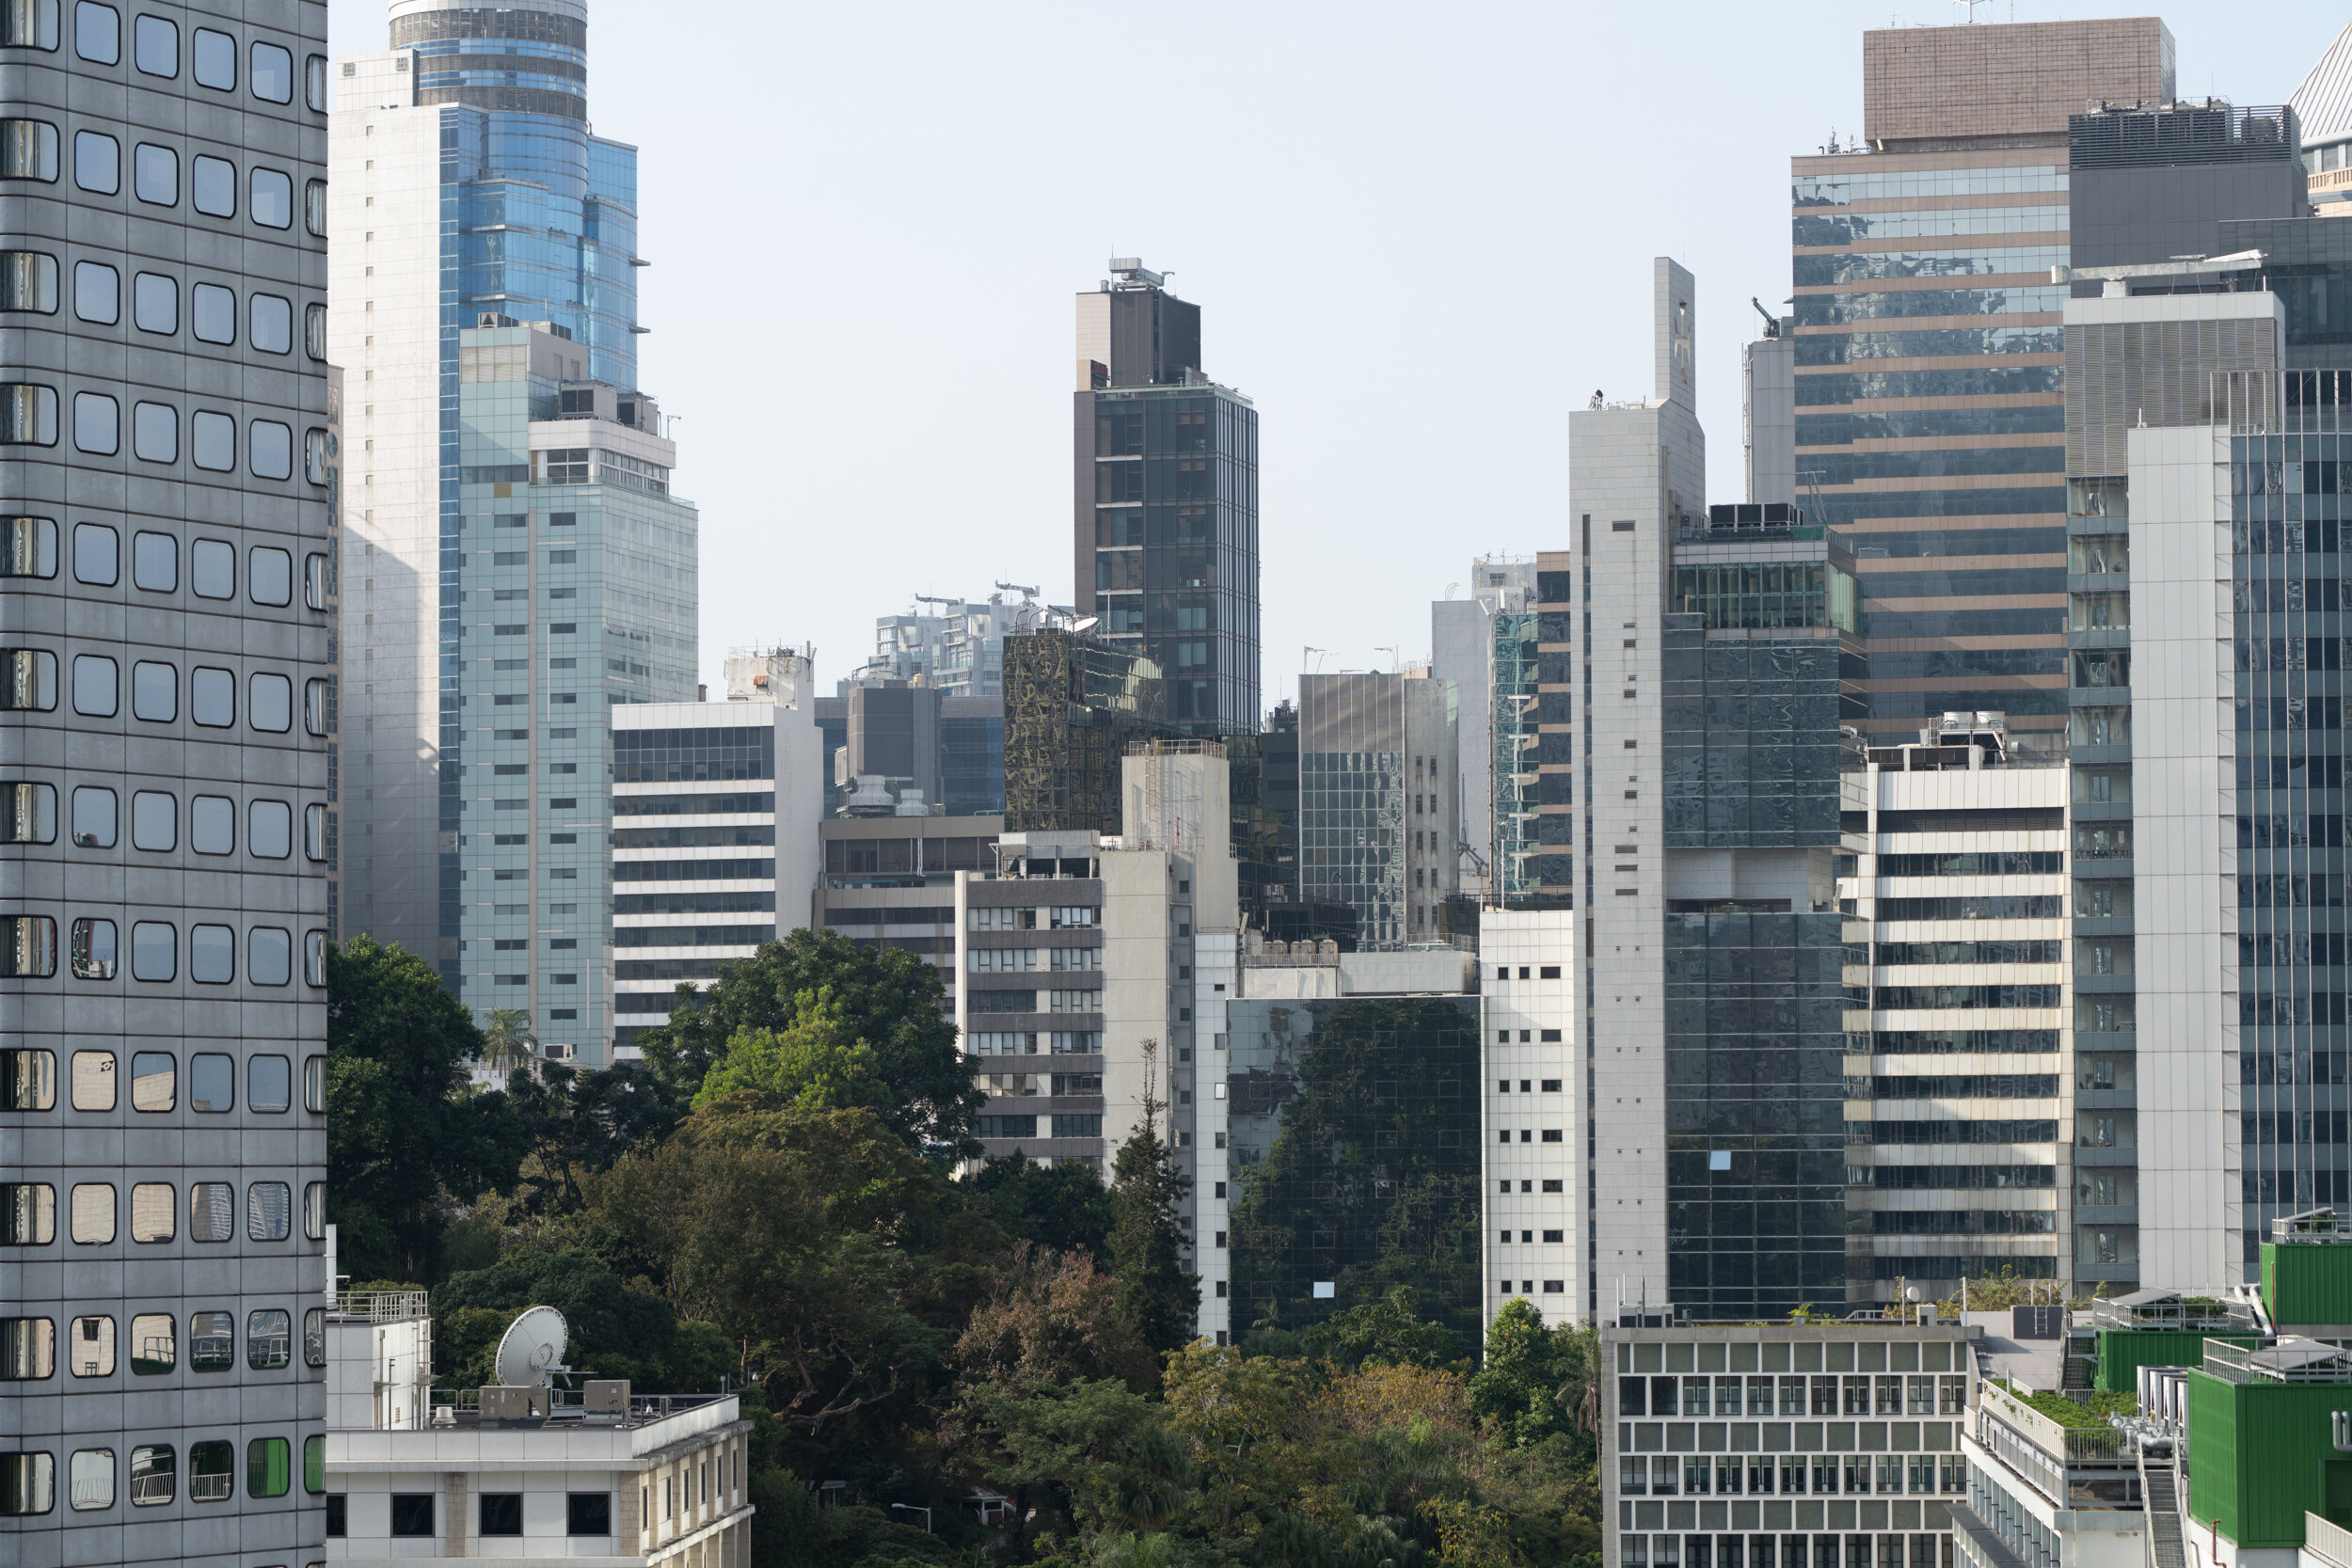
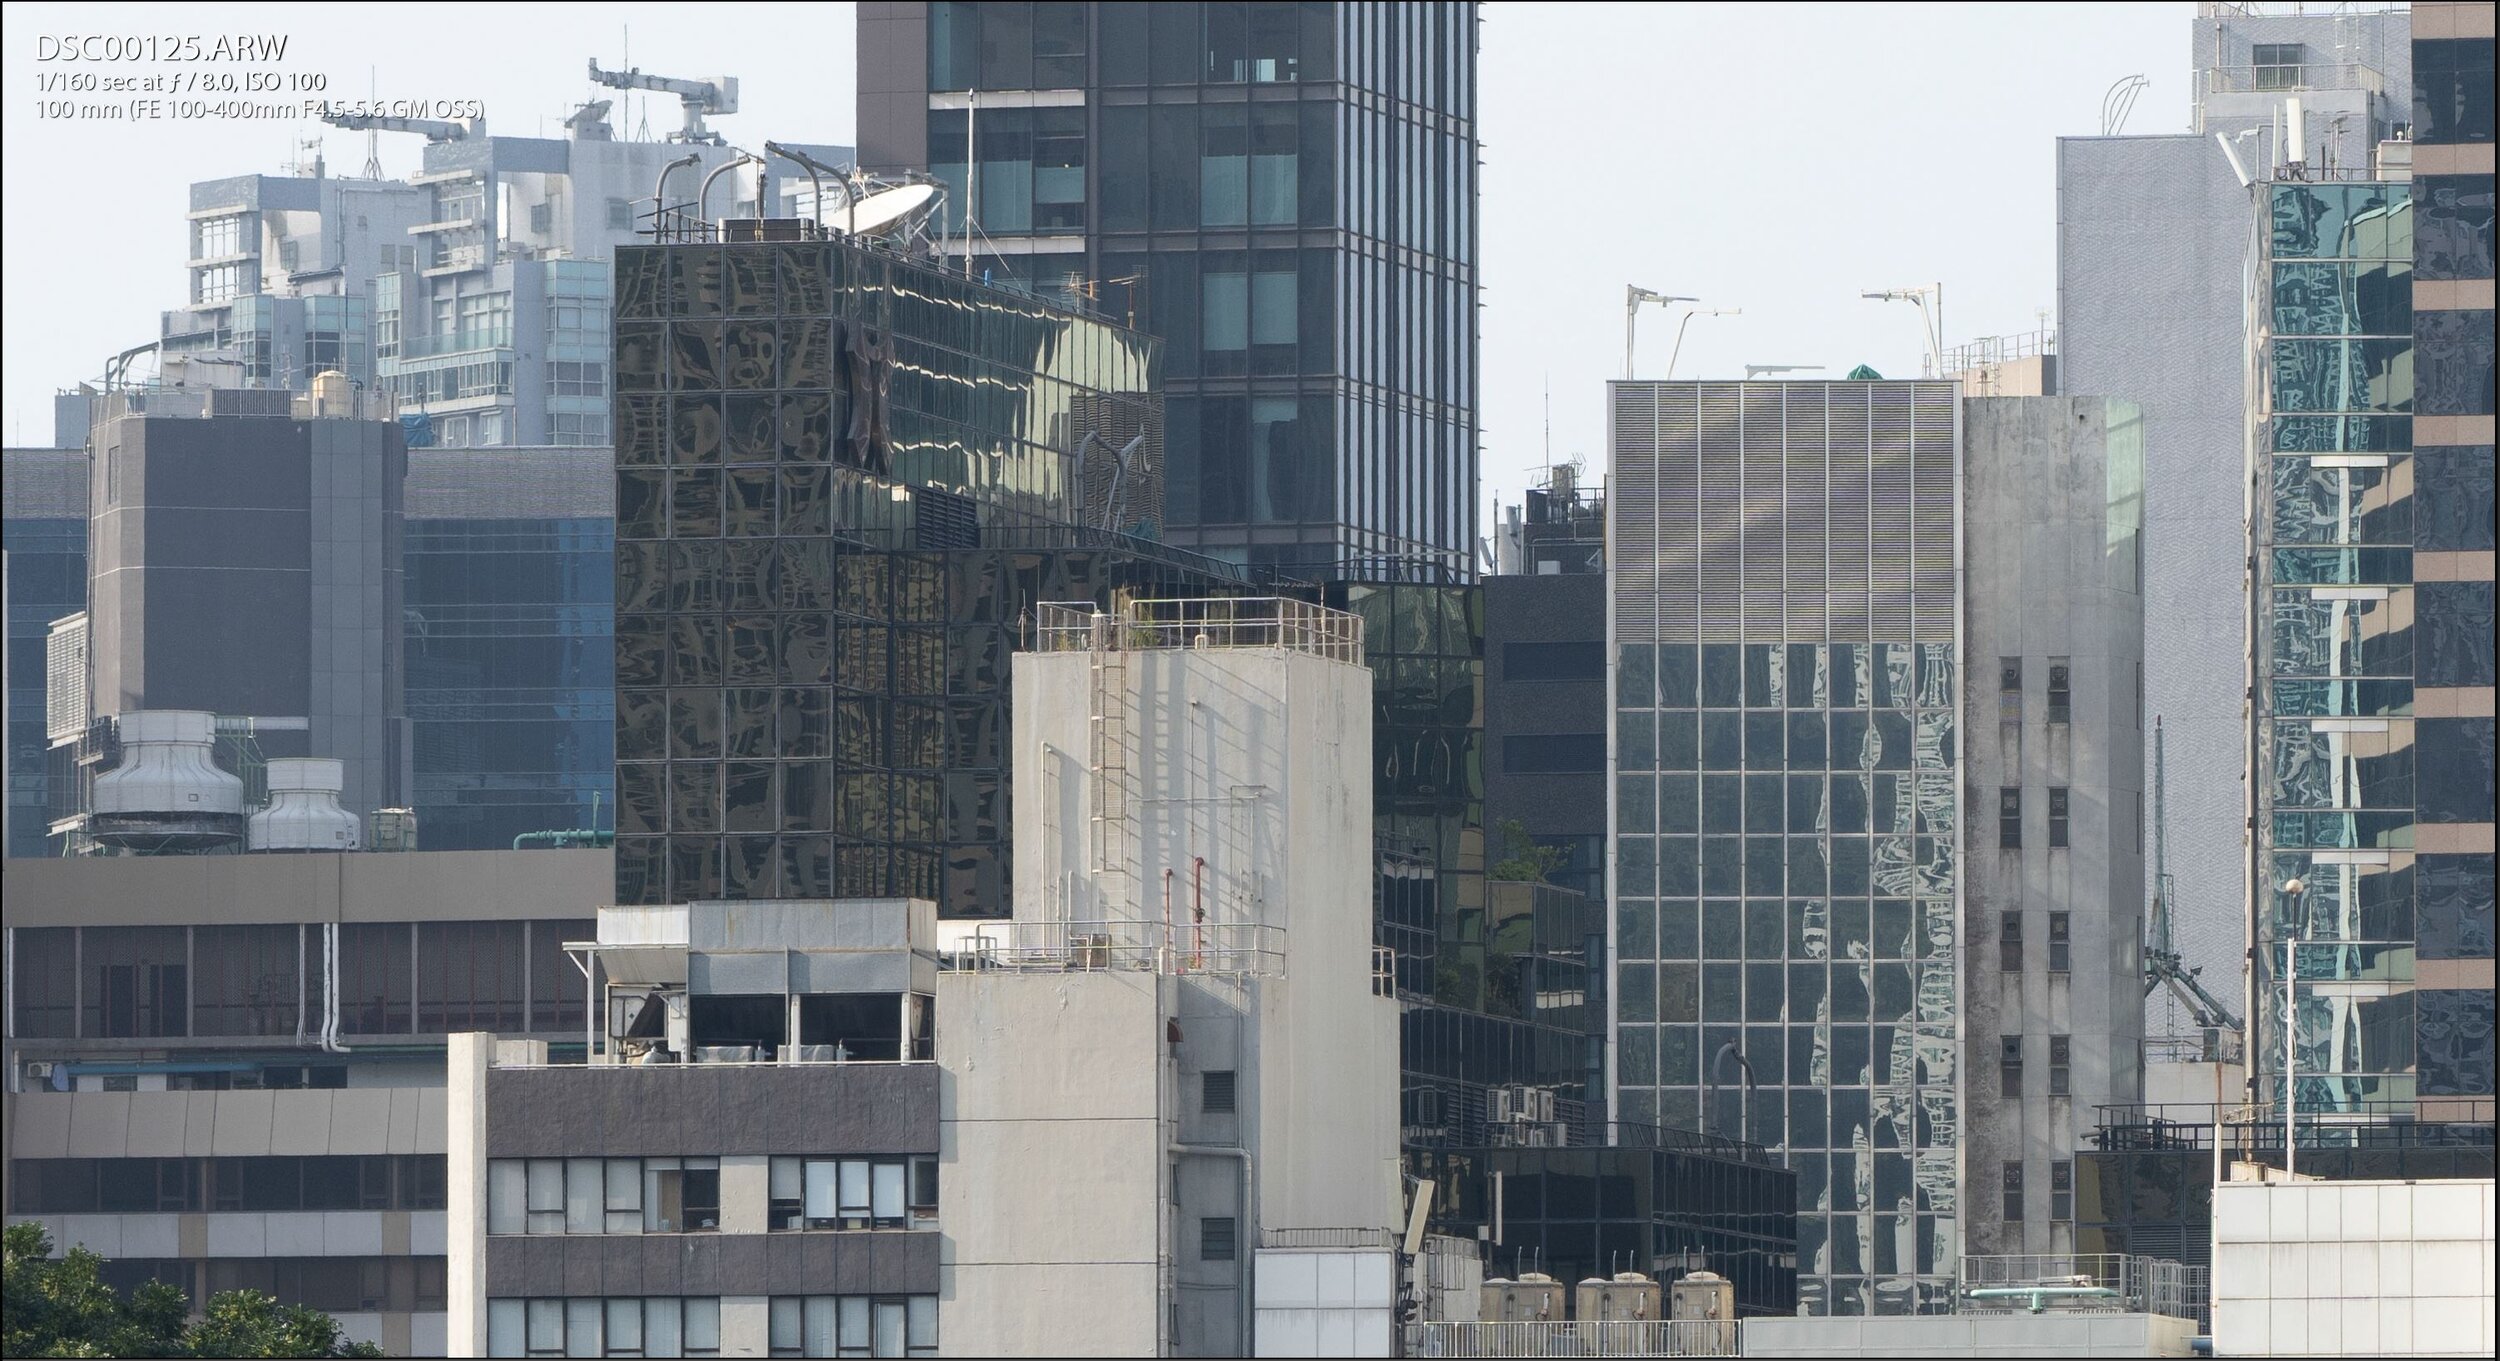
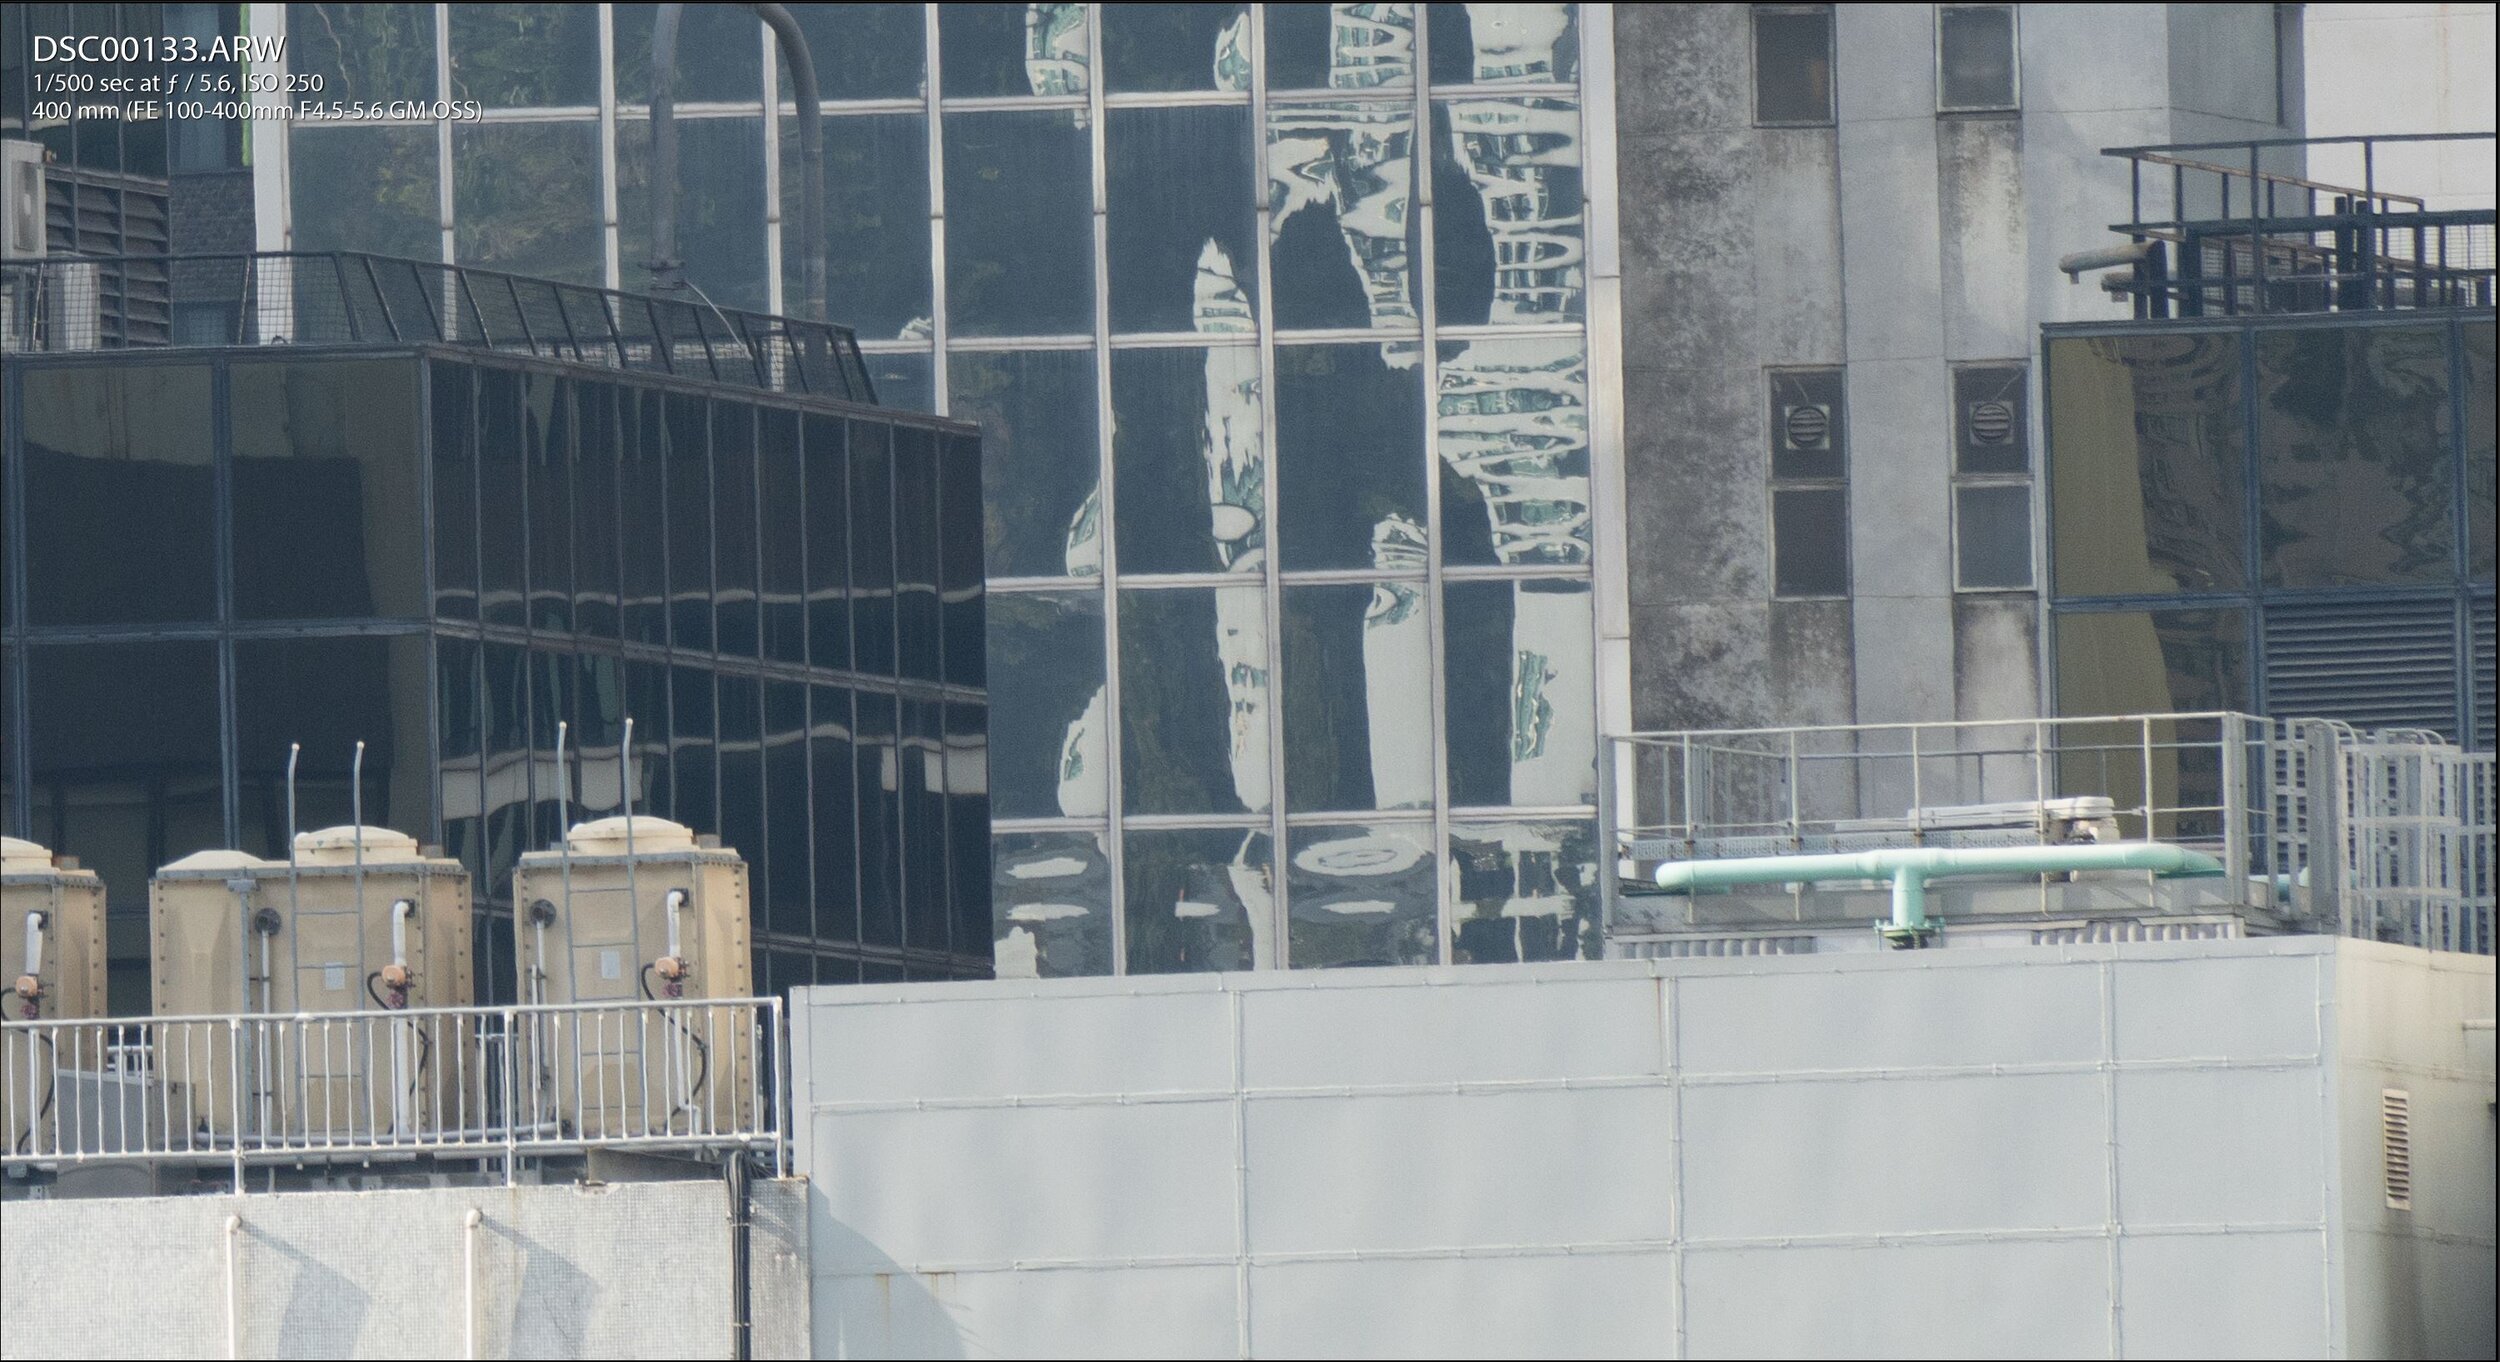
This is a variable aperture lens. The aperture starts at f/4.5 at 100mm, f/5 at 120, then f/5.6 starting 160. Below is a comparison on different focal lengths. First with the 100mm comparison, starting at largest aperture @ f/4.5. The center and corner is good already wide open, and gets better at f/5.6.
135mm comparison, starting at largest aperture @ f/5. The center and corner is good already wide open, and gets better at f/5.6. I really had to zoom into 2:1 to see the difference.
200mm comparison, starting at f/5.6, The center and corner is good already wide open, and gets better at f/8.
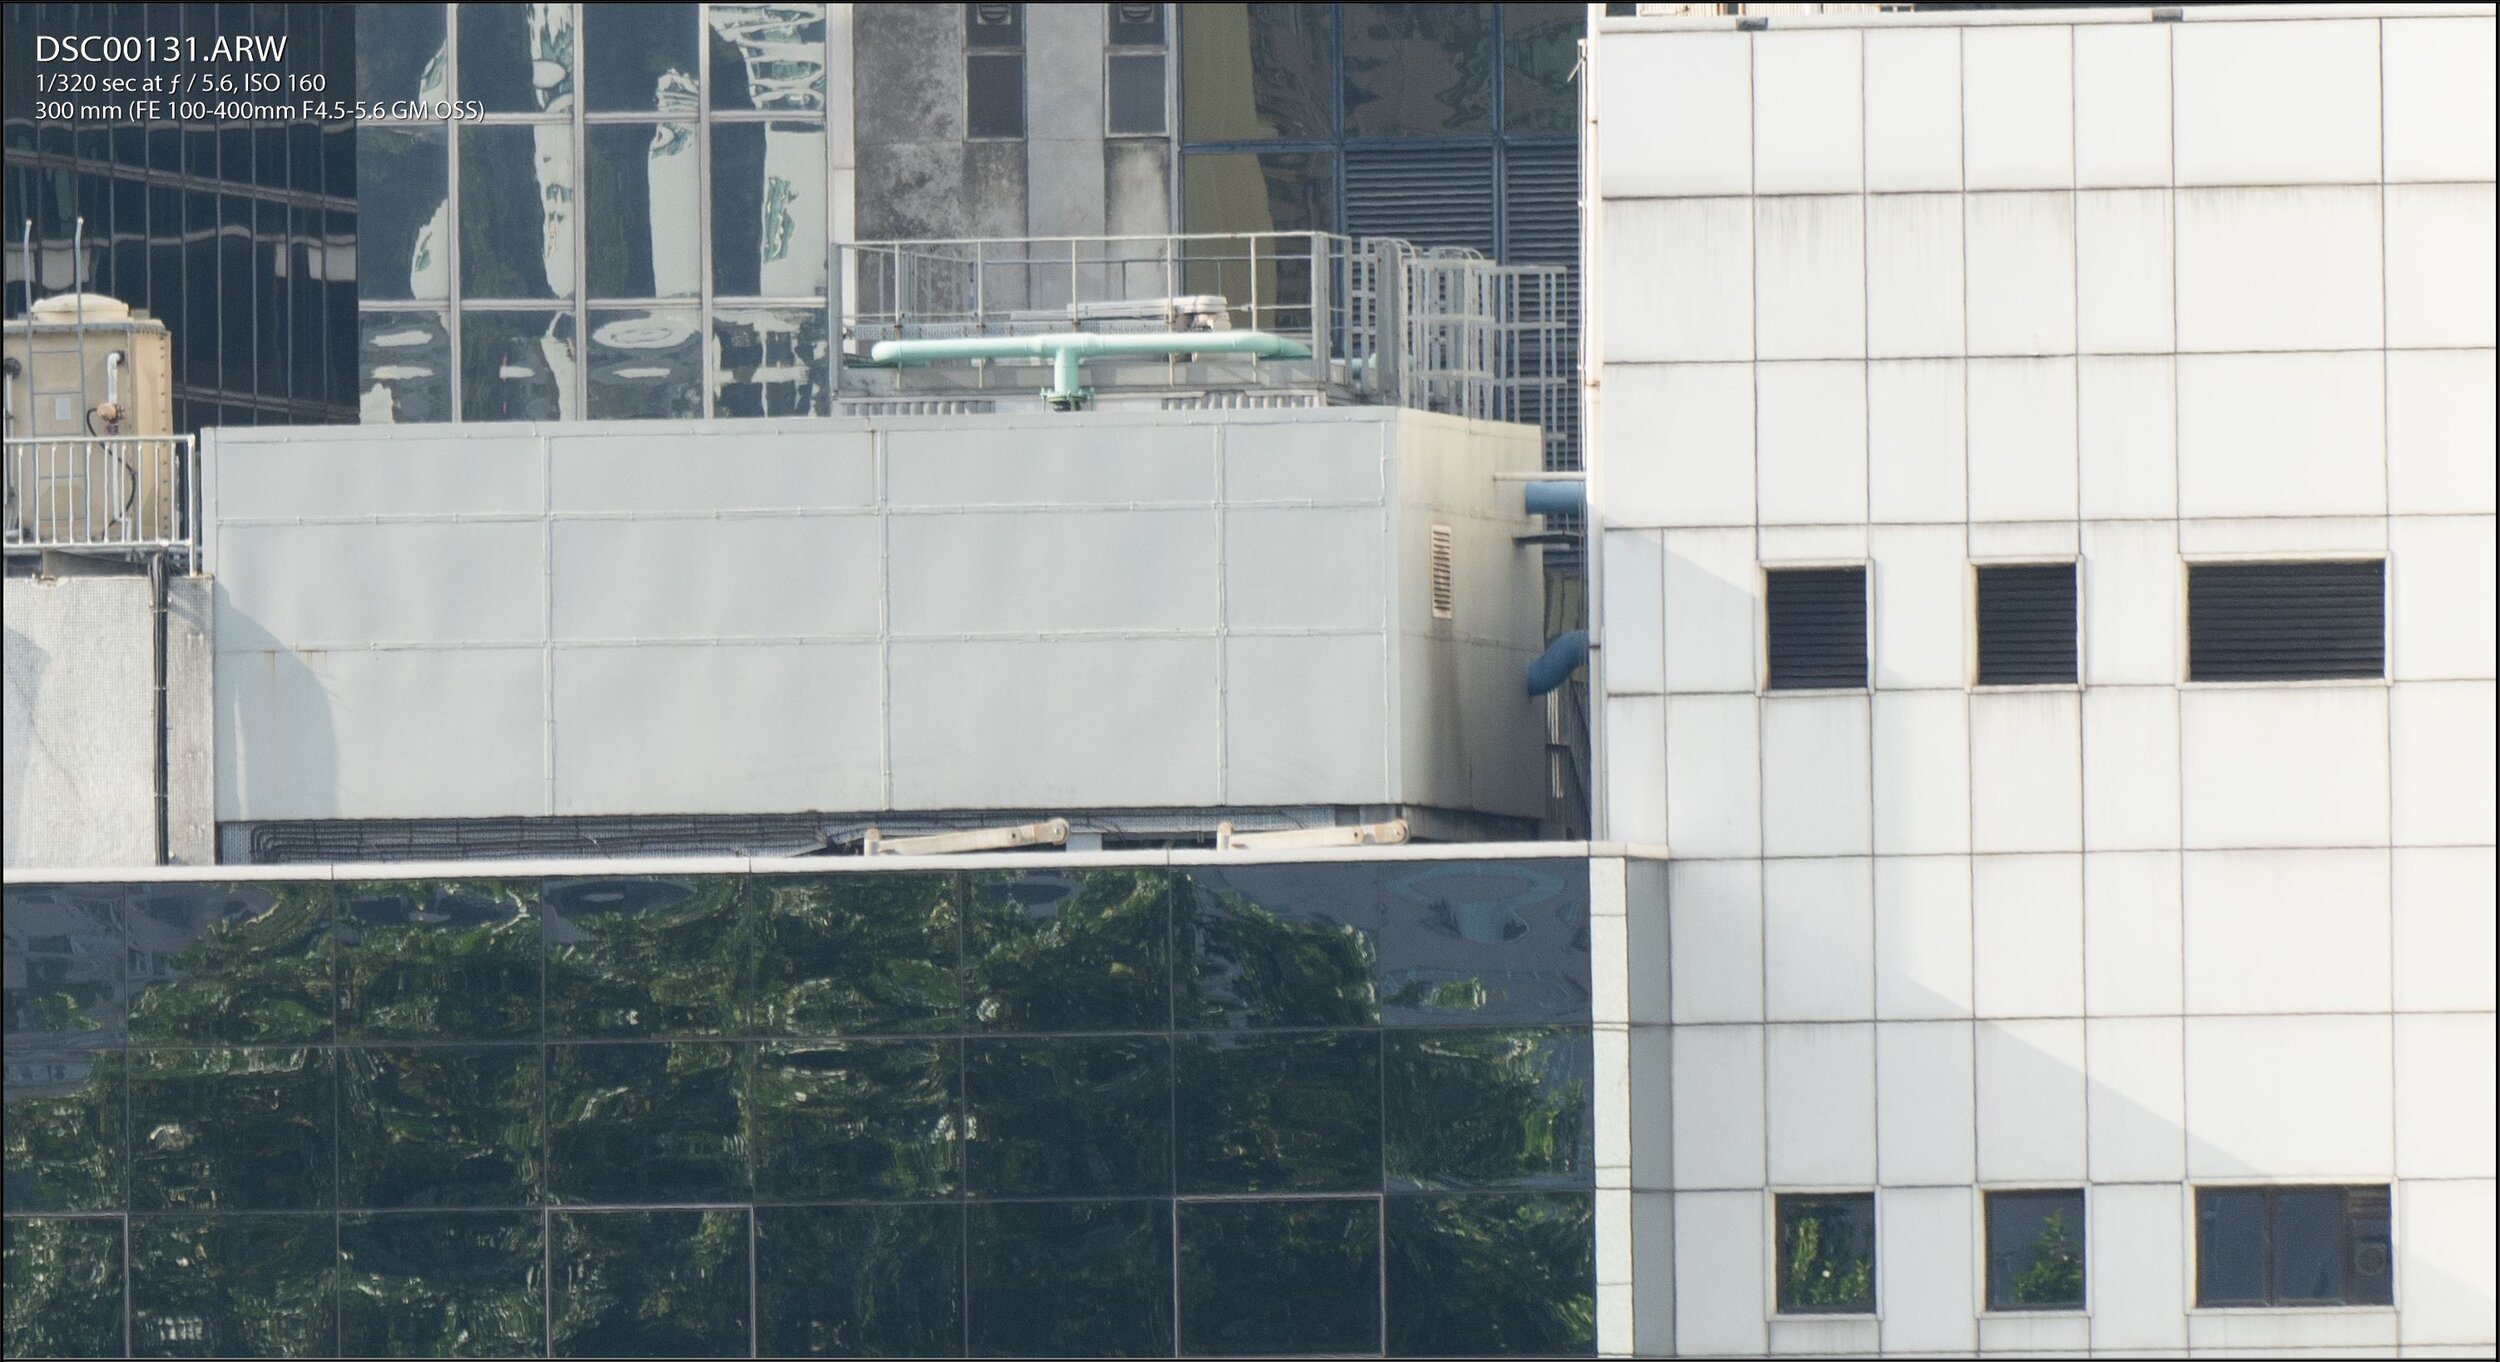
300mm comparison, starting at f/5.6, center and corner are good. No significant improvement at f/8 even viewing at 2:1.
400mm comparison, starting at f/5.6, the center and corner are good already. No significant improvement at f/8 at 2:1.
Conclusion
The 100400GM is a great telephoto lens. I highly recommend this lens if the goal is to have the best image quality on the Sony full frame or APS-C system. It is sharp wide open starting from 100mm all the way to 400mm. The trade off is huge size, heavy weight and the expensive price of the lens. I do wish for wider aperture to help keep the ISO down, but other telephoto zoom lens on the market with similar focal range has the same aperture. I will explore in future shooting with 1.4x teleconverter vs cropping on the A7R4.
Sample Gallery
Sony A7RIV Review
Sony A7R4 (ILCE-7RM4)
Announced - Jul 2019
Pro
Real time tracking
New body design
61.0 MP sensor, Great IQ
New EVF
Con
No major improvement in video
Big file
No USB C to SSD function
I was very excited when the A7R4 was announced in July. I have always enjoyed my A7R3, but was curious on the real time autofocus system on the A6400 and A9. I immediately jumped on the preorder and got one from Sony Hong Kong at launch.
What’s in the box
Beside the body and cap, there is manual, battery, charger, power cords (EU, UK, US plugs all included), USB-C cable, neck strap, and plastic cable clamp.
Body
The A7R4 follows the same design as the previous generation A7R3. Dimension and weight are about the same as previous generation at 128.9 mm x96.4 mm x 77.5 mm, and 665 g.
On the top, one of the changes is there is not a toggle lock on the EV dial. It is a nice change to prevent accidentally changing the EV when taking the camera out of the bag. Buttons are generally bigger and more spongy to press compared to the R3.
Starting from the back, there are some small changes on the controls. The new AF ON button is bigger, the back control dial moved from body to the top, and the joystick also increased in size as well. There is also a new 5.76m dot with 0.78x magnification 120 fps OLED EVF, which has higher resolution than the R3. It is nice, sharp, and bright. I haven’t noticed any lag on the EVF.
There is no significant changes to the menu system from the A7R3. There is still no touch function on the menus. The joystick and D PAD can be used to navigate the menus. In my experience, the menu really isn’t that bad once the camera is set up. FN bar can be configured for still/video separately, and there is a configurable My Menu to store the items. The details can be found on Sony’s online help guide over here. GPS coordinate can be recorded by linking with the Sony Imaging Edge on smart phone. The app works fine with my Android phone. Connection is stable, but just have to remember to launch the app before shooting.
On the Left side, you see the different ports. There is USB-C, Micro USB, Micro HDMI, Mic in, 3.5mm headphone, and PC Sync port. The cover went from flaps on the R3 to doors on the R3, keeping things tidy. The battery can be charged through USB C, so there is really no need to buy an extra battery unless you really need it. I wonder if Sony will keep the Micro USB in the future. The trend seems to use USB-C for more and more functions, such as USBC to headphone on the XT30, or the USBC to SSD on Blackmagic design cinema 4k/Sigma FP.
From the right side, you can see the most dramatic changes. A7R4 has a new bigger and deeper grip. My initial feeling was that the new body is heavier and bulkier than the A7R3, but I come to really like the new grip after using it for months. It helps significantly when using heavy lens, such as 24-70gm, 70-300, giving more confidence when handling the camera.
In the grip, it still houses the same NP-FZ100 battery that provides impressive battery life. The CIPA rating is 530/670 shots. In real usage, I never have to change or even charge battery during the day. It also now has 2 UHS-II slots, instead of 1 UHS-II + 1 UHS-I SD card slots on the A7R3.
Image Quality
A7R4 has the a new 61.0MP 35mm Full Frame BSI EXMOR R CMOS sensor with BIONZ X image processor. The standard ISO range is 100-32000, and expandable to 50-102400. The sensor also features a 567 phase detect and 425 contrast detect AF points. There is In-body image stabilization on the sensor, giving 5.5 stops vs 5 stops on the A7R3. It gives 26.2MP even in crop mode, higher than even the top of the line APS-C Sony A6600.
In terms of image quality, I have no complaint about it. To be honest, it was not like the 42MP A7R3 was desperate for a resolution increase. No significant issue with metering/white balance, and there is plenty of dynamic range when editing raw files as well. Each photo is about 21mb (JPG) + 120mb (Uncompressed raw). There is also the pixel shift mode, where it will take 16 photos in a row, then use the Image Edge software to create an ultra high resolution file. I have never tried that, as the 61mp is more than enough for my need.
On the video side, there is not much change other than having Eye-AF in video now. It doesn’t do 4k60p, no 10 bit…etc. It also doesn’t do pixel binning in full frame mode,. This is not the camera if you want top notch video, and I find the quality acceptable for general use.
Autofocus
The most significant change is the new real-time tracking auto focus system, which was first implemented on the A9/A6400. I now shoot majority of the time in AFC tracking mode whether the object is moving or not. You can see the details on this very useful video from Dpreview. Autofocus is very sticky in most situation, able to keep track of the object even with complex background or challenging light. It is also very simple to use, just put the focus point on the object and half press the shutter. Eye-AF on animal and human works very well, and helps a lot in using large aperture lens to nail the focus. There are tons of video comparing the performance on Youtube, I have briefly compared EyeAF against Fujifilm, and Sony does have a noticeable edge over it.
Conclusion
It is surprising that Sony released the A7R4 so soon. Comparing against the peers, even the previous generation A7R3 still competes well to other high resolution camera on the market, such as Nikon Z7 and the Panasonic S1R.Perhaps the A7R3 sensor/processor was limited, and R4 is to roll out the class leading auto focus feature to the line up. We can also see this happening to the A6000 series APSC bodies, and I would expect this continue to trickle down to A7 IV, and RX/HX series.
A7R4 has no real weak point other than video feature is not able to compete against other 24mp full frame camera. Sony also has the largest selection of full frame mirrorless lens, so it is hard to find any significant concern on it. This is the camera to get if you are looking for a high resolution full frame camera.
Sample Gallery (edited from raw)

